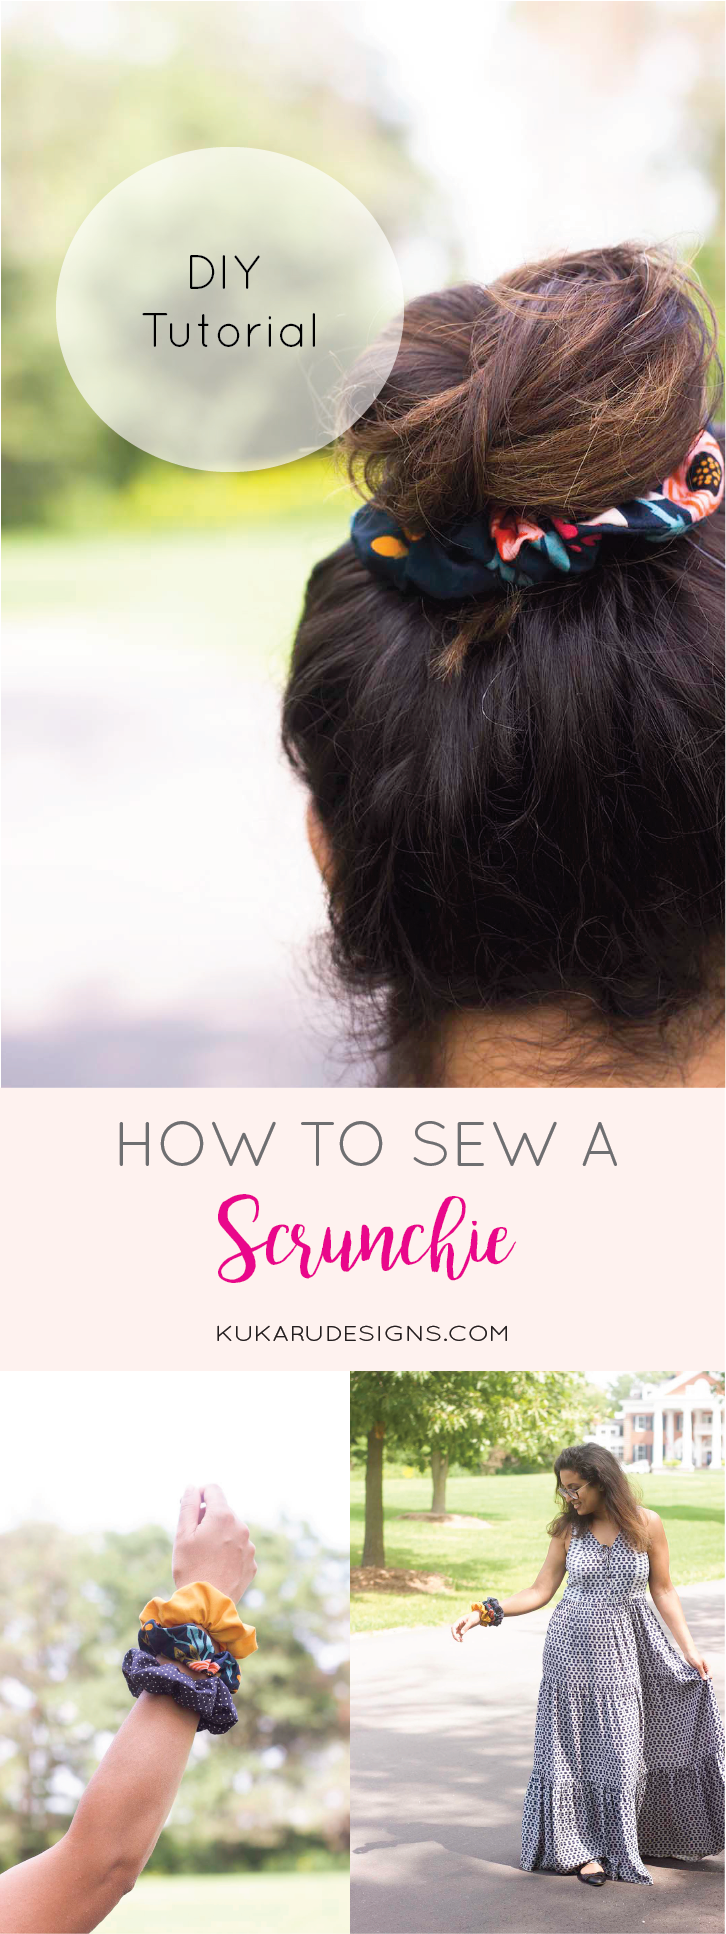
Easy DIY Scrunchie Tutorial
I remember wearing scrunchies back in elementary school (yes let’s not think about how long ago that actually was!). I was incredibly obsessed with them! Scrunchies for days. My mom actually sewed me some of my very first scrunchies at the time. They were a staple in my collection of hair accessories and they helped keep my thick curly hair away from my face.
Well, here we are in 2018 and scrunchies are back in style with a vengeance. Who would have thought? With all the scrunchies available in stores, even influencers are now making their own scrunchie lines. I get it, they come in such fun patterns and fabrics that can dress up any outfit.
I also have some other hair accessory tutorials and patterns that you can make:
- Twisted Headband
- Newborn Beanie and Harem Pants
- Newborn Top Knot Beanie
- How to Sew a Beanie
- The bunny ear scrunchie
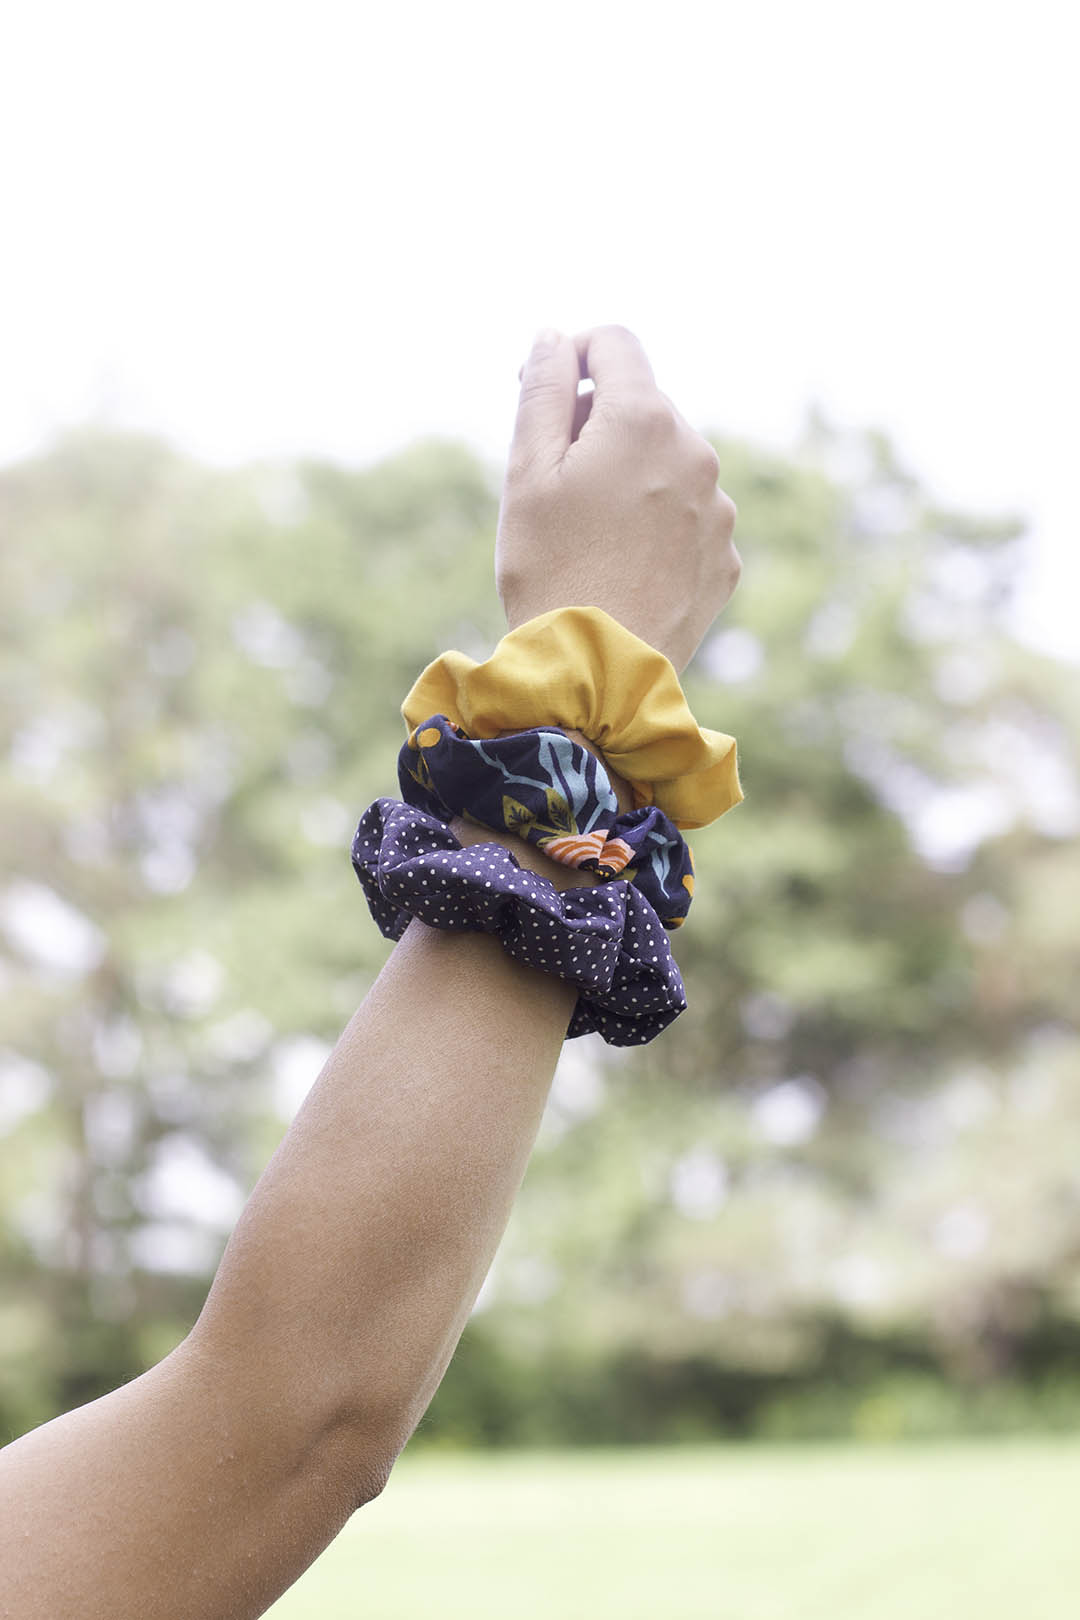
MAD FOR SCRUNCHIES
With back to school season coming up, these scrunchies are the perfect accessories for any outfit. Make them in different colours, prints, textures and sizes. Personally, I prefer to make my own. What better way to save some money and have some unique scrunchies by making them yourself!
They are also perfect for children. You can add it to the end of a braid, ponytail or top not bun! Also, how cute would it be to have a matching mother-daughter scrunchie set! Ah! That just makes me so excited for one of my friends to have a baby girl someday to sew for!

Making your own sustainable scrunchie
You really do not need anything fancy to make these quick hair accessories. Instead of buying fabric from the store, why not use scrap fabric or old clothes to make them. This is a great way to up-cycle fabric and add some sustainable fashion to your wardrobe.
If you checked out my instagram recently, I bought some of the birch floral in navy which is the riffle paper co fabric by cotton and steel that I absolutely LOVE! I have been on the hunt for this fabric in Canada and finally found it at a Canadian fabric store called Weave and Woven. Well, the extra fabric went to good use I have to say! I also had some left over fabric from the Petites Stipples Midnight by Amy Sinibaldi for Art Gallery that I used for my Queenstown Cosmetic Bag tutorial.
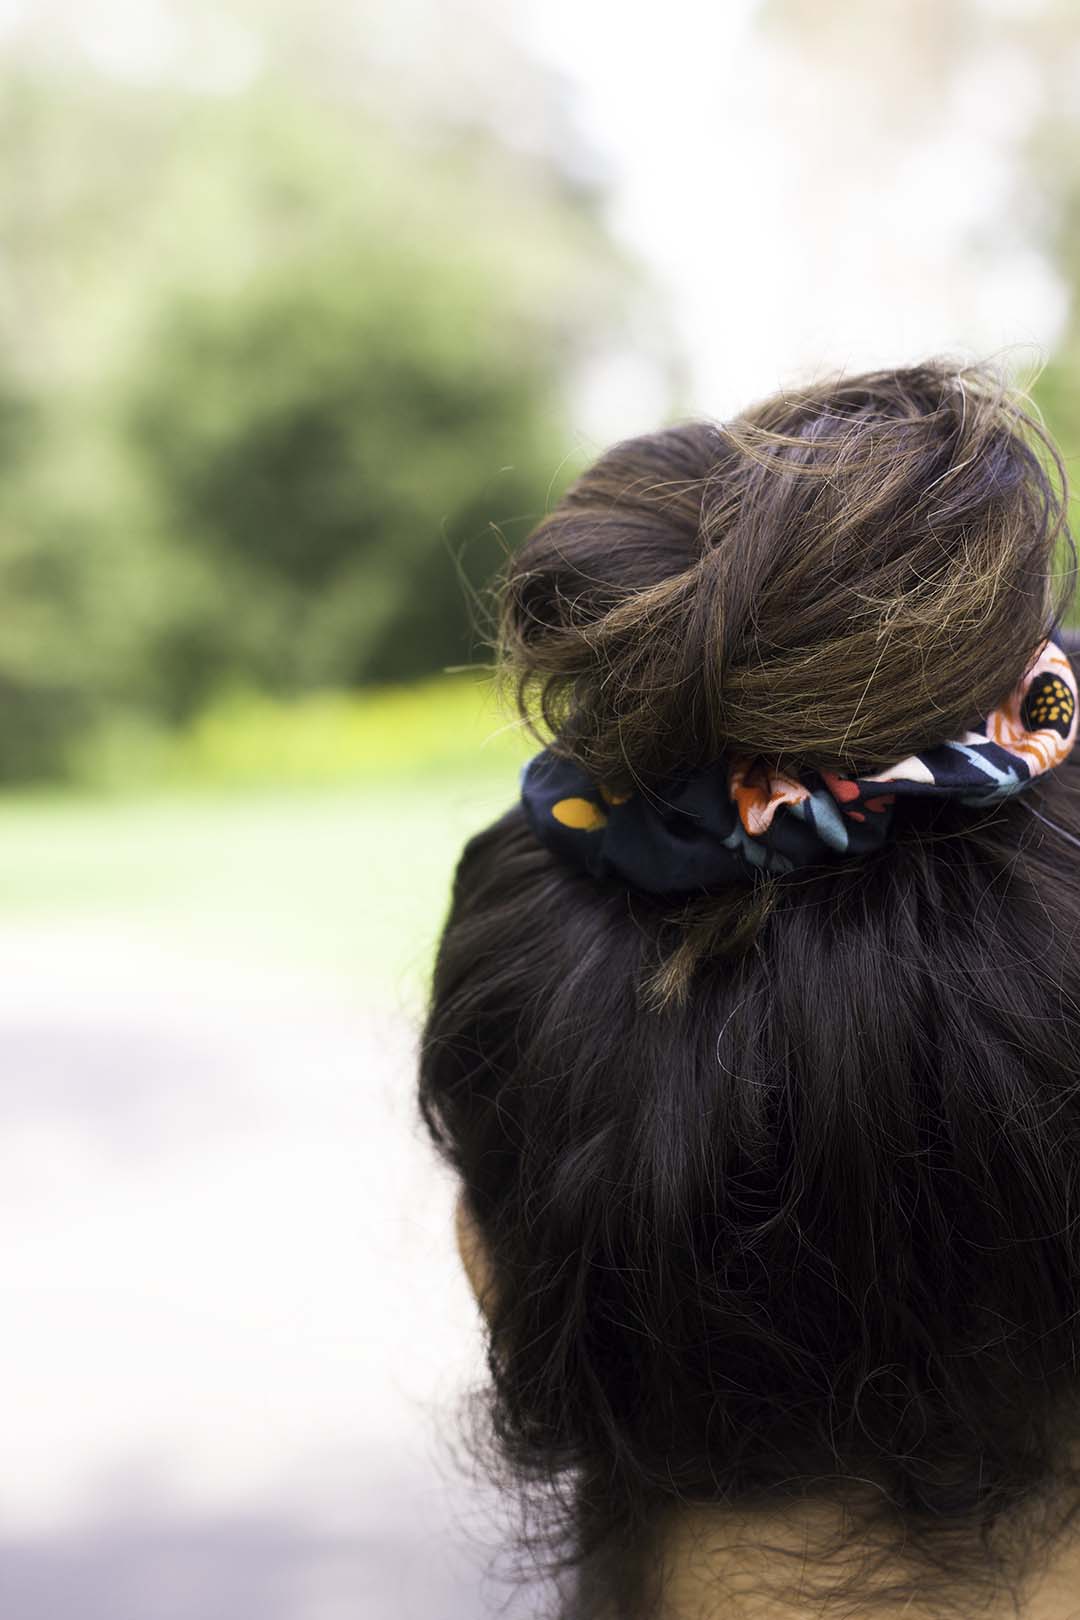
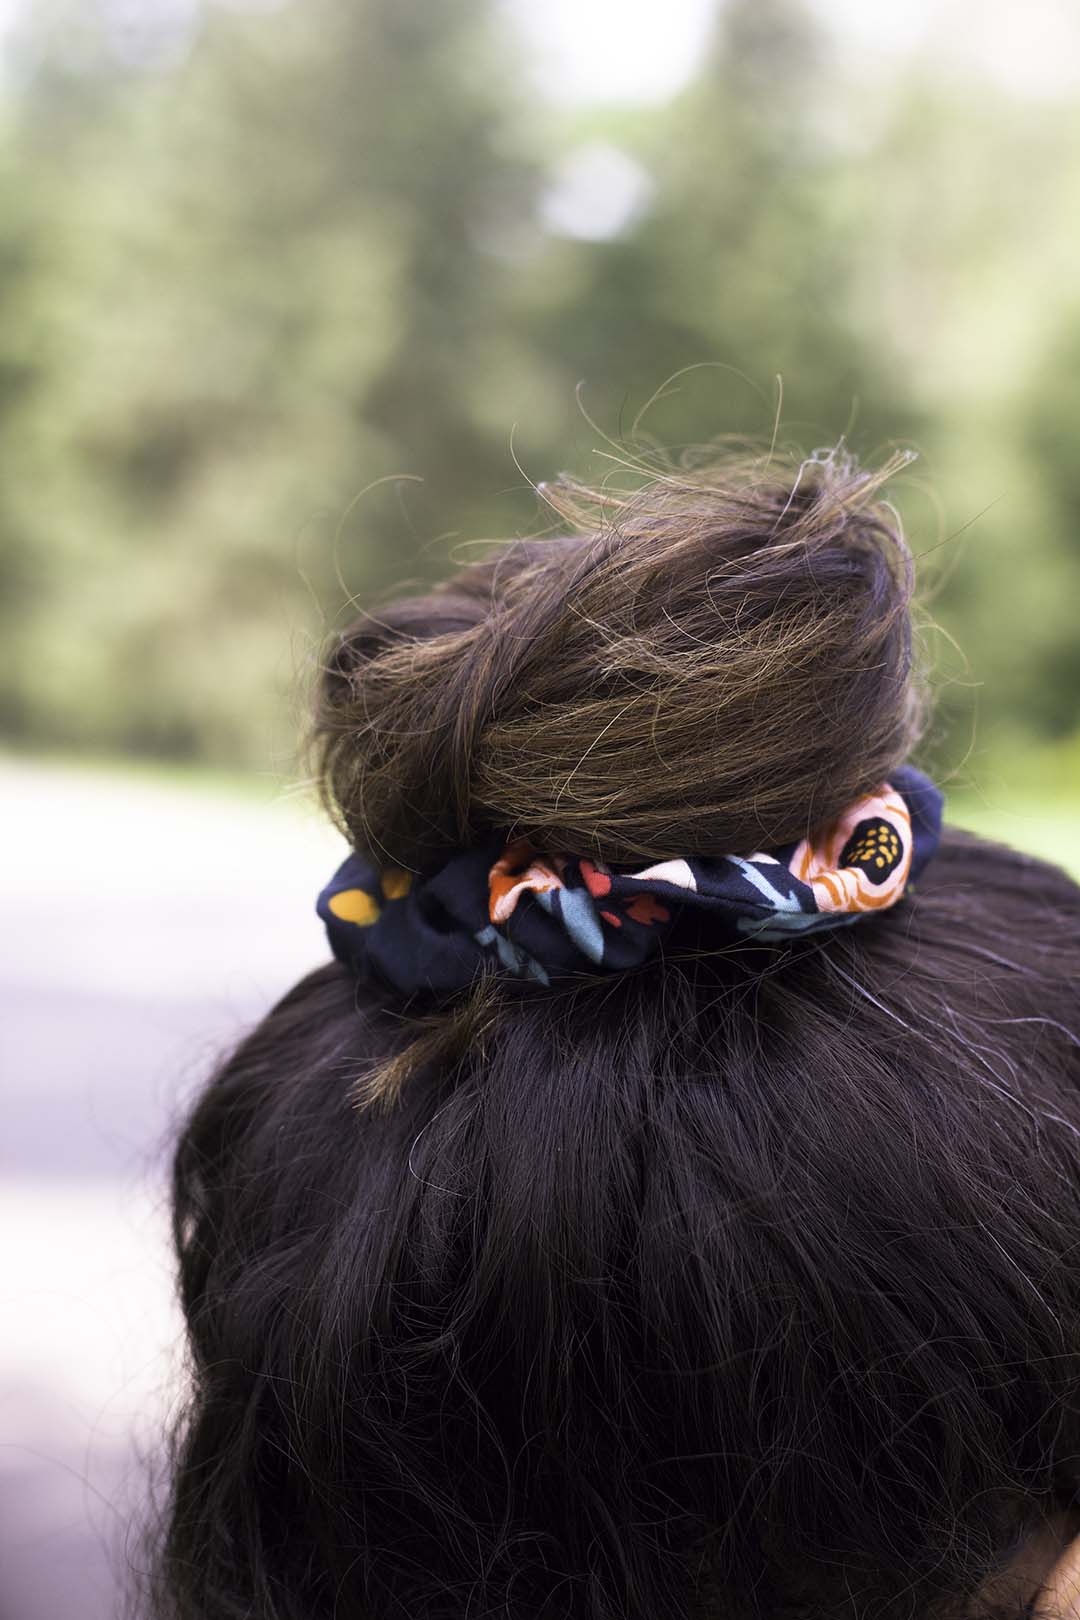
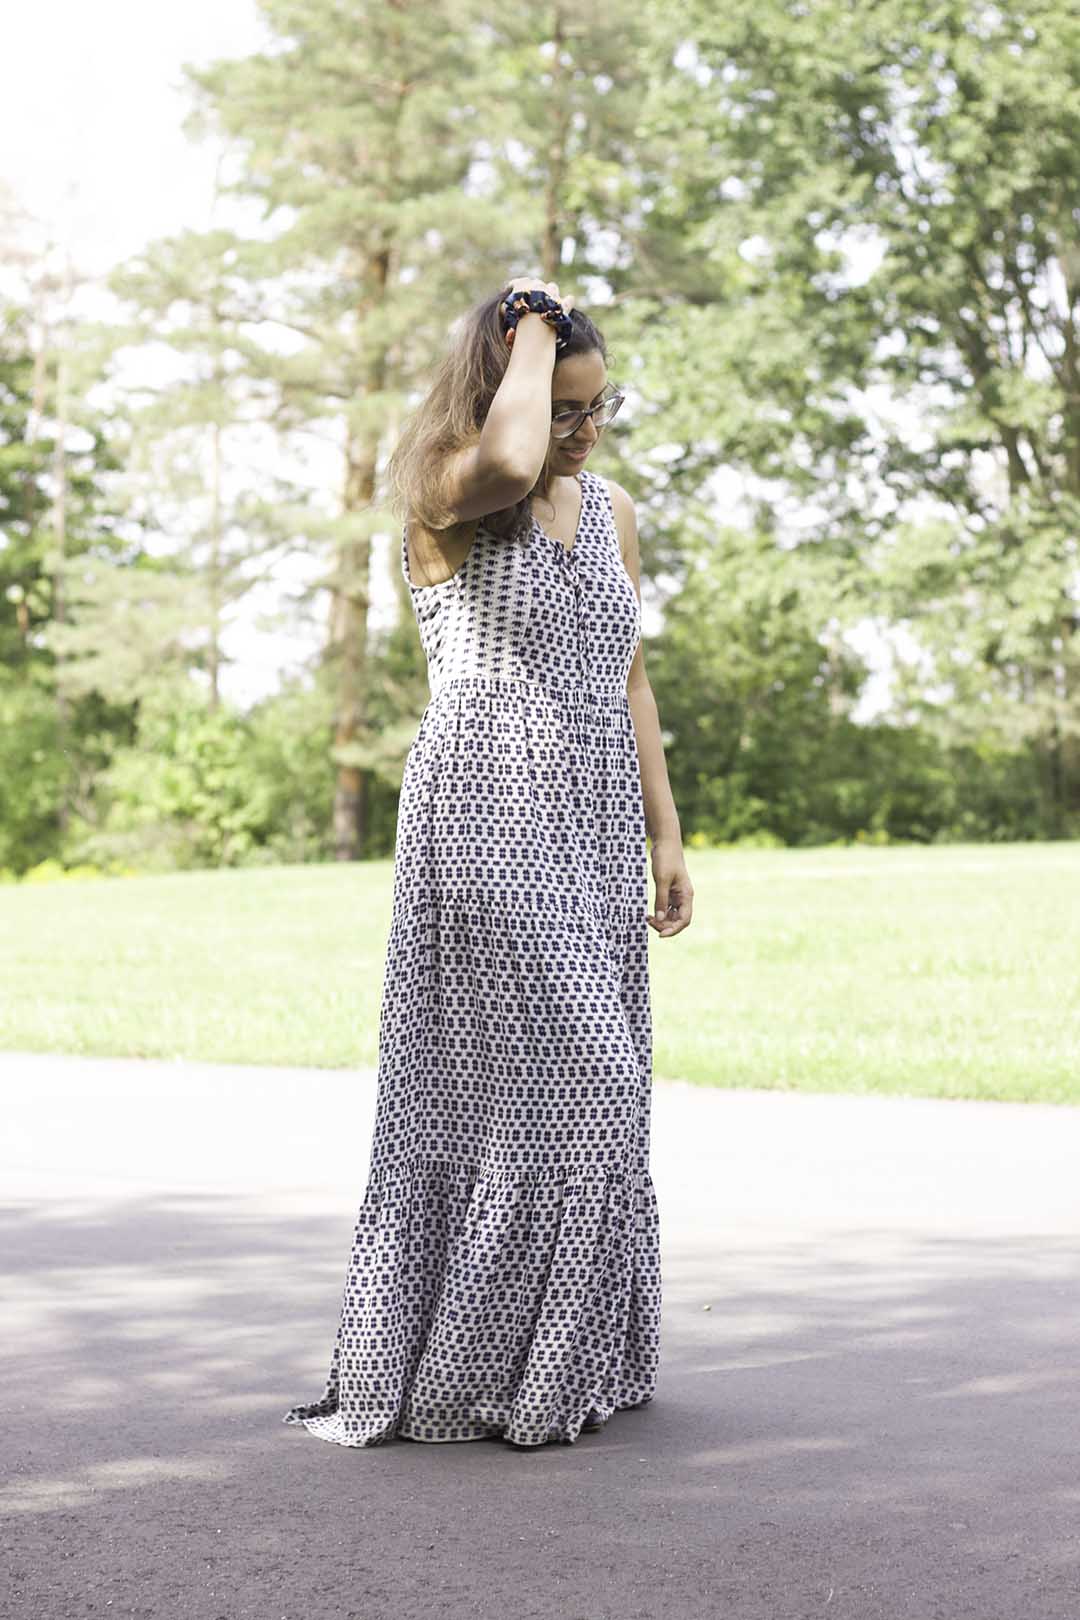
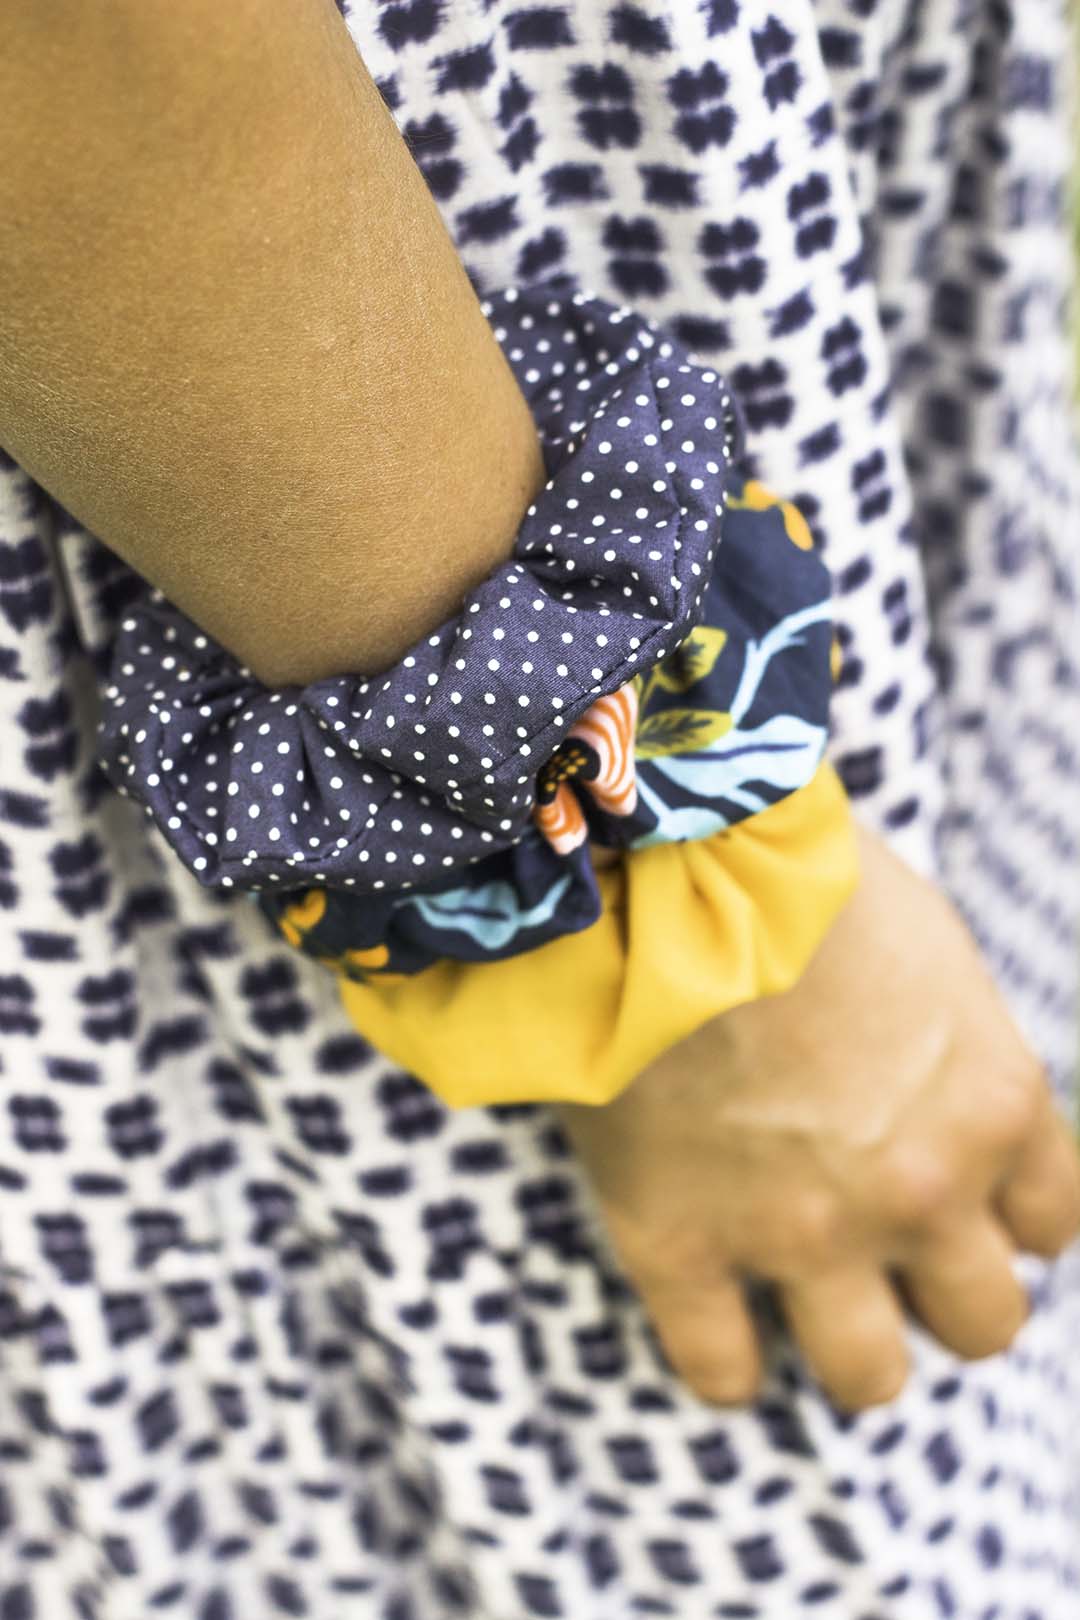
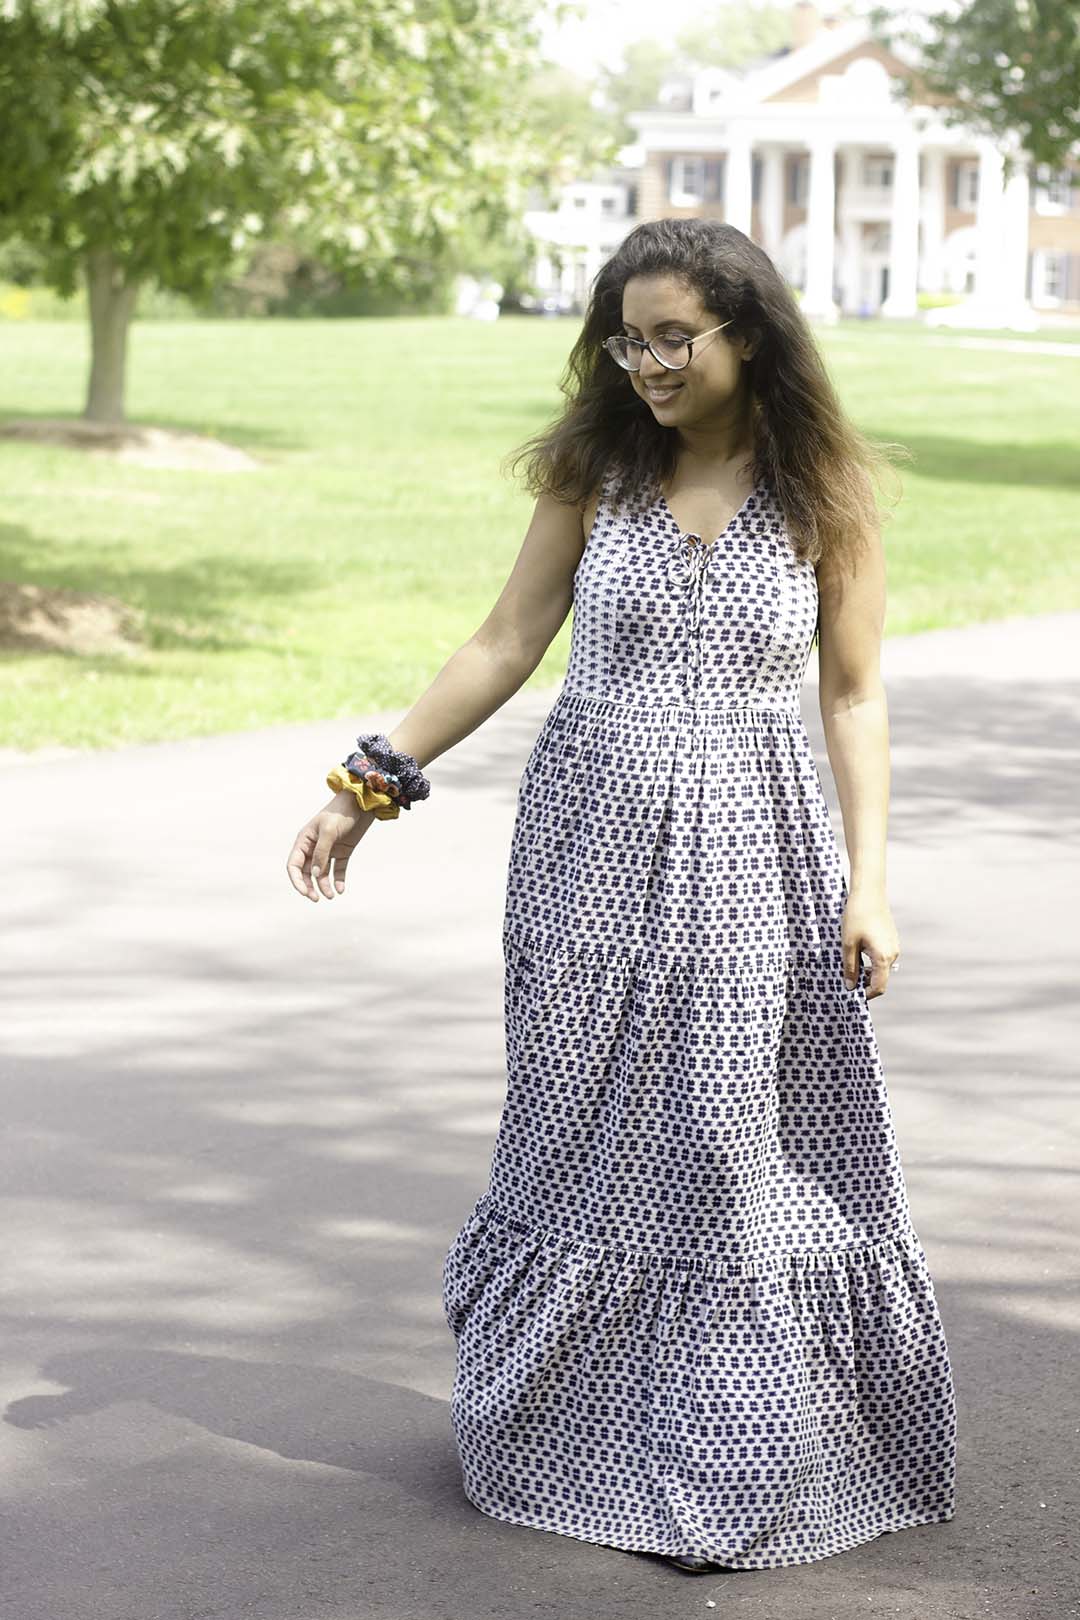
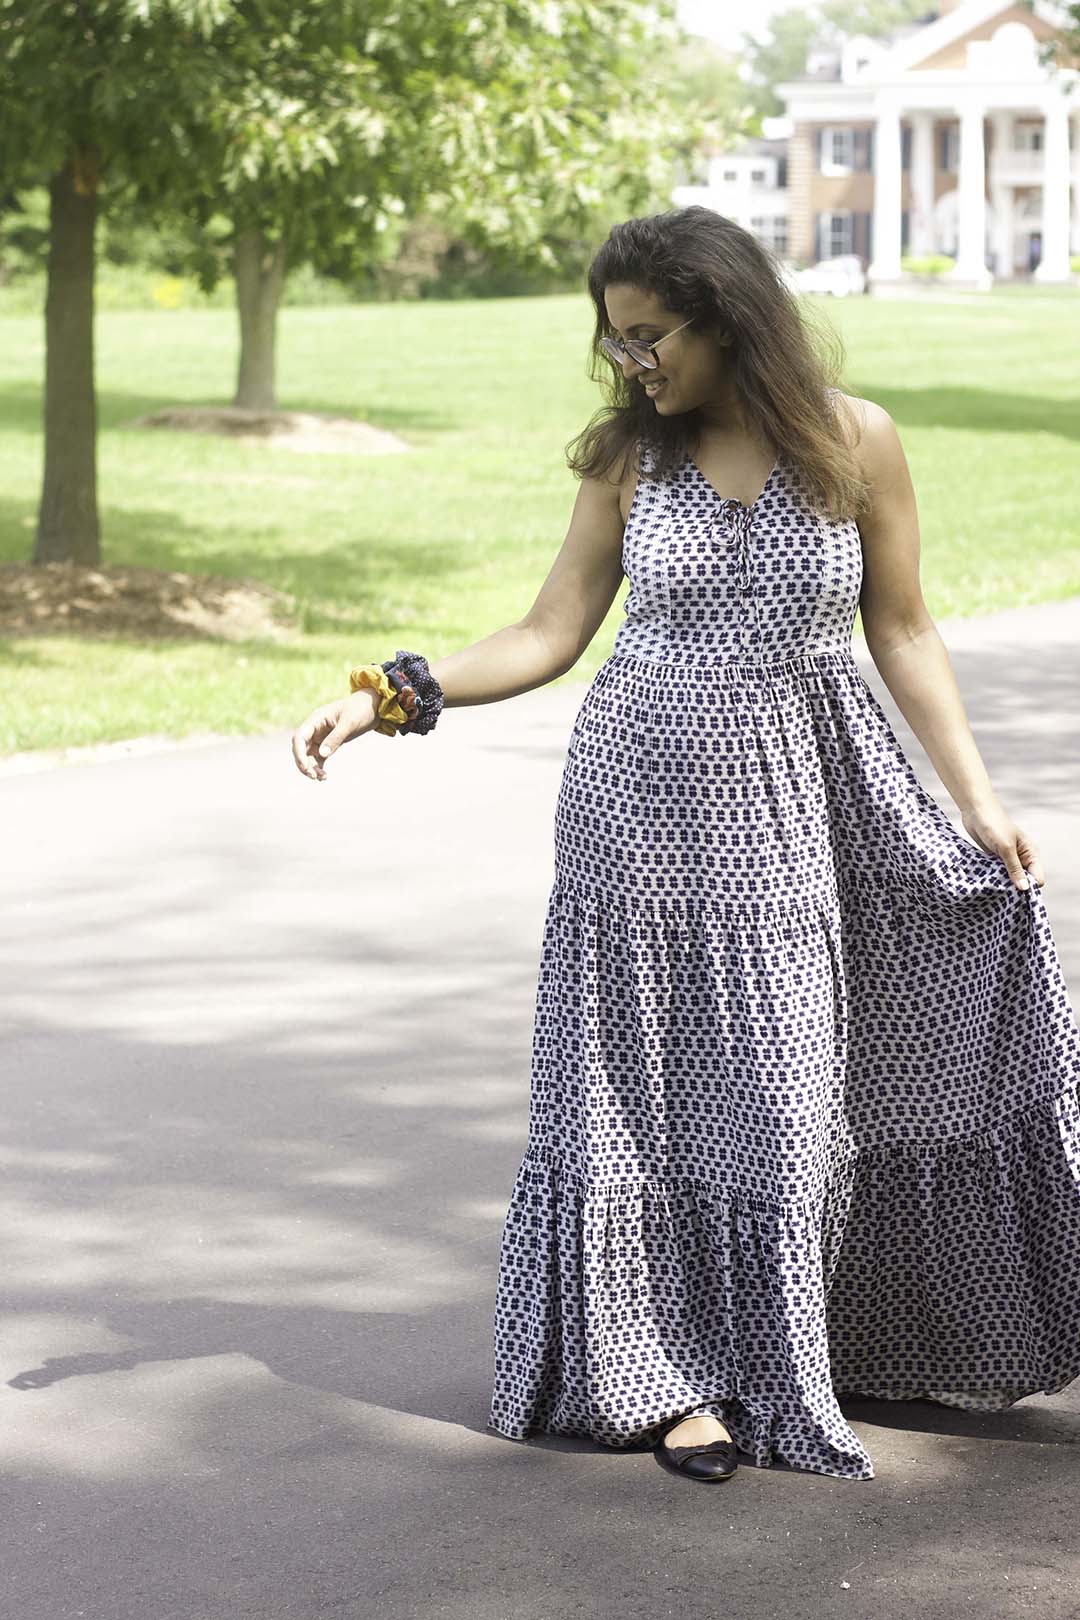
If have also posted a second version of this scrunchie which includes some cute bunny ears! The tutorial to create these bunny ears can by found on my “bunny ear scrunchie” tutorial.

Let’s get started on the scrunchie, shall we?
Follow along on Instagram @kukarudesigns.com. Tag me in your makes as I would love to see and share them over on Instagram!
WHAT You’ll NEED:
- Fabric
- 1/4″ Elastic
- 2 safety pins
- Scissors
- Thread
- Needle and thread/sewing machine
I used a sewing machine because I had one on hand but you can very easily use a needle and thread to make this as well!

Step 1: Cut a rectangular piece of fabric that measures 19″ by 4″. Fold it in half with the right sides facing towards each other. Pin and sew a straight stitch using a 1/4″ seam allowance along the unfinished edge of the fabric. Note: Leave about 1.5″ on either end un-stitched so you can join

Step 2: Pin and sew a straight stitch using a 1/4″ seam allowance along the unfinished edge of the fabric. Leave about 1.5″ on either end un-stitched so you can join the two sides together. Note: I clearly forgot to do this on one end of the fabric (as you can see in the picture below). So I had to rip out a few stitches to join the two ends later. Just keeping it real for you all!

Step 3: Flip the fabric inside out. As you can see I left a space at the end to join together.


Step 4:
To form the circle, place the two ends front sides facing together and pin. Sew a straight stitch using a 1/4″ seam allowance.

Step 5: Cut your elastic to the size of an elastic hair tie.

Step 6: Pass the elastic through the hole you left earlier.
Note: I usually use a safety pin to attach one end of the elastic to the fabric and then use another safety pin and attach it to the other end of the elastic. Then pass the elastic all the way around to the other side. Having a safety pin makes it easer to guide through the fabric.


Step 7: All that’s left is to join the elastic together using a zigzag stitch. This allows for the elastic band to stretch without the thread breaking. Then you can either top stitch the hole closed or hand sew the hole closed to create an invisible stitch.


Yes it really is that easy. Now go make more with the rest of your scrap fabrics! Scrunchies also make great gifts!
Follow along on Instagram @kukarudesigns.com or facebook at kukarudesigns. Tag me in your makes because I would love to see and share them over on Instagram.
IF YOU LIKE THIS POST, SMASH THE SUBSCRIBE BUTTON TO MY EMAIL NEWSLETTER FOR UPDATES ON NEW MAKES AND PATTERNS. SUBSCRIBING HELPS TO SUPPORT THE BLOG SO WE CAN CREATE MORE TUTORIALS LIKE THIS FOR YOU!
PLEASE PIN THE IMAGE BELOW FOR YOUR PINTEREST BOARDS
