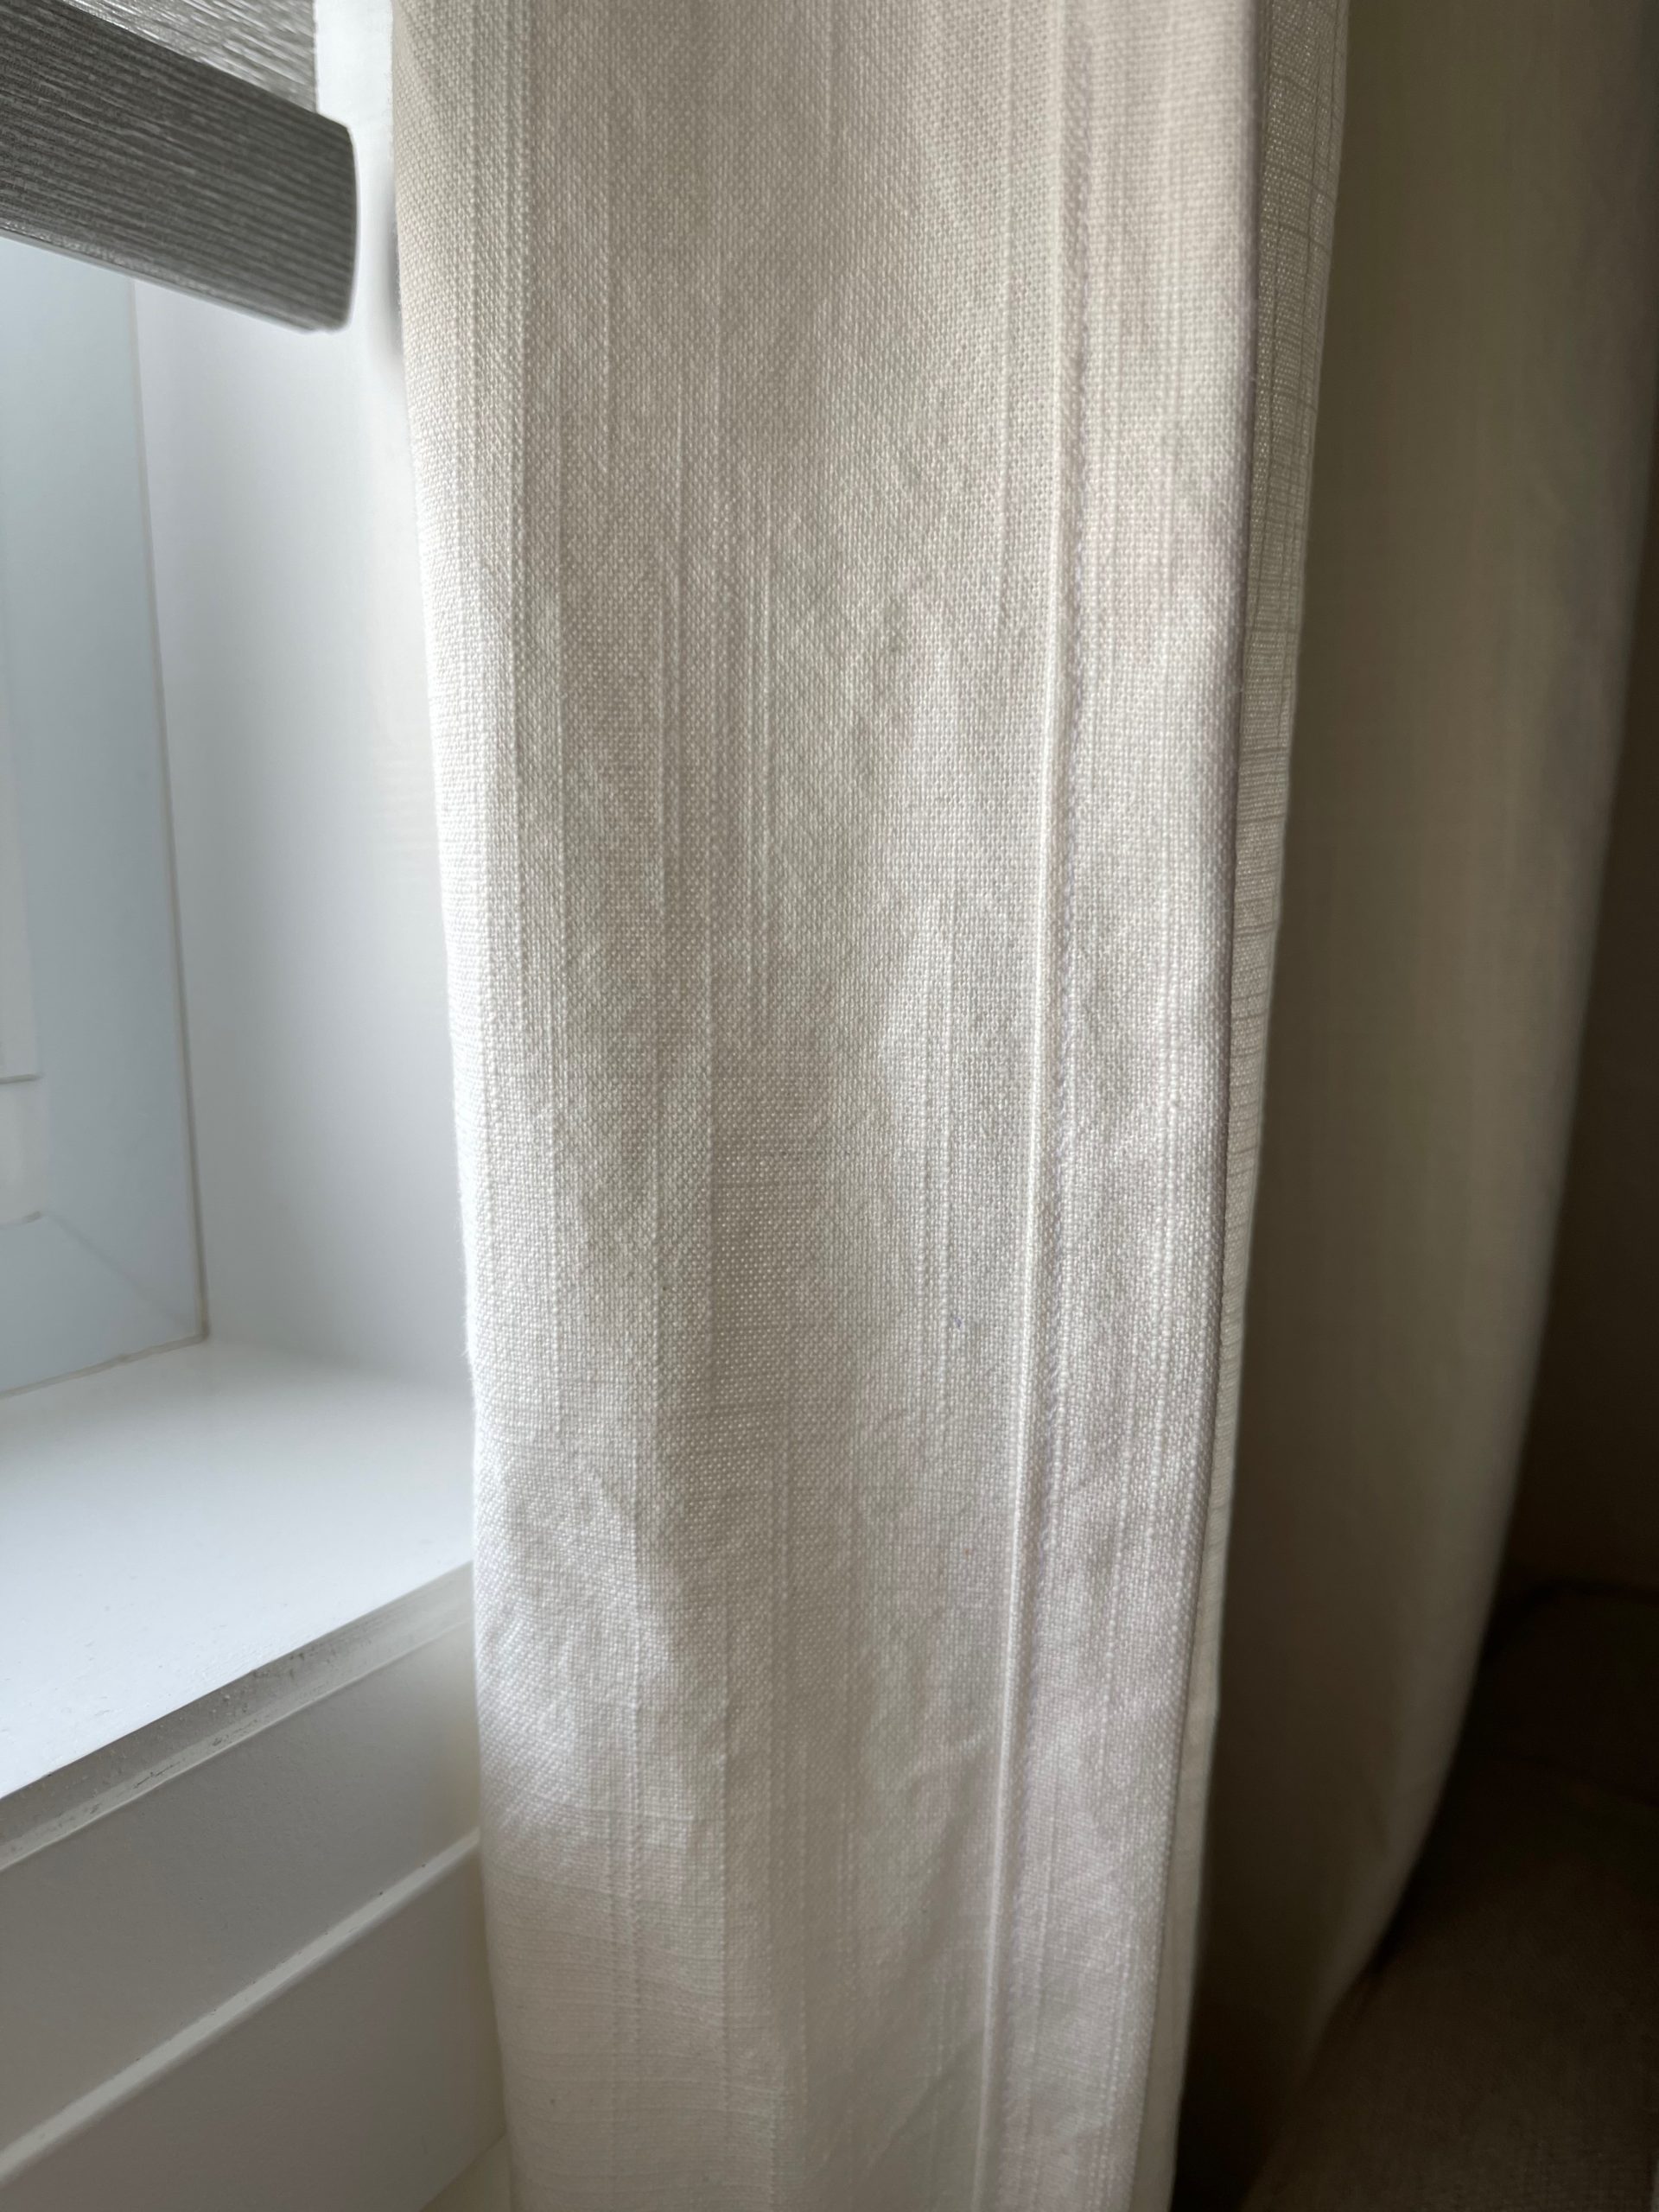
Custom Curtain Sewing Tutorial
Let’s talk about the mild anxiety I had when realizing new home ownership was expensive! From adding storage units everywhere in the house, furnising additional spaces and ….
…the cost of window treatment.
Window treatments have SUCH a large range in prices. You want something that will last but also something stylish that can elevate the space while simultaneously giving you hygge (i.e. cozy) vibes.


Quality drapes and blinds were a sticker shock for me even though I KNEW somewhat what to expect. When we moved in we purchased light filtering blinds knowing that sometime down the line I would sew curtains to bring in the cozy home feels.
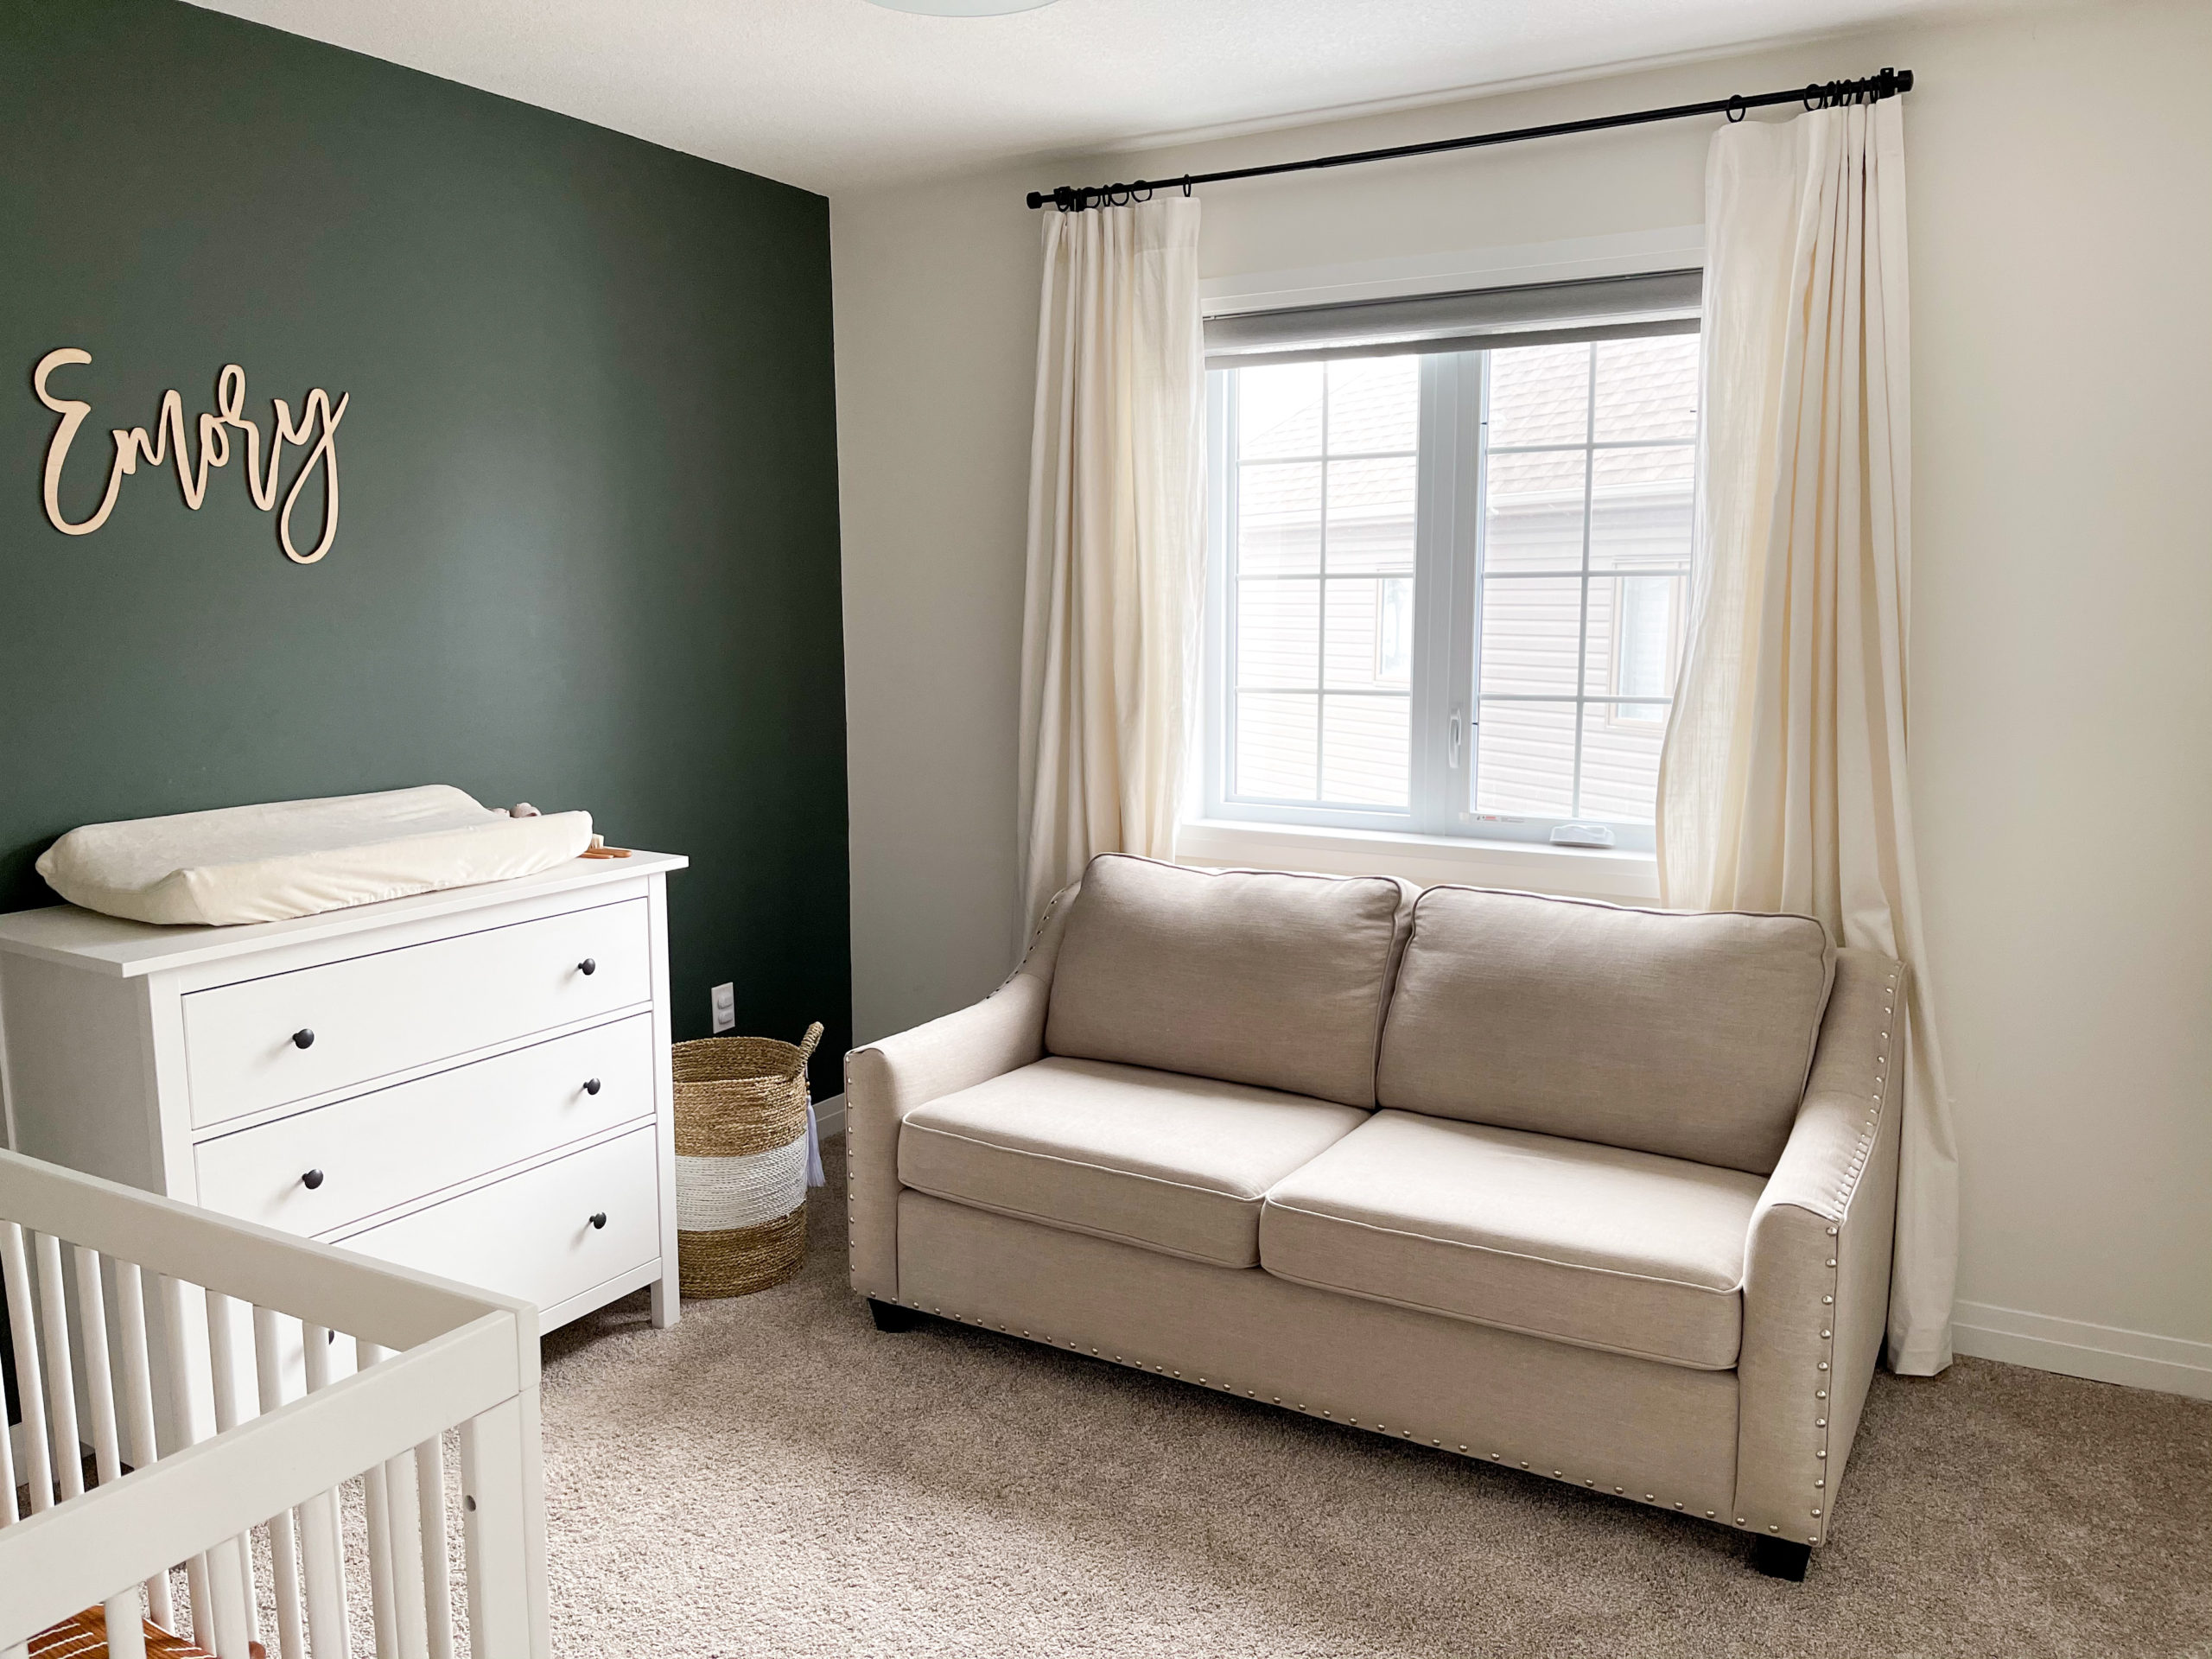
As I am reworking the nursery, I wanted to share how I created some custom drapes for the bedroom. Pleats create such a beautiful drape, so I opted to make this style.

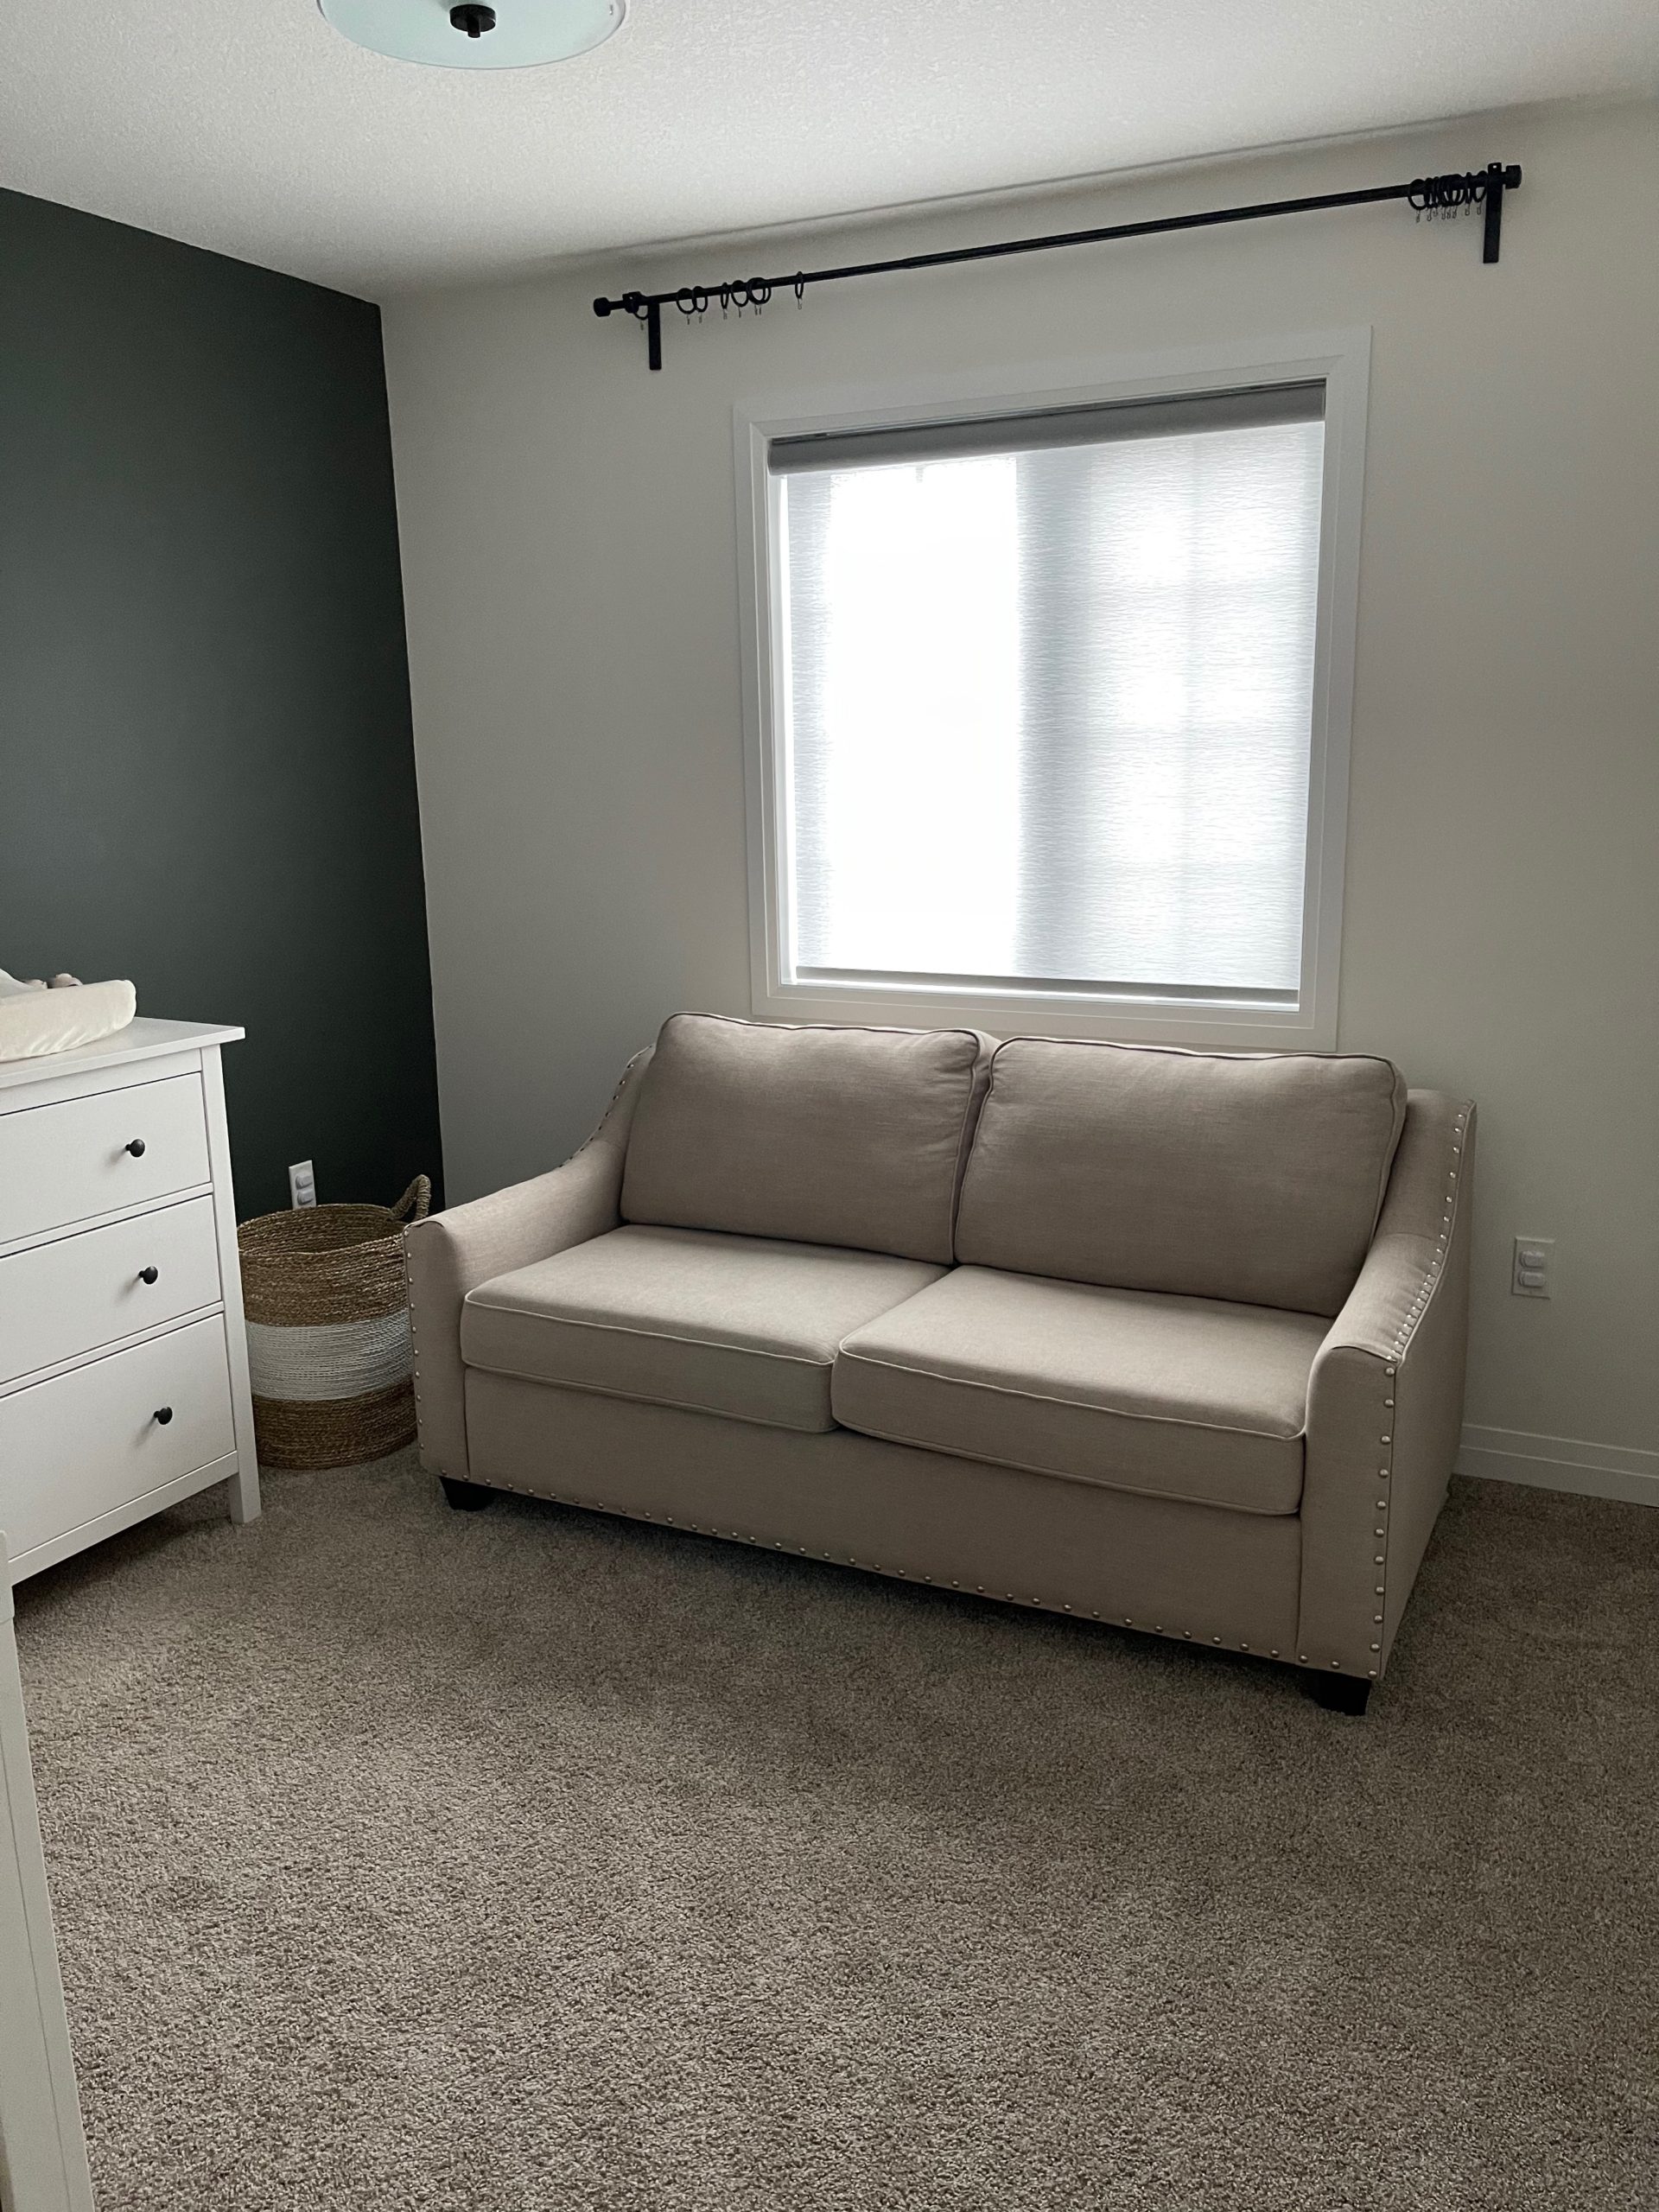
This was the before
Drapery Fabric
Let’s first talk about drapery fabric and how expensive it can be. For this room, I wanted to use a different print but the cost of the curtains would double the price. I just COULD NOT justify it even though I had to change my vision for the room. I went to our local Lens Mill store and bought some high quality beautiful cotton/linen blend fabric.
Installing the Curtain Rod
You guys! This was the first time I hung up the curtain rod all by myself. Yes it may be only a curtain rod but I am so dang proud of myself. I placed the rod about 3.5″ from the top of the ceiling. The brackets were installed 8″ from each side of the window.
The key tip here is to use tape! Painters tape or masking tape will help you install it all on your own and ensure that it is level.
It was pretty simple but honestly what terrified me was that I would mess up on the drywall screws. I used a drill to make some pilot holes and used drywall screws to install the brackets. I now have this new found confidence for using power tools ha!
Okay onto making this curtain!
WHAT YOU’ll NEED:
- 6 yards of drapery fabric (I bought mine for $10/yard)
- The width was 57″. This would work well for a standard size window and ensure that there still some fullness when the curtains are closed.
- Matching thread
- Sewing machine
- Scissors
- Iron
- Measuring tape
- Pleating tape (heavy weight similar to the one linked) ($25)
- Curtain hooks ($20)
- Curtain rod set from Ikea ($10)
- Ring clips from Ikea (ring clip2 sets $5/each)
- Pins
Total cost for materials: $125
Keep in mind I have plenty of pleating tape and curtain hooks to sew a couple more curtains!
Step 1: Wash and dry your fabric to avoid shrinkage later on.
Step 2: Cut the fabric in half. You should have three yards of fabric per curtain.
Step 3: Press and Sew the Side Seams
Fold the raw edge in 3/4″ and press using an iron all the way along the side.Use your measuring tape as you go along to ensure it is straight. Then fold over again 3/4″ and press. Repeat for other side.
Sew down the length of the panel using a 1/4″ seam allowance.

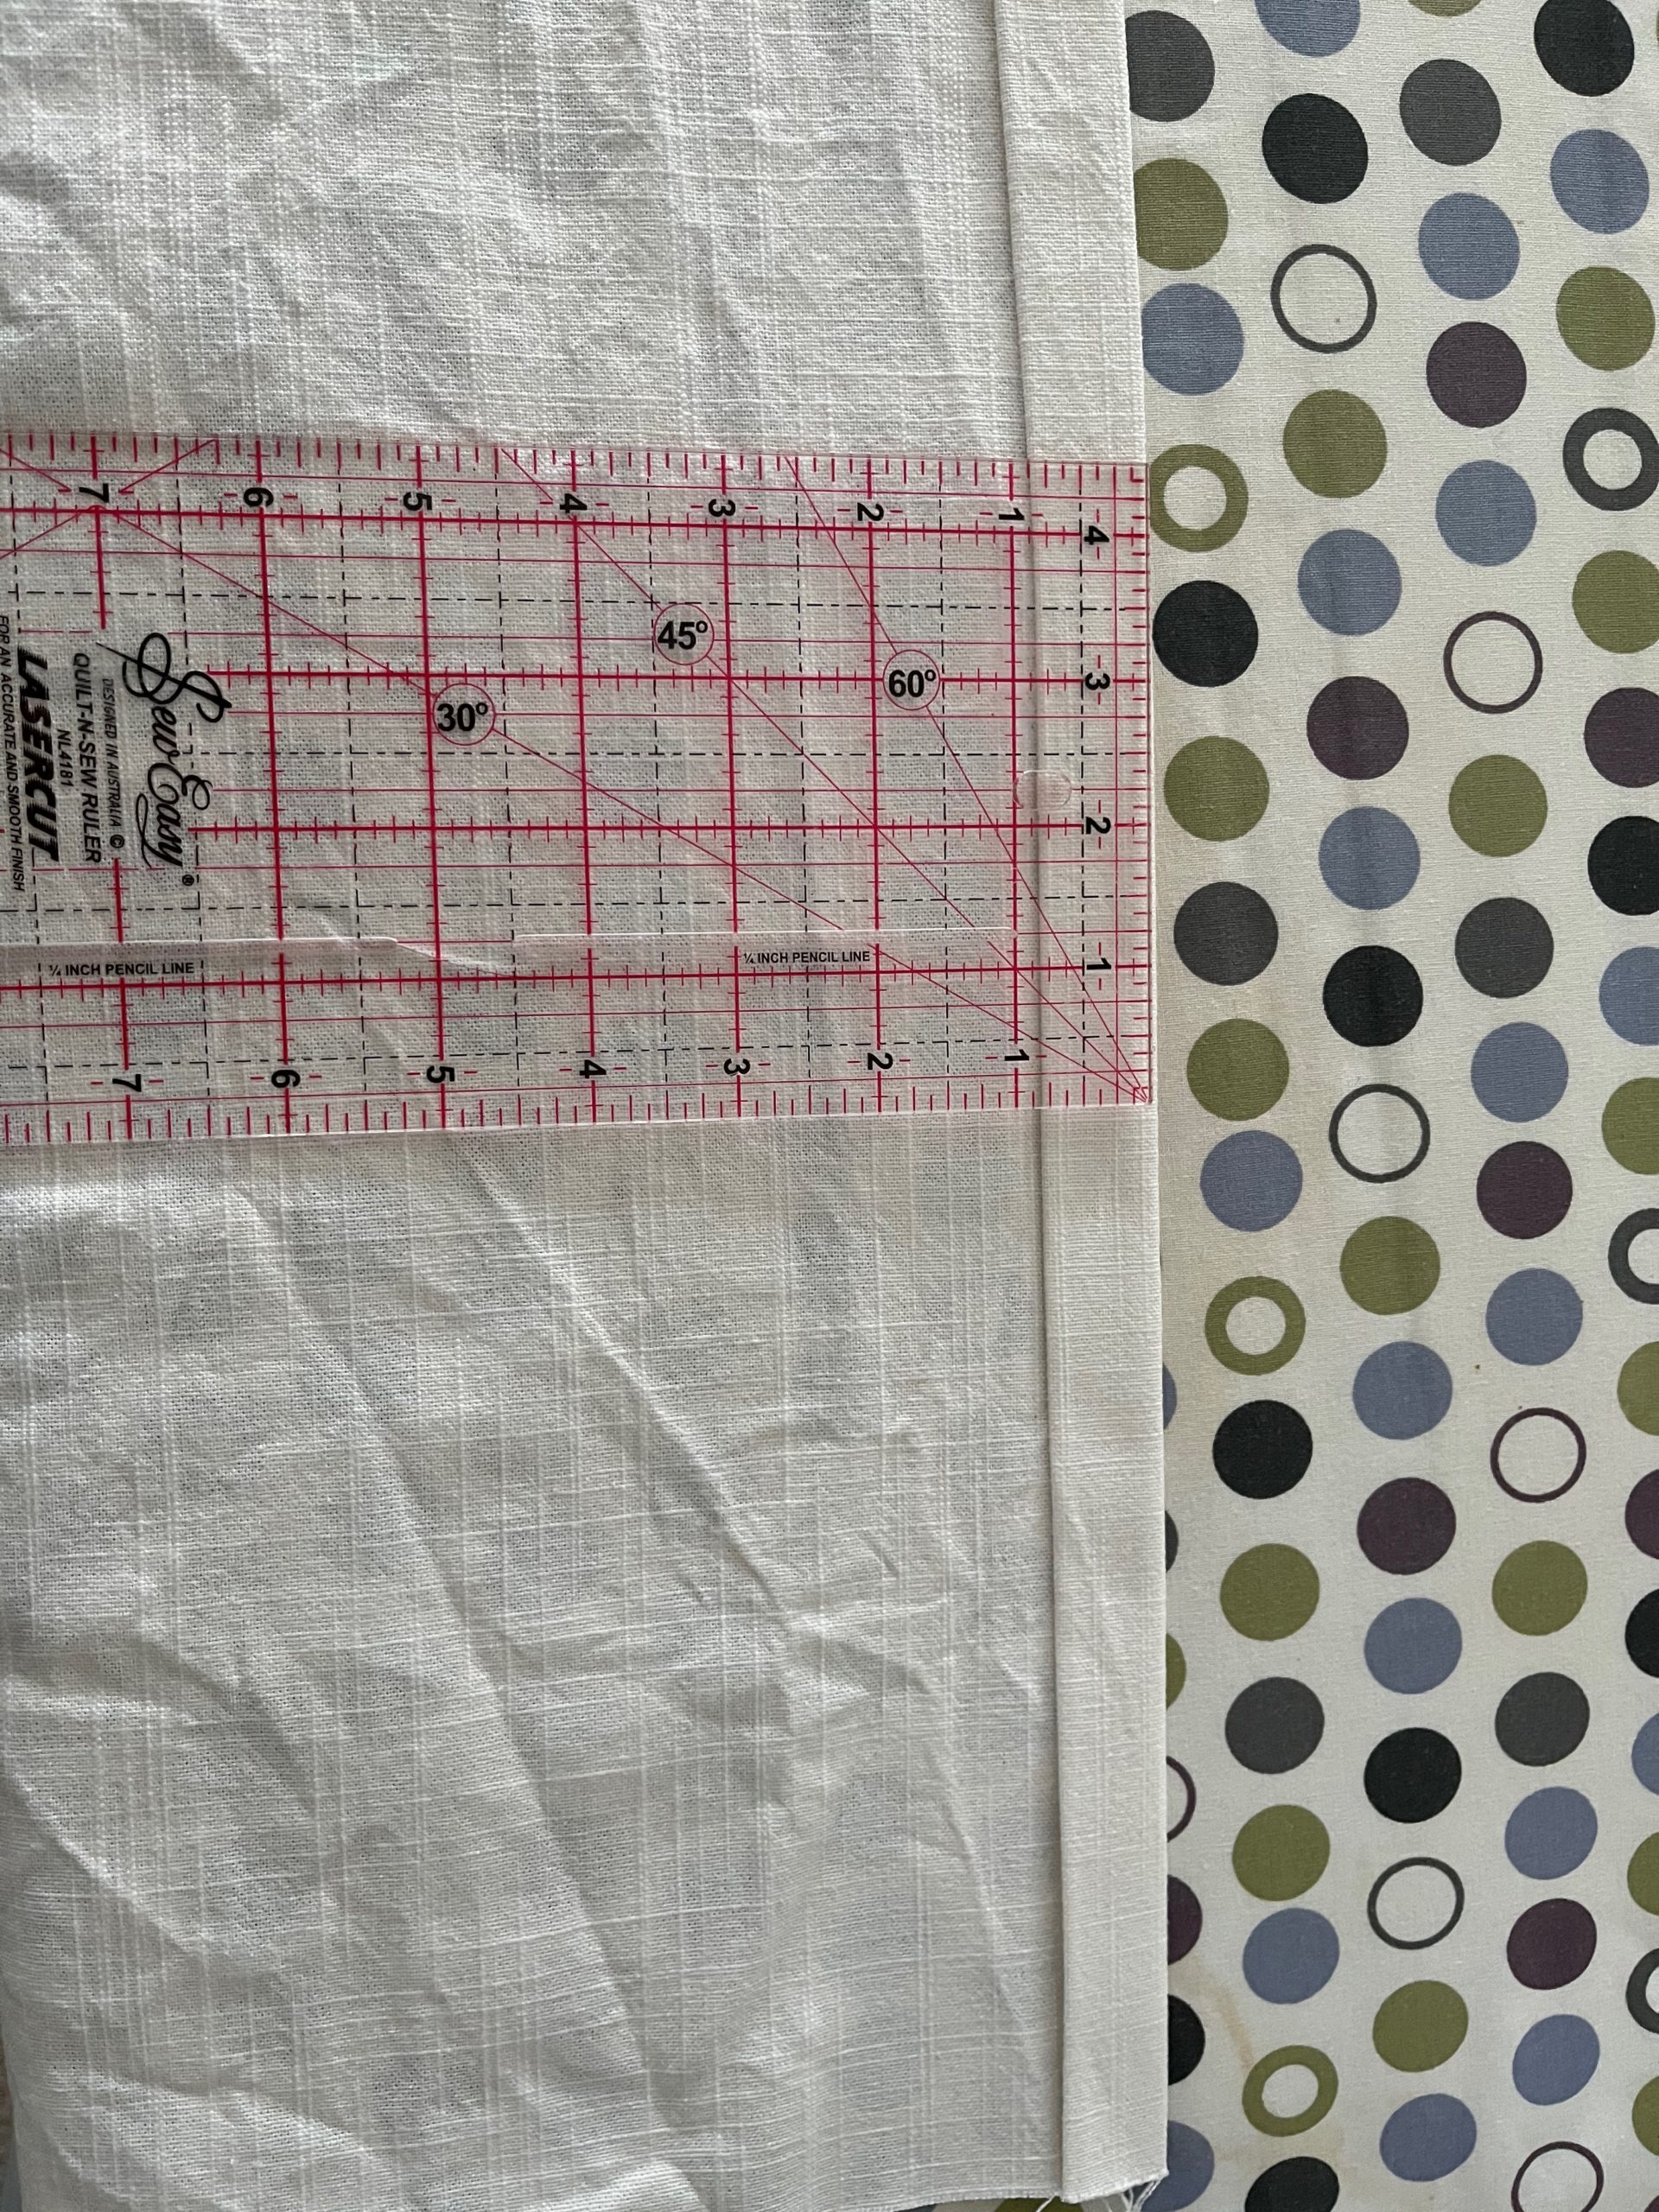
Step 4: Press and Sew the Top Hem
Fold the raw edge in 4″ and press using an iron. Then fold over again 4″ and press.
Pin to secure the fold and sew along the bottom fold using a 1/4″ seam allowance.


Step 5: Add the Pleating Tape
Measure the top edge of the curtain panel. Cut the pleating tape to this length + an additional 1.5″. This will allow for an additional 3/4″ on each side of the tape to be folded under when you sew the pleating tape to the curtain.
Center the pleating tape in the middle of the top hem. Fold the edges under by 3/4″ and pin all the way along to avoid the tape from moving. Then sew along the top and bottom edge of the pleating tape. I used the red lines on my tape as a guide.
Sew the sides of the top hem using a 1/4″ seam allowance.


Step 6: Add the Hooks
Place the hooks evenly along the pleating tape. I used 8 hooks for my curtains.
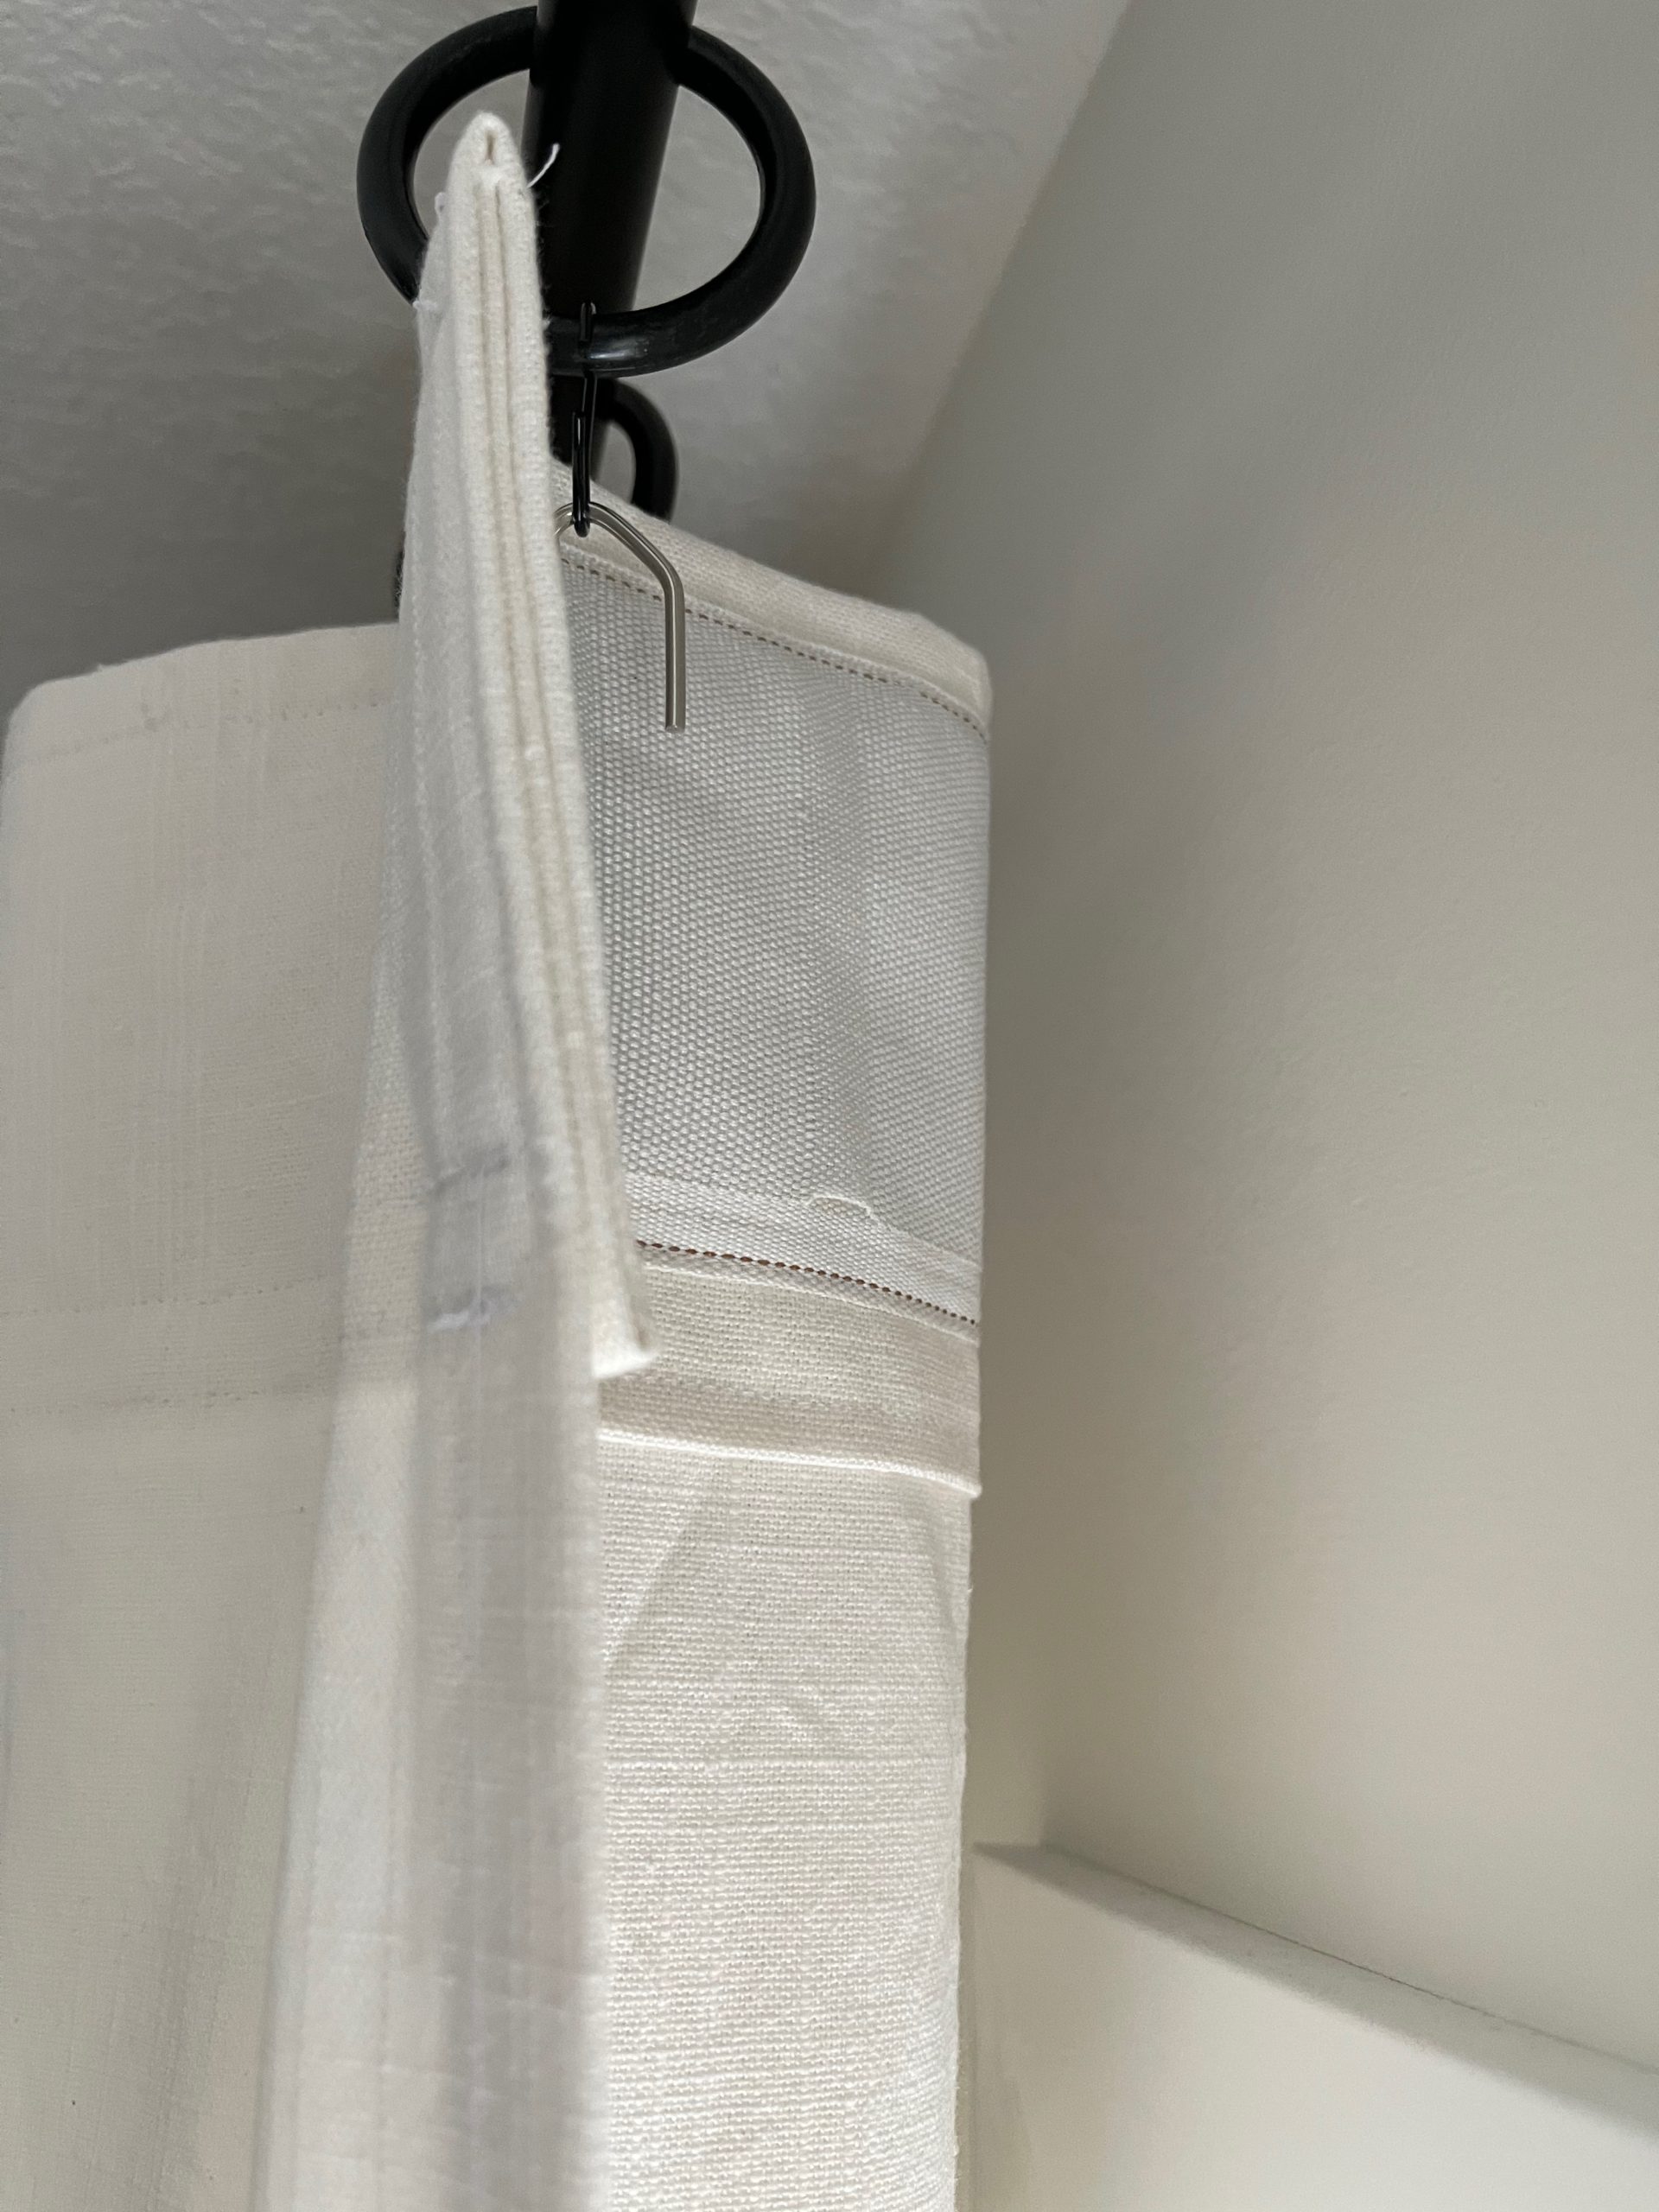
Step 7: Determine Length of Curtain
Hang the curtains and determine the length you require. The curtains should touch the very bottom of floor for optimal length. Place a pin horizontally at the location of your desired length.
Remove the curtain and fold evenly along this edge. Place horizontal pins throughout. I would HIGHLY recommend using a long measuring tape to ensure the length is even from the top hem to the bottom hem as you do this.
I did not do this initially thinking I would save time. Let’s just say, it was very uneven and I had to rip it all out.
You can use your first panel as a guide to do the same for the second panel.
Step 8: Press and Sew Bottom Hem
I opted to use a 4″ bottom hem for a more custom look. Alter the following instructions as needed if you require a smaller hem.
Measure 8 inches from where you put the pins and cut off any additional fabric. Fold the raw edge over 4″ and press. Fold over again 4″ and press. This step is the exact same as sewing the top hem.
Remove the horizontal pins. Then pin to secure the folded fabric to the curtain panel. Sew along the folded edge of the bottom hem using a 1/4″ seam allowance. Then sew the side seams.
There you have it! I hope this tutorial was helpful and gave you some inspiration to sew your custom drapes.
Final Thoughts
I love the custom look of these curtains. The best part is you can customize it to whatever colour and length you prefer!
Although I wanted something a bit more playful in this room, it was not worth the investment. My plan is to add some of those fun moments using decorative pillows and accessories. Stay tuned!
Follow along on Instagram @kukarudesigns.com or facebook at kukarudesigns. Tag me in your makes because I would love to see and share them over on Instagram.
Other fun tutorials:
