KukaruDesigns

  • Home
  • Blog
  • Knitting
  • Sewing
    • Tutorials
    • Patterns
    • Children
    • Bags
  • About Me
  • Contact
  • Shop Patterns
    • Facebook
    • Instagram
    • Pinterest

How to Sew a Double Bow Tie

January 10, 2019

The Double Bow Tie – Toddler Edition

Welcome to the first blog post of 2019! I cannot wait to make more DIYs and tutorials for you and I have some extra special new ideas to throw into the mix as well. Let’s get into it shall we?

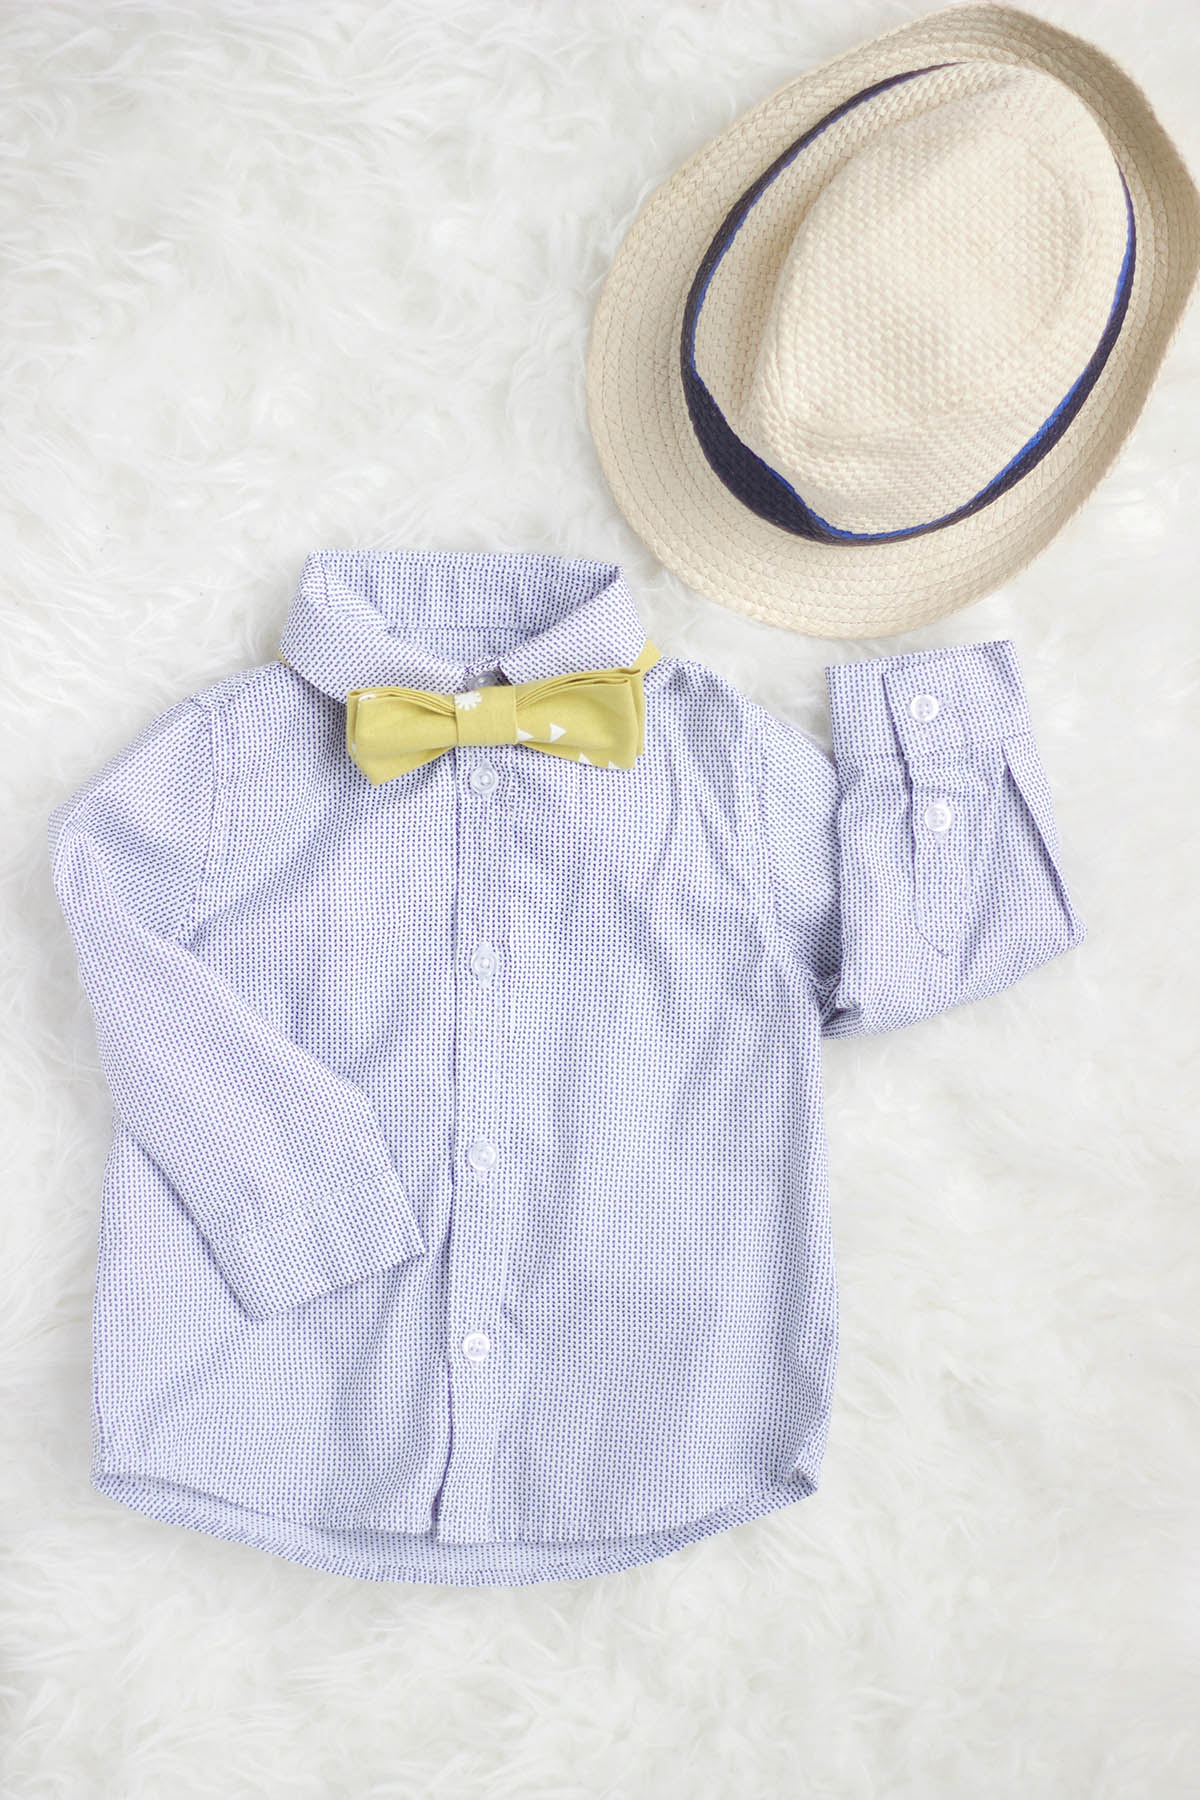
For the boy moms out there, are you ever frustrated with the endless amount of cute girl clothing there are in stores? Not to mention the amount of choice for accessories for little girls!  There is such a lack of choice and funky accessories for boys. Well, I have the perfect solution for exactly that! DIY your own bow ties for your little fella (and of course any girl can rock this look!) using a fun funky fabric.

I have forever been a huge fan of bow ties for Theo, especially for events that I need to dress him up like weddings and birthdays. It just makes the outfit pop and he truly enjoys wearing them. So, I have a step-by-step tutorial showing you EXACTLY how to make these bow ties. Last year, I posted a DIY bow tutorial. I changed it up this time by making a double bow tie for some extra pizzazz.

Let’s get into it!

WHAT YOU’LL NEED:
  • Fat quarter of fabric
  • Sewing Machine
  • Matching Thread
  • Sewing needle
  • Scissors
  • Measuring tape or ruler
  • Safety pin
  • Iron
  • Adjustable bow tie clips OR velcro

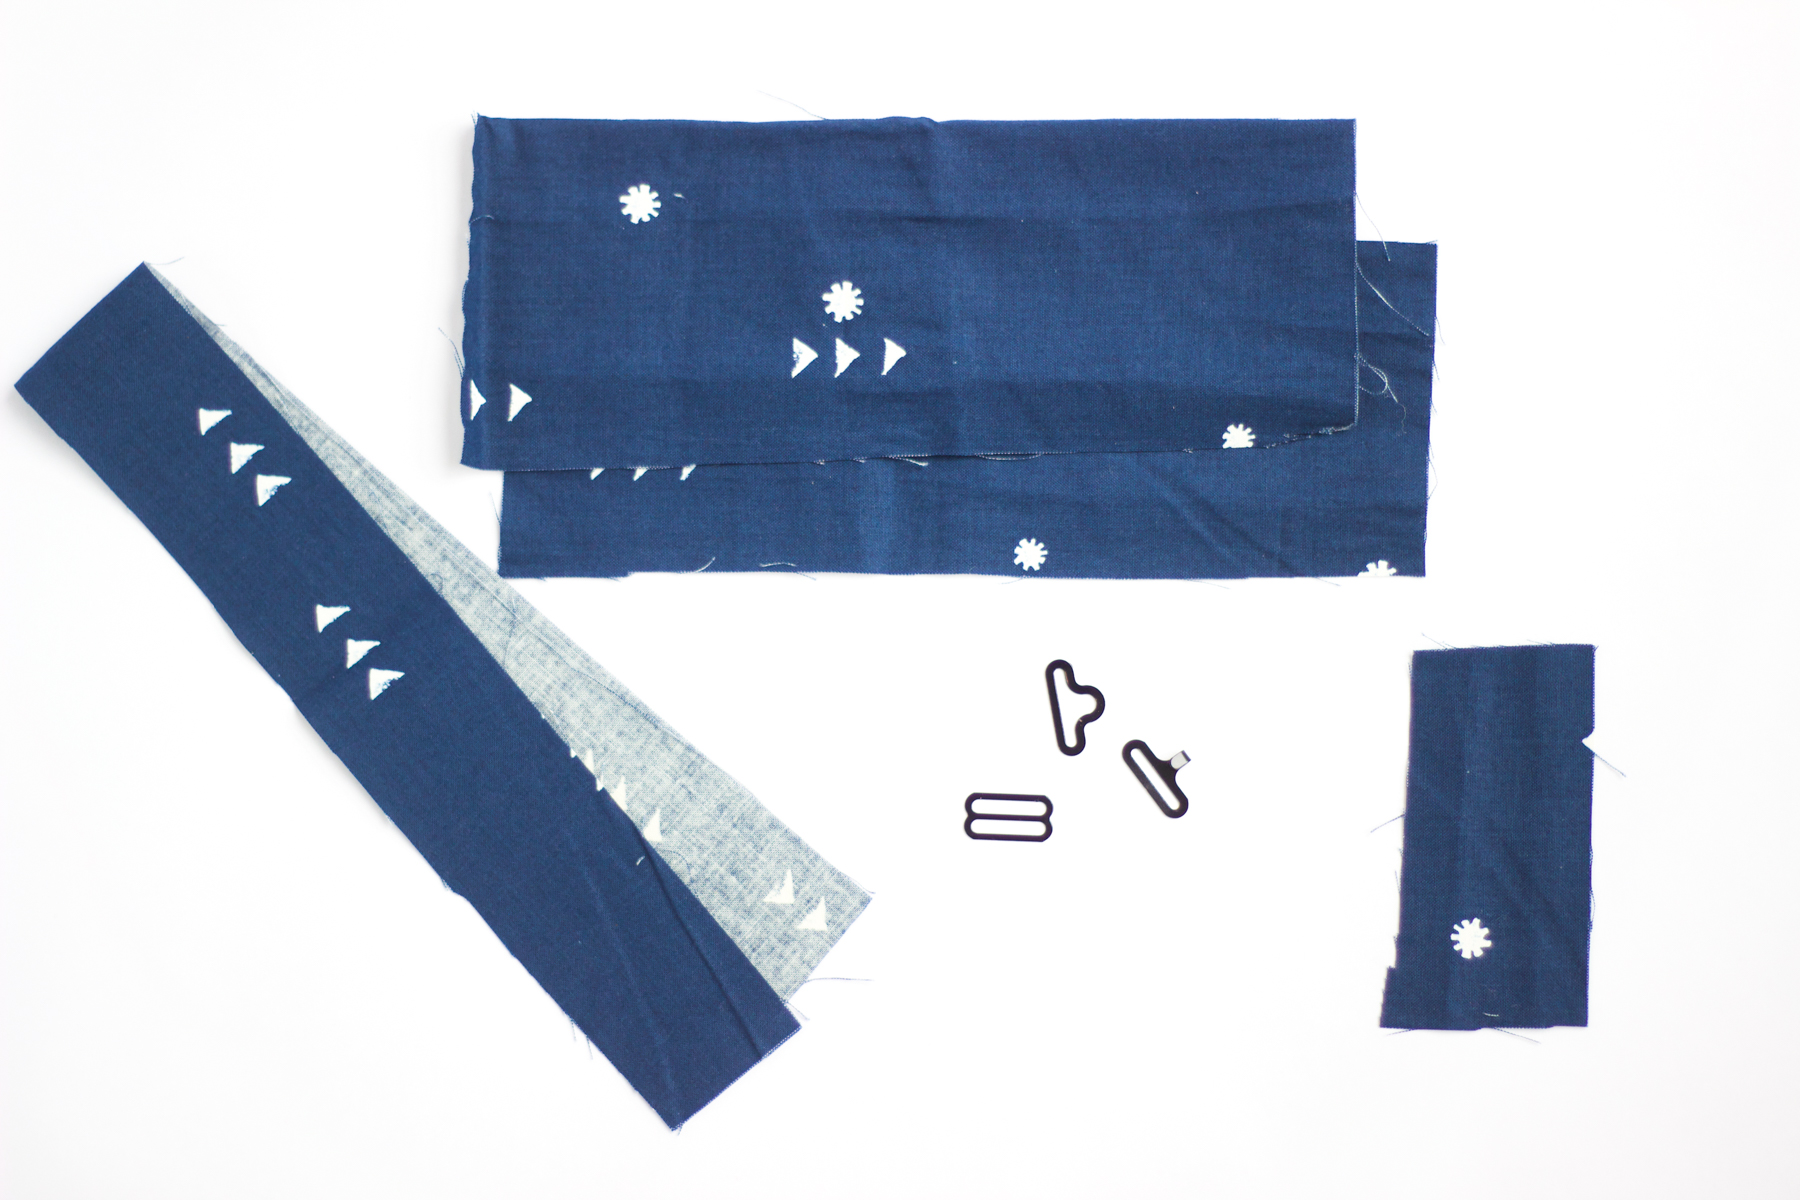
Step 1: Cut the fabric into the following sizes:

  • 3.5″x 9″ (2 pieces)
  • 2.5″ x 20″ (1 piece)
  • 3.5″ x 2″  (1 piece)

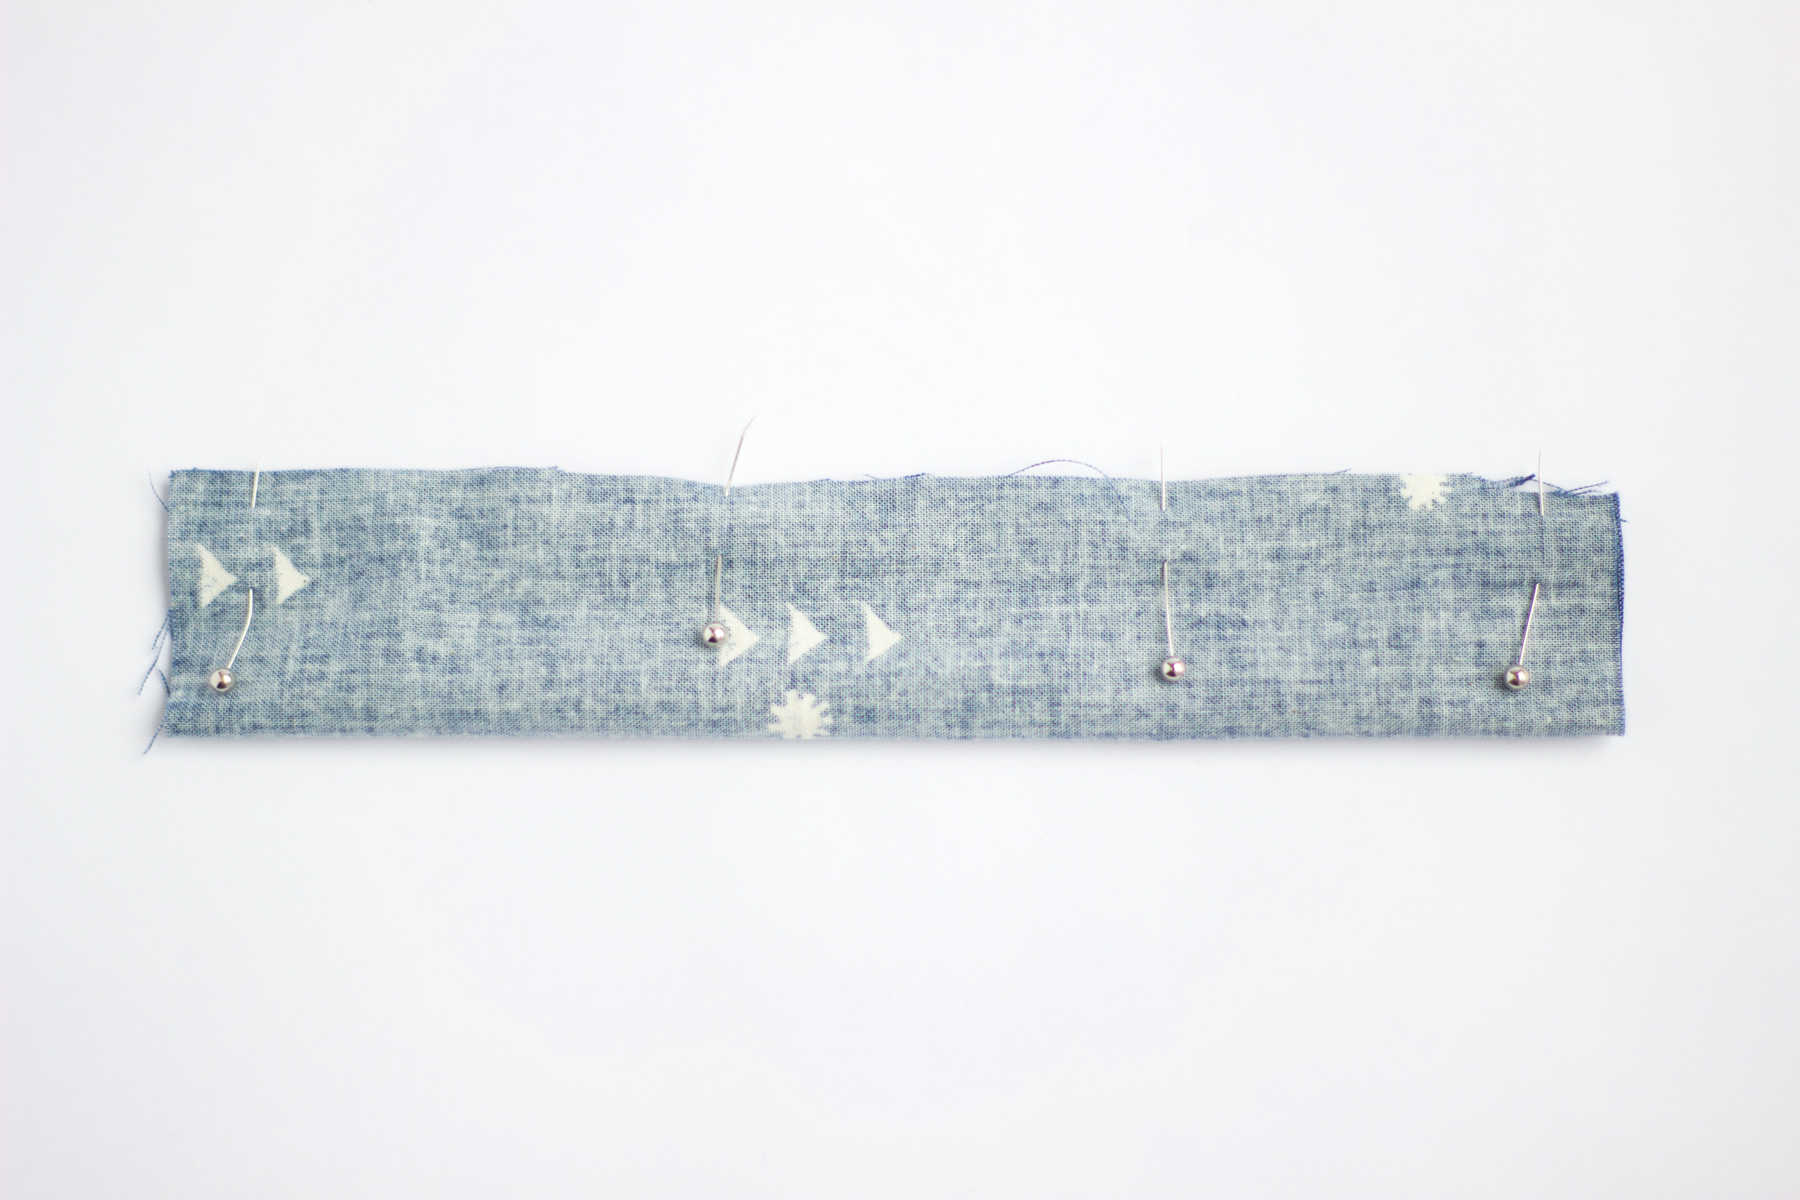
Step 2: Fold each piece in half so that the front sides are facing each other. Pin, and sew a 1/4″ seam along the edge. Then turn the tube of fabric inside out. The longer pieces may require attaching a safety pin to one side and pulling it through.

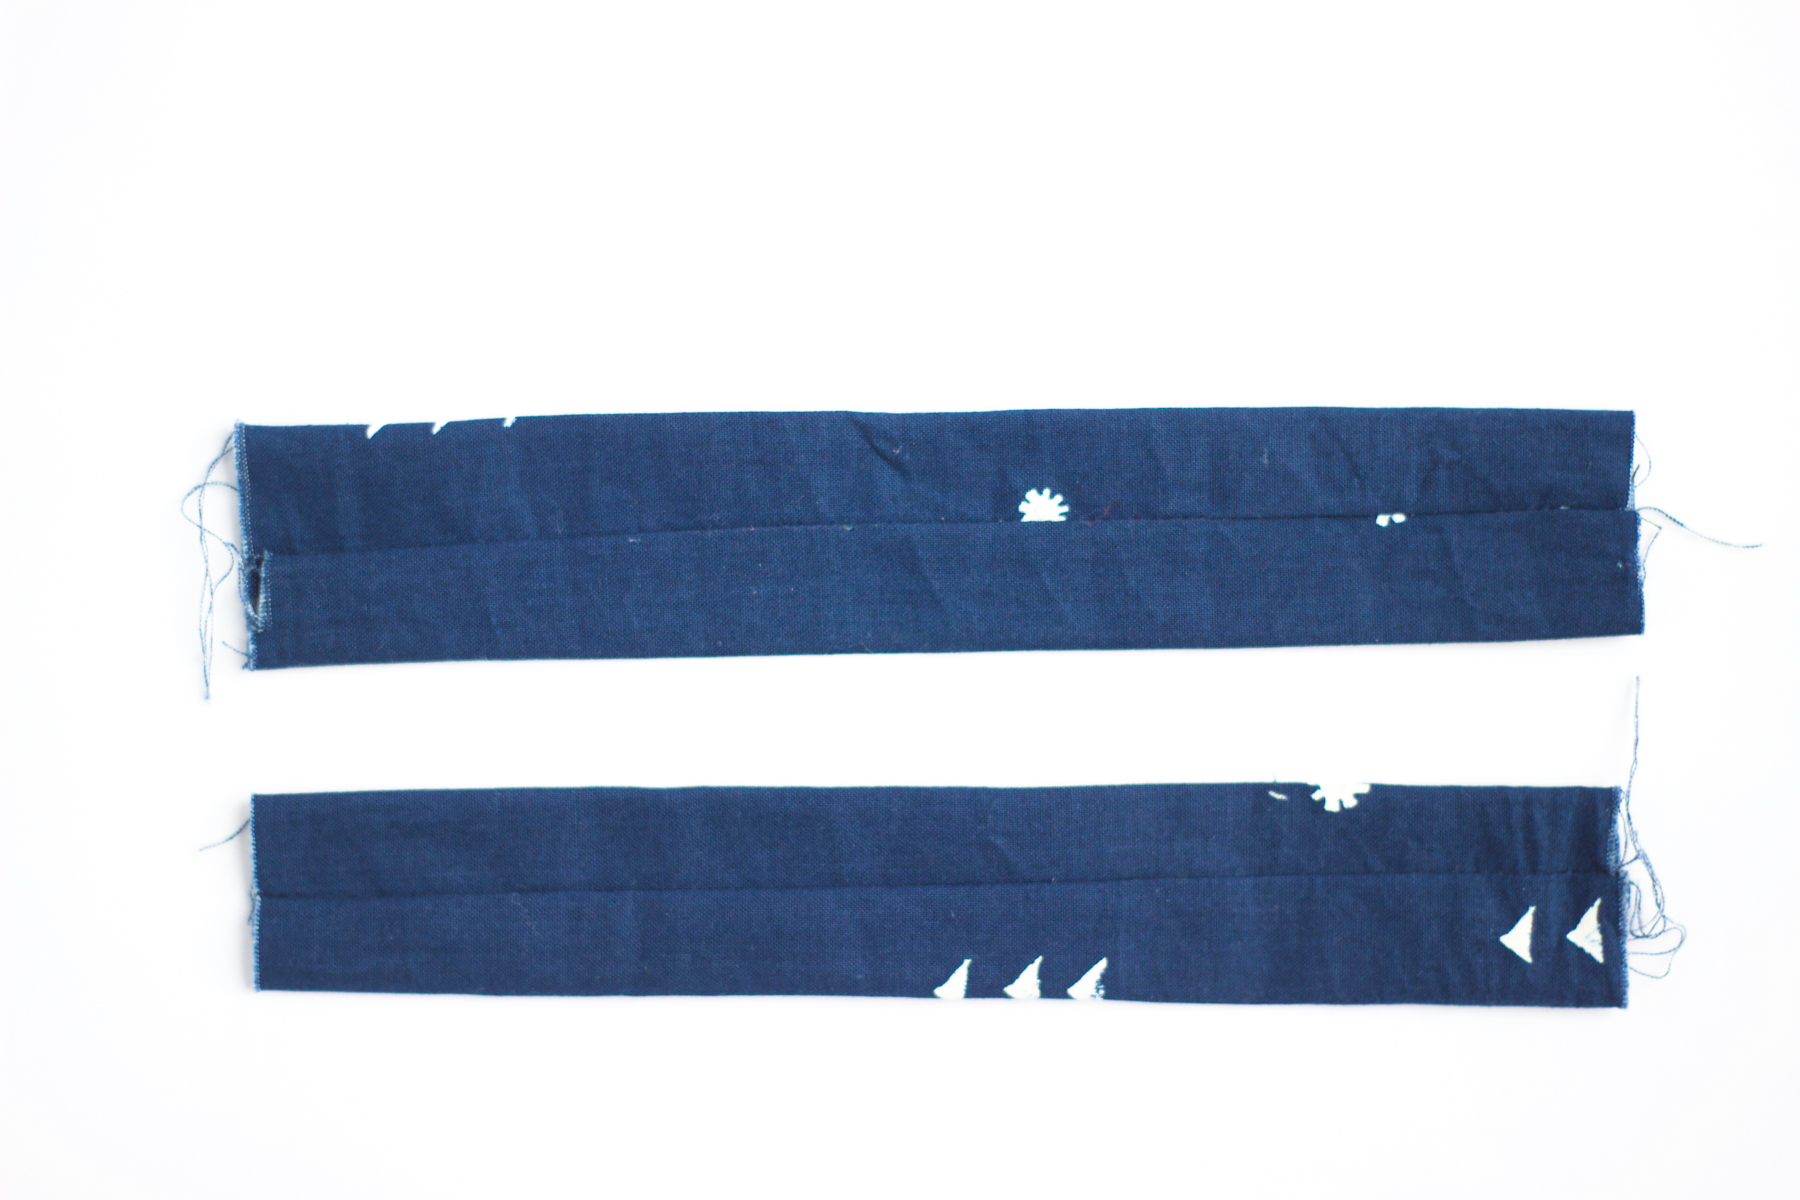
Step 3: Press the fabric using an iron so that the seam is along the middle of one side of the fabric. This helps make your bow crisp and clean.

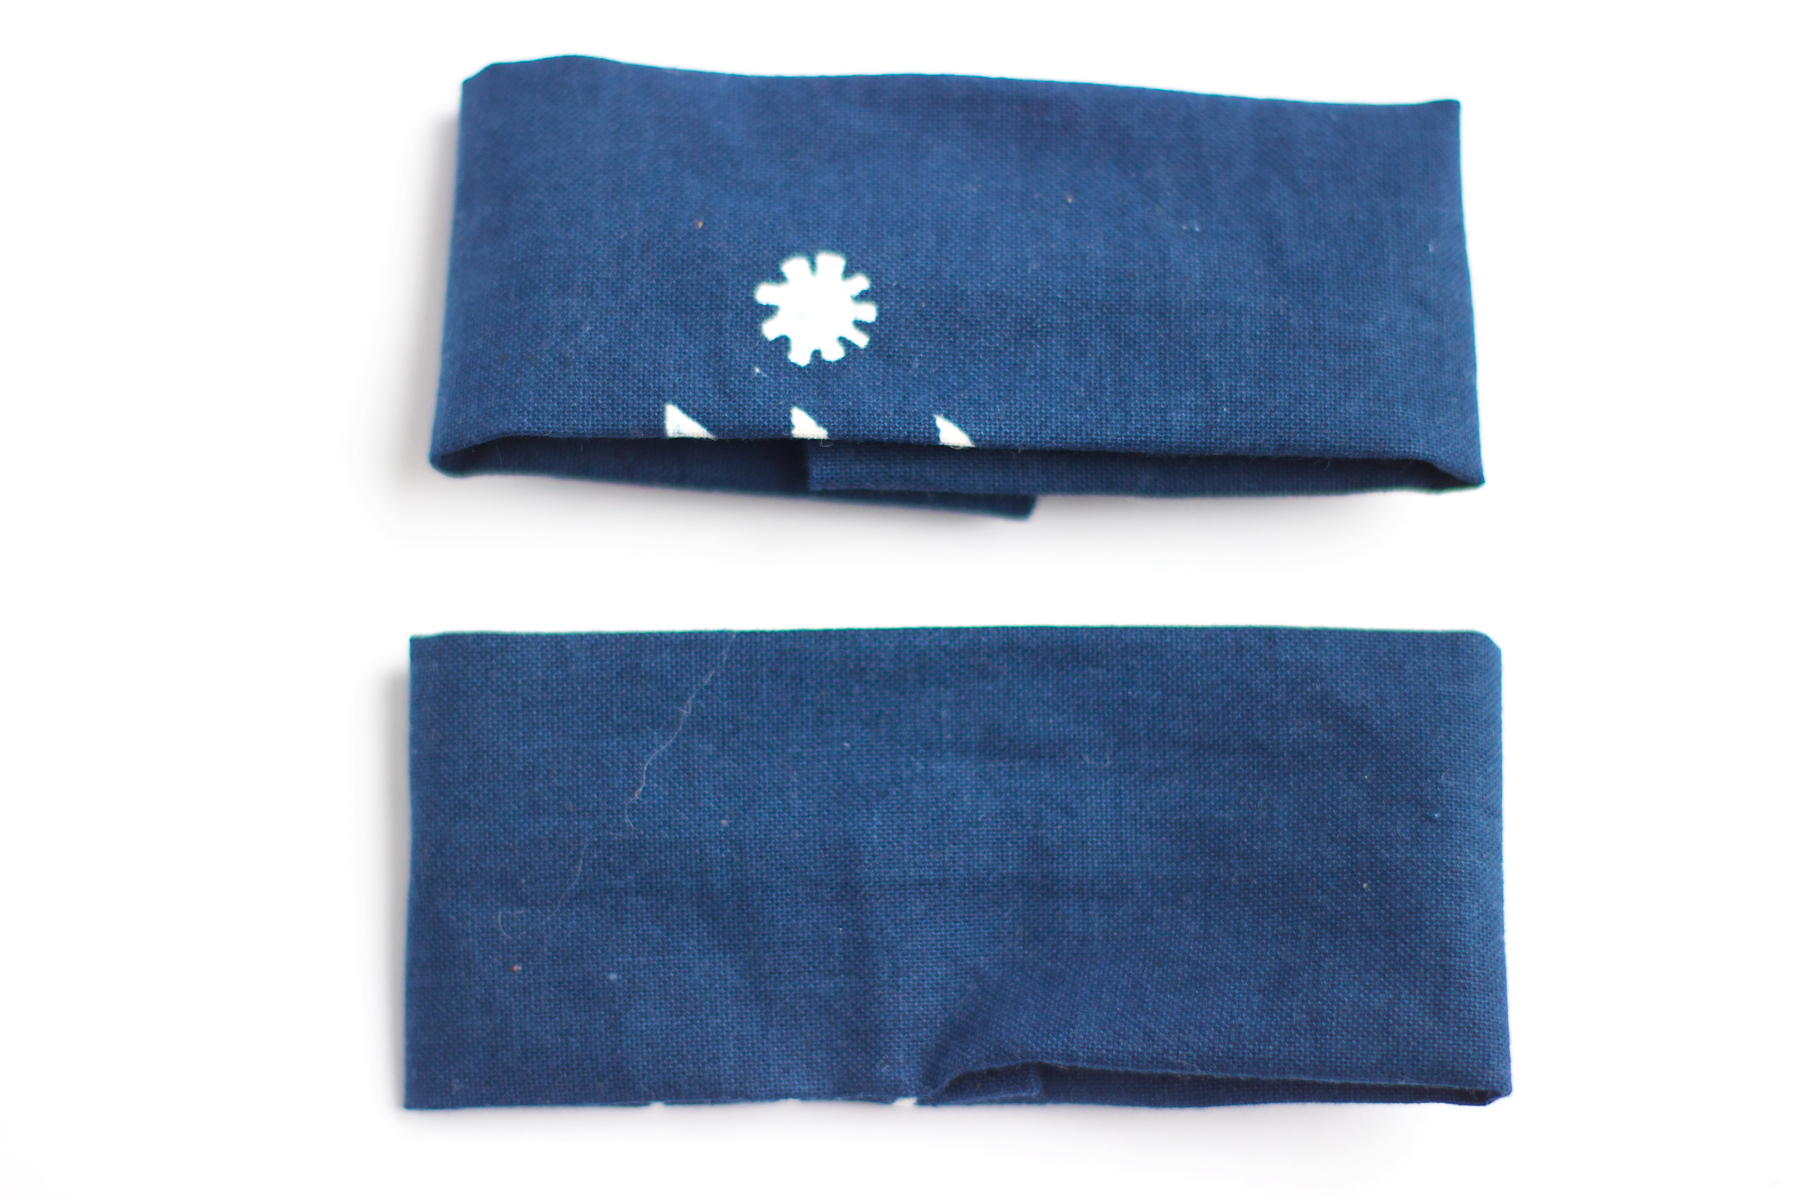
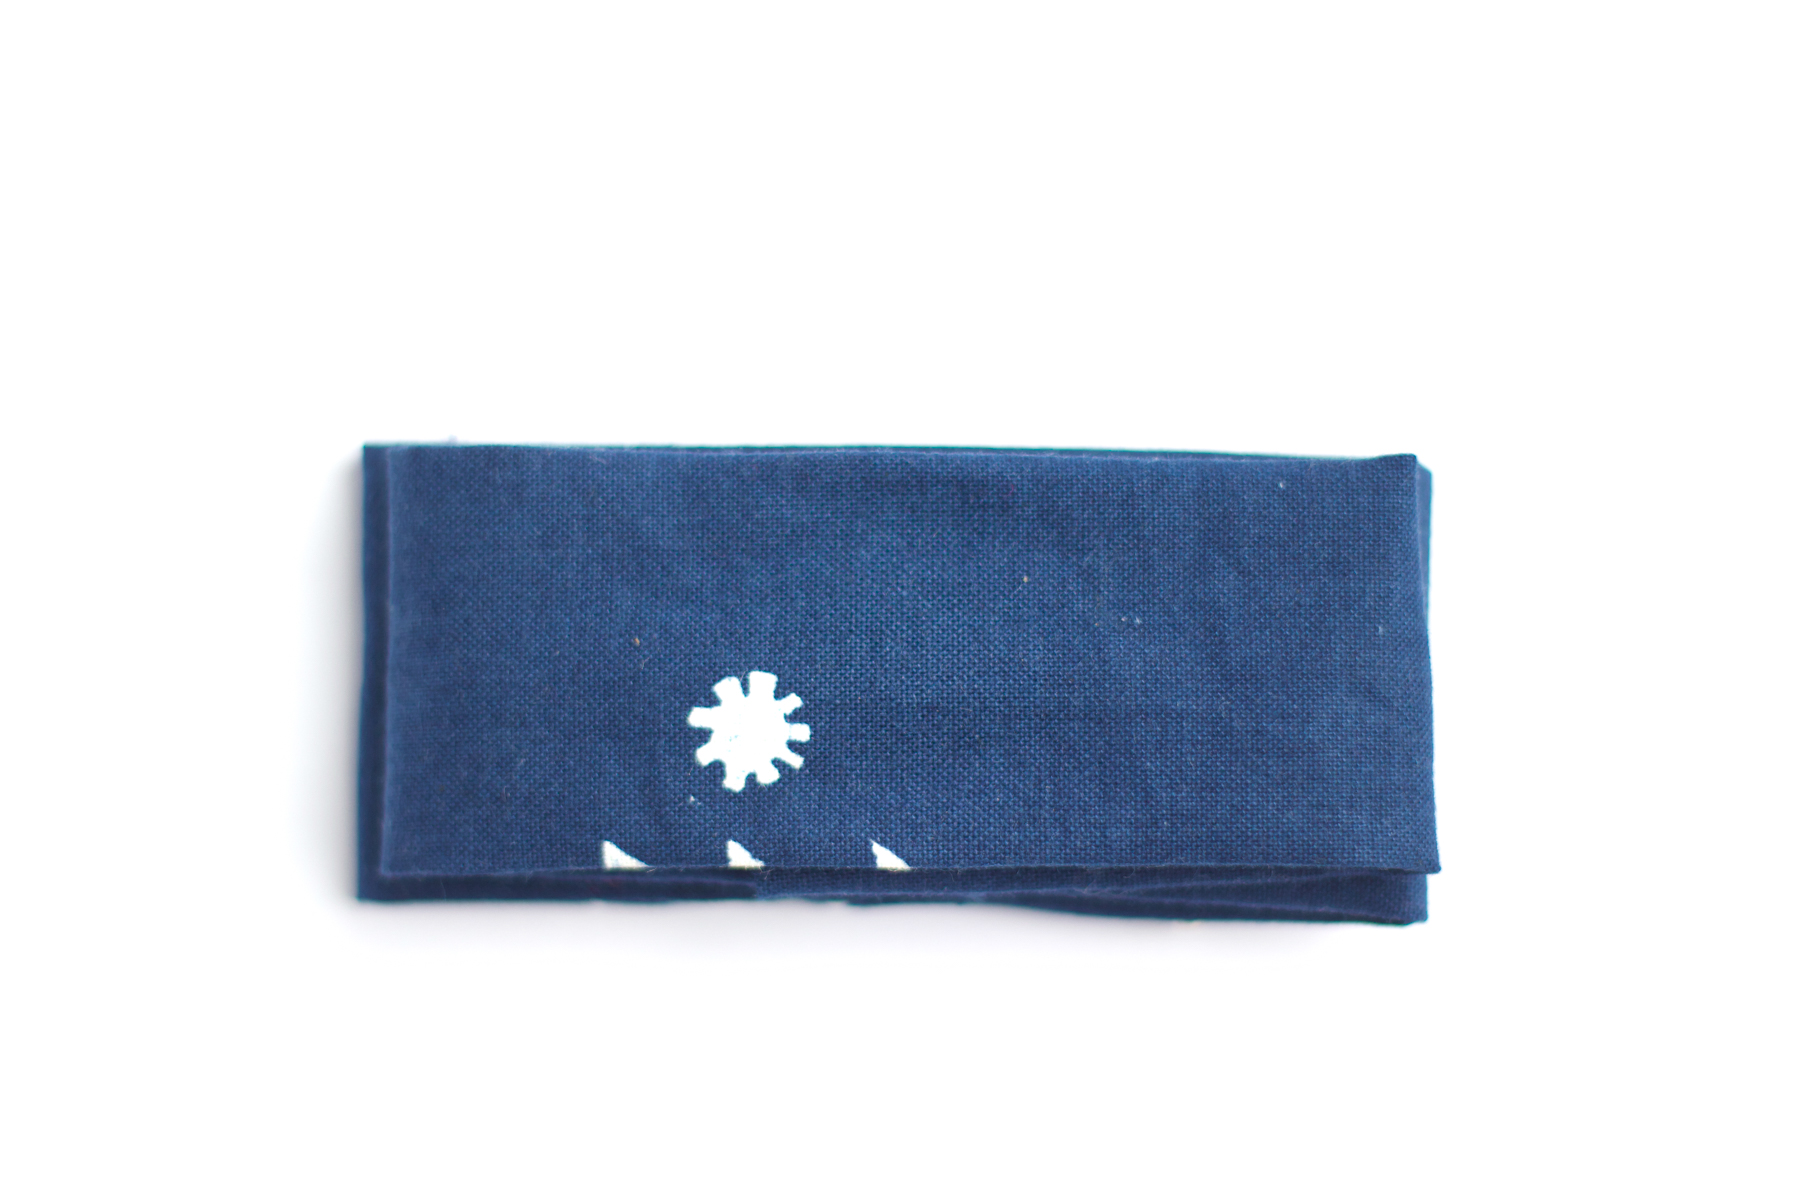
Step 4: To make the bow: Take the two pieces that are 3.5″ x 9″ and fold the edges inward so that the overlap. Pin to keep this in place. Repeat this for the second strip, making sure that the edge of this strip are folded in a bit more. This will make the bow a bit smaller and allow for the bottom bow to peak through. 
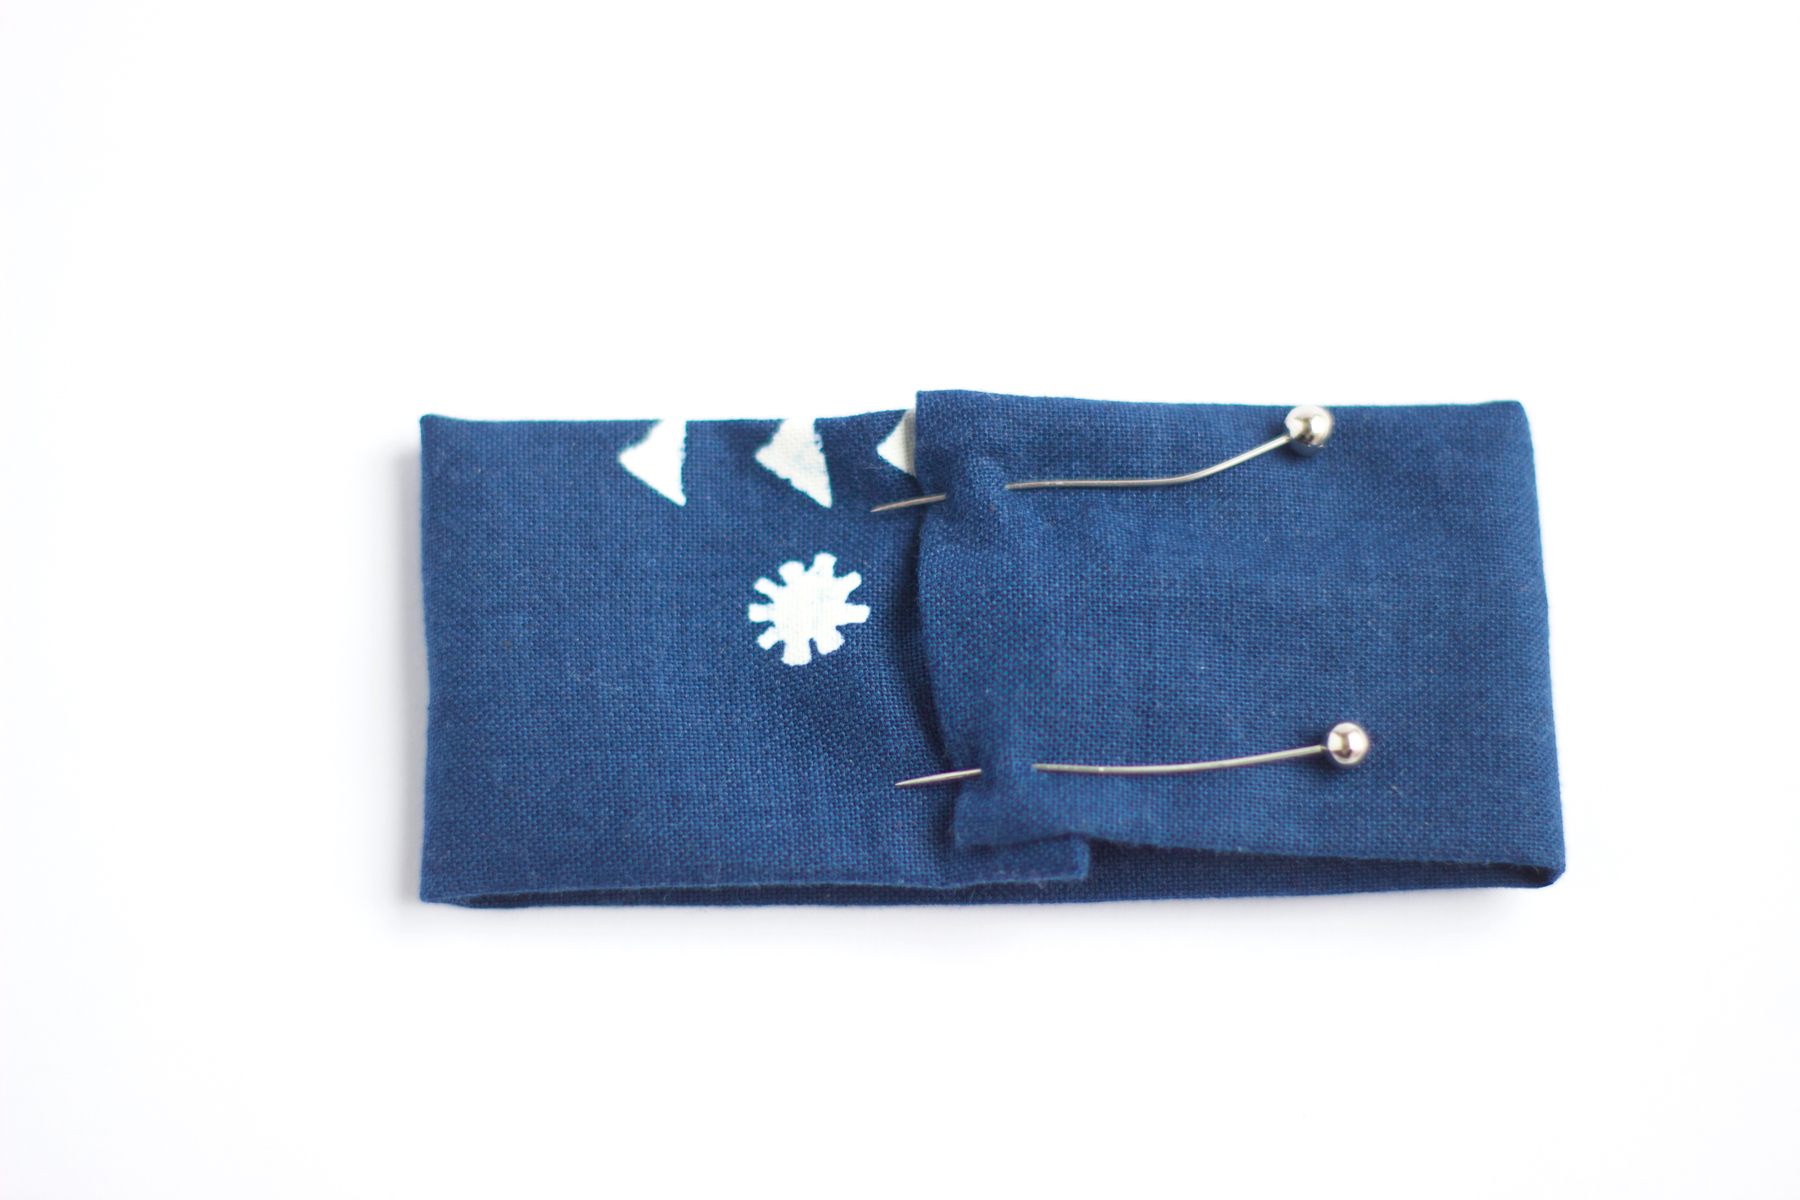
Step 5: Take the smaller bow and place it on top of the bigger bow. Then sew a straight stitch down the middle to secure the pieces together.

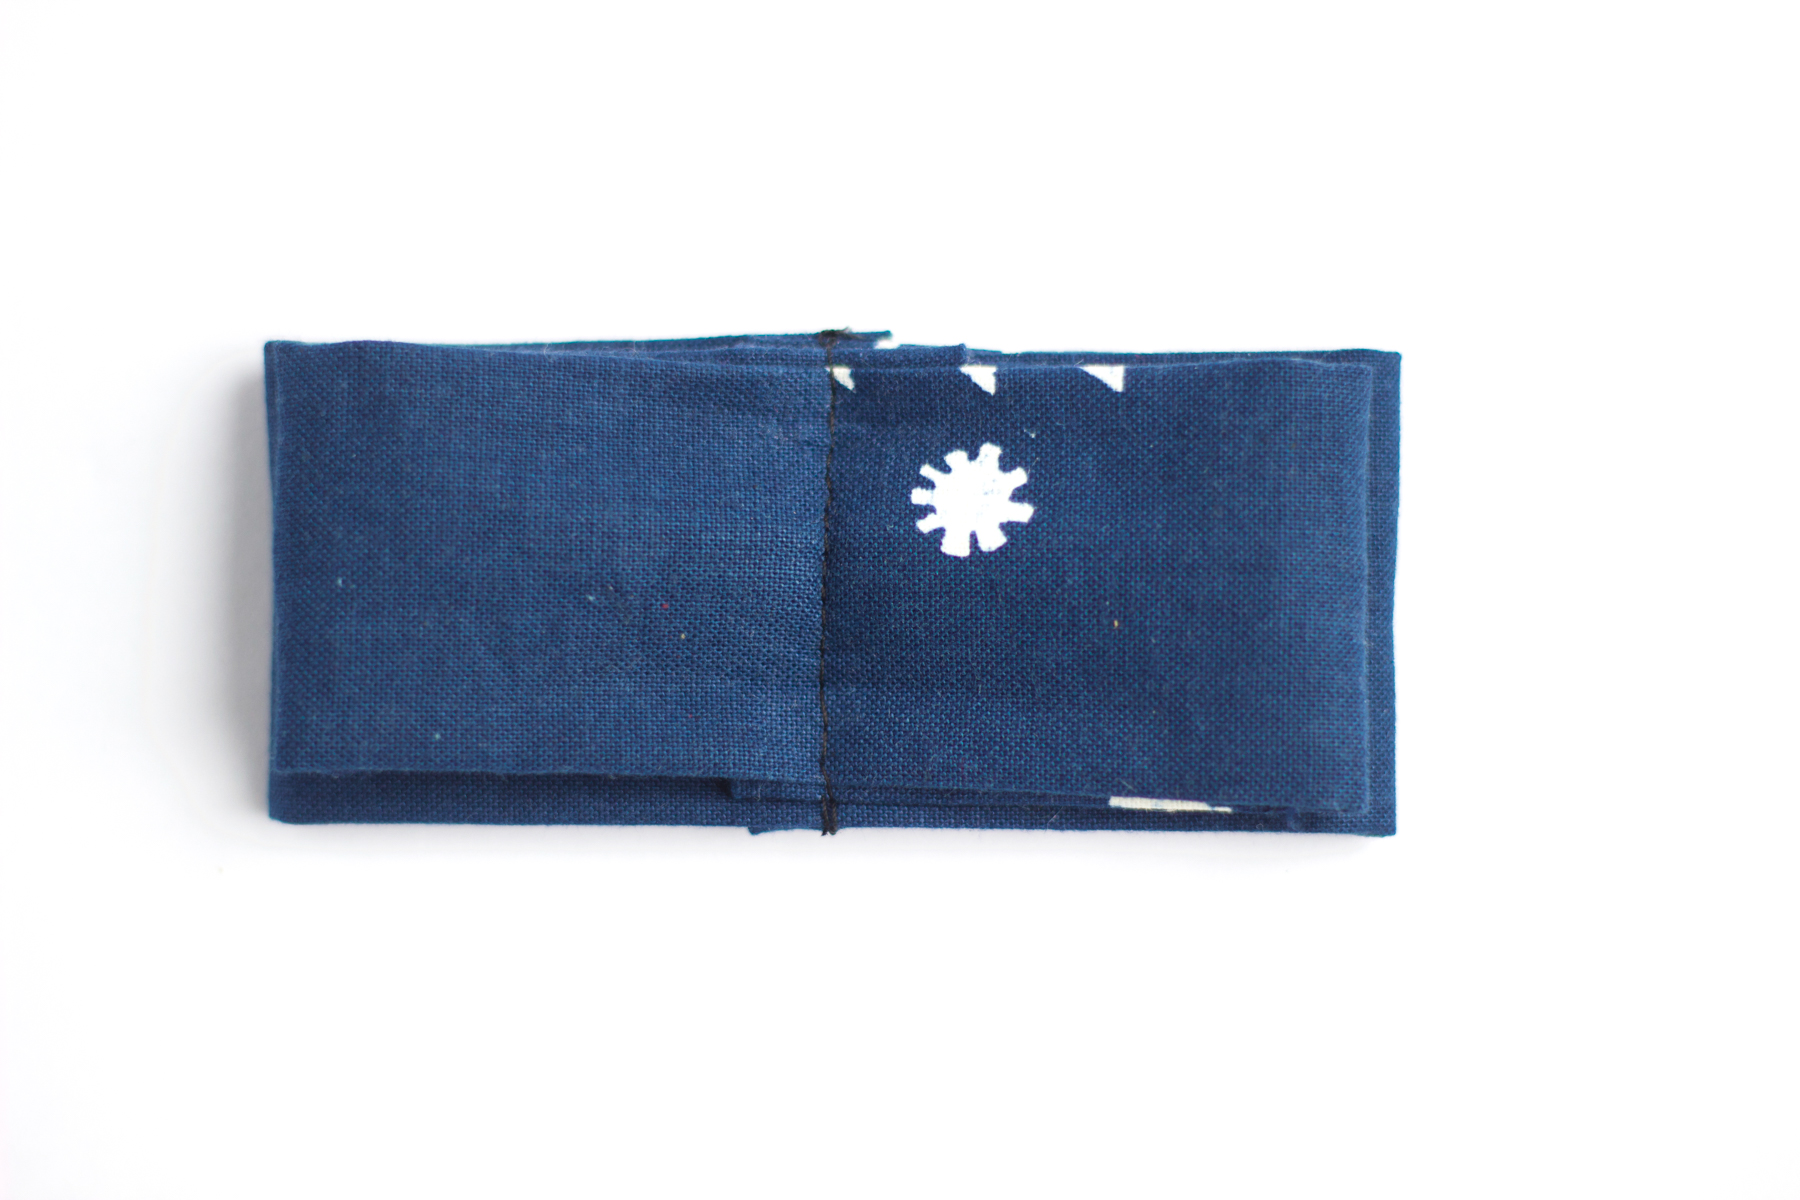
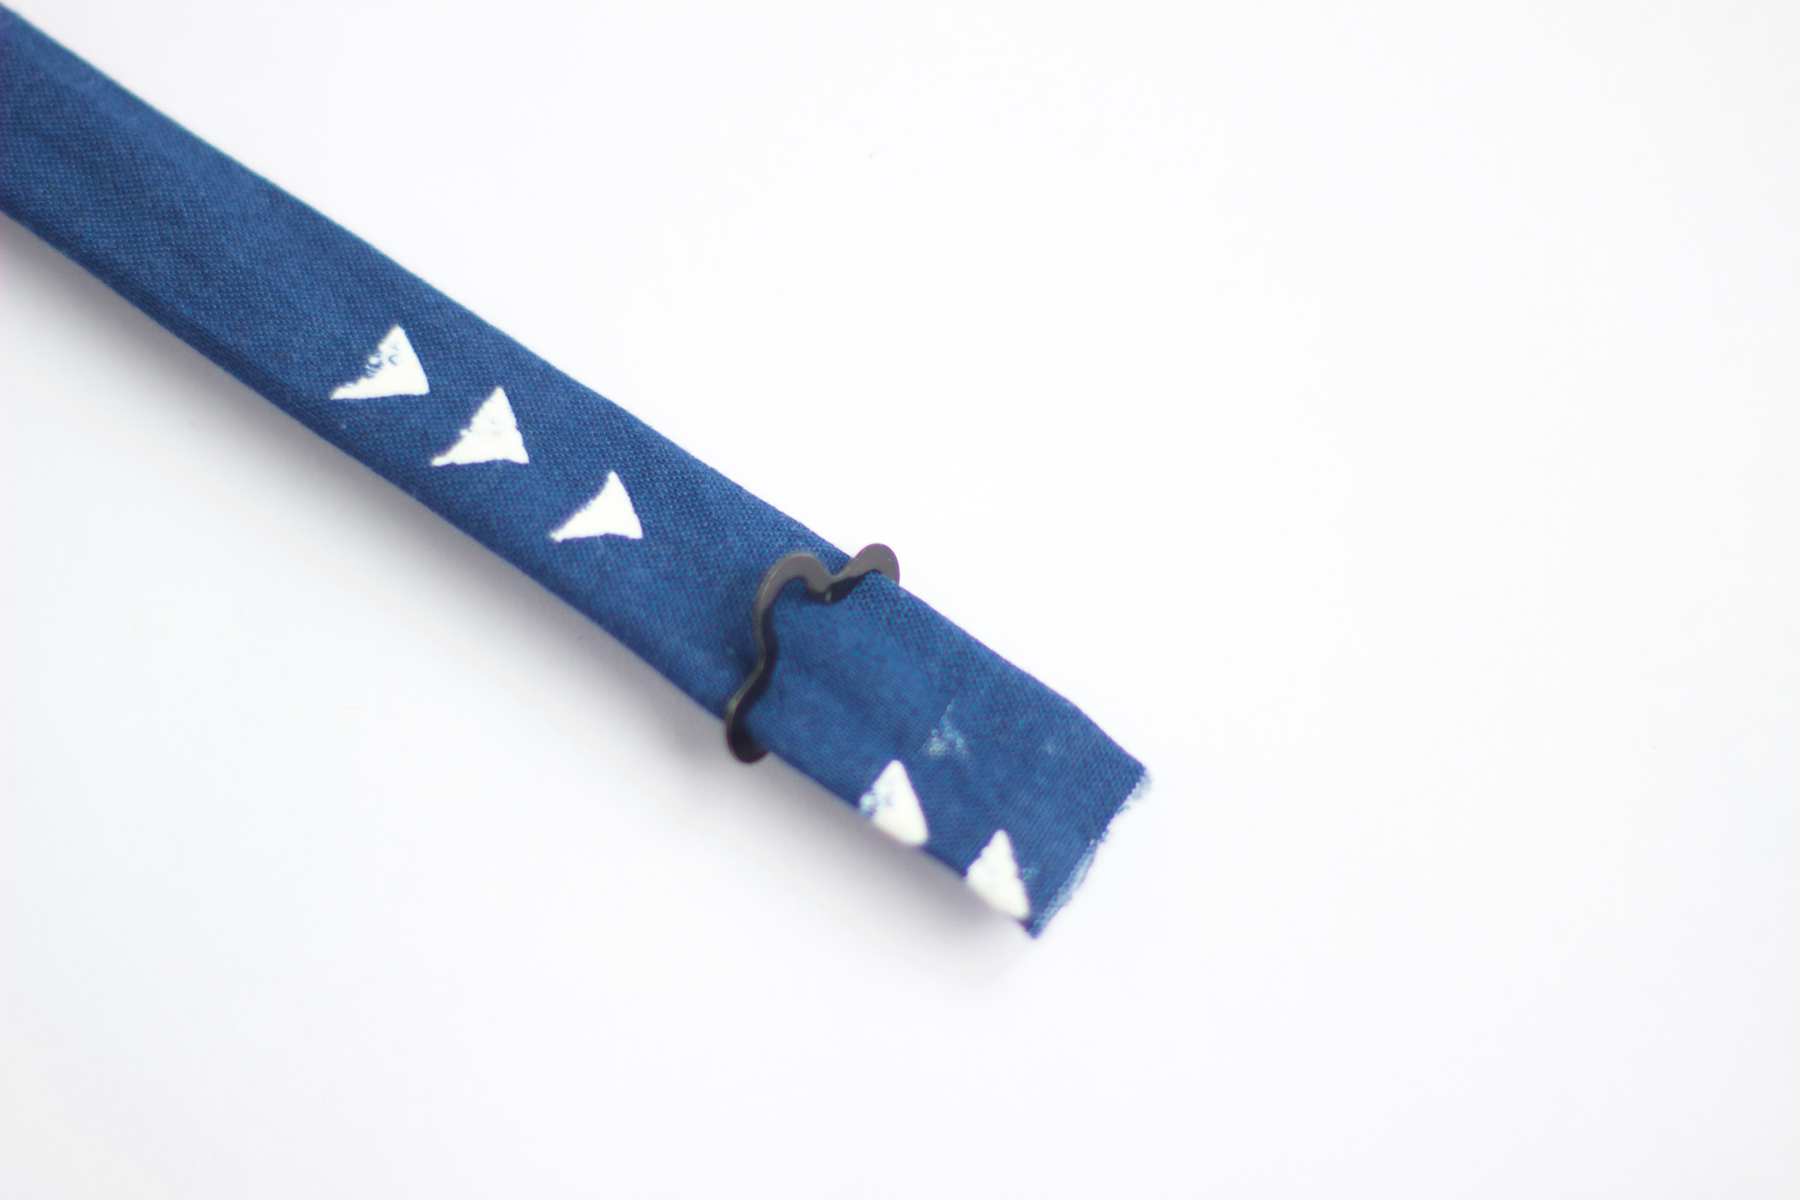
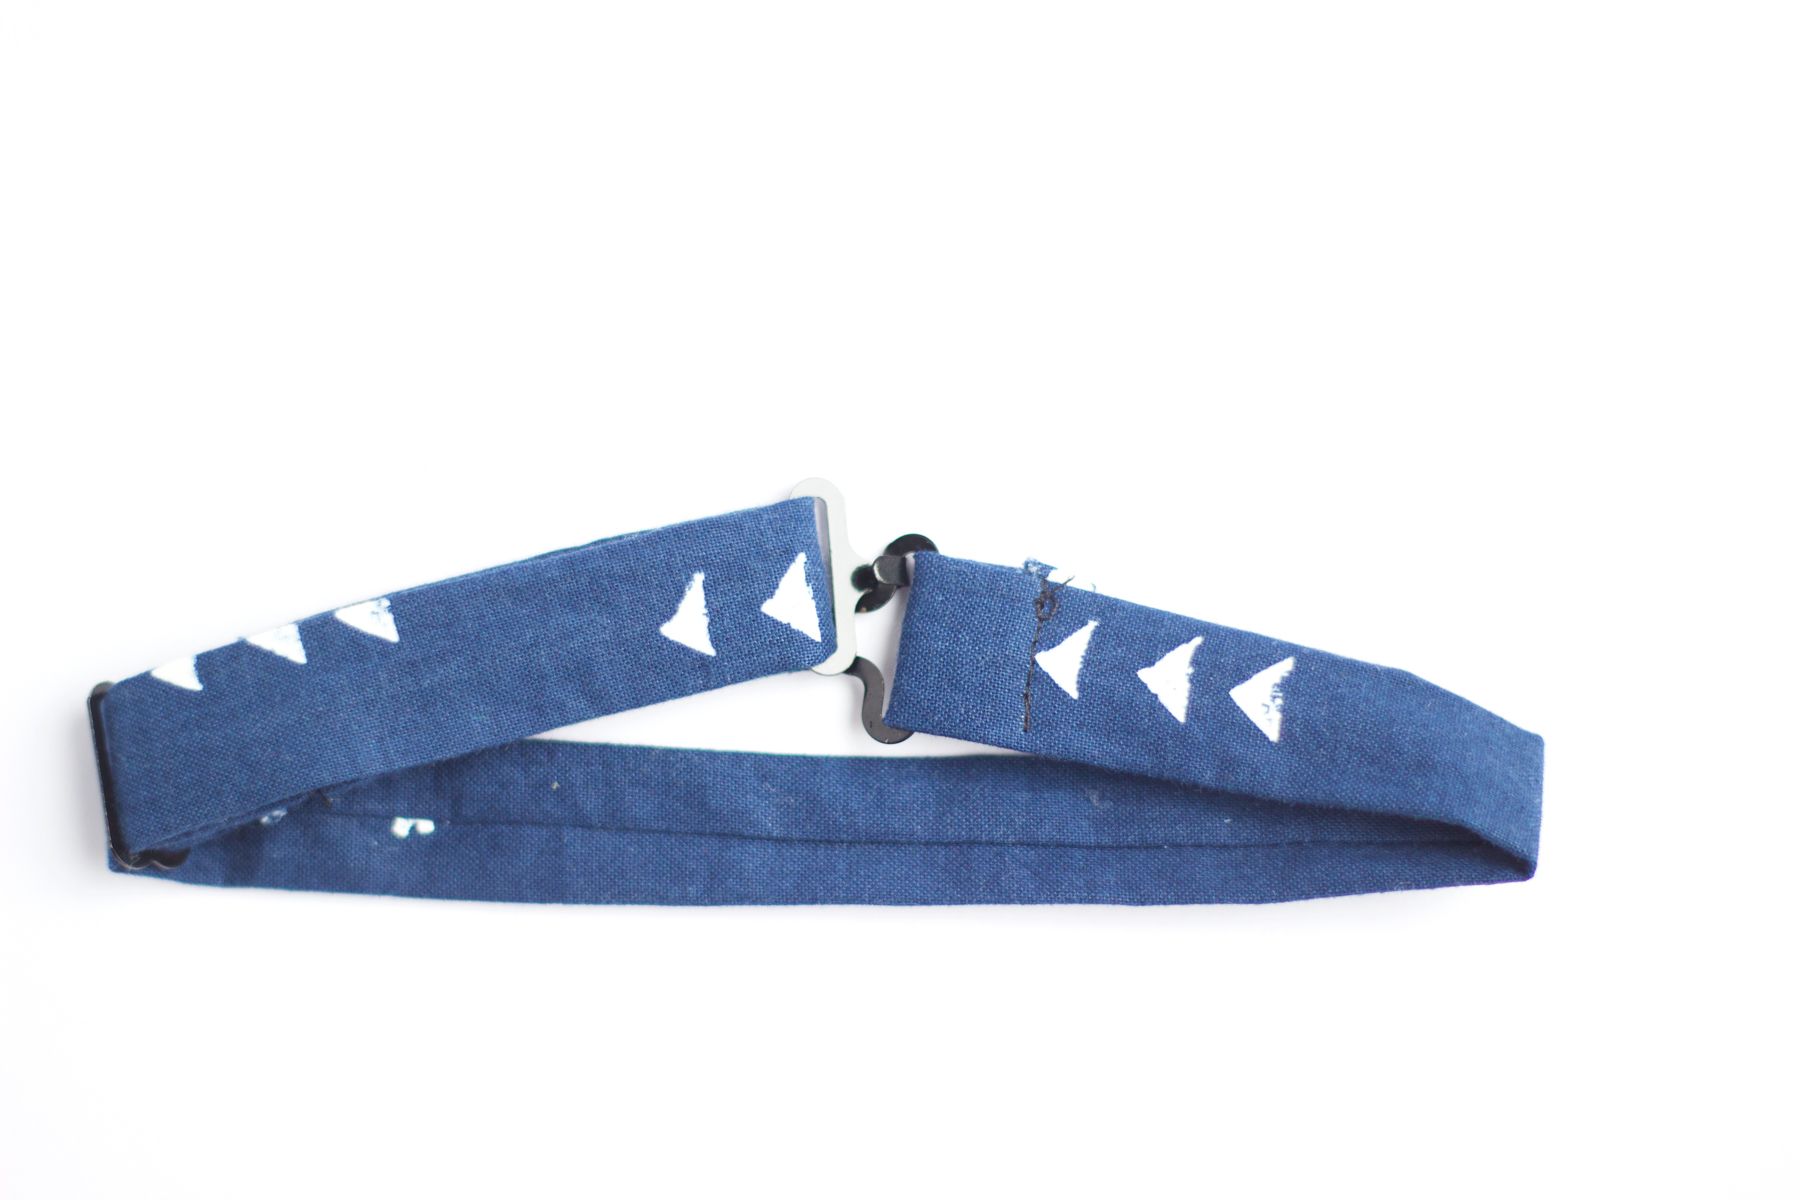
Step 6: To make the adjustable neck band.  Place the first clasp through the neck band as shown below.

Note: For this tutorial I used the adjustable clasps but feel free to use velcro and sew it to each side of the neck band as an alternative method. You may need to adjust the length of the neckband. 

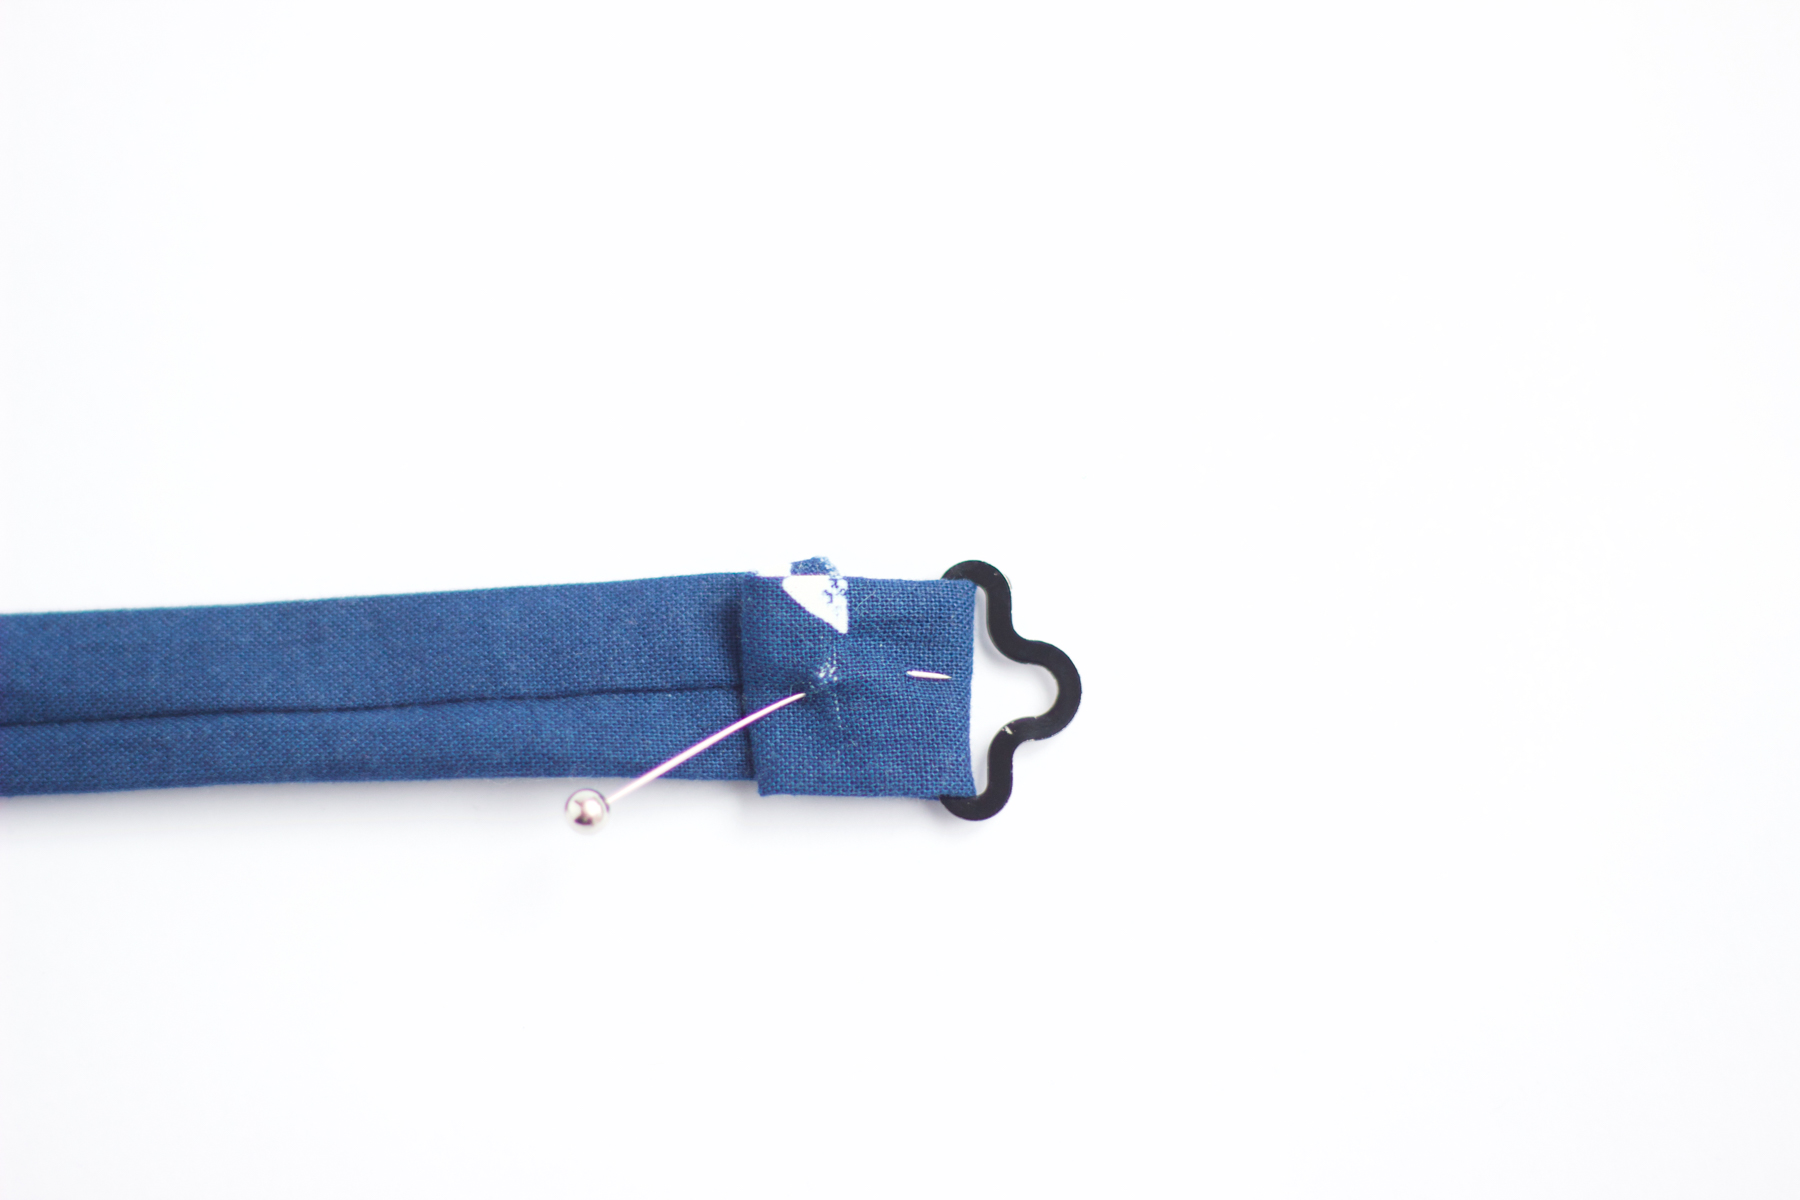
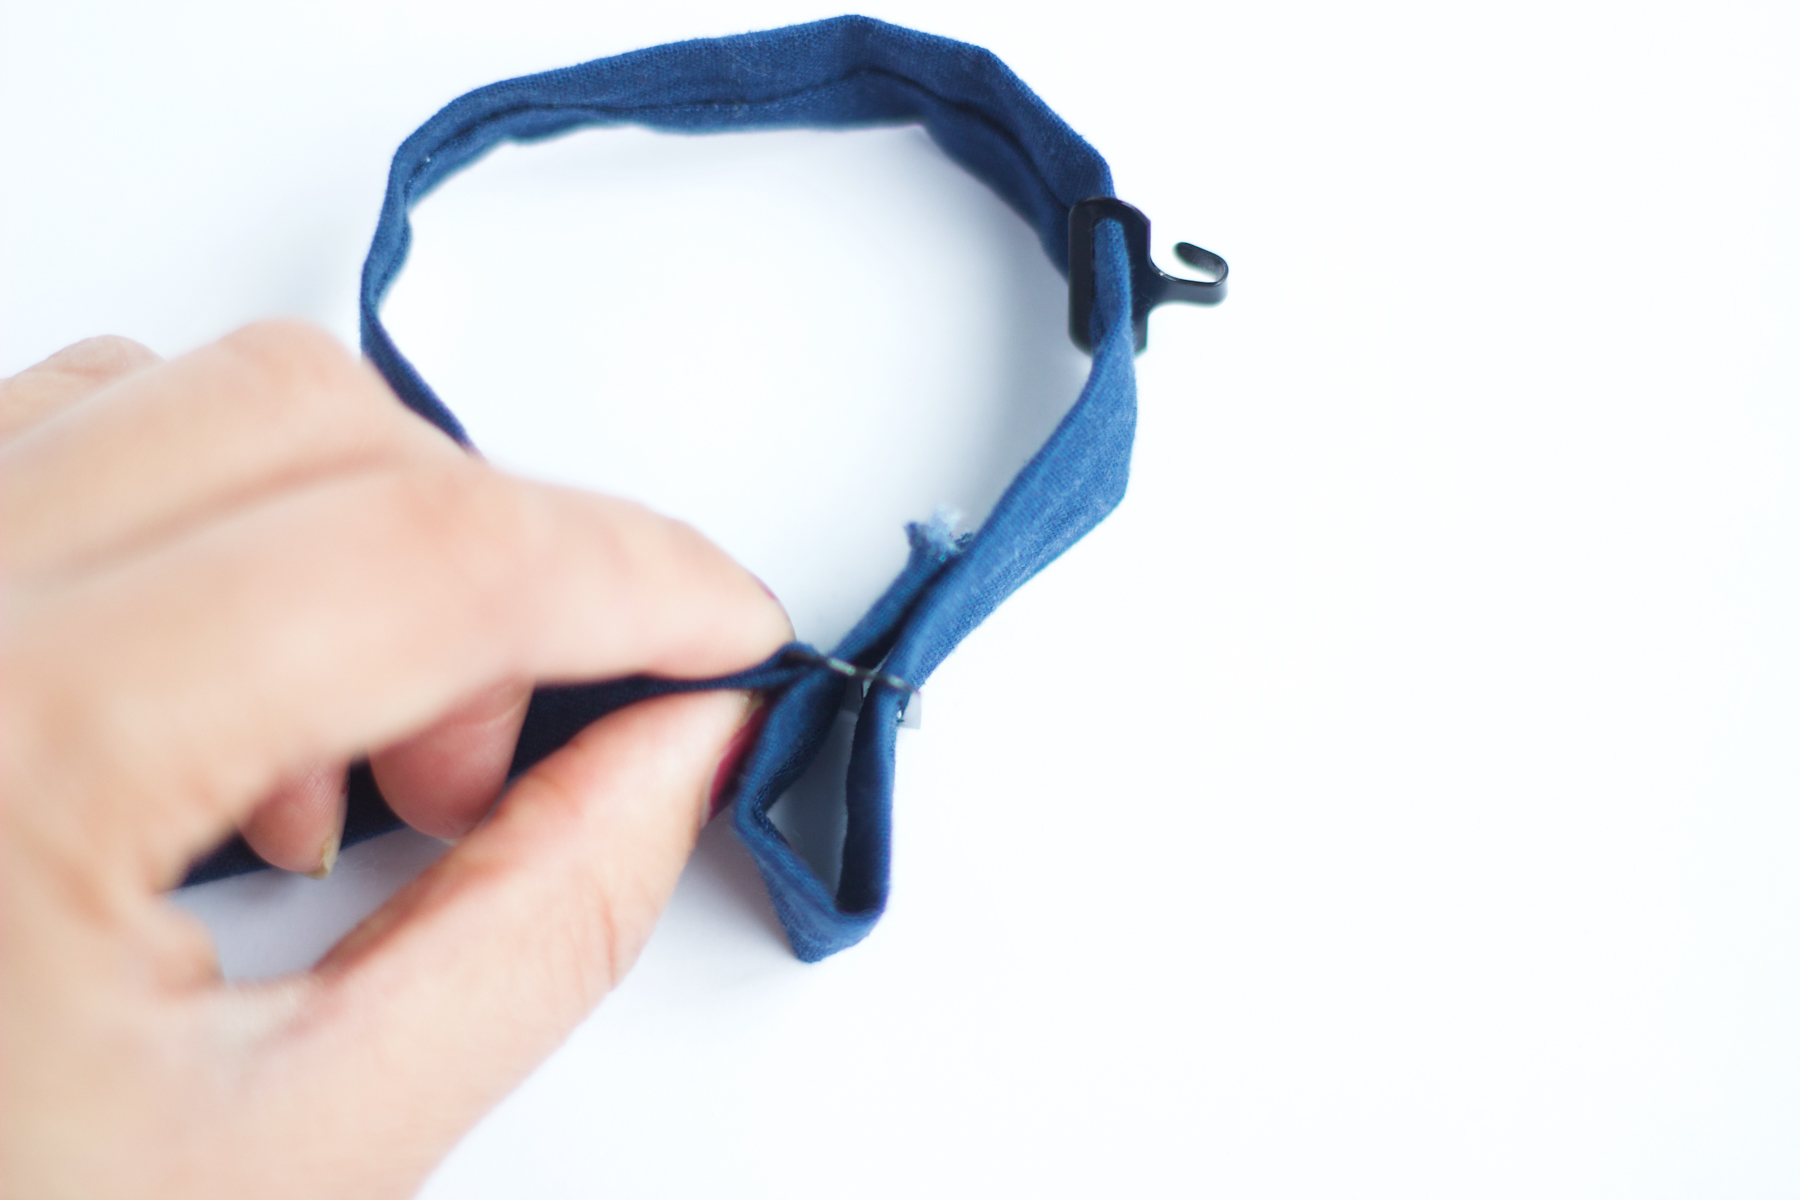
Step 7: Fold the edge over and tuck the raw edge underneath. Sew a straight stitch to secure the clasp.

Step 9: On the otherside, place the adjustable loop and the other clasp as shown.   
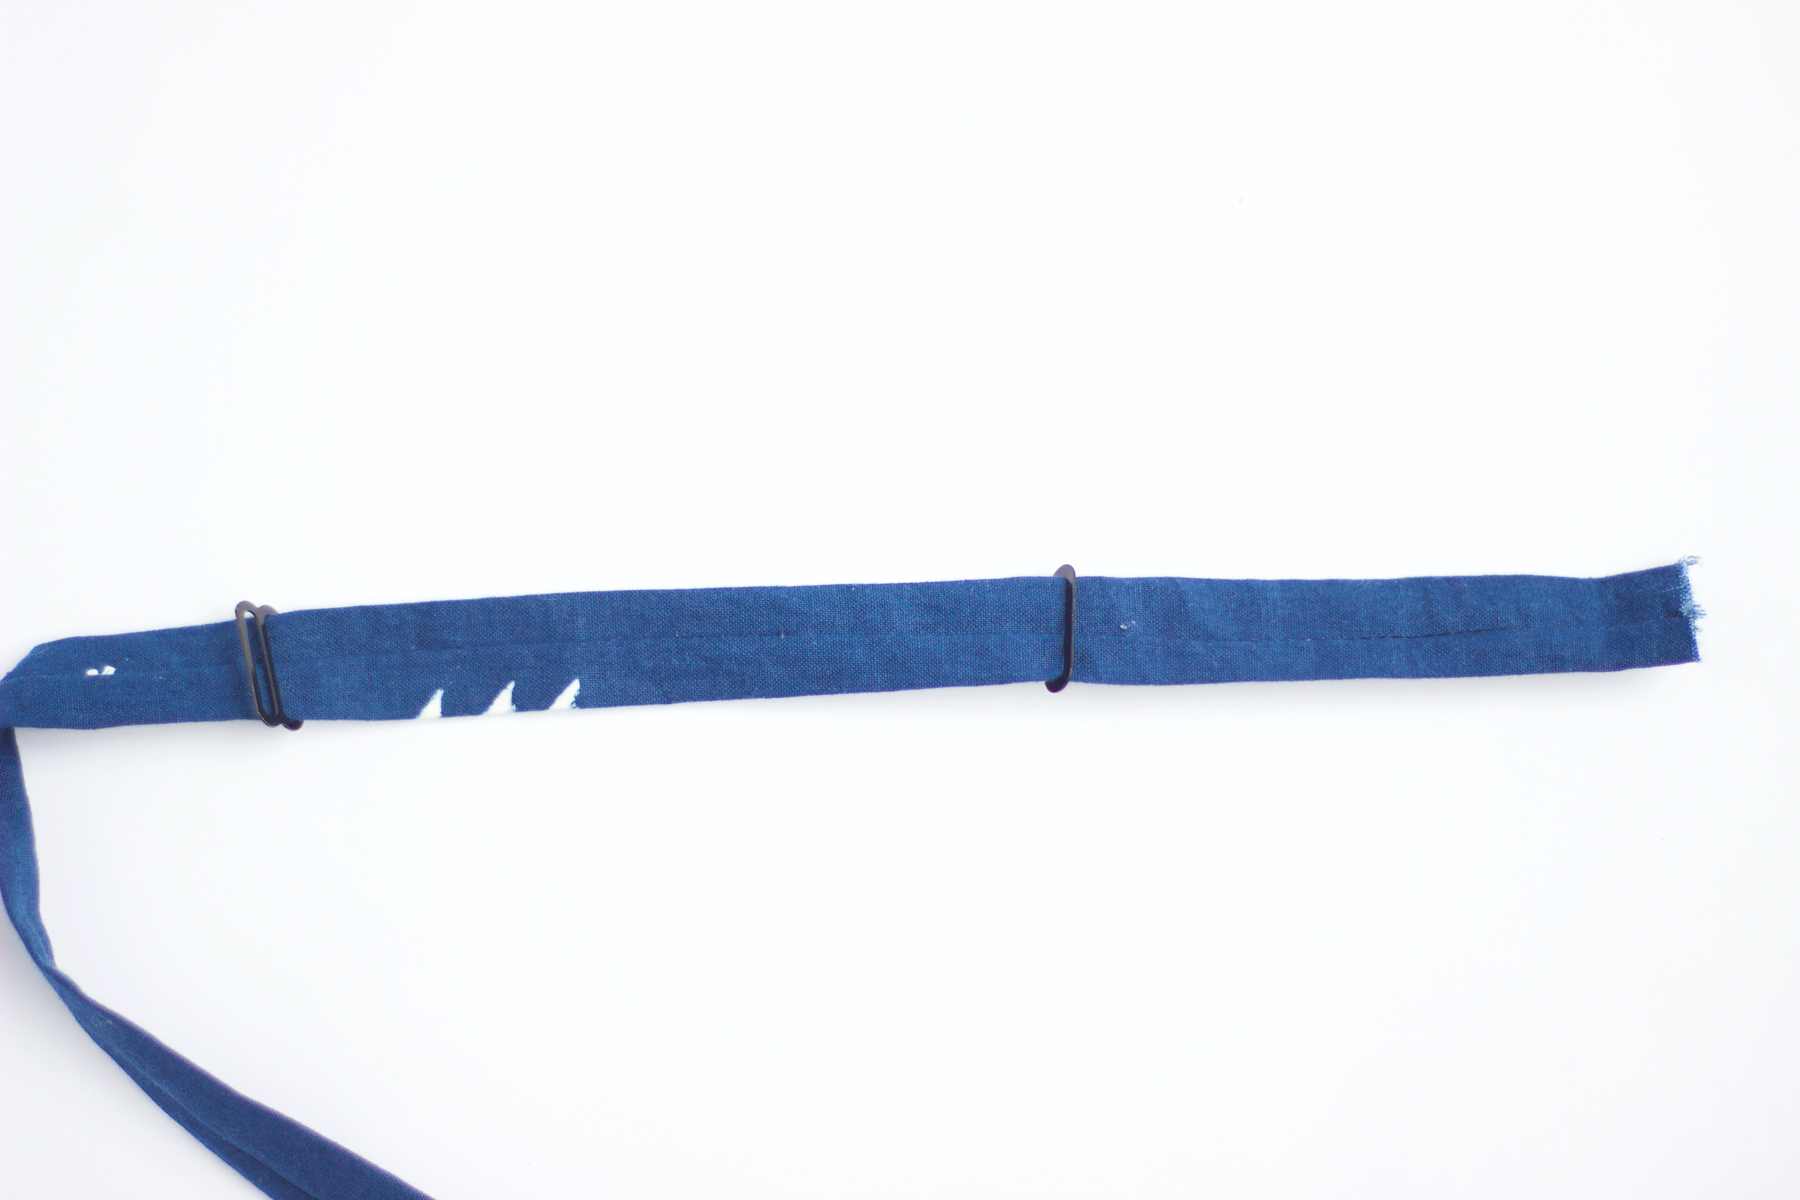
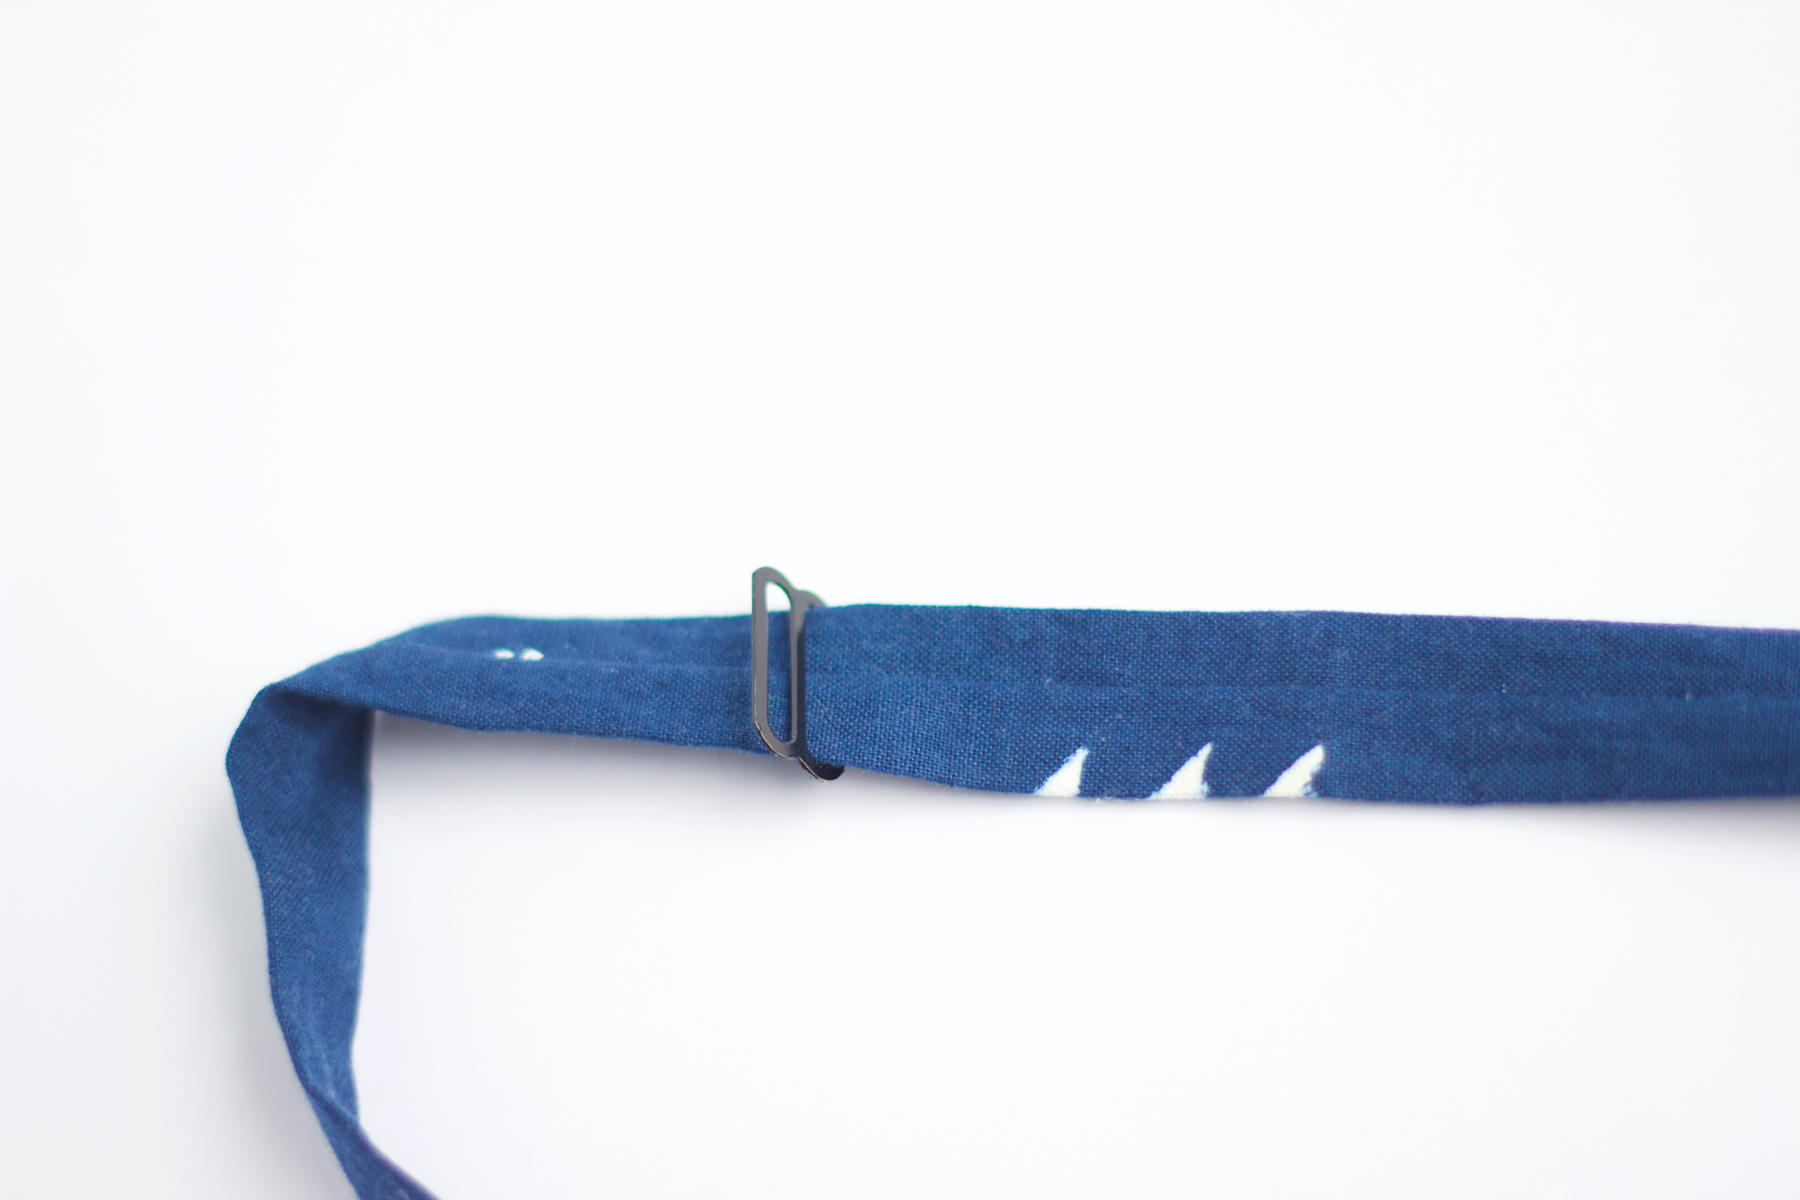
Step 10: Take the raw edge an guide it through the adjustable loop. Follow the pictures below.

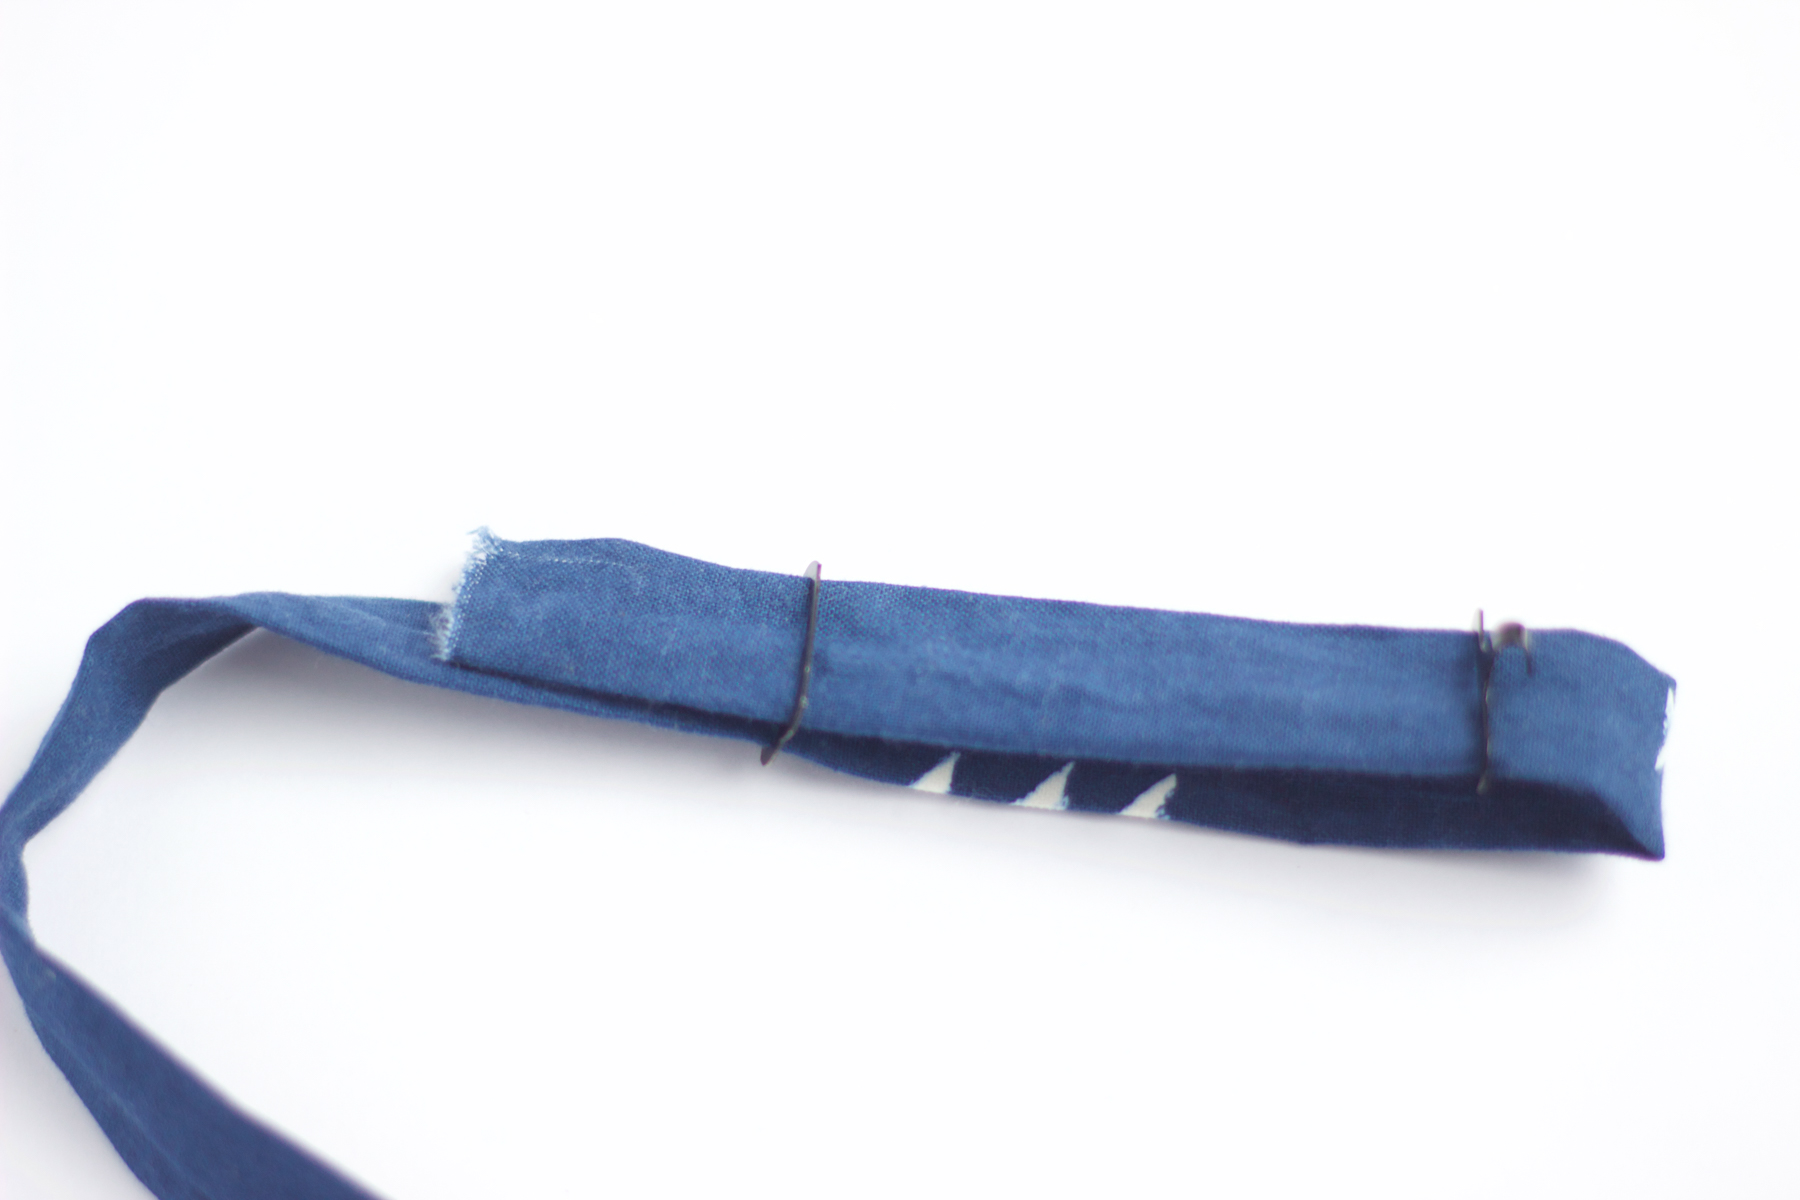
Step 11: Fold the raw edge over and tuck it underneath. Then sew a straight stitch to secure it.

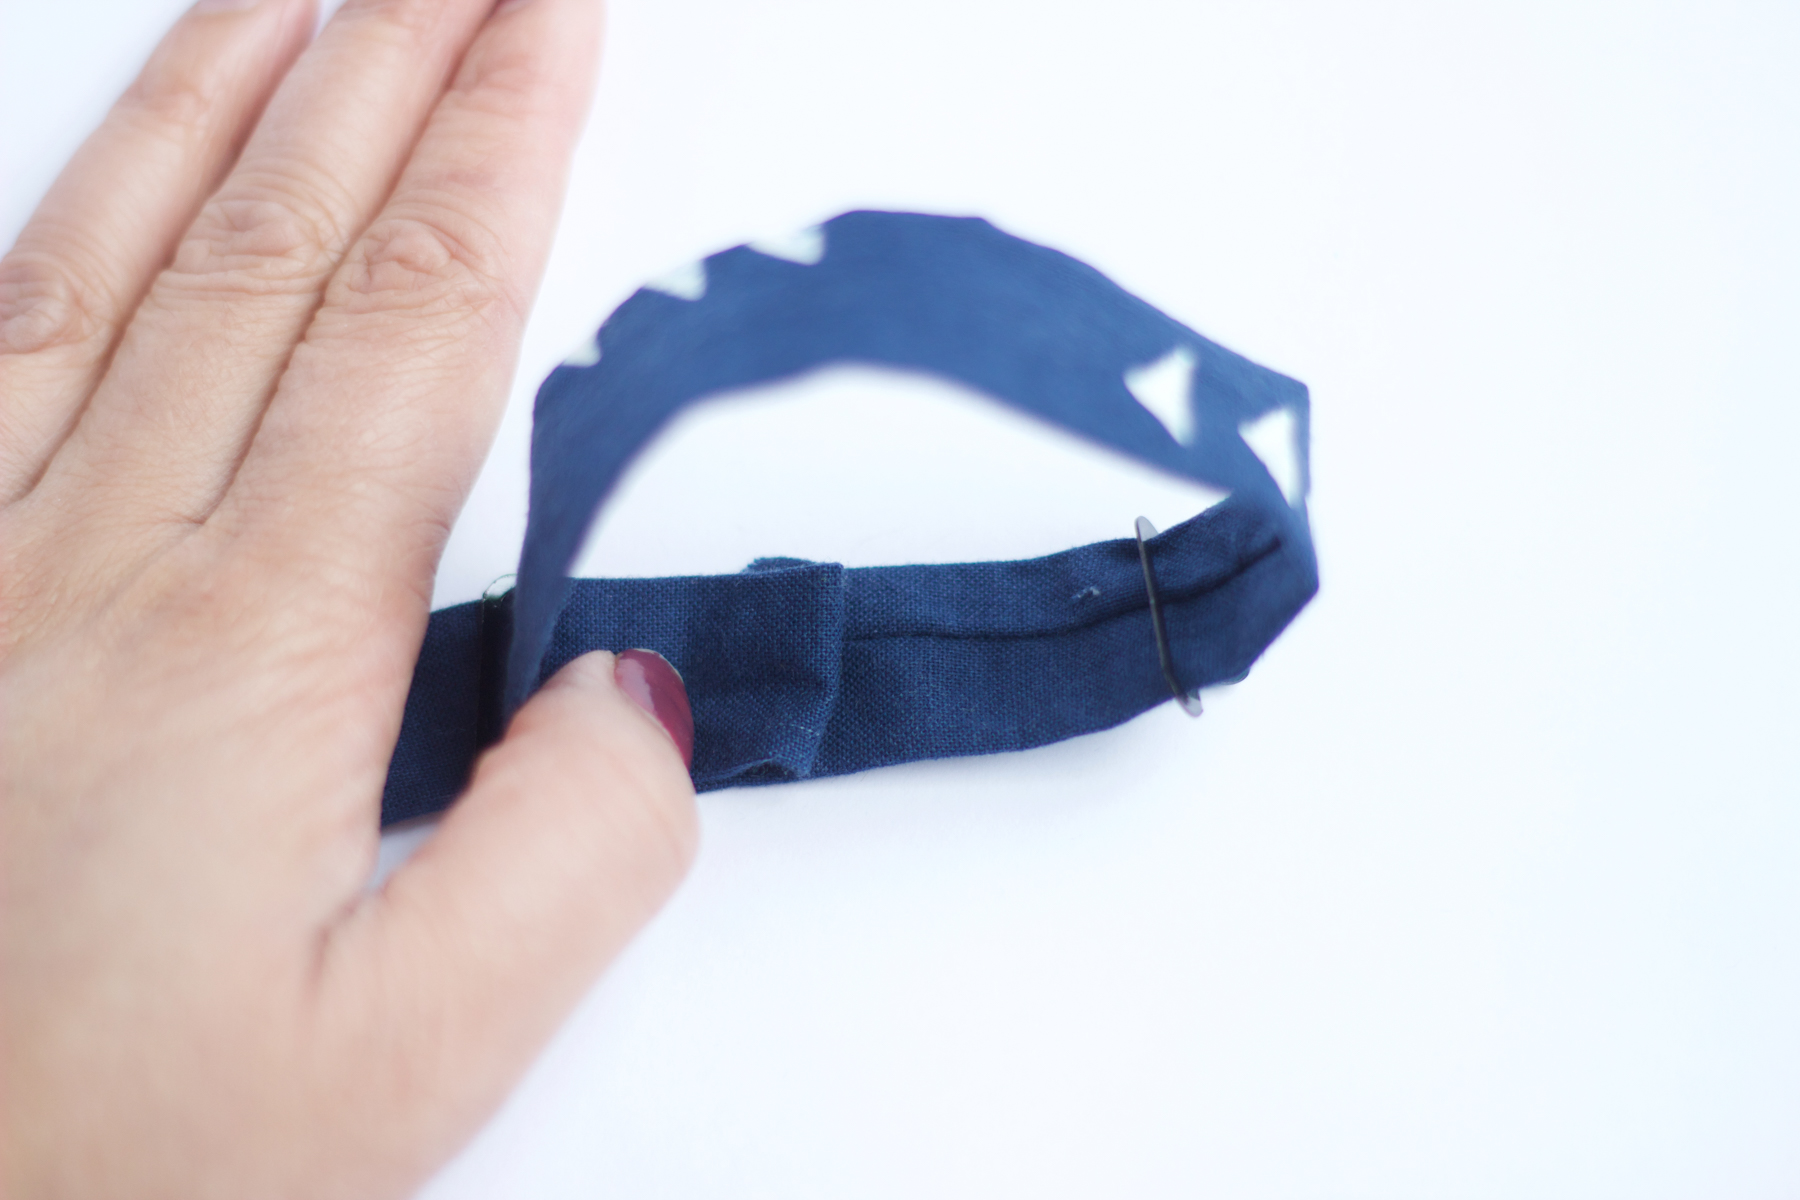
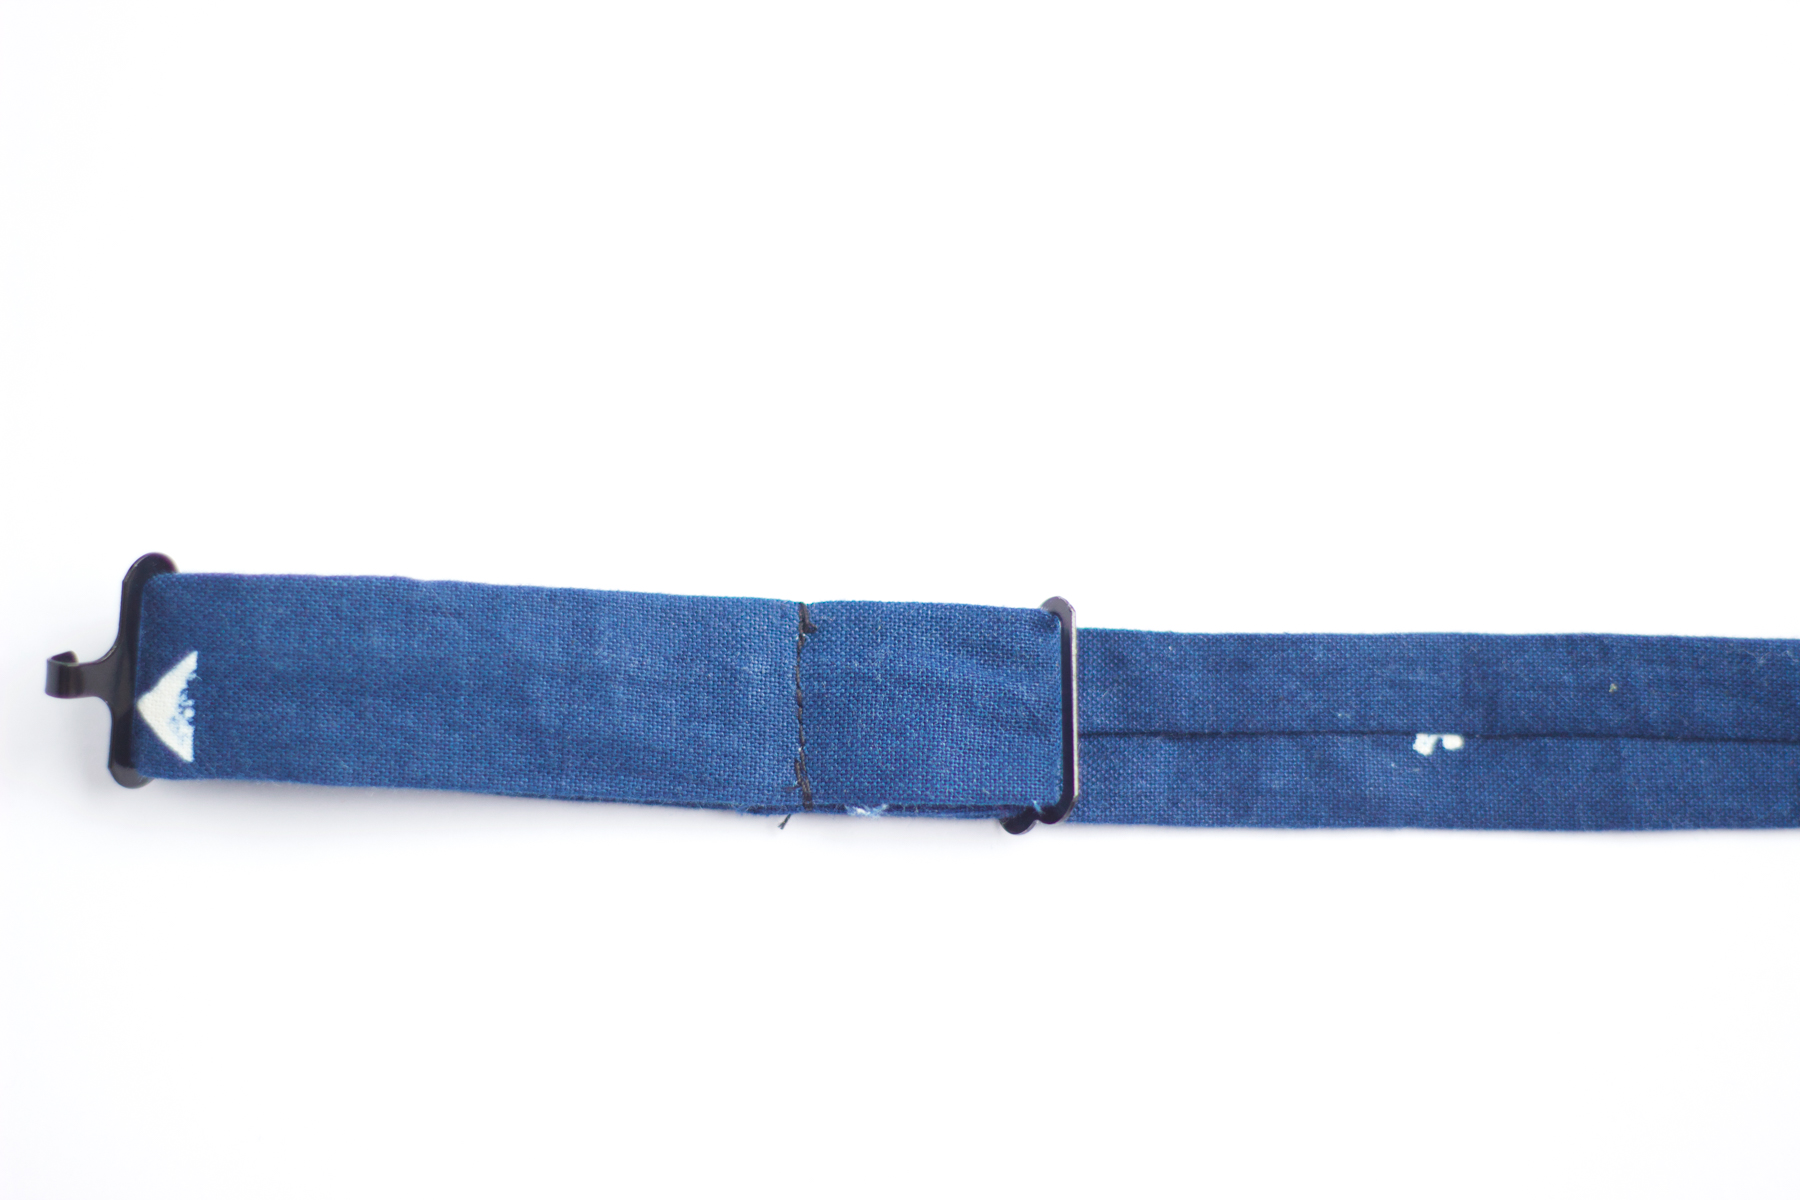
The neck strap is done!

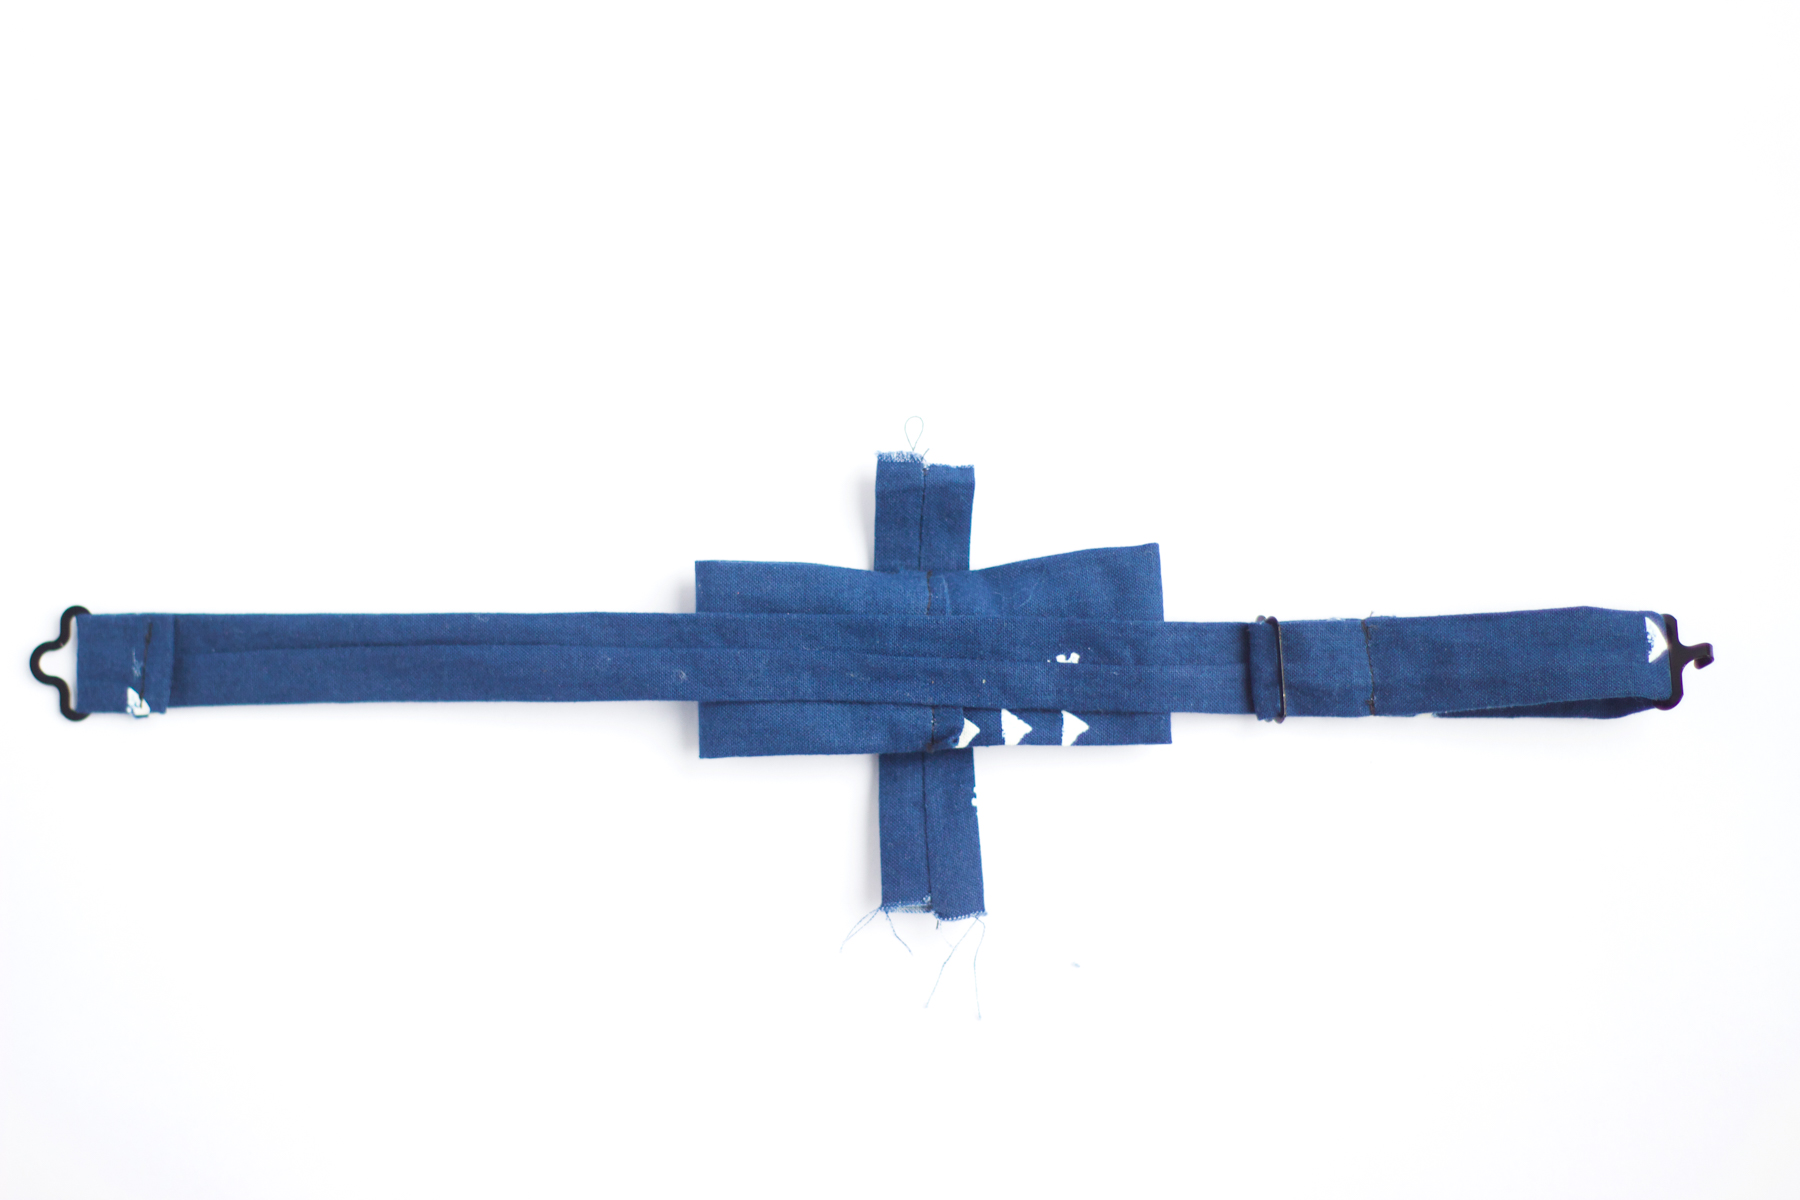
Step 12: Put all the pieces together by placing the small 3.5″ x 2″ strip on the bottom vertically. Then place the bow on top and the neck strap on top of the bow. The seams for all the pieces should face up.

Step 13: Pinch the bow and wrap the smallest strip around the bowtie and neck band. Pin and hand sew the strip together. Then trim excess fabric.

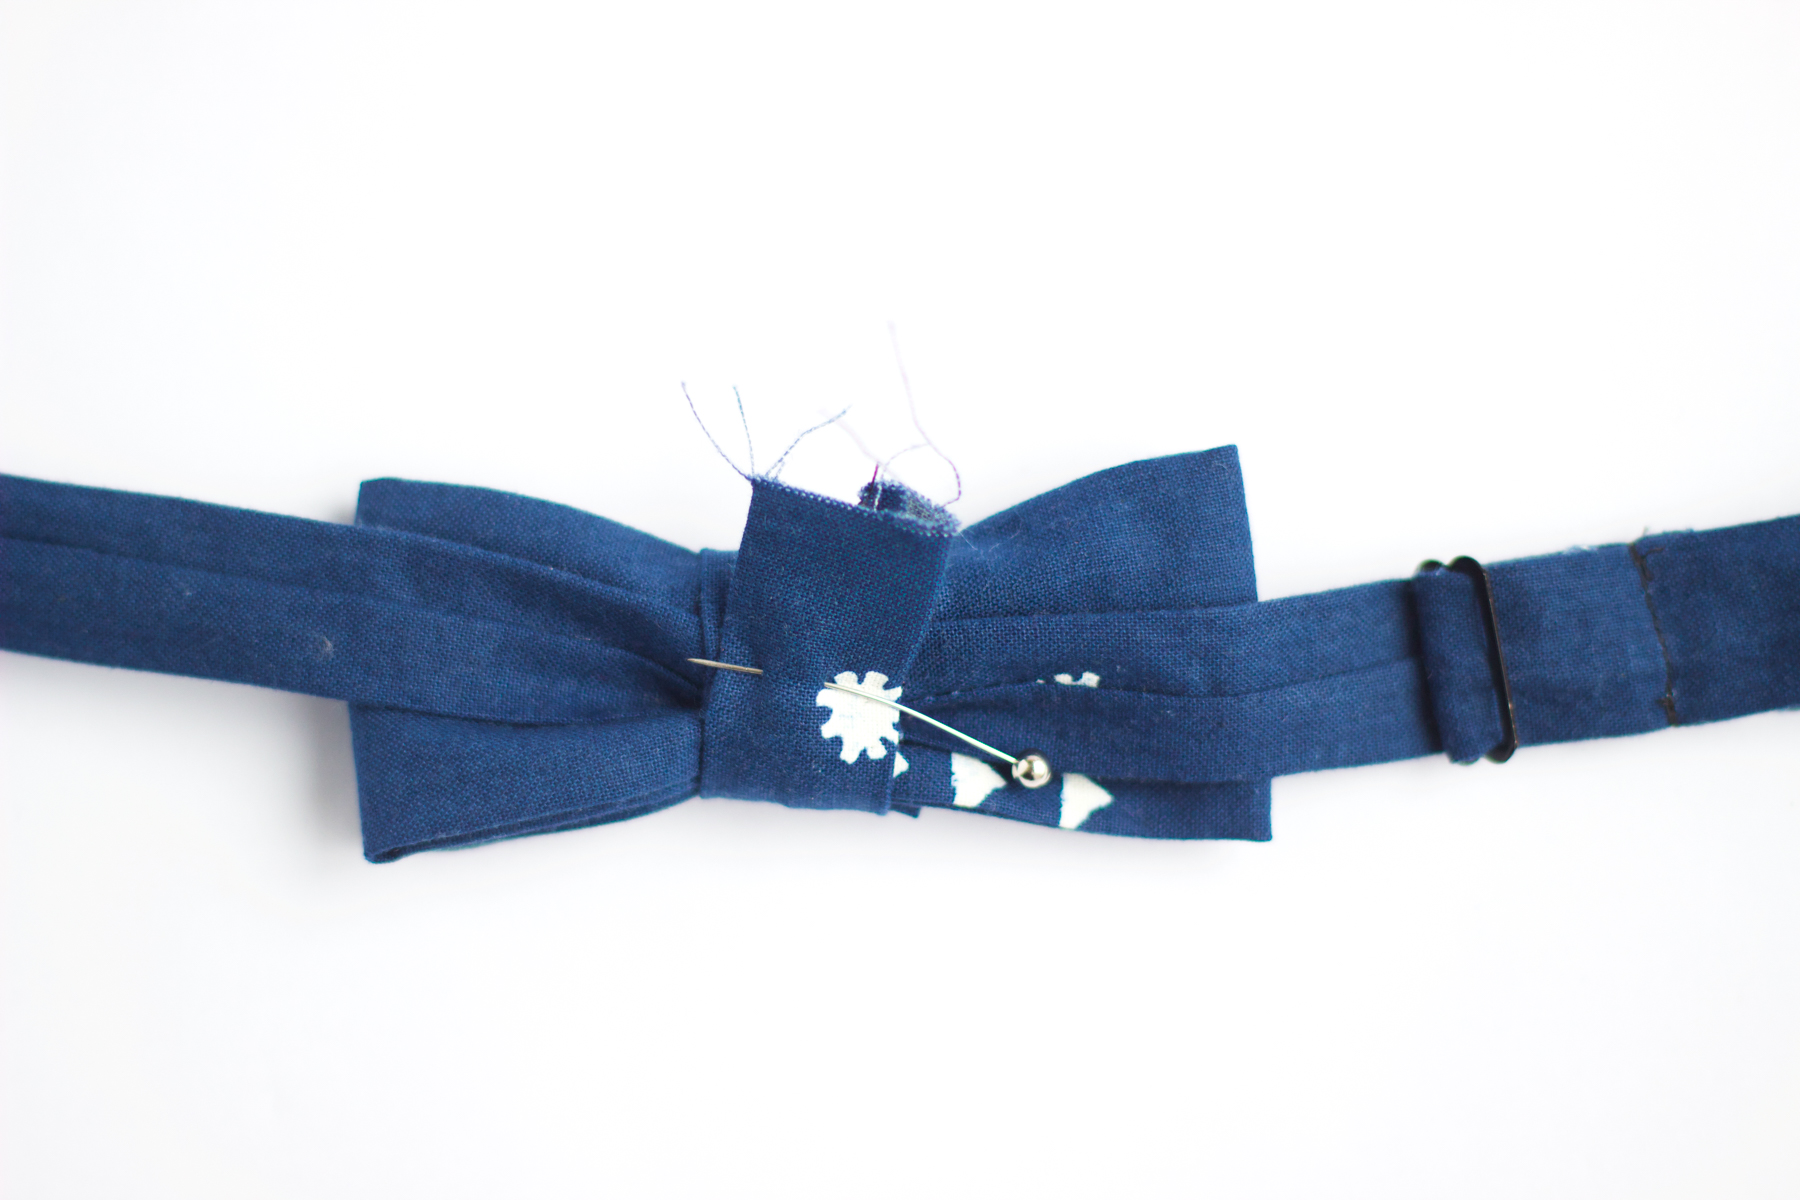
And Voila! You are done your bow tie! Hope your little ones enjoy adding bow tie accessory to their outfits!


Follow along on Instagram @kukarudesigns.com or facebook at kukarudesigns. Tag me in your makes because I would love to see and share them over on Instagram!

Also check out some other easy DIYS and my fabric haul where I purchased the fabric for these bow ties see the posts below:

  • Fabric Haul
  • How to Sew a Bow

IF YOU LIKE THIS POST, SMASH THE SUBSCRIBE BUTTON TO MY EMAIL NEWSLETTER FOR UPDATES ON NEW MAKES AND PATTERNS. SUBSCRIBING HELPS TO  SUPPORT THE BLOG SO WE CAN CREATE MORE TUTORIALS LIKE THIS FOR YOU!

PLEASE PIN THIS IMAGE FOR YOUR PINTEREST BOARDS

Children, Free Tutorials, Sewing ·

« Self-drafted Family Christmas Pyjamas
DIY Drawstring Bag »

Hi I’m Kusala. I share how to make some of my favourite handmade items.  Anyone can become a maker. The key is to just get started and figure it out as you go along. Read more.

Sign Up for Tips · Tricks · Updates

HELPFUL LINKS

About Me
Contact
Permissions
Privacy

Follow along on

  • Facebook
  • Instagram
  • Pinterest
Retro boxy tee hack gives me all the summer vibes! Retro boxy tee hack gives me all the summer vibes! This time I decided to use the #MNjarrah to make a t-shirt using leftover striped cotton jersey fabric that I had purchased from @blackbirdfabrics last year. I am finally making my way through my fabric stash! This was a make it work moment with limited fabric and a stripped print ah! If you have sewn with stripes you know...getting those lines to match up is something else. This tee is far from perfect but I LOVE it so much!

The base was a sleeveless Jarrah Sweater. I altered the pattern by making two sleeves (check the blog for details) and shortened the hem all while trying my best to keep the stripes matched up... I would say 85% of the time it worked! Check my stories for the bloopers :)

Do you have any favourite tshirt patterns?
_____________________________
Pattern: Jarrah Sweater @megannielsenpatterns 

Fabric: Striped cotton jersey @blackbirdfabrics 

#mnjarrah #meganneilsenpatterns  #sewersofinstagram #sewcreative #memadeeveryday #sew #sewingblogger #handmadewardrobe #imakemyownclothes #diyfashion #sustainablefashion #isew #iheartsewing #handmadeootd #memade #ilovesewing #isewlated2021 #handmadeootd #sewcialists #ootd #momstyle #blackbirdfabrics #kukarudesigns #memadeeveryday #retrofashion
It has been some time since I introduced myself. L It has been some time since I introduced myself. Let me know if you have anything in common!

1. My name is Kusala prounounced Ku-sa-la (it means good karma)
2. I was born in Sri Lanka and moved to Canada when I was 2
3. I have lived in 4 Canadian cities including Montreal, Vancouver, and Ottawa
4. My first creative hobby was playing piano. I played until grade 9 royal conservatory at which point I did not want to be hassled to practice and promptly quit ha! 
5. When i was younger I took traditional Kandyan dancing lessons and even performed on Parliament Hill
6. I have killed many plants in my lifetime but still love to think I have a green thumb
7. I work in health research
8. I have naturally curly hair but hated the look growing up so I always straightened it. Sometimes  I would straighten it just to curl it again. I’m finally embracing the natural curls.
9. I live in loungewear and that is the majority of my wardrobe
10. I am a mama to two boys who are home with me while I’m on maternity leave. I’m thankful that I get this year with them and I know how lucky I am to be able to be at home for this length of time. They are my inspiration for my kids sewing patterns.
11. Sewing and diy is my creative outlet and has helped me through this pandemic.

I hope you got to know me a little better.  I’m excited you are all here and following along my chaotic journey.

#mnjarrah #jarrahsweater #imakemyownclothes #sewcialdistancing #isewlated2021 #sewistsofinstagram #ilovesewing #memade #memadeeveryday #ootd #diyfashion #sustainablefshion #isew #sewfashion #statementsleeves #heart #heartfashion #fashionsewing  #sewersofinstagram
#memadeeveryday #sew #sewcreative #fortheloveofsewing #memadevalentine2021 #diy #introduction #pigeonpinkredparty #pocwhosews
For Galentines day, we pair a sweatshirt with a fu For Galentines day, we pair a sweatshirt with a fun tulle skirt...

..and call it cozy high fashion ha!

I had been searching for weeks for a pattern to make with this beautiful dreamy pink leopard print terry fabric I purchased from @simplififabric and just could not settle on one. I finally decided to make the leap and use it to make the #mnjarrah– view  A.

Anyone else have anxiety trying out a new pattern?

Even after cutting into it, I questioned my choice but I am so glad I trusted the process. Since this fabric is not fleece-lined, it actually has the perfect amount of drape for a lightweight cozy sweatshirt for the Jarrah!

I had a lot of fun dressing up and wearing heels for #galentinesday ! I also wanted to participate in some online valentines day sewing community challenges this year which gave me the extra motivation to finish this make on time!

_____________________________

Skirt : Handmade by me - self drafted. Tutorial on the blog.

Pattern: Jarrah Sweatshirt @megannielsenpatterns 

Fabric: dusty pink organic French Terry Fabric @simplififabric 

#mnjarrah #memadevalentine2021 #pigeonpinkredparty #sewersofinstagram #sewcreative #memadeeveryday #sew ##sewingblogger #handmadewardrobe #imakemyownclothes #diyfashion #sustainablefashion #isew #iheartsewing #ootd #memade #ilovesewing #isewlated2021 #valentinesday #galentinesday #handmadeootd #sewcialists #ootd #momstyle #simplififabric #kukarudesigns #MNjarrah
Let's talk about throw pillows and the oh so popul Let's talk about throw pillows and the oh so popular pom pom pillow...

I was watching a video on @alexandragater channel recently and came across these super cute pom pom pillows. Since then I have seen them everywhere online. It is the perfect combination of the boho chic style that is all over Pinterest! 

These pillows retail at SUCH a high price point. I found one at @hm but they have been sold out for months! So I decided to DIY a pom pom pillow for the nursery to add that fun pop of colour to the room! 

The tutorial will guide you through sewing two different styles of pillows a simple zipper cushion cover AND a pom pom pillow BBC!

For the pom pom cushion I used a beautiful luxe velvet cotton that is so soft! The zipper cushion was made from a heavy weight linen in the colour canyon. As for the yarn, I used what I had in my stash but any thick yarn will work!

I love how this adds a fun pop of colour to the room!
________________________________

Throw pillows: handmade by me
Fabric: velvet cotton and linen @spoolandspindle
Let’s talk about loungewear... It seems like 20 Let’s talk about loungewear...

It seems like 2021 is starting off the same as 2020 in terms of fashion trends. Loungewear is still having its moment this year with loungwear sets and rompers trending. Seeing that I will be at home for the forseeable future, I needed a few more cozy pants and I knew I had to sew up another pair of Hudson Pants . 

For this make, I used a beautiful brushed french terry from European Import that I purchased from @simplififabric last year. 

This fabric is honestly the most cozy material I have ever worn! It has a stunning muted touch on the outside and warm, ultra fuzy inner lining.

These pants pair well with a t-shirt and zip up hoodie :) I chase two kids around all day, and cozy pieces just make it easier to play with them.

Also I used my new @babylocksewing serger for these pants! I have to say the serger does a beautiful job in finishing off the knit seams and I KNOW it will withstand lots of stretch. However, the sewing machine is super simple to use since I know it so well. It still made a beautiful pair of pants which ultimately is what you want at the end.

________________________________

Pants: Handmade by me
Fabric: European import brushed French terry in khaki @simplififabric
Pattern: Hudson pants by @truebias 

#hudsonpants #truebias #sewersofinstagram #sewcreative #memadeeveryday #sew ##sewingblogger #handmadewardrobe #imakemyownclothes #diyfashion #sustainablefashion #isew #iheartsewing #ootd #memade #ilovesewing #isewlated2021 #isewedpants #loungewear #handmadeootd #sewcialists
Let's talk about window treatments... I definitel Let's talk about window treatments...

I definitely had some mild anxiety when I fully understood how expensive home ownership can be! From adding storage units everywhere in the house, furnishing additional spaces and ….

…the cost of window treatments.

I wanted to add some hygge vibes into the nursery. It was a bit lack luster on the comfort side of things. These DIY custom curtains were less than $130 to make and install. I was able to get the look, length and quality that I envisioned for the space. 

You guys! This was the first time I hung up this #ikea racka curtain rod all by myself. Yes it may be only a curtain rod but I am so dang proud of myself.  I now have this new found confidence for using power tools ha!

The details on how I got this look are up on the blog! 

________________________________

Fabric: Cotton/linen blend from @lensmillstore 
Curtain rod: Racka @ikeacanada 
Curtain hooks: @ikeacanada 

#lensmill #localfabricstore #kwawesome #kwcraft #sewersofinstagram #crafting #canadiansewer #customcurtains #customdrapes #curtains #roommakeover #nursery #nurserydecor #sewcreative #sewist #sewingblogger #craftsastherapy #sewialdistancing #isewlated2021 #ilovesewing #customwindowtreatments #interiordesign #handsewn #custommade #ikeahack #ikeadecor #ikeabedroom
I’ve had a weekend full of failures... If you w I’ve had a weekend full of failures...

If you were following along this weekend I thought I could finish my Hudson Pants. Turns out I could not get my serger to cut through three layers of fabric and it kept getting jammed and I ended up with broken thread as well as broken needles. After adjusting the machine, I found it a bit better. The project did come to a halt as I am now waiting on some needles ha! Any helpful tips for the serger/over locker?

Then onto sewing a curtain. I used the wrong pleating tape and the Ikea hooks I bought were too small! So, last night I had to order more supplies. It’s surprising how a couple items add up. Anyone else feel this way?

Oh and today when I tried to install one of the curtain rods that I bought nearly a year ago, it ended up being too short! 

Sewing is never perfect and it can be pretty messy sometimes. This weekend just ended up being more messy. I guess that’s part of the ride. 

#sew #sewingproject #sewersofinstagram #sewceative 
#memadeeveryday #sew #sewcreative #fortheloveofsewing #sewist #sewingblogger #sewing #handmadewardrobe #imadethis #ilovesewing #homesewn  #createmakeshare #etsy #etsyseller #makerstrong #craftsastherapy #sewingmakesmehappy#creativelifehappylife #sewallthethings #diyfashion #serger #overlocker #sergertips
I have been quiet this week.. I took a break from I have been quiet this week..

I took a break from sewing and creating this week. It has been a heavy week in more ways than one. Personally there has been some major life decisions in the background that are exciting but also emotionally heavy.

And now a fresh new year and we are back into a state of emergency and stay at home order. Of course this has not changed much for me since I’ve been following the same guidelines for nearly a year now. Yet, there are still so many feelings around the loss of normalcy, loss of connection and loss of routine.

I know many of you are in a similar position or having similar feelings. I have found that taking a moment to process all of those feelings and sit with them has been has been a such a game changer both physically and emotionally. Know that this moment in time is not going to last forever. 

I will be starting some new projects this week to focus my energy. I find sewing and crafting a way to channel those feelings. 

How are you all doing?

Copyright © 2025 · KukaruDesigns · Hello You Designs