The Cedar Sweater – Sewing Pattern Review
As a new year begins and more lockdown restrictions are placed, I was reminded that one of my goals since starting this blogging journey was to create more clothes for myself. You know, the type of sustainable wardrobe designed to fit my needs in both style and comfort. It is just so easy to click add to cart. Do not get me wrong, I have done this far too often!
However, recently I have purchased less online because I have no idea how the piece would fit or if I would even like it. You guys, I have not shopped for clothes at a mall since March! So, trying clothes on in person with two young kids will be a distant dream. This pandemic life has kept me either at home or outdoors ha! So here we are, the beginning of January and I an finally making more garments for myself.

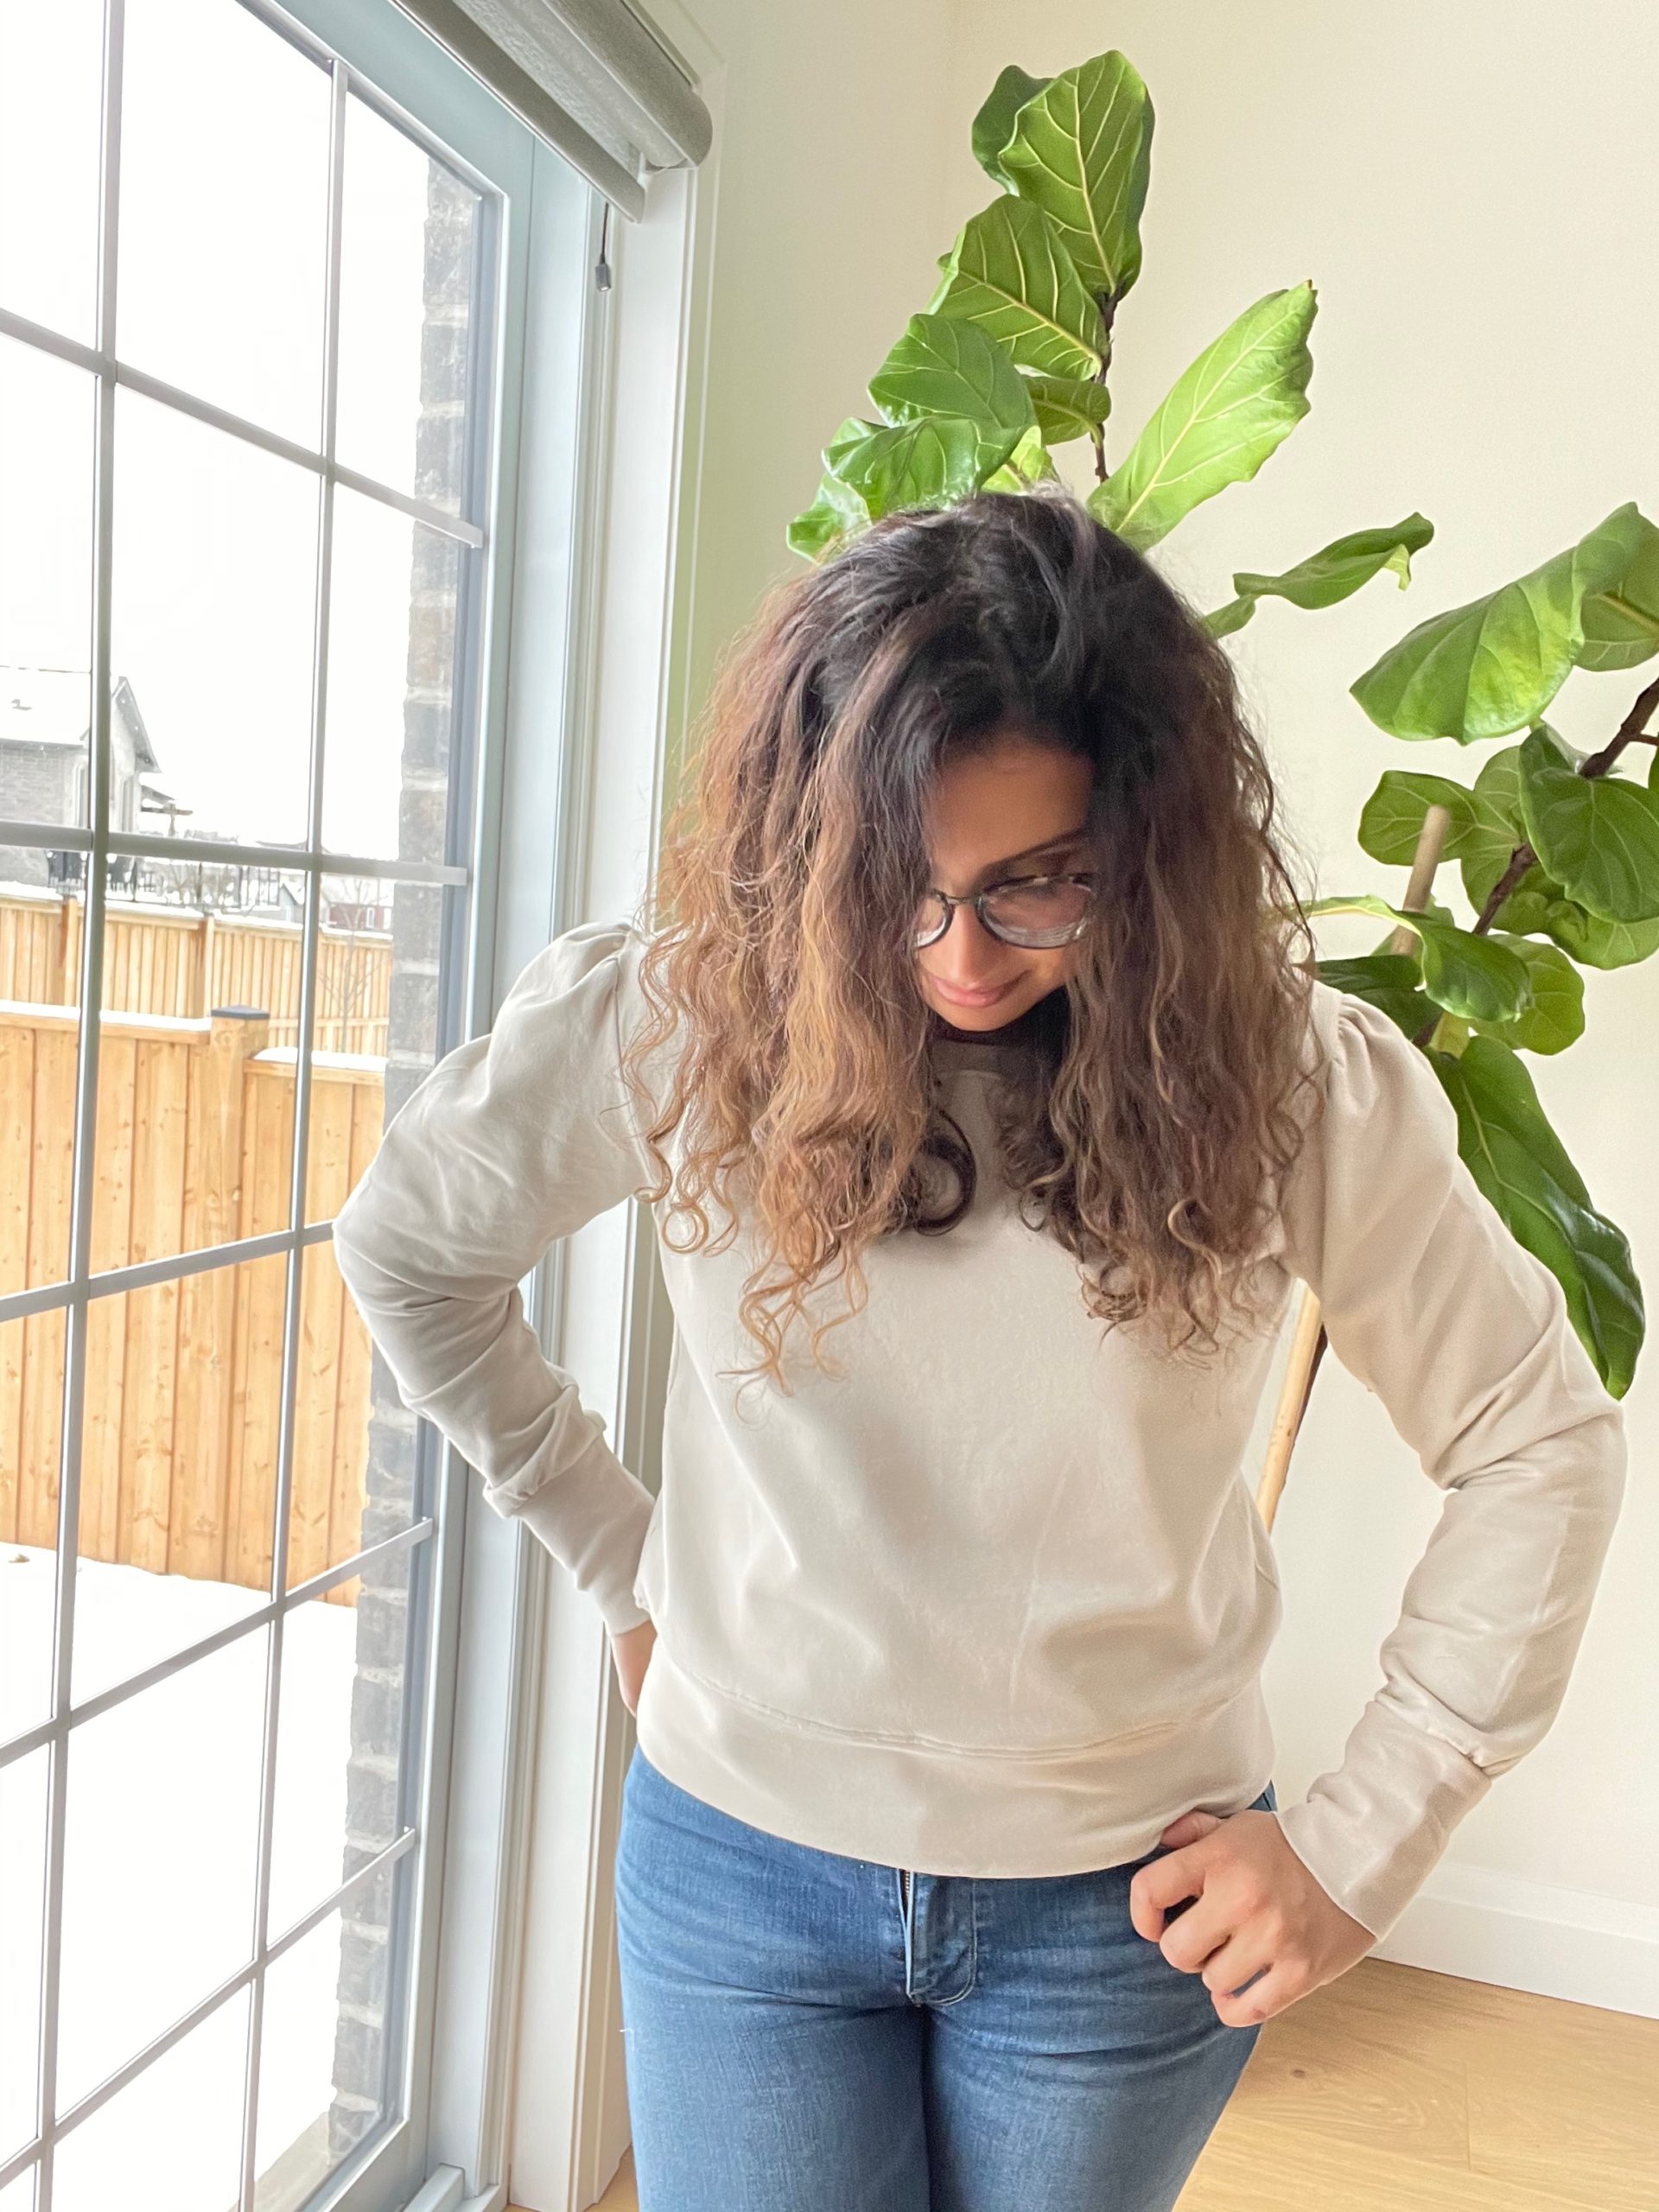
As in true 2020 fashion, comfort had to be a priority! The whole jogger sets that were blowing up online were goals. So, I grabbed myself the Cedar Sweater by Sew North for my first make of 2021. Then as it usually goes with any creative process, I looked up some ways to hack it so it could be a little more fun and flirty. There are some wonderful hacks out there but I decided to do a bit of the original with a bit of flare.
For this make, I purchased the European Import French Terry Knits in Sand and the matching ribbing from Simplififabric. Can I just say the fleecy interior and simple clean neutral colour had me super excited for this project!
Also note the socks I forgot to take off after skating with the kids ha! It’s very fashion forward if I do say so myself.
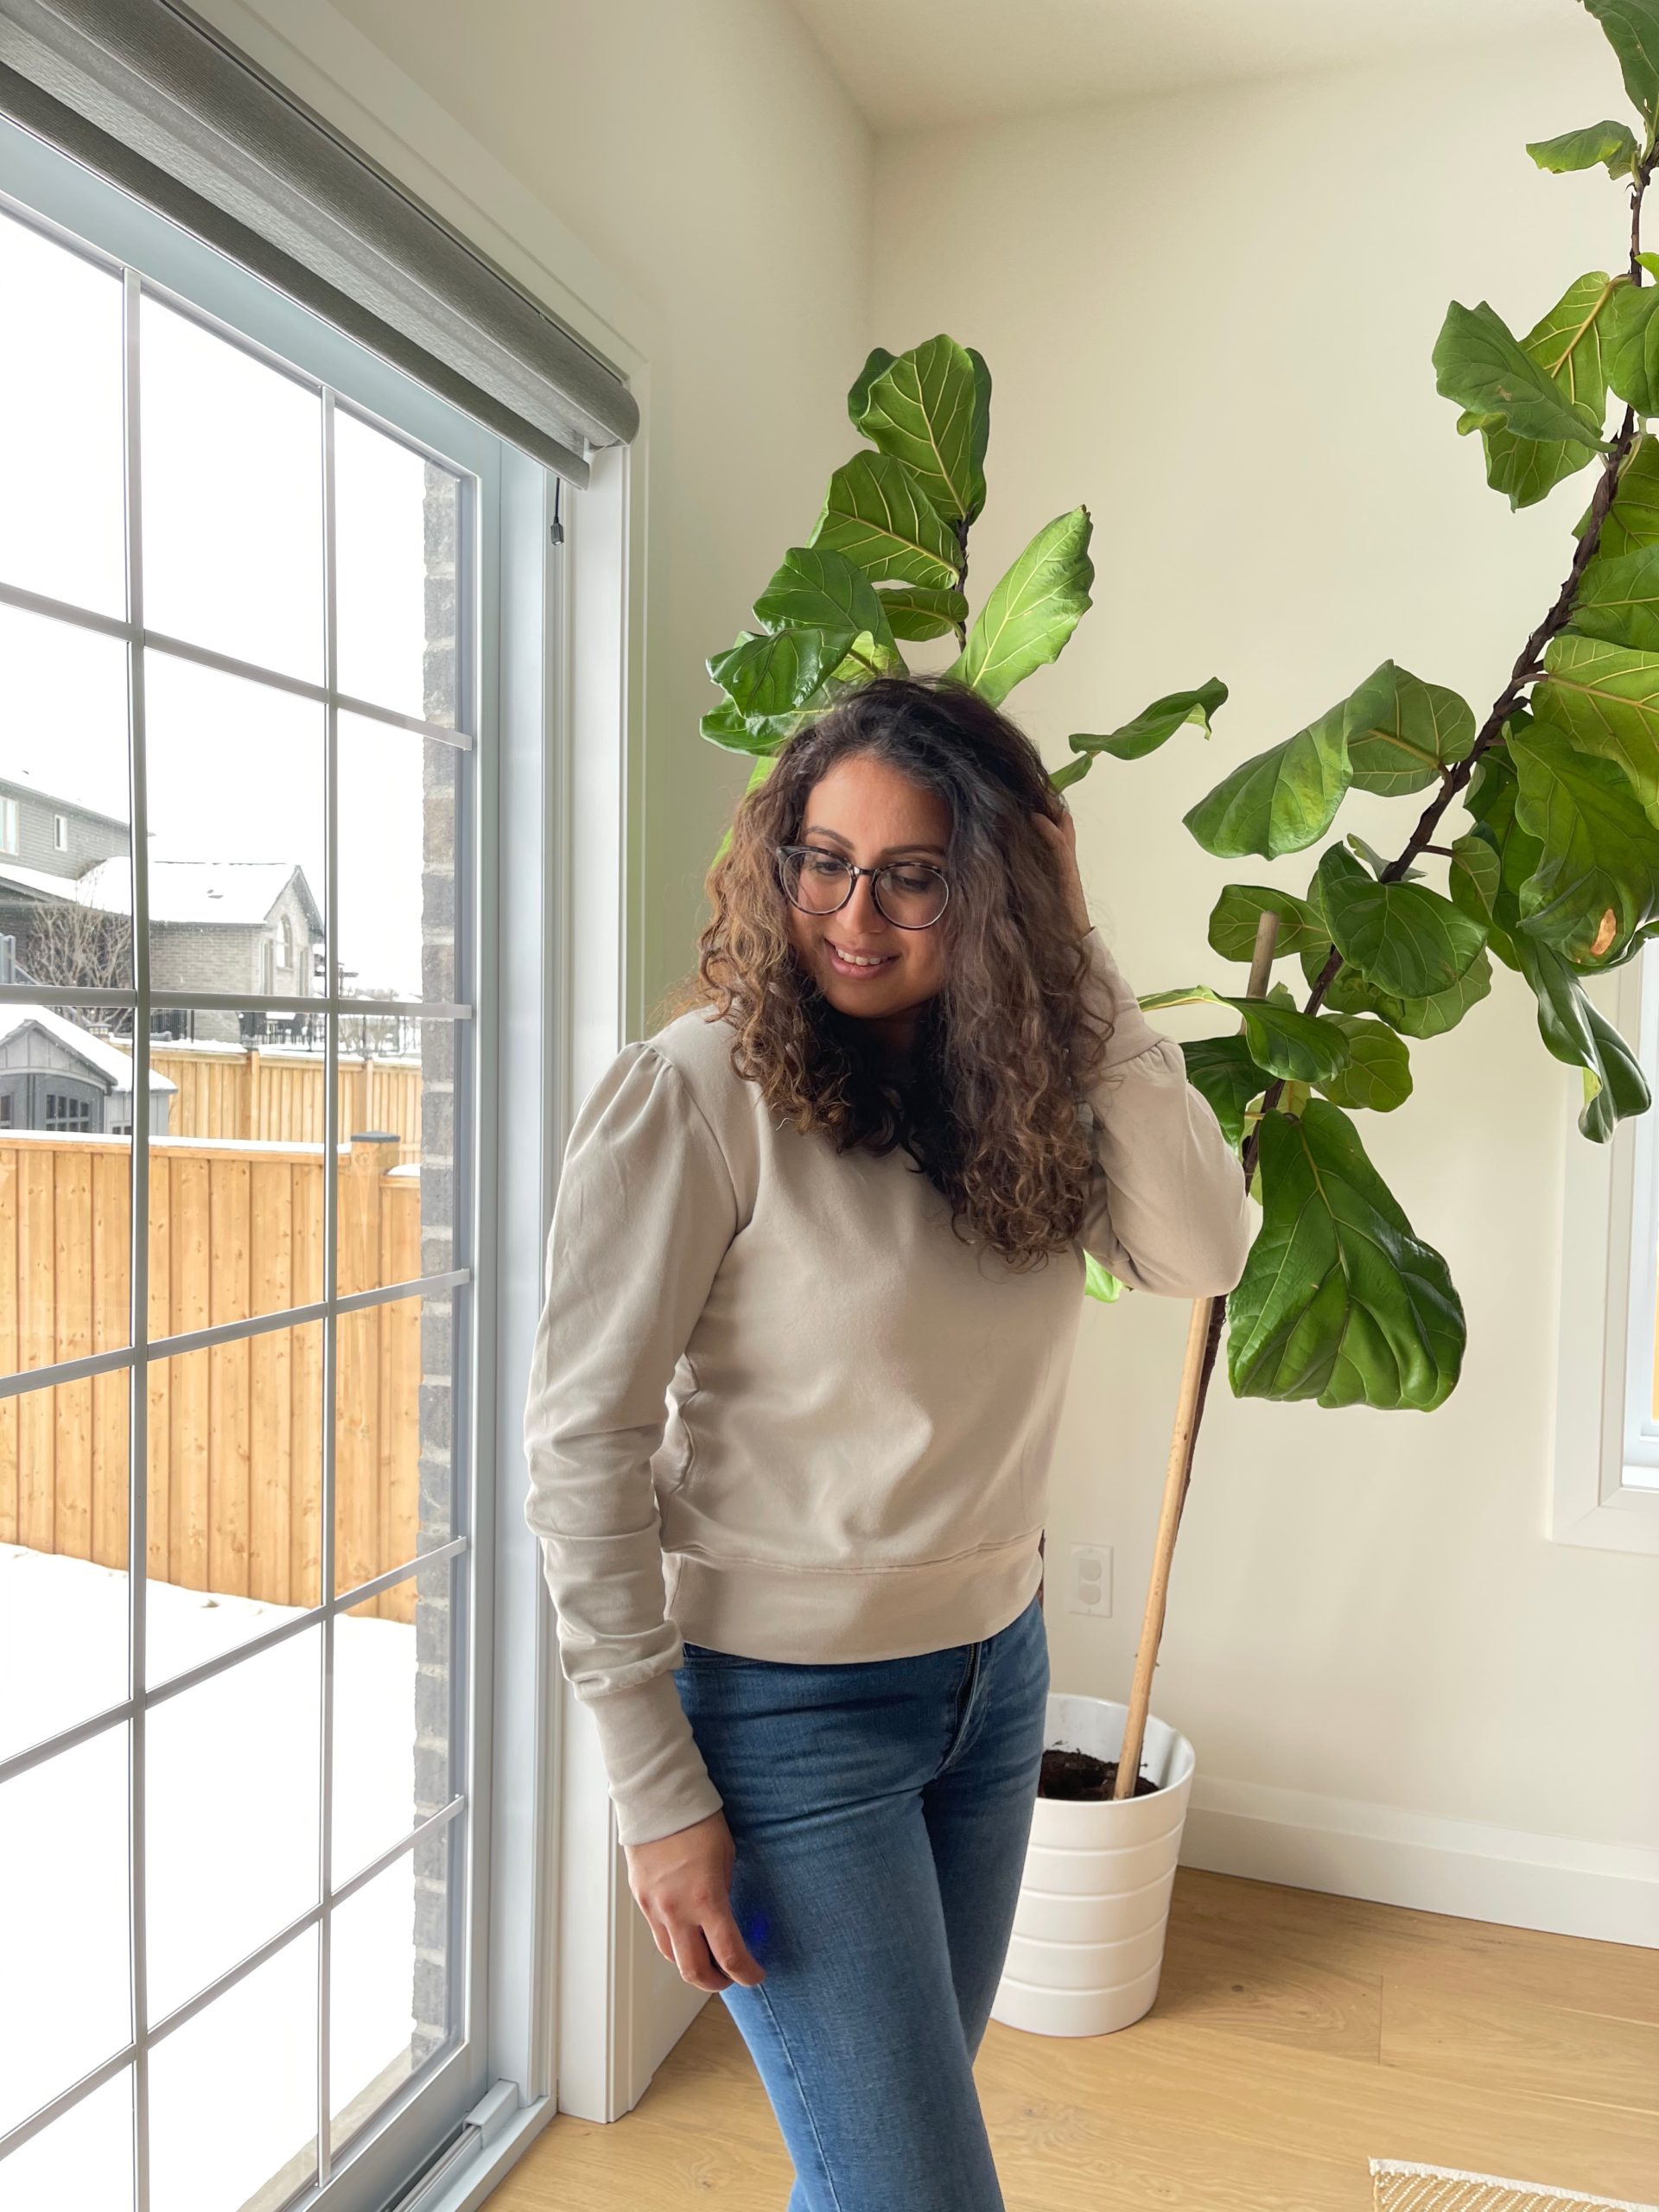
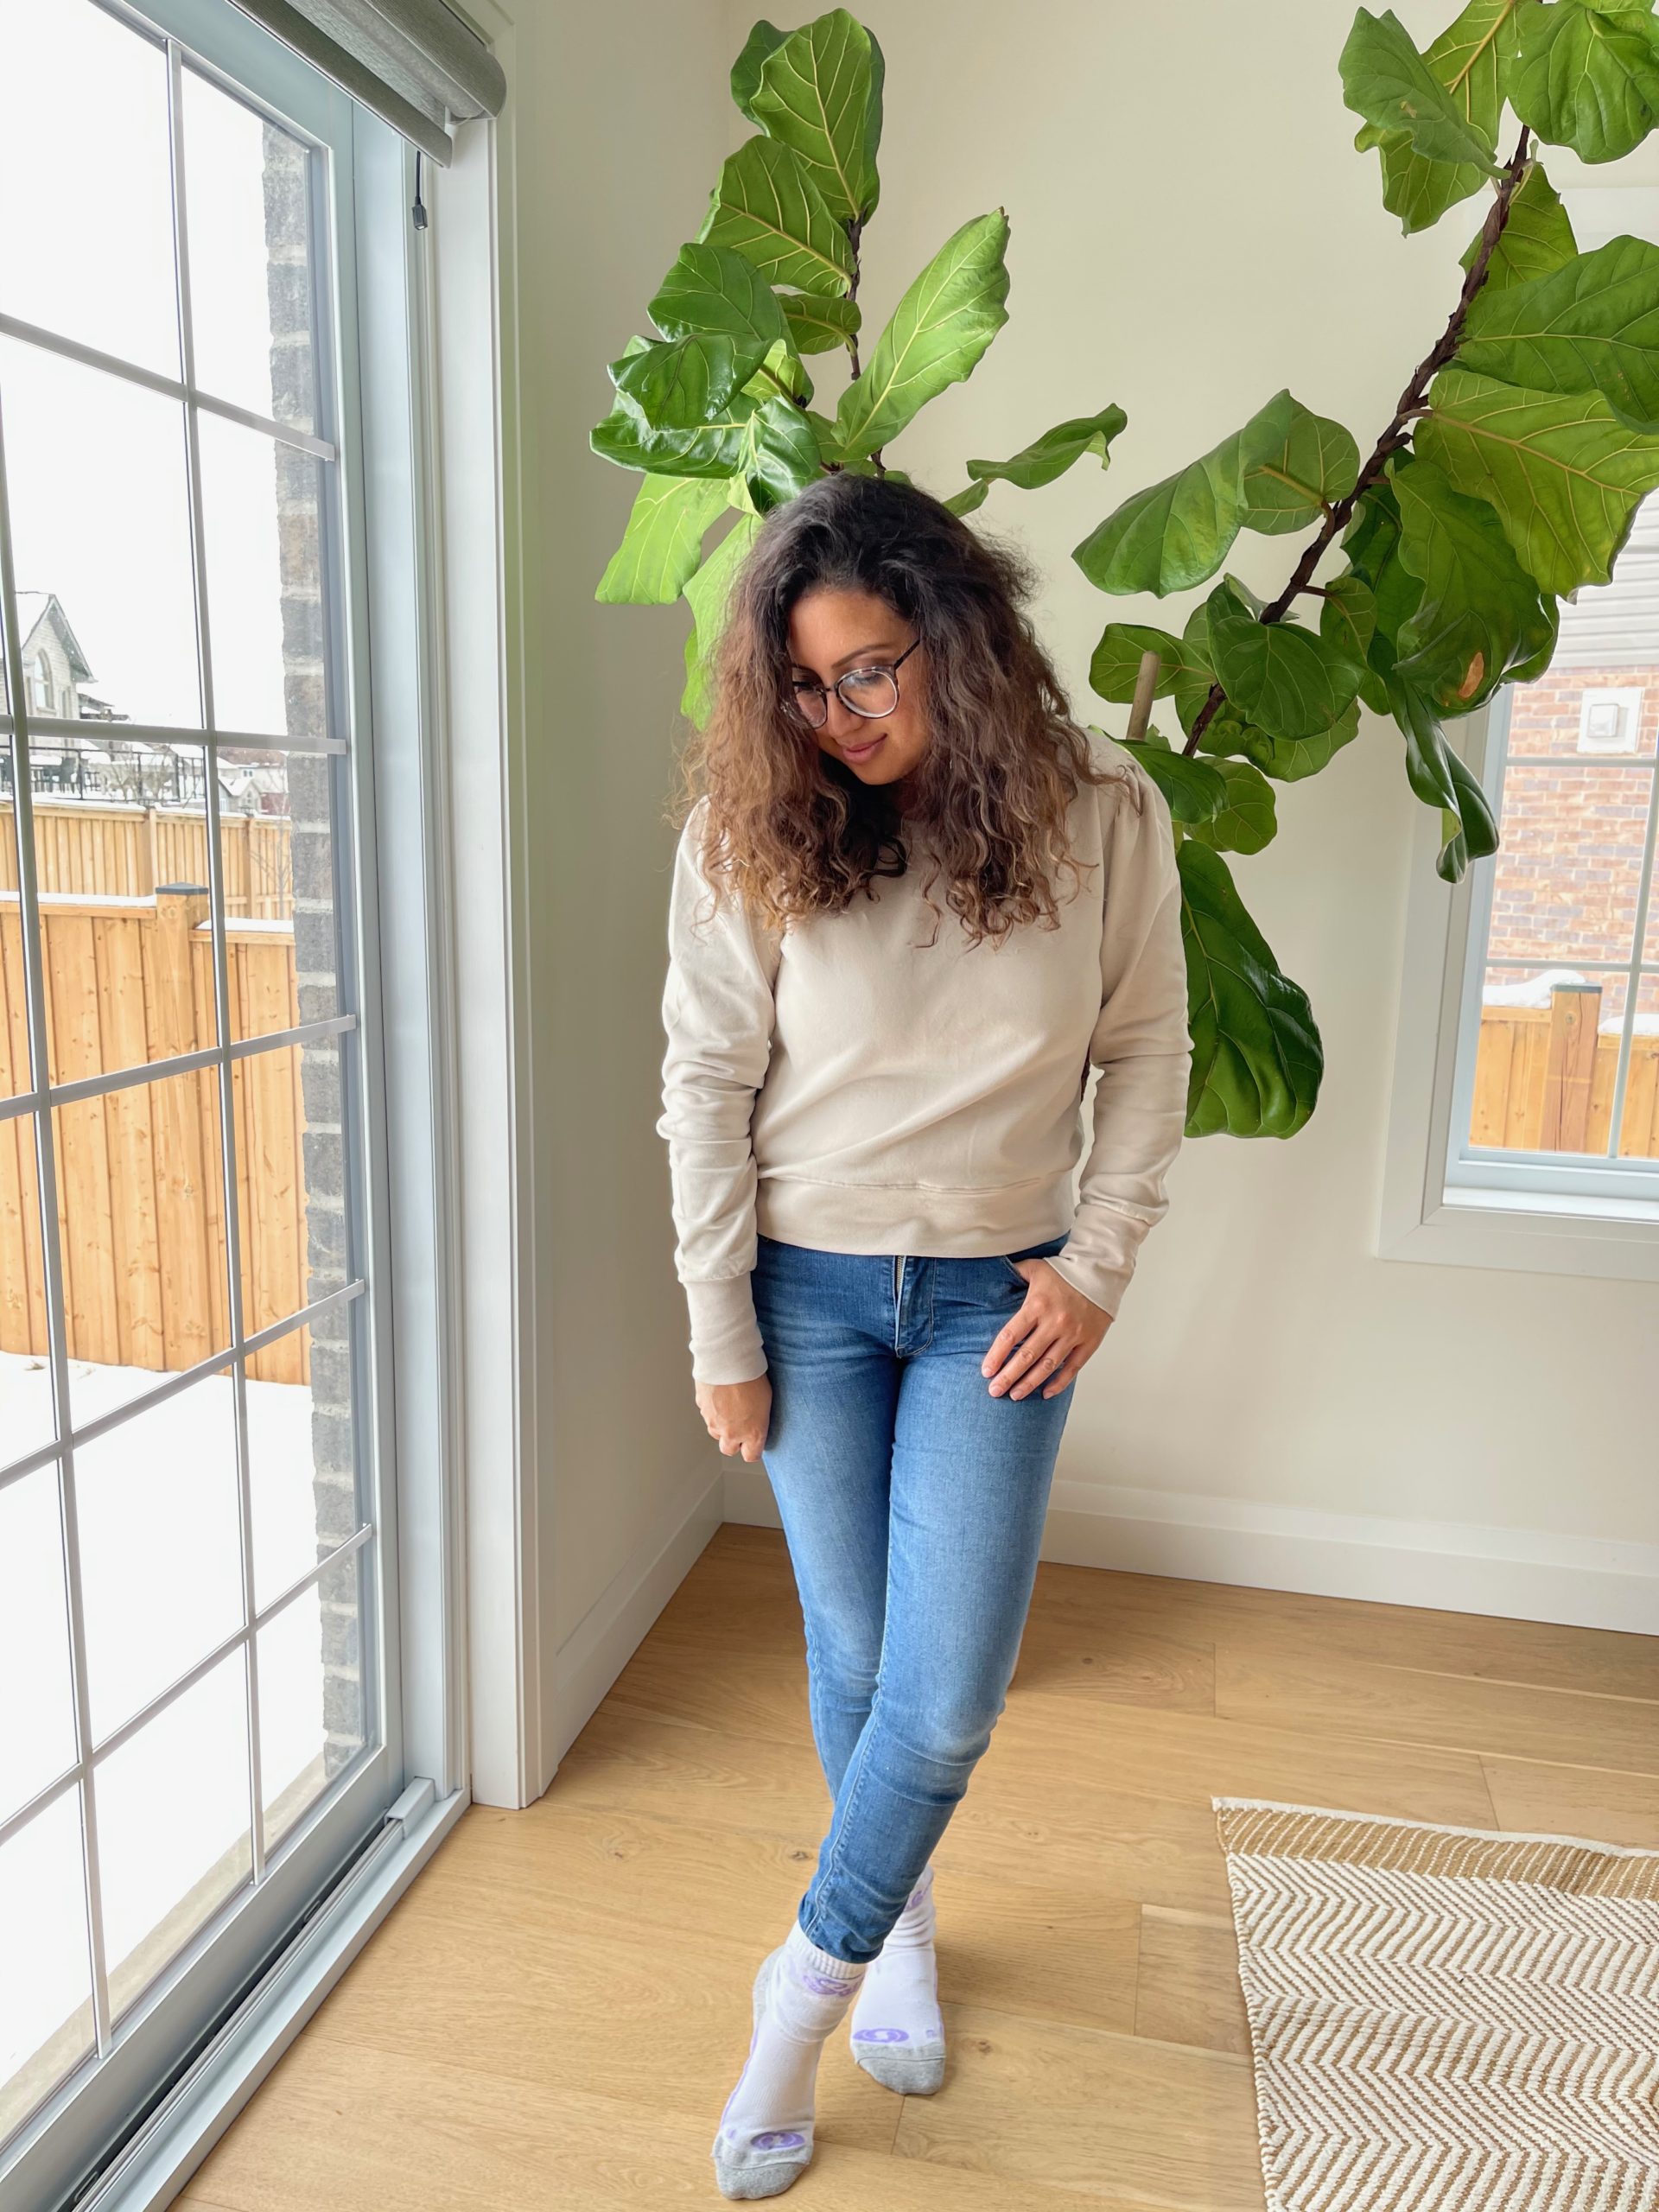

This was also my first time that I used my new Babylock serger! Both exciting and nerve-wracking. It brought on a whole new set of issues when making this piece and required some trouble shooting. More on that later!
The full story of the process can be found on my highlights on Instagram!
Sizing, Adjustments and Customization
I choose to sew a size 6 for this pattern. I extended the length of the body 2 inches. In hindsight, I should have extended it another two inches for my postpartum body for a bit more personal comfort. However, the cropped look is super cute! I also extended the cuffs by two inches and used a 5/8″ seam allowance to create a tighter cuff around my wrists.
The Sleeve Pattern
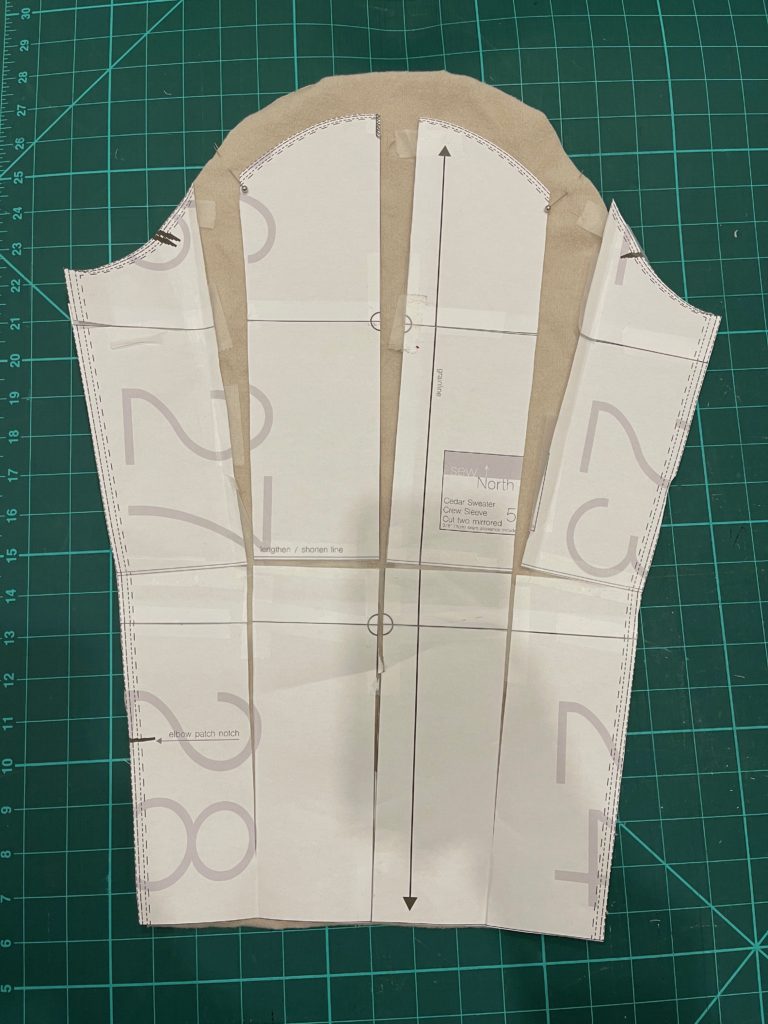
For the sleeve, I wanted to do puff version. First, I cut the pattern and fanned it out at the sleeve lengthen line so that I could have a tighter fit along the bottom portion of my arm. I extended the height by 1.5″ and the width by 1.5″ between each gap.
Gathering the Sleeve
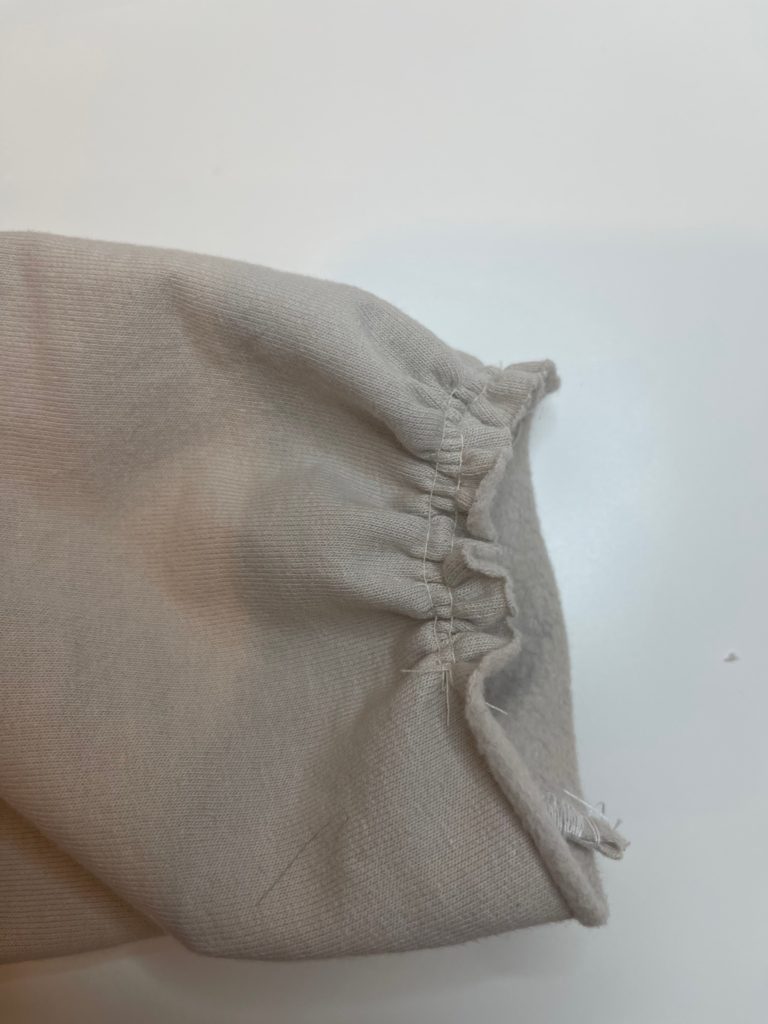
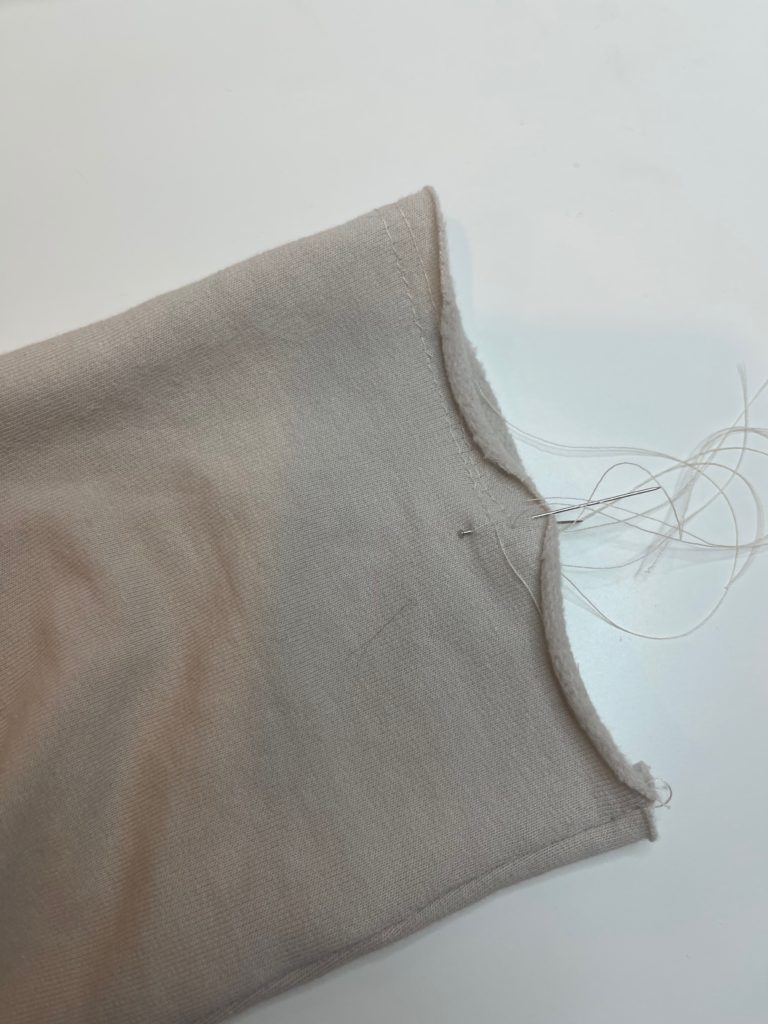
To create the puff sleeve, I gathered the sleeve between the two pins above. First, create gathering stitches by sewing two straight stitches using the longest stitch length on my machine without backstitching at 1/4″ and 3/8″ inch seam allowance and leaving the thread ends long. Note, I gathered the bottom of the sleeve using a similar method shown in the pictures below. Then pull on the threads to create the gather and tie the ends to keep it in place. Adjust the gather as needed when joining the sleeve to the arm hole.

I also gathered the bottom of the sleeve. The pictures below were my first take on it but I ended up gathering around the whole bottom sleeve. Then I attached the rib knit cuff using a 5/8″ seam allowance.
The Hem
For the bottom hem I used the same knit fabric as the body of the sweatshirt because I ran out of ribbing. Well, I had major issues attaching this hem using the serger. In fact, I had some pretty intense puckering even after top stitching. Turns out it was a tension issue and a pressing issue. Yes, if you must know, I was covered in thread one night while ripping out the entire serged seam. I also pressed my seam this time BEFORE top stitching – which let’s face it I was too lazy to do the first time. Note to self – do not skip this step ever again when using a serger!

Final Thoughts
I would definitely sew this one up again. The main body of the pattern fits well and would make the perfect base for future hacks!

Follow along on Instagram @kukarudesigns.com or facebook at kukarudesigns.
