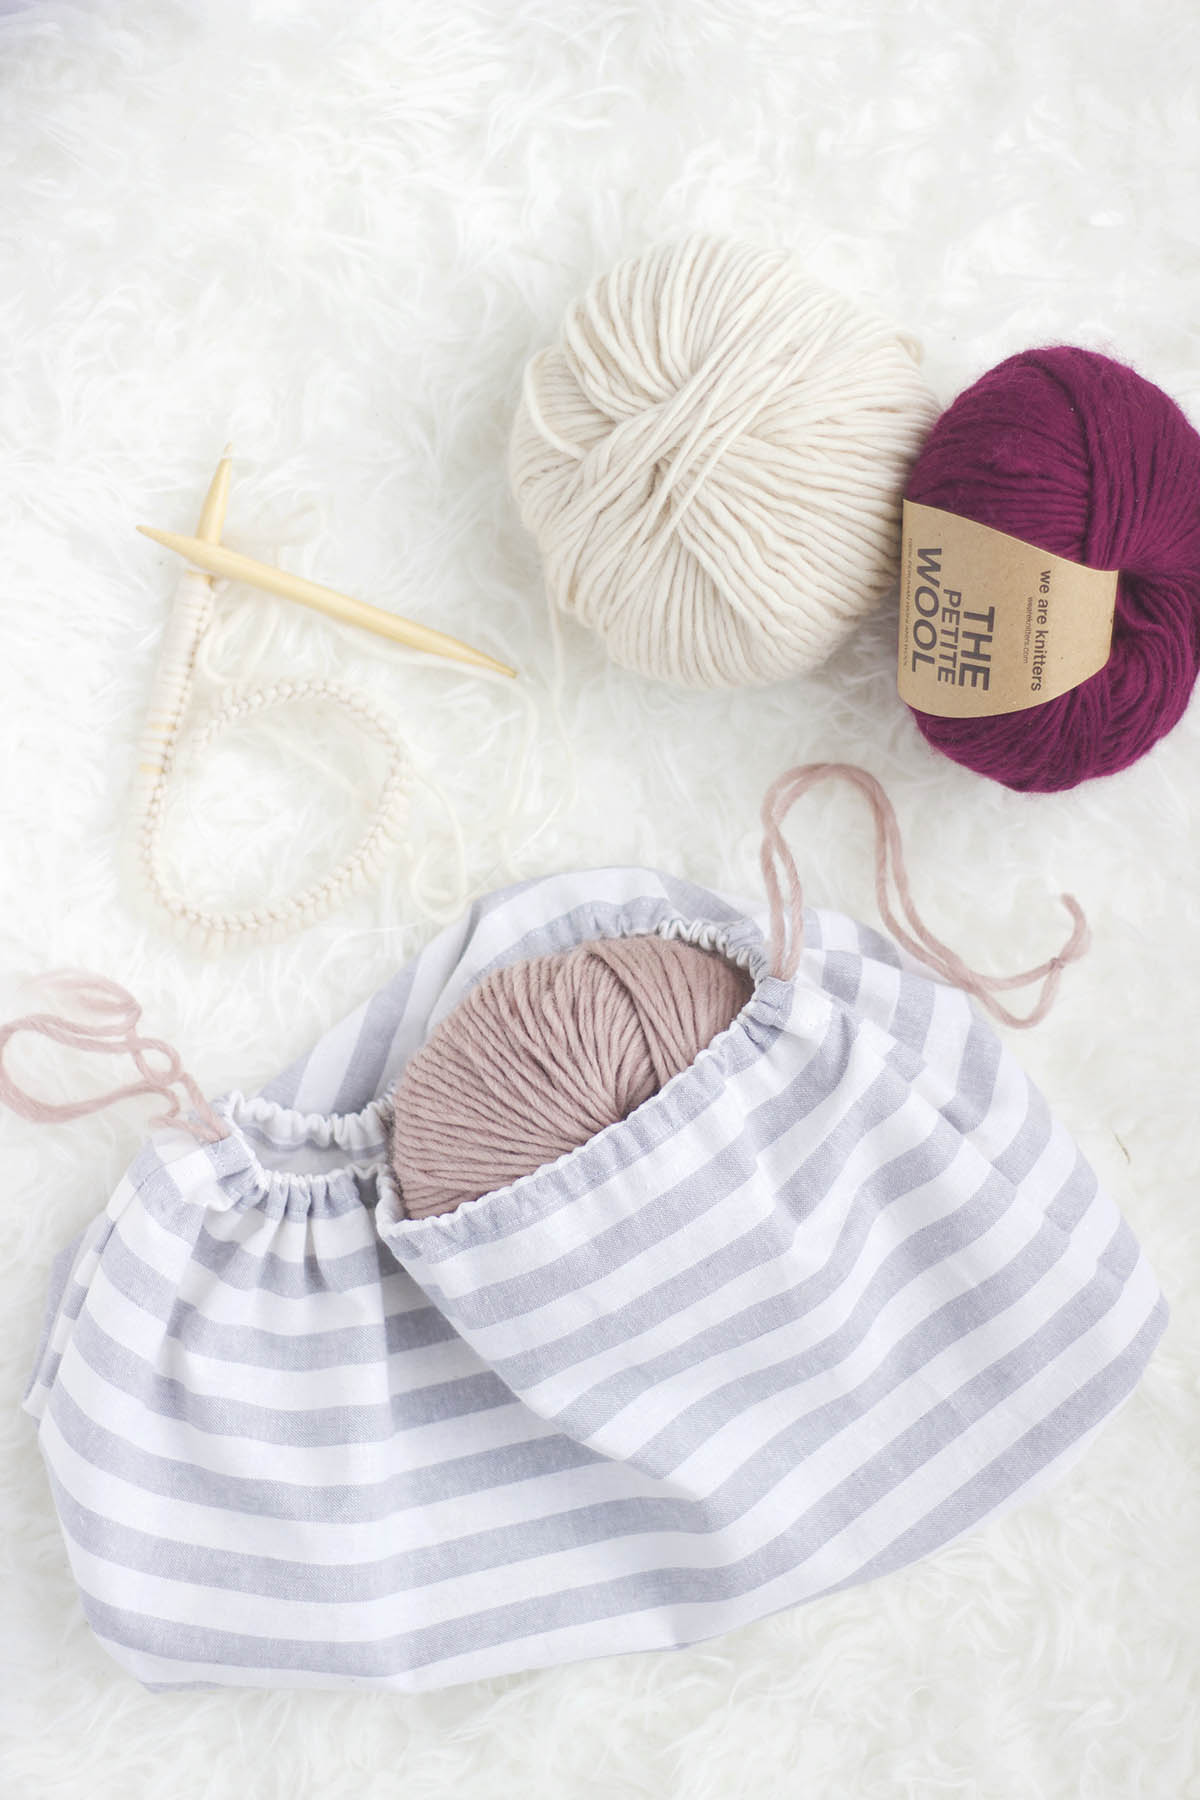
Beginner friendly Sewing Tutorial: The Drawstring Bag

This is drawstring bag of the easiest sewing projects out there and it is perfect for anyone beginner to sewing! Really, you can make this super simple drawstring bag which for me, doubles as a pouch to store my current knitting yarn. Rewind to the holidays where I was staring at the balls of yarn from my most recent haul just lying around. So, let’s just say I made this tutorial with a very specific use in mind – to store my yarn as I work through designing a new knit garment.
You can really make this bag out of any scrap fabric. I am currently trying to use up the fabric I currently have so that I can actually complete the projects that have been on my to-do list since last summer! I was in particularly need of a larger bag to store my yarn, so I did end up purchasing a fat quarter of fabric to make this particular project which came up to $5. You can use these bags for anything, for storing items or as a lunch bag! Have some fun with the print to make these drawstring bags extra unique!


Let’s get into it!
What You’ll Need:
- Fat quarter of fabric or any size
- Fabric used for the tutorial: Robert Kaufman- Essex Yarn Dyed Classic Woven – steel thick stripe(55% linen/45% cotton)
- String (e.g. bias tape, yarn, cording)
- Pins
- Thread
- Safety pin
- Scissors
- Iron
- Sewing Machine
Step 1: You will need two equal sized pieces of fabric. For this tutorial, I cut my fat quarter fabric in half which allowed for two 11″ by 9″ pieces.

Step 2: Place the two pieces, right sides facing each other. Pin all the way along the edges, leaving a 2 1/4″ gap from the top. Sew along the three sides leaving that gap at the top of each side unstitched leaving a 3/4″ seam allowance.
Note: I opted to have a wide drawstring bag rather than a tall drawstring bag. However, as a general rule the drawstring bag tends to sit better when the height of the bag is longer than the width.


Step 3: Fold over the both top edges by a 1/4″ and press using an iron. Remember pressing the seams down gives a more polished look and also makes it much easier to sew.

Step 4: Fold over unstitched sides (i.e. top 2 1/4″ top portion of the bag that was not sewn together) a 1/4″ and then another 1/4″ to 1/2″. Press using an iron. Repeat for all the sides.

Step 5: Sew down the edge of the seam, across and then up for this portion of the bag in order to secure the edges (see picture below). Repeat for the other side.

Step 6: Fold the top edge over ~1″ or so and sew along the bottom edge. This will create the casing for the string. If you have a wider string, make sure the casing is large enough to pass through once stitched.


Step 7: Cut two pieces of string that is about double the width of the bag + ~ 5 inches long. Attach the safety pin to one of the strings and pass it through one side (e.g. right side) of the casing through to the other side. Tie the two ends together. Then pass the second string starting on the opposite side (e.g. left side) of the bag through to the other side and tie the ends together. Now when you pull the two ends the bag will naturally close.


And you are done! Super simple and beginner friendly sewing project!

Follow along on Instagram @kukarudesigns.com or facebook at kukarudesigns. Tag me in your makes because I would love to see and share them over on Instagram!
Also check out some other easy beginner friendly projects:
IF YOU LIKE THIS POST, SMASH THE SUBSCRIBE BUTTON TO MY EMAIL NEWSLETTER FOR UPDATES ON NEW MAKES AND PATTERNS. SUBSCRIBING HELPS TO SUPPORT THE BLOG SO WE CAN CREATE MORE TUTORIALS LIKE THIS FOR YOU!


