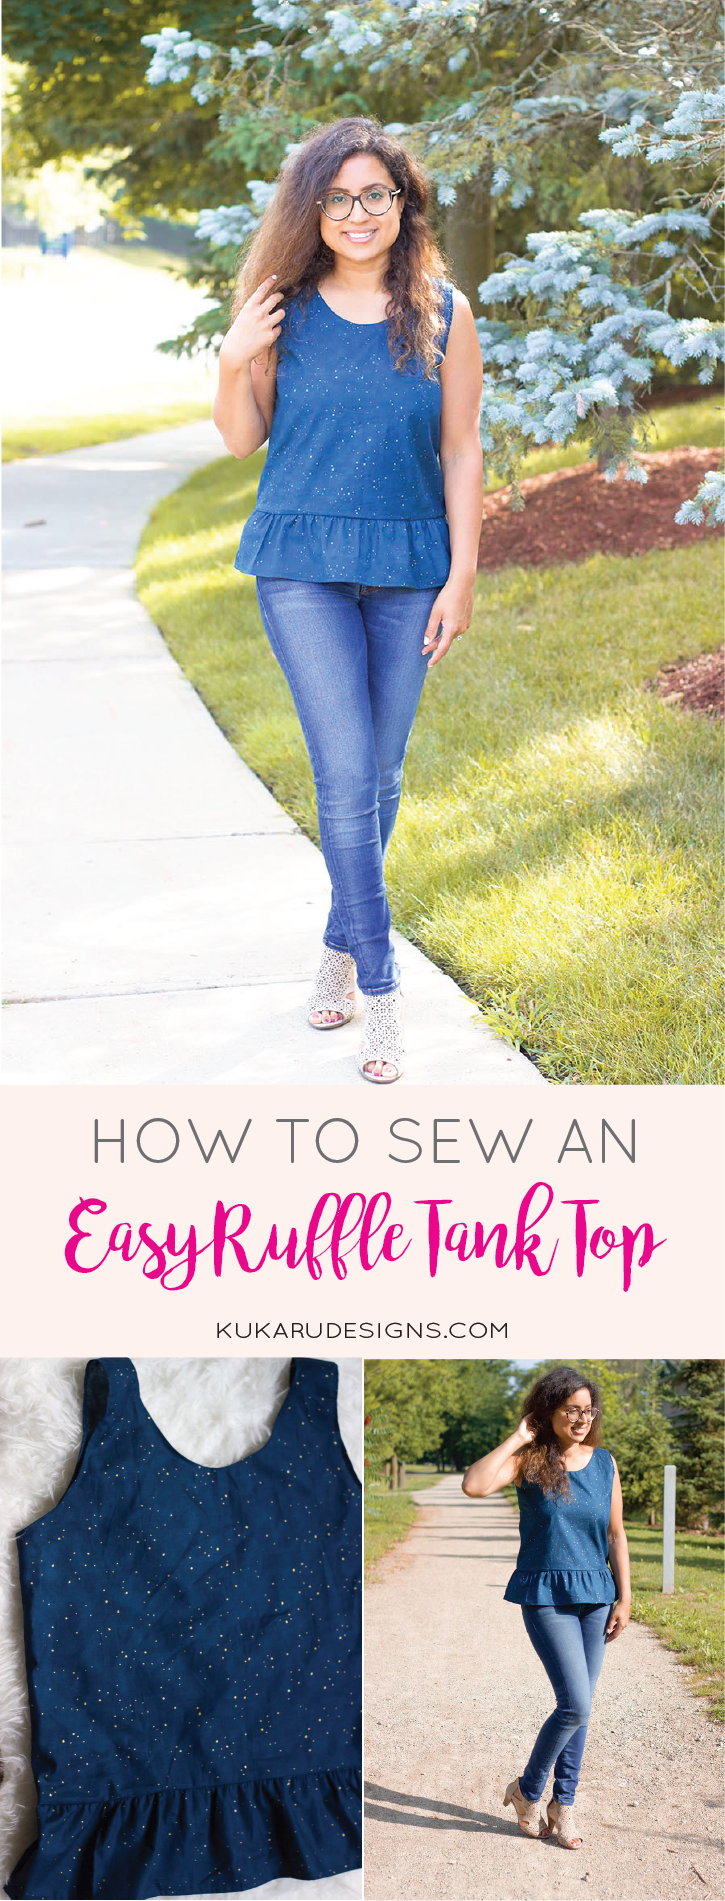
How to Sew a Tank Top with a Ruffle Bottom
I have been incredibly inspired recently to start making my own clothes. Following the sewing community on social media has shown me just how incredible the talent is out there! If you read my last post, I mentioned that I wanted to make a series on the blog showcasing my #memade clothes. Well, over the weekend I made this ruffle tank top using one of my loose fitting tank tops as a guide. I had no idea if it would turn out since I used a completely different material than the tank top I was working off of. It turned out better than I expected and could not be more proud! I have so many ideas just buzzing around in my head now. I cannot wait to add to my wardrobe!

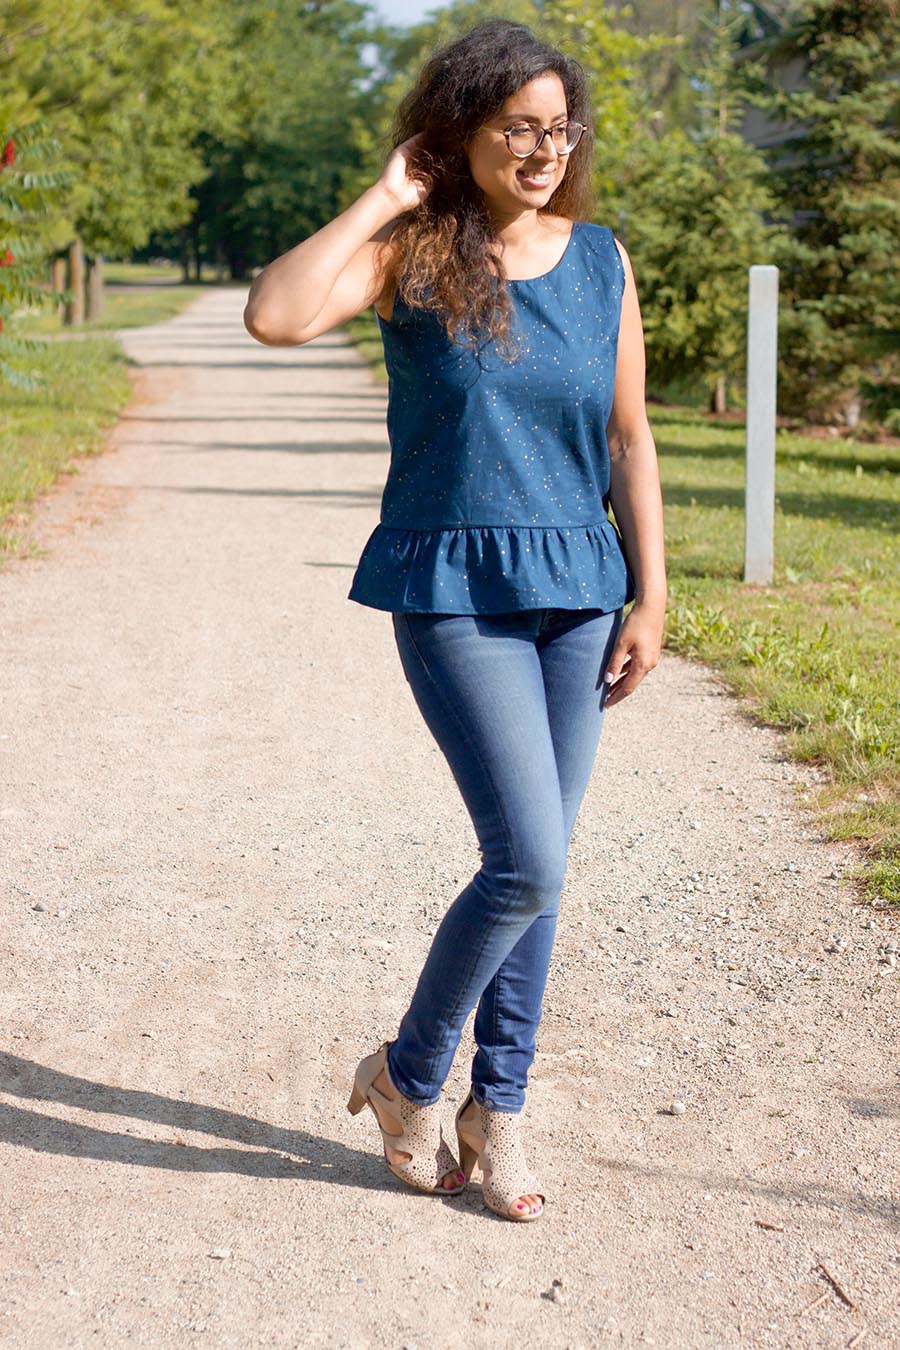

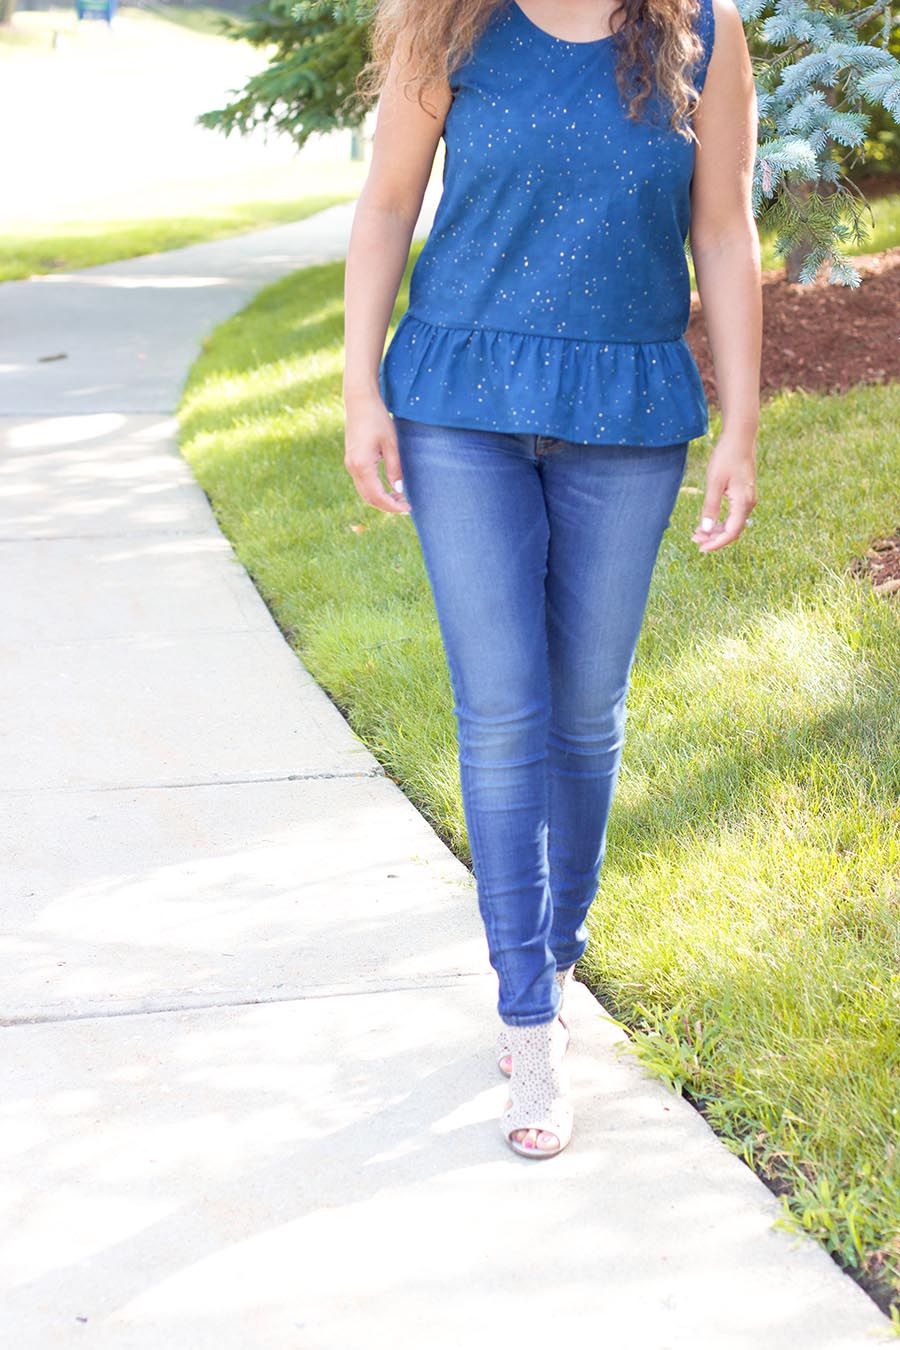
This tank top is an easy sewing tutorial. No darts required! It is meant to be loose fitting and easy to sew up. Of course, the techniques can be applied to any tank top.
Happy sewing!
WHAT YOU’LL NEED:
- A loose fitting tank top
- ~1 to 1.5 yards of cotton fabric
- Thread to match the colour of the fabric
- Sewing Machine
- Scissors
- Pins
- Craft paper (to make your pattern)
AMOUNT OF FABRIC TO PURCHASE
You will need to measure the length and width of your tank top. Standard fabric is sold in the store with a 54″ width. So, depending on the length and width you may need more yardage of fabric than listed above. Remember, you need to pieces for the front and back as well a for the ruffle. I used a bit less than a yard for this tutorial.
Step 1: Make the Pattern: I used craft paper to make mine. I prefer to draw the pattern first on craft paper rather than on the fabric I plan to cut. This gives me a chance to make adjustments. You can also save them for future patterns (Bonus!).
Fold your tank top in half and trace around it. I traced all the way around until where the ruffles started (which was a few inches below my waist). Label the side in which you folded the fabric. The tank top I was using as a guide had a circular neckline for the front and a square neckline for the back. If you want a different shape to the back of your tank top, make a second block pattern and change the neckline. Since the tank top I was working with had a square back, I just folded it in the opposite direction and traced across.


Step 2: Fold your fabric in half and place the pattern on top. When you cut your fabric, leave about a 1/2 inch space between the pattern and the fabric for your seam allowance and hem. You can also draw this out on your pattern or fabric prior to cutting to make sure it is even all along the edges.

Step 3: Repeat for the back piece. You will now have a front and back piece.


Step 4: Hem the neckline and the arm holes by folding it in by a quarter inch and folding over again by a quarter inch. Iron, and sew a straight stitch. A tutorial with pictures on how to hem can be found here. Repeat for the other side.

Step 4: Place the front piece face up and the back piece face down. Pin and sew a 1/4″ seam along the raw edges. This means, sew along each side of the tank top and on along the top shoulder straps to join the pieces together.


You’ll have something that looks like this!

Step 5: Make the ruffle. I cut out two rectangular pieces of fabric that was 6″ in width by 54″ in length.
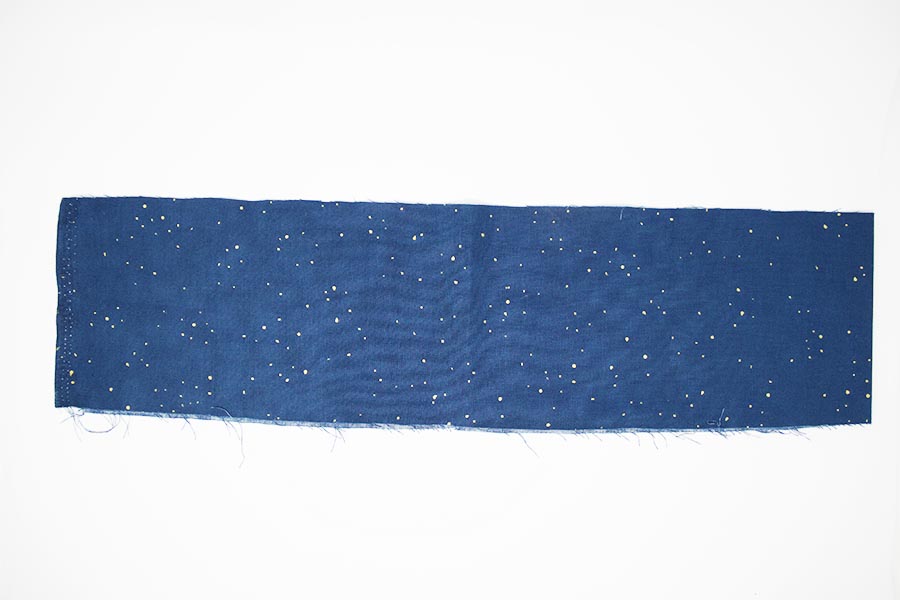
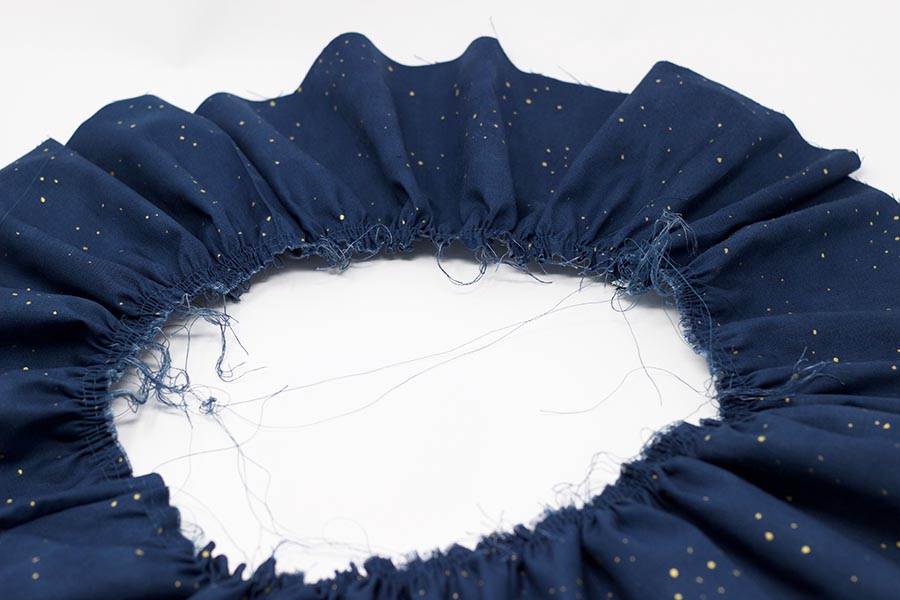
Sew a 1/4 inch seam along the length of the fabric using the longest stitch length on your machine (I used setting 4). Leave long tails on either end. Repeat this underneath so that you have two parallel stitch lines. Makes sure not to sew the second line over the first.
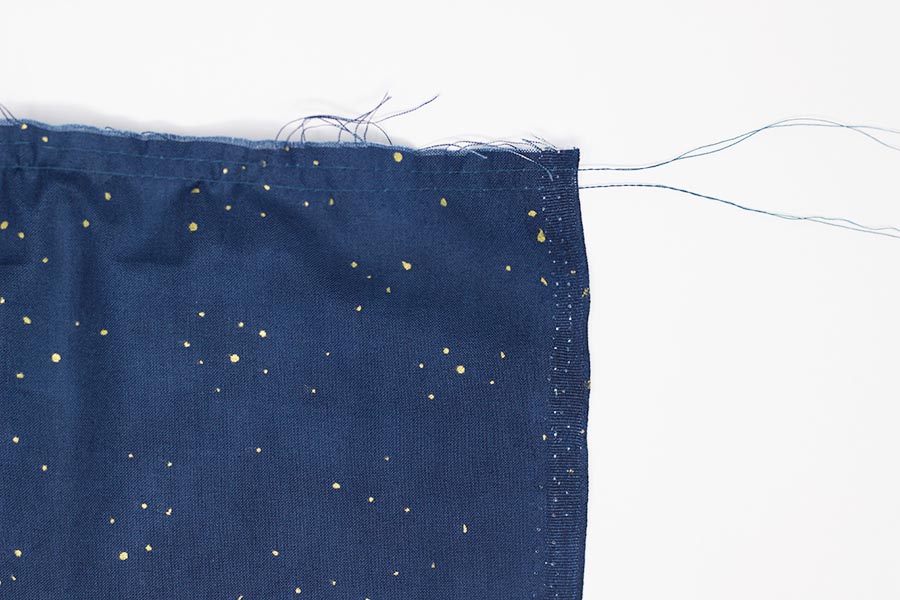
Pull the top thread thats hanging on either end together stitches to create a ruffle. As you pull, the fabric will bunch up. Use your other hand to push the ruffles all the way to the other end and keep pulling. These photos show you a very tight gathering, but I opted for my tank top to be loosely gathered instead. So, I removed quite a few ruffles.
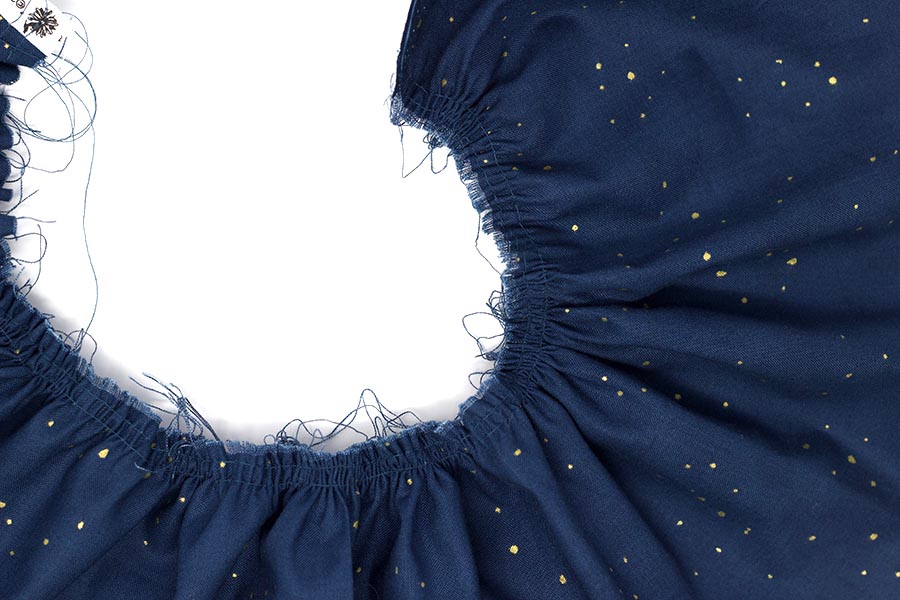
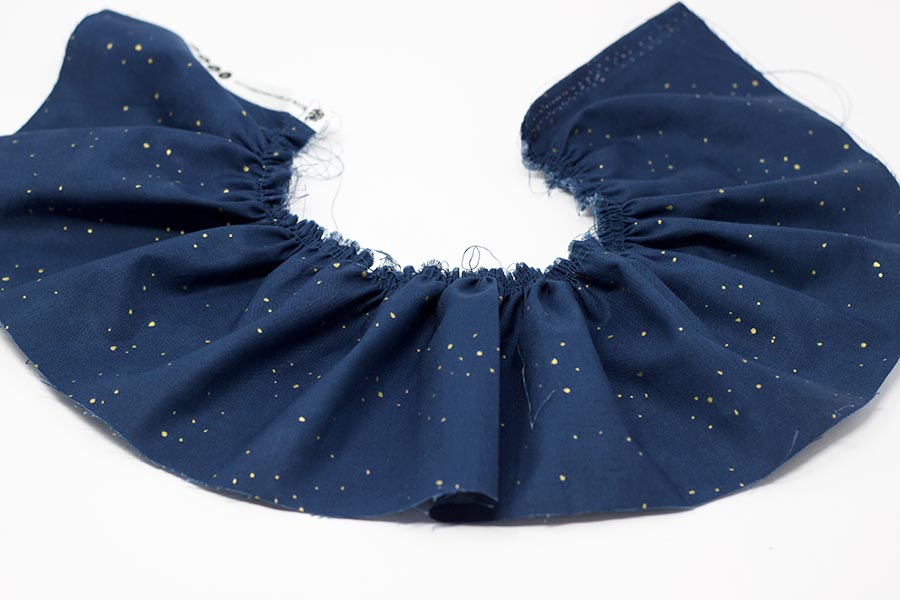
Step 6: Repeat this for the second piece. Then measure the length of each piece long the width of the tank top and cut to size (remember to keep 1/4″ pm either side for the seam). Then place one piece facing up and the other facing down. Stitch a 1/4 inch seam along the sides.
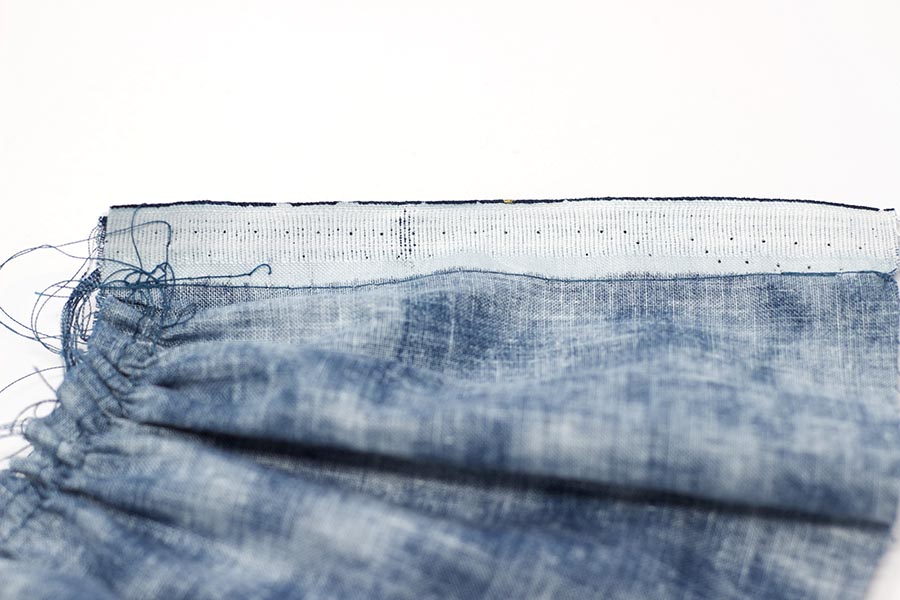
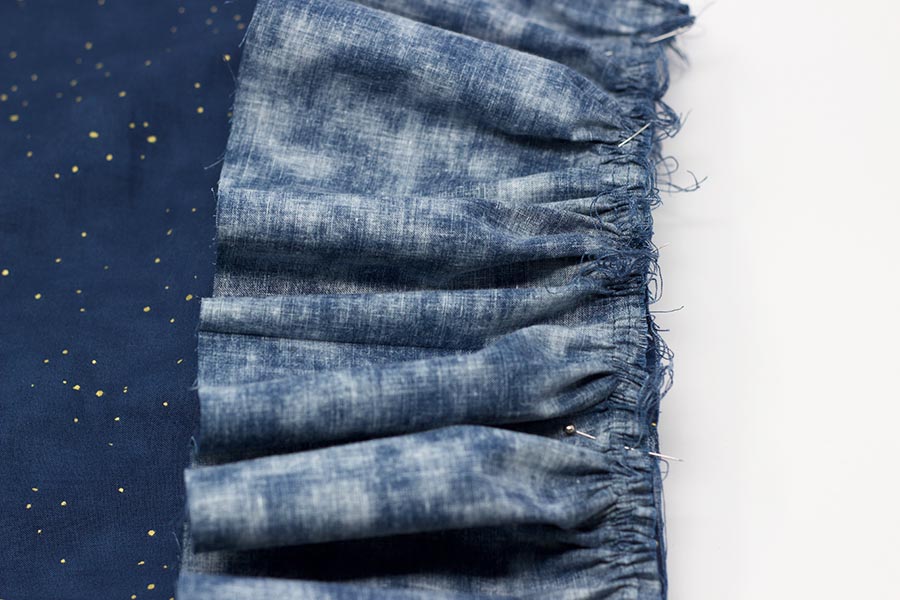
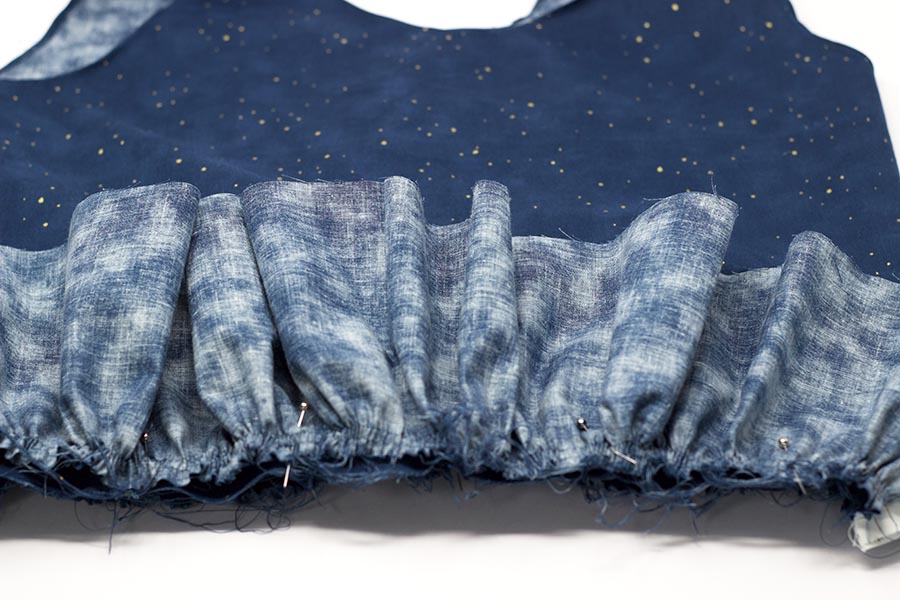
Step 7: Place the tank top with the front facing up. Place the ruffle you just made with the front side facing down along the bottom edge of the tank top. Pin in place and sew a straight stitch along the second seam from the bottom. This will join the ruffle to the bottom of the top.
Step 8: Then sew the hem along the bottom of the ruffle. A detailed tutorial on how to sew a hem can be found here.
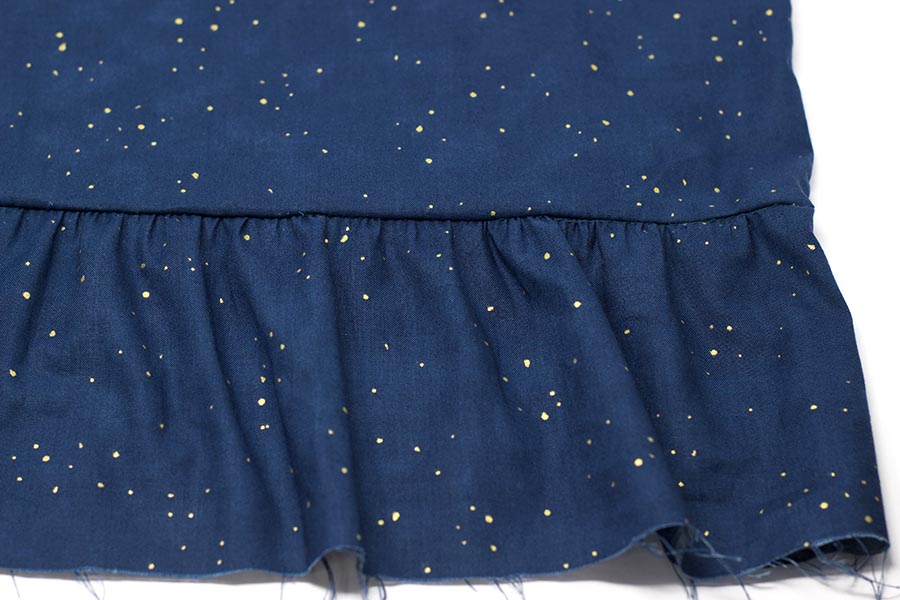
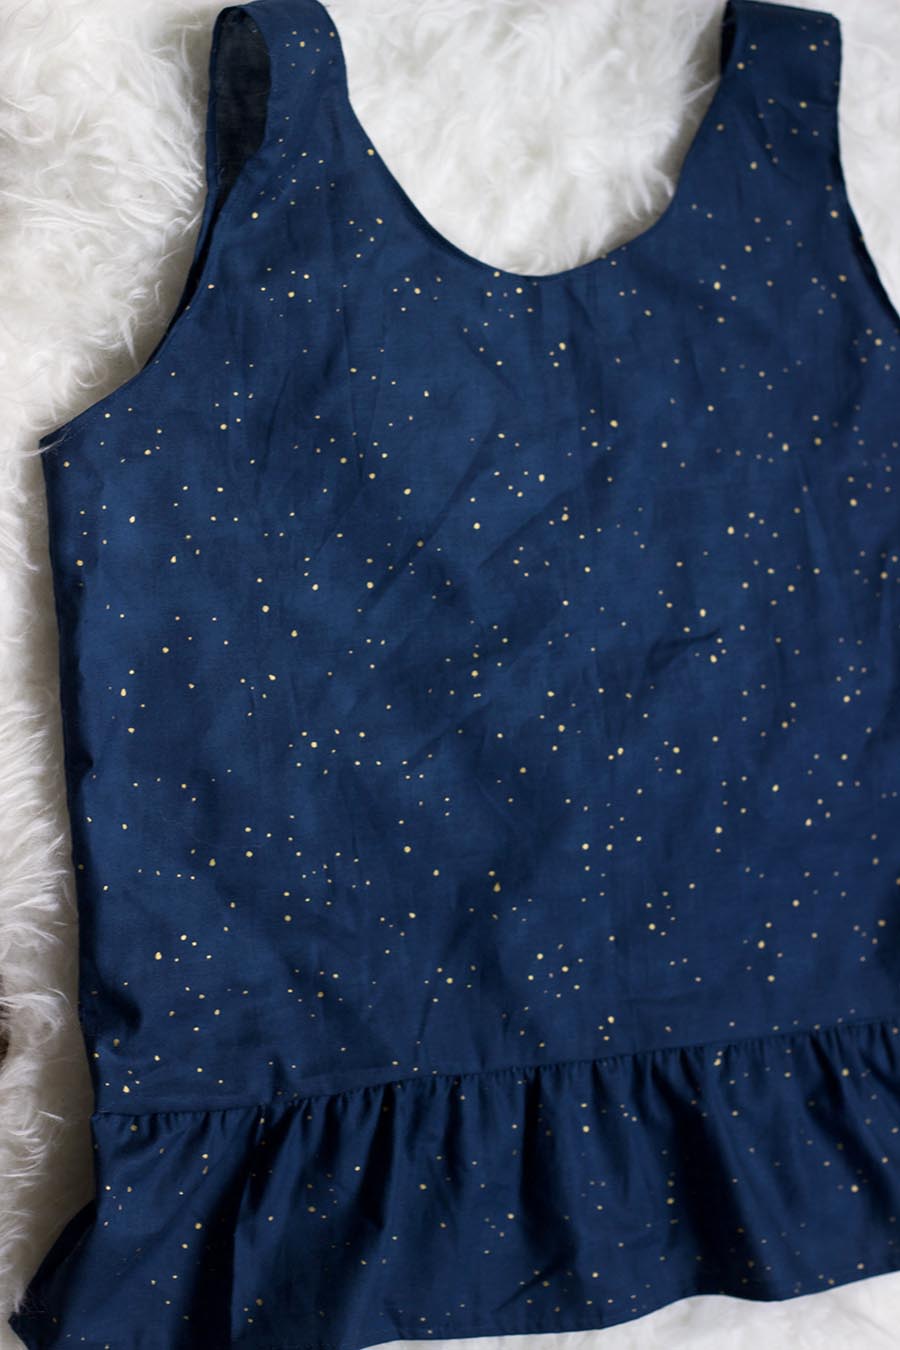
This was a wonderful piece to make and I can see it being a go to piece for work. It is such comfortable to wear and has a feminine touch. I will definitely be making more of these tank tops in the future with different types of fabrics. If you make your own, please tag me on instagram. I would love to see your creations!
PLEASE PIN THIS IMAGE FOR YOUR PINTEREST BOARDS
