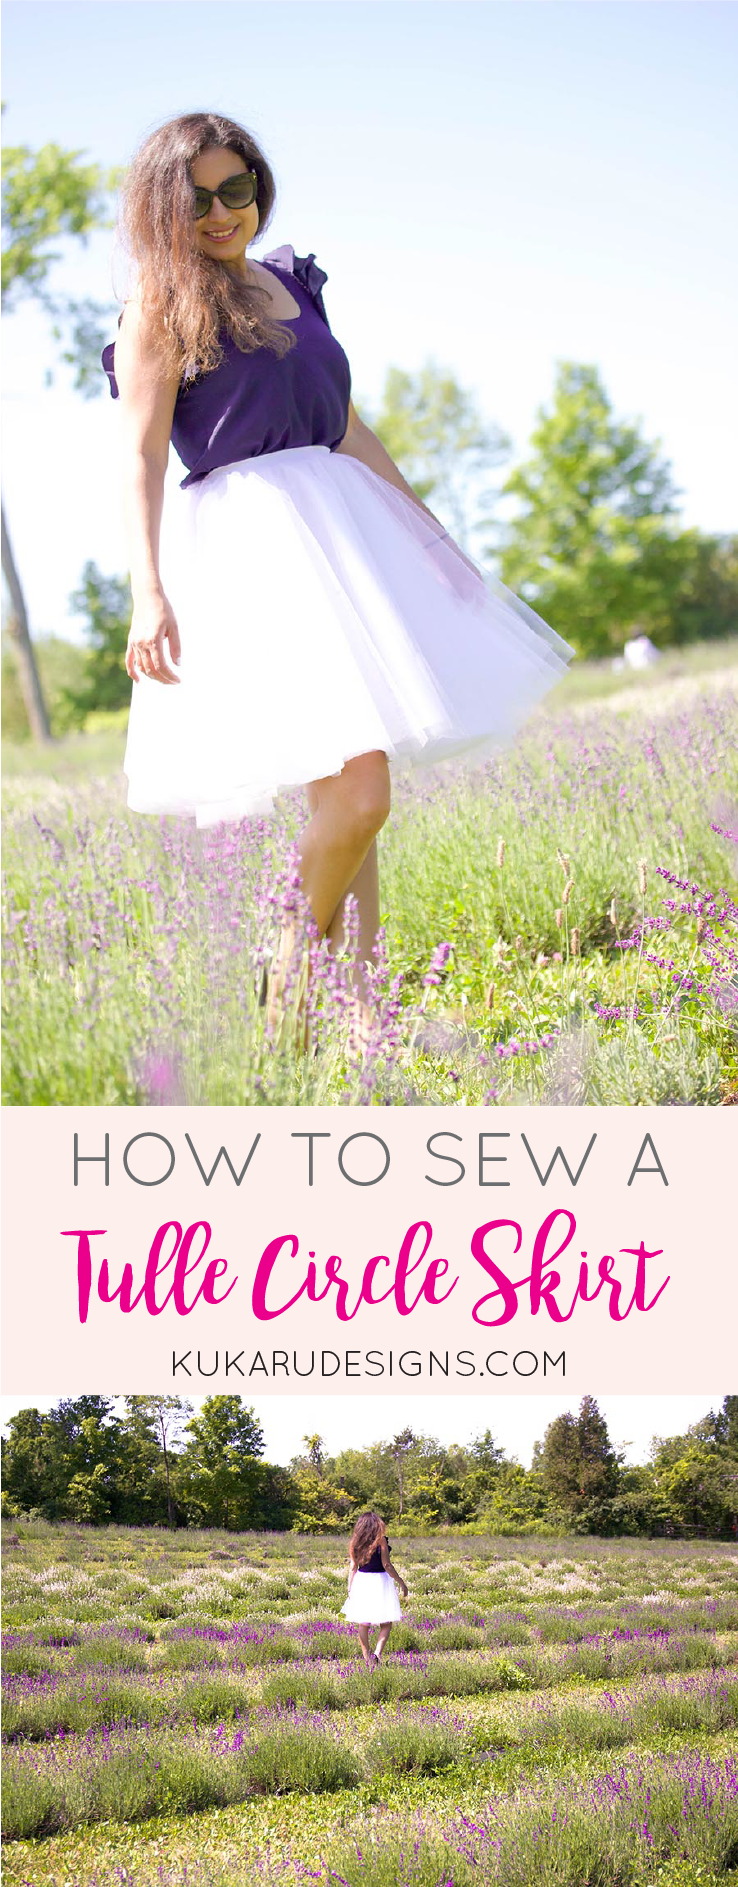
DIY TULLE CIRCLE SKIRT
For my son’s first birthday party back in December, we had a Dr. Seuss “Oh the places, you’ll go theme” and I wanted a fun, whimsical outfit to wear that would match the theme. I had been eyeing these tulle skirts online but I really could not justify the price of buying one. Tulle skirts have been such fun accessory for engagement shoots and I was dying to make one, I just needed a place to wear it!

What better excuse than my son’s whimsical birthday party. I made this tulle skirt amidst planning my son’s party, working, having family over and writing a paper for my policy class! Did I really need to add this to my to-do list? Probably not. As much as this day was to celebrate my son and his achievements over the past year, I wanted to have something fun for myself to celebrate the fact that I survived the first year! And it definitely paid off. I got so many compliments on it and many were surprised that I made it myself. I could not be more happy about how it turned out!
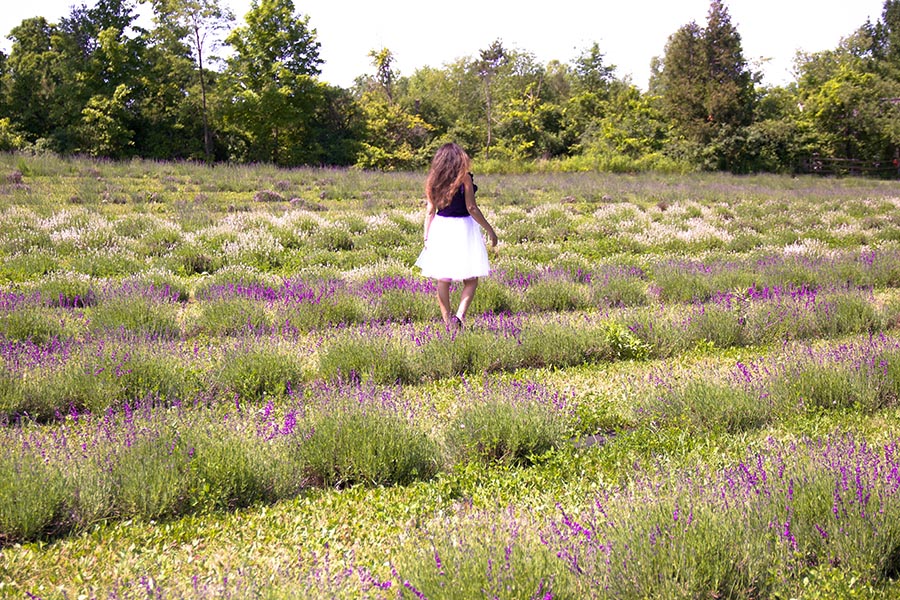
This weekend I took it out of my closet for a fun shoot at the Terre Blue Lavender Farm in Milton. This farm is absolutely incredible. They’ve open up their farm to the public to share the beauty of sustainable and organic farming.


This is a super easy circle skirt tutorial and requires just a small amount of math which I guide you through.
WHAT YOU’LL NEED:
- Soft Tulle (optional)
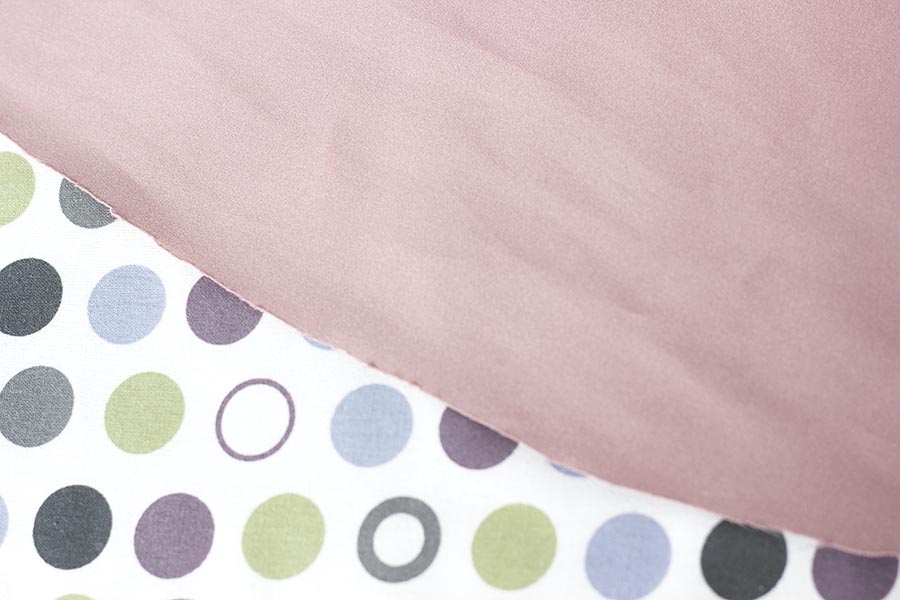
- Lining to match your tulle (I recommend satin because it drapes quite nicely)
- Thread to match the colour of the fabric
- Sewing Machine
- Stretchy Elastic (at least 1″ in width and long enough to fit snuggly around your waist)
- Scissors
- Pins
- Craft paper (to make your pattern)
- Measuring tape
AMOUNT OF FABRIC TO PURCHASE
You will need a square piece of fabric. The amount of fabric you need will depend on your desired length and your waist. An easy way to calculate that is shown below.
A= length of skirt
B = circumference of your hips divide by 3.14 divided 2
Length of each side of fabric = [A+B]*2
I wanted my skirt to be 20″ so I added a half-inch to account for the seam allowances. My hip circumference is 34″. Note: Measure around the widest point of your hips since the skirt has to go over that.
In this case,
A = 20.5″
B = 34″/3.14/2 = 5.41″
[A+B]*2 = [20.5″ + 5.41″]*2 = 51.8″
This means that the fabric is 51.8″ by 51.8″, which is approximately 1.44 yards. Standard fabric is sold in the store with a 54″ width. So, 1.5 yards would work for my skirt but if you need more fabric, you can sew two, half semi circles together to make your skirt.
This tutorial will show you how to make a circle skirt. If you want to add tulle, you will need the same amount of fabric for each layer as your lining. For my tulle skirt I had 4 layers of tulle which gave me quite a full skirt, so 6 yards of tulle would be plenty.
Step 1: Make the Pattern: I used craft paper that I had at home. I cut out a square that was 54″ x 54″. Measure a small quarter circle that is the length of “B” (5.41″ in my case).
Note: If you need a larger width, make a half circle pattern instead. The steps are the same (except measure from the centre of the half circle.
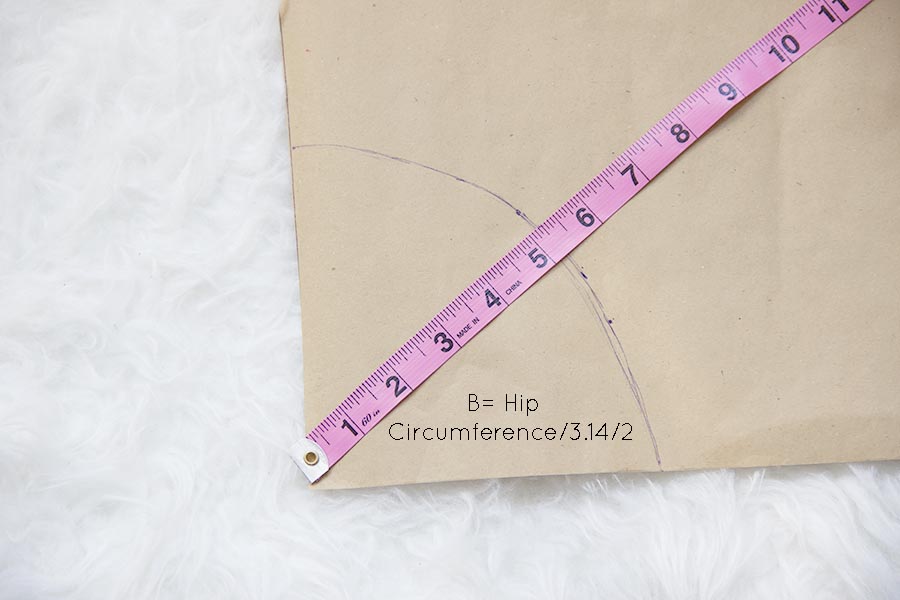
Step 2: Draw a larger quarter circle that is the length of skirt, “A” (in my case this is 20.5″).
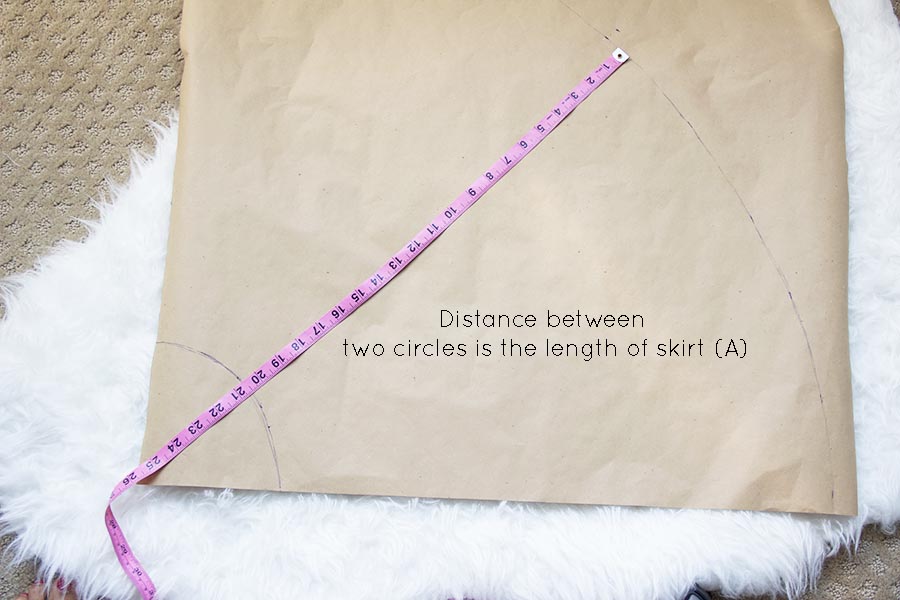
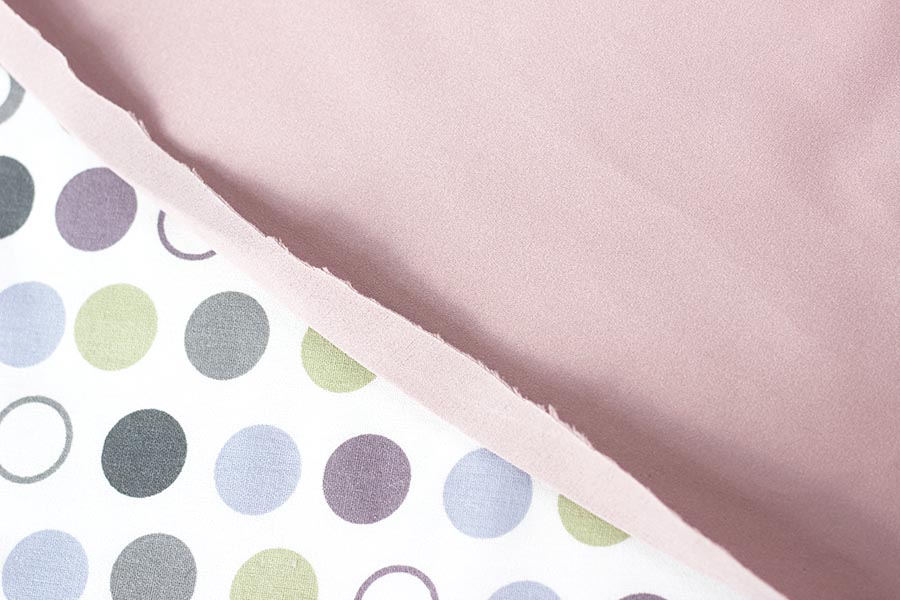
Step 3: Fold the fabric in half lengthwise and then fold again in the opposite direction. You should now have the fabric in a shape of a sqare with one edge having two folded edges like the photo below. 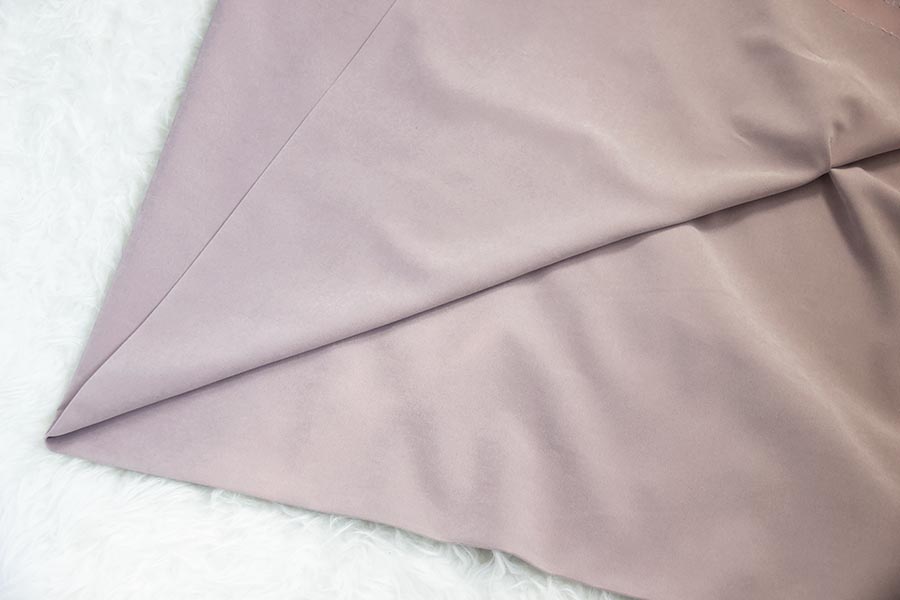

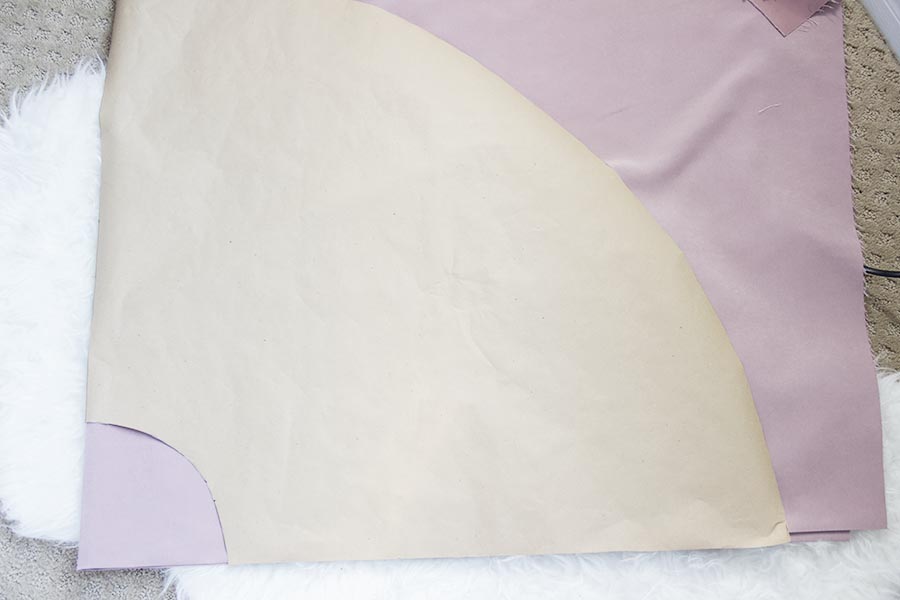
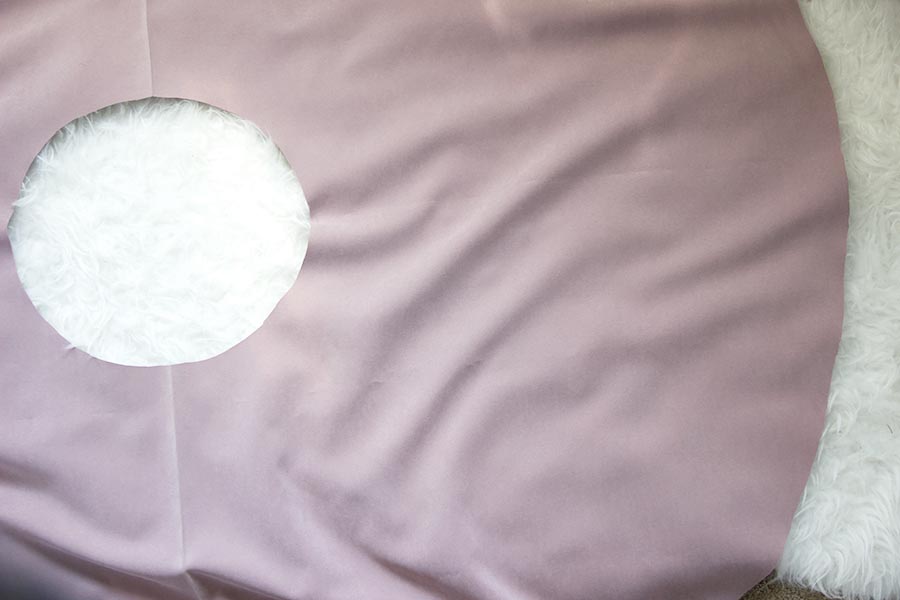
Step 3: Lay the pattern on top of the fabric. The small quarter circle should line up with the folded edges of each side. Cut around the bottom quarter circle and the top quarter circle. You will get a larger circular donut-like shape.
If you are adding tulle, repeat this step for each layer of tulle.

Step 4 (optional step for the tulle): Lay out your lining fabric in a donut shape on the floor and then place each layer of tulle on top. Tulle can get static-y and hard to manage, so organizing it this one will be helpful.
Pin all the layers together and sew a 1/4″ seam along the top edge of the small circle. You will have a tulle skirt that you can easily add the elastic waist band to.
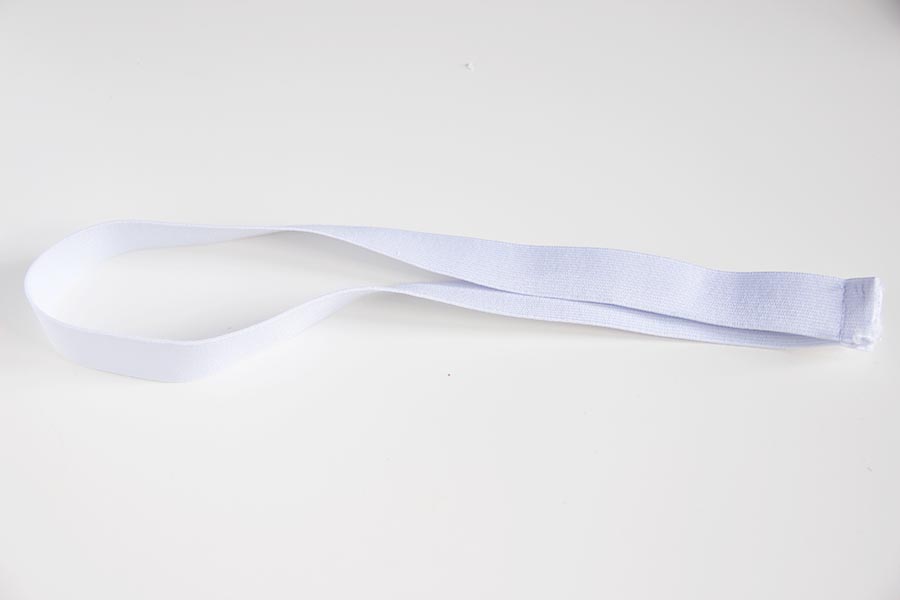
Step 5: Make the elastic waist band. Wrap a piece of elastic around your waist and then cut it to that length. The elastic should fit snuggly around your waist. Sew a straight stitch to join the two pieces together.
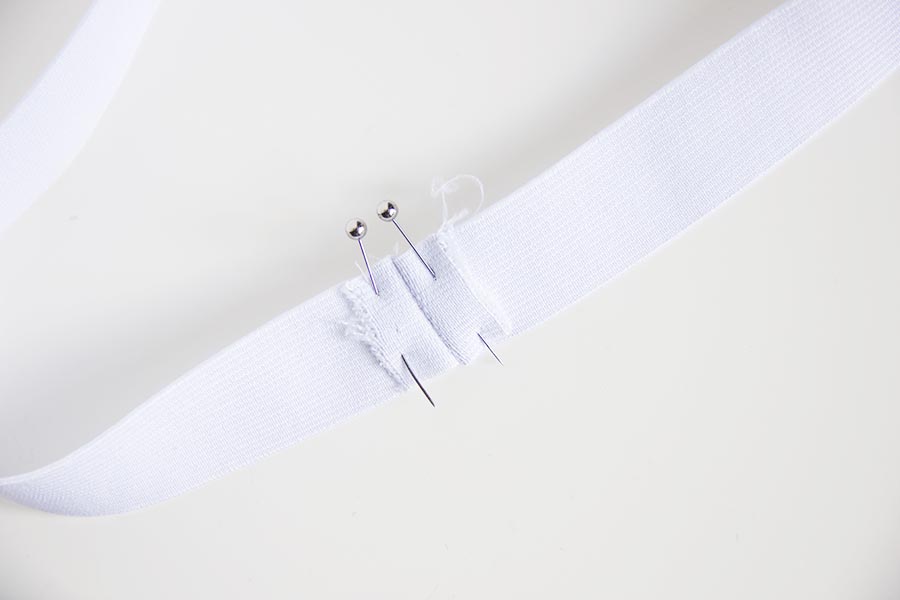
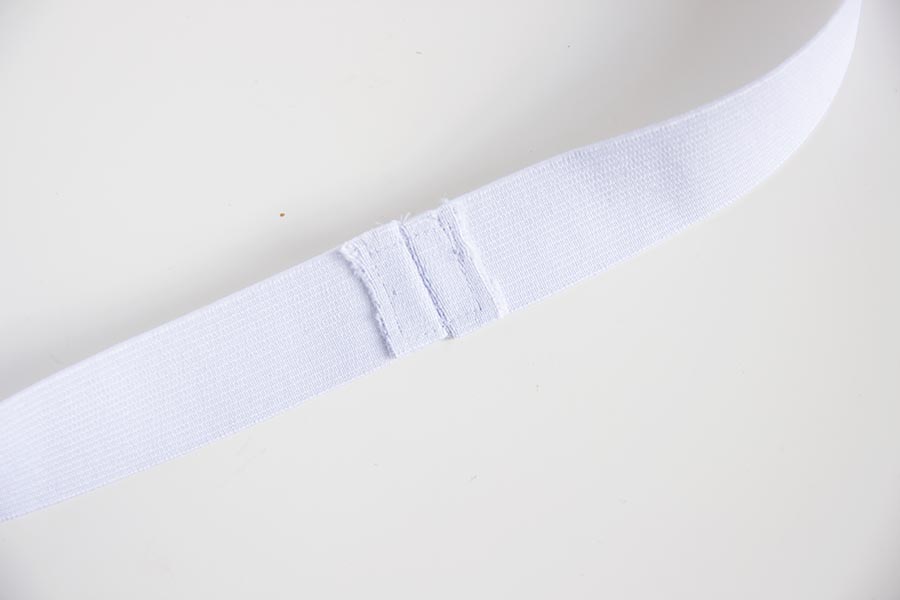
Step 6: Then fold the raw edges over to either side, pin and sew along all the edges (i.e., a square shape). This helps reinforce the waistband.
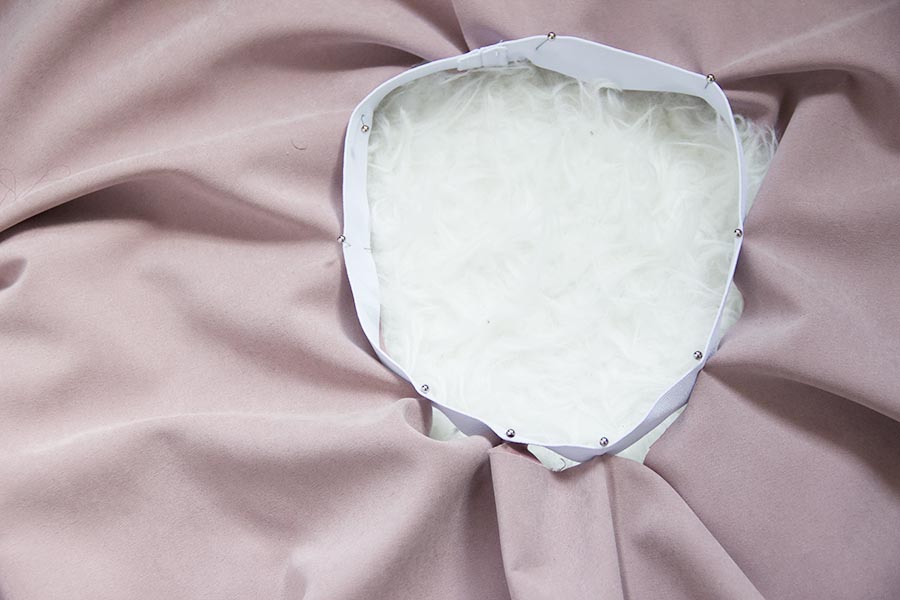
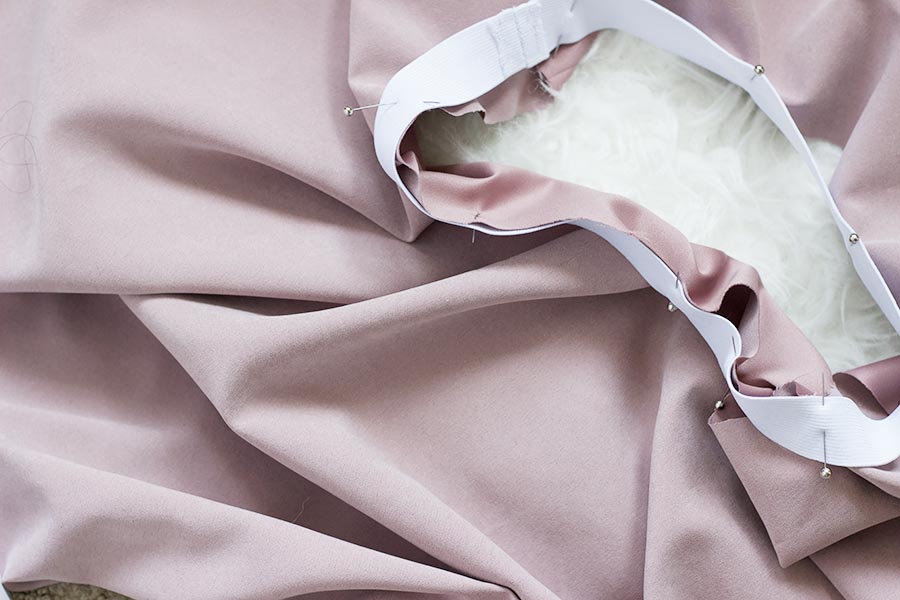
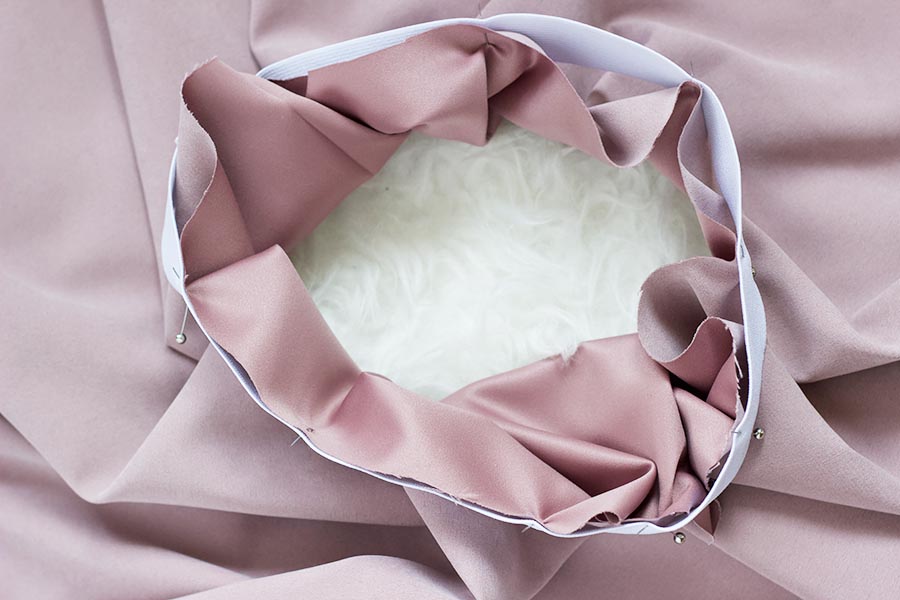
Step 7: Aligning the skirt with the elastic waistband. Since the hole in the skirt is much larger than the waistband, you have to align and pin the elastic waistband evenly to the fabric. It is normal to have loose fabric between the pins. Later on as you sew, you will stretch out the elastic and join it with the fabric.
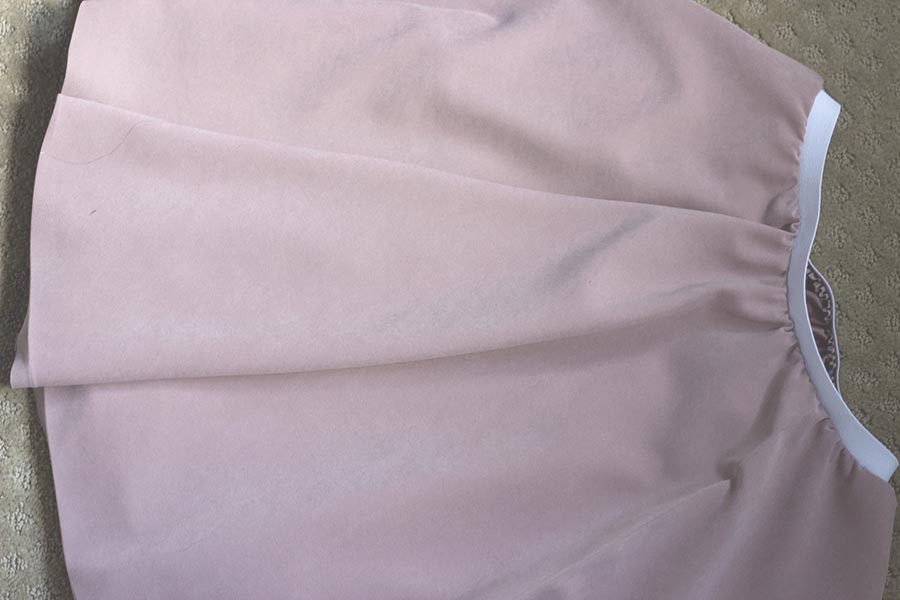
Lay the waistband over the top edge of the skirt. Pin all the way around. I recommend pinning one side then pinning the opposite side and continue around the circle this way. Once you have pinned the elastic to the fabric you’ll have something that looks like this.
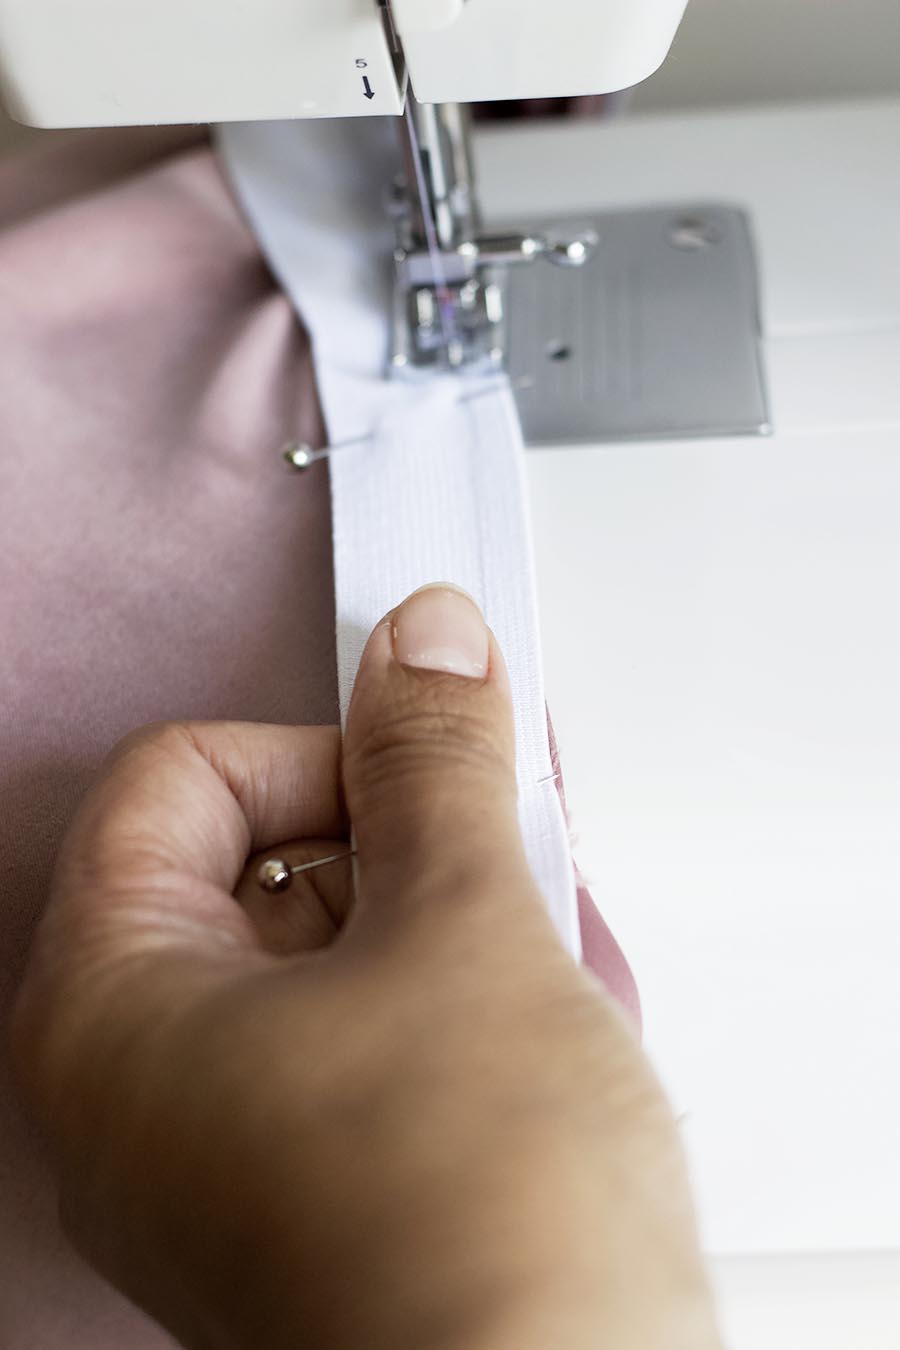
Step 8: Sewing the waist band to the skirt. This can be a bit tricky if you have not worked with elastic. To practice, you can try out my crib sheet tutorial. Place the skirt under your presser foot so that the elastic band is on the top and the fabric for the skirt is on the bottom. Sew a 1/4″ seam all the way around.
First do a forward and back stitch to keep the thread in place. As you sew, you have to stretch the elastic along the fabric so that the pockets between the pinned sections match up with the elastic.
Step 8: The hem. This is also a little tricky. Sewing the hem of a circle skirt means folding outer edge under. This means going from a larger diameter to a smaller diameter which sounds easy but if not done properly, you will have a very difficult time sewing this part and your circle may end up not looking like a circle.
First you need to fold the fabric over a quarter-inch in small sections and press all the way around.
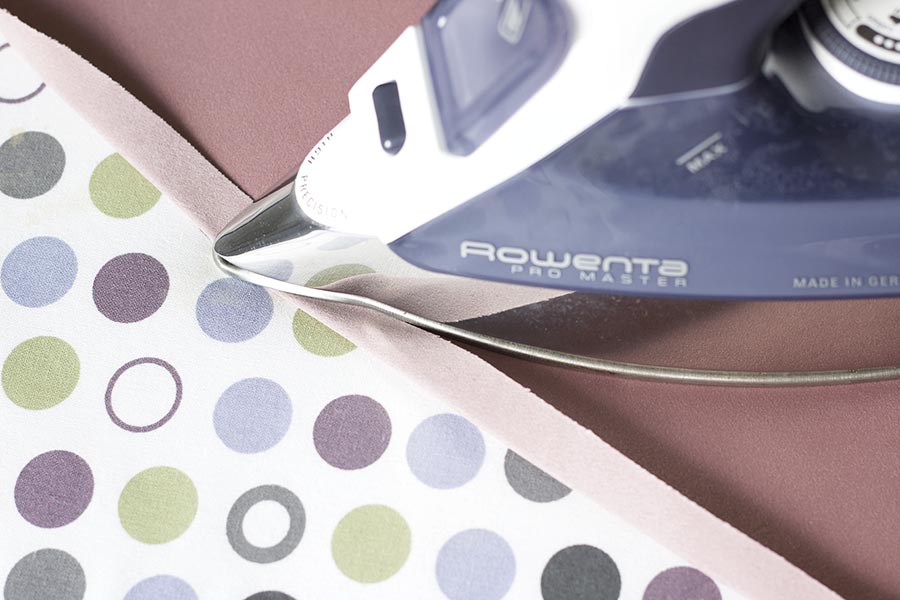
Then fold over again and sew a 1/4 inch seam along the bottom. This will make your hem
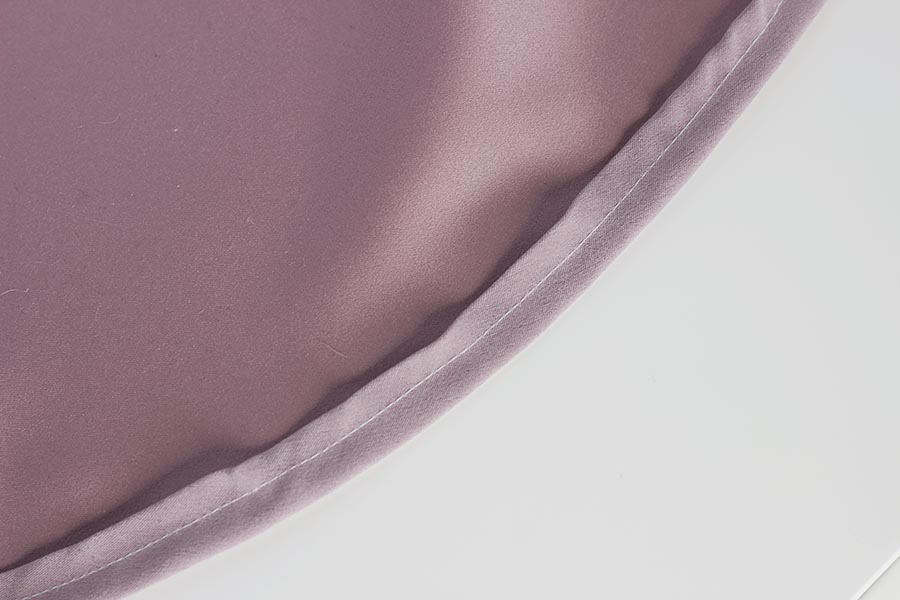
I cannot wait to wear this circle skirt during the summer. It’s a little less flamboyant than the tulle skirt but just as fun. These skirts have so much movement and are so stylish. I have been incredibly inspired by the Duchess of Cambridge, with the knee-length skirts and the slightly off-shoulder high necklines tops! It just looks so elegant!
I’m planning on doing a series of #makemydress this summer so stay tuned! I hope this helps add a few more basic dresses and skirts to my wardrobe.
PLEASE PIN THIS IMAGE FOR YOUR PINTEREST BOARDS