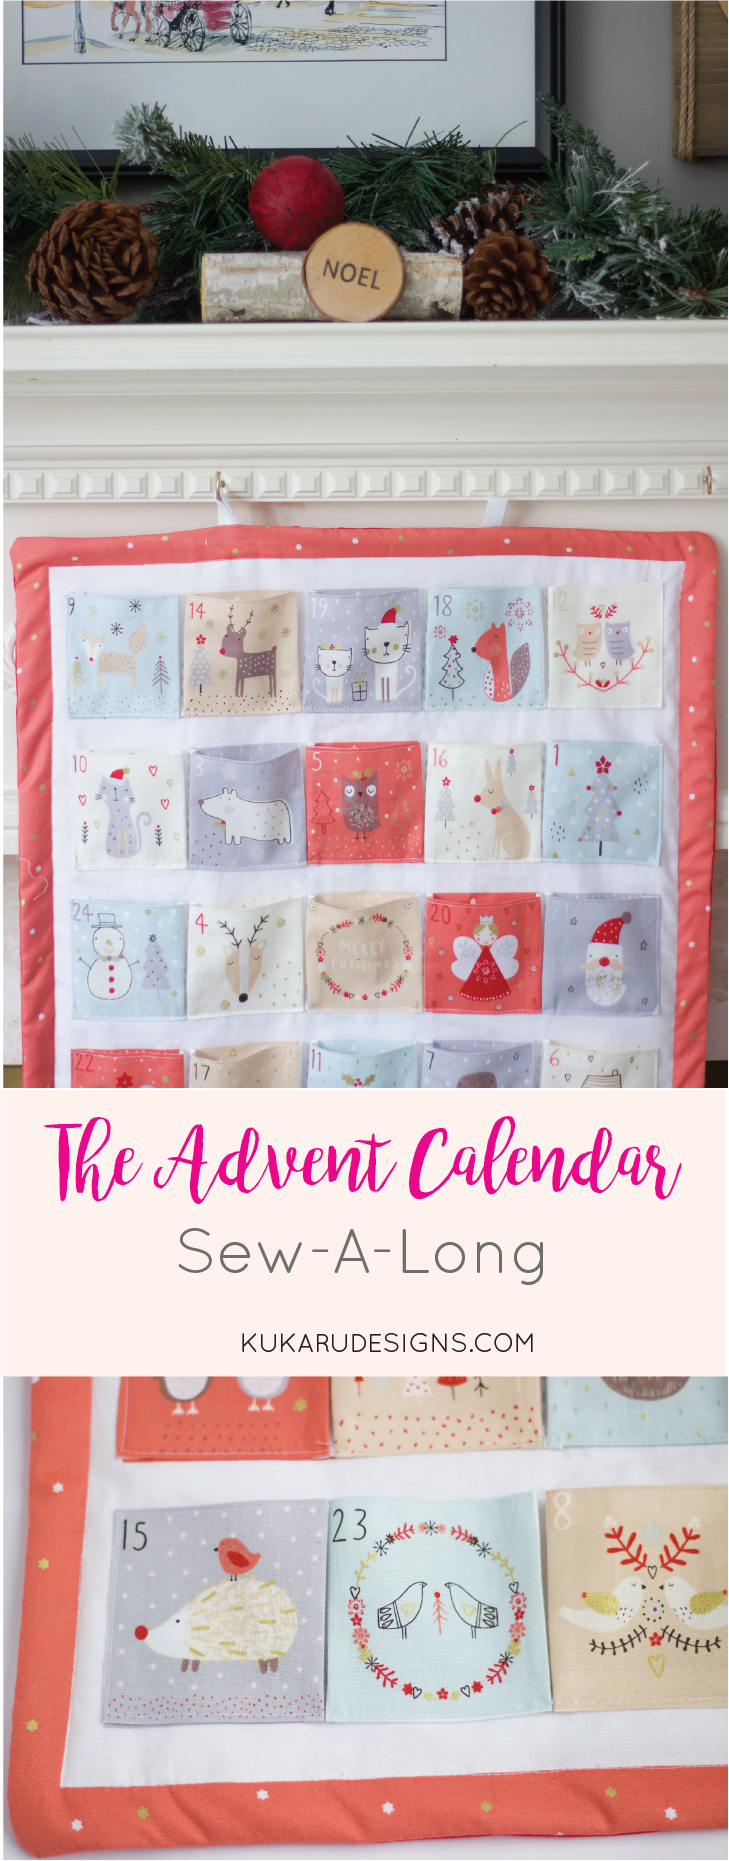
Sew-A-Long Advent Calendar
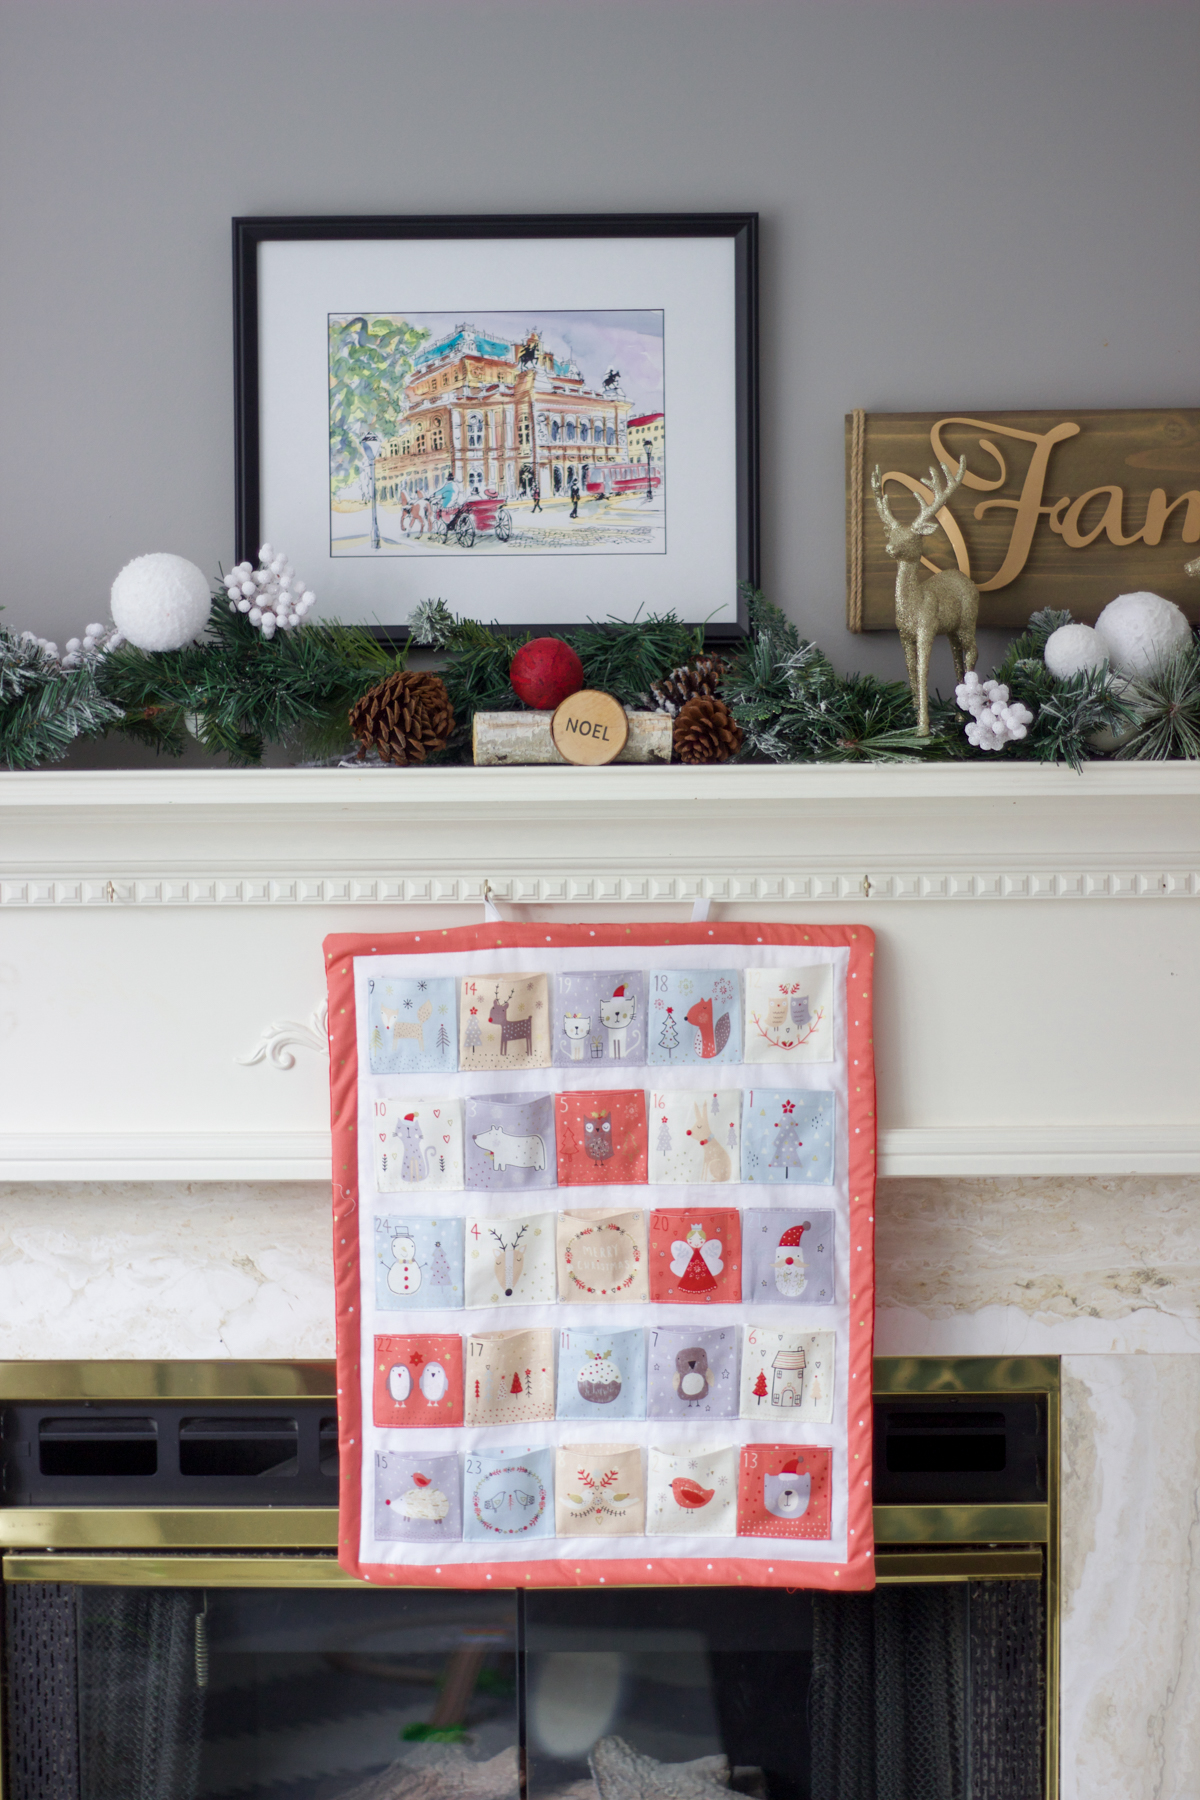
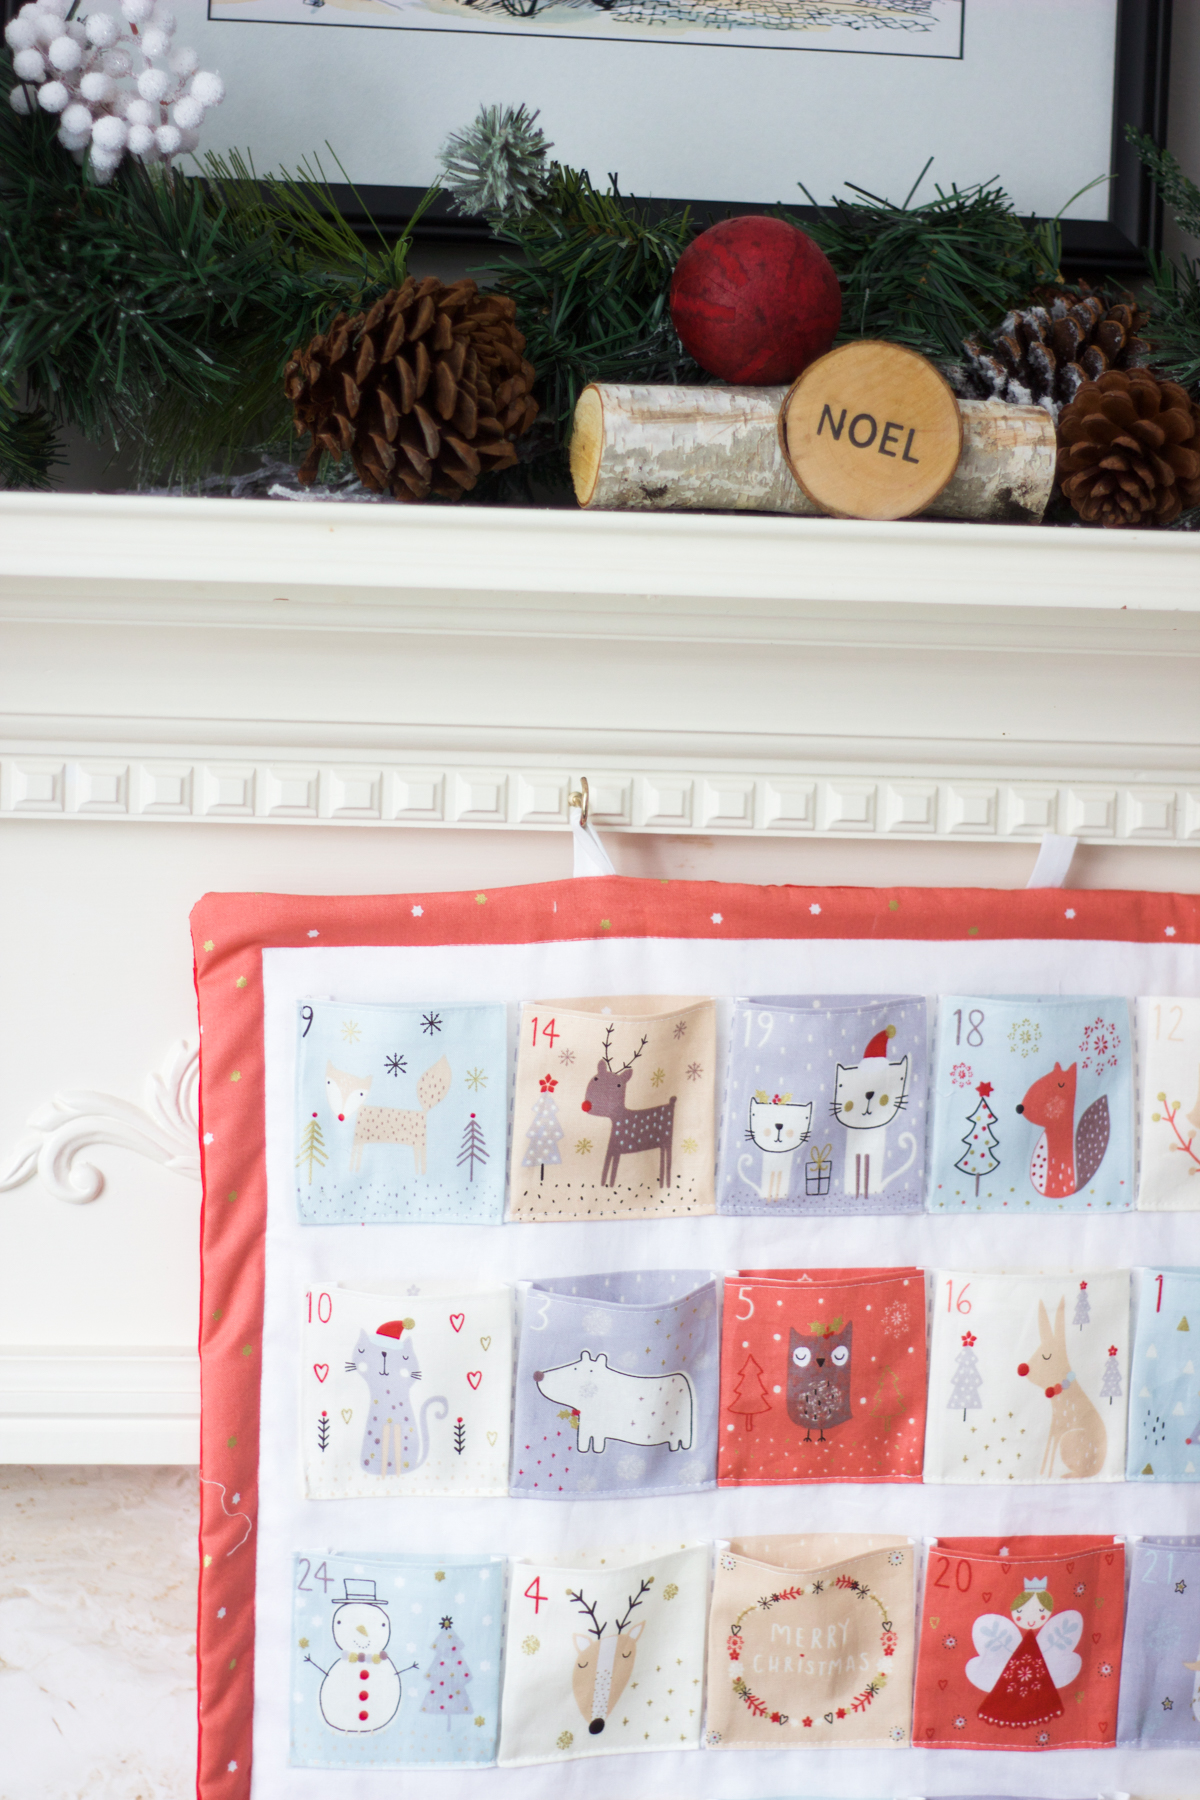
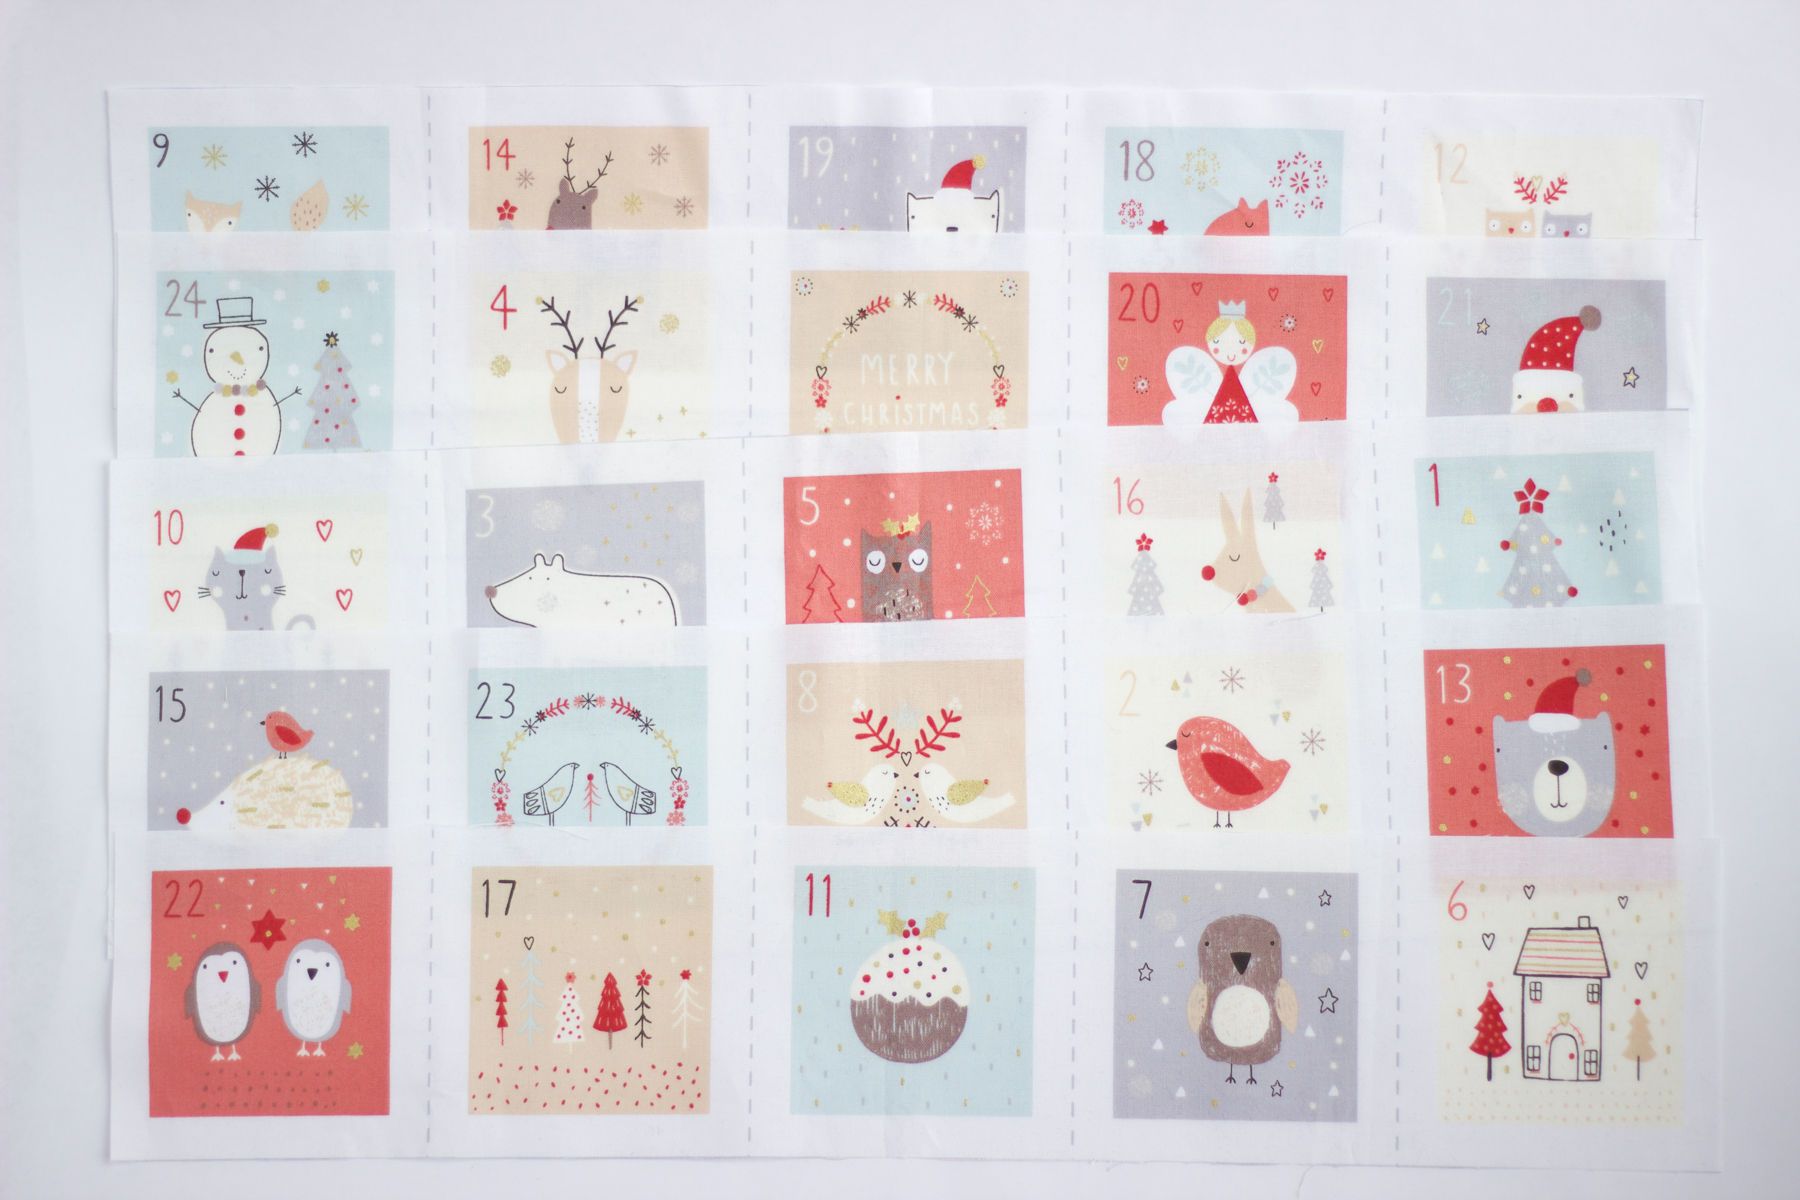
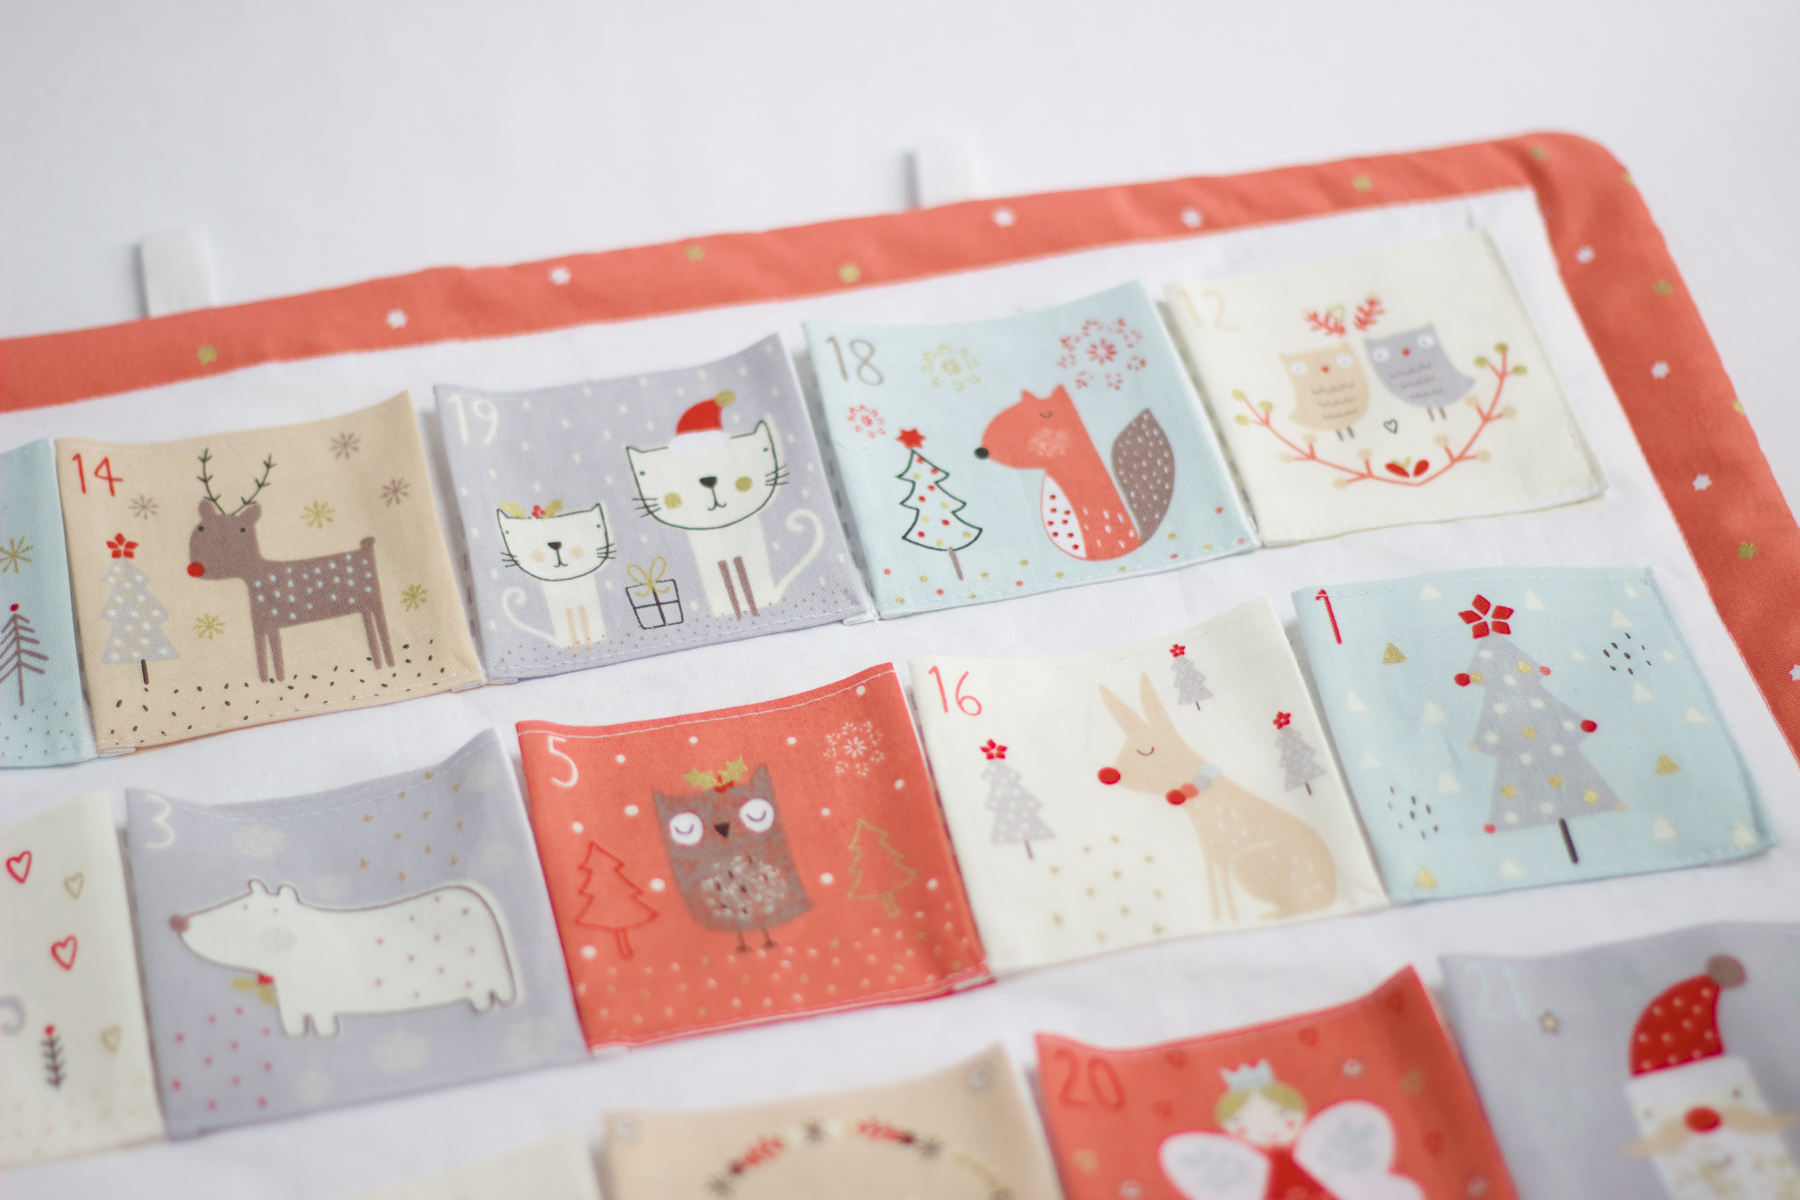
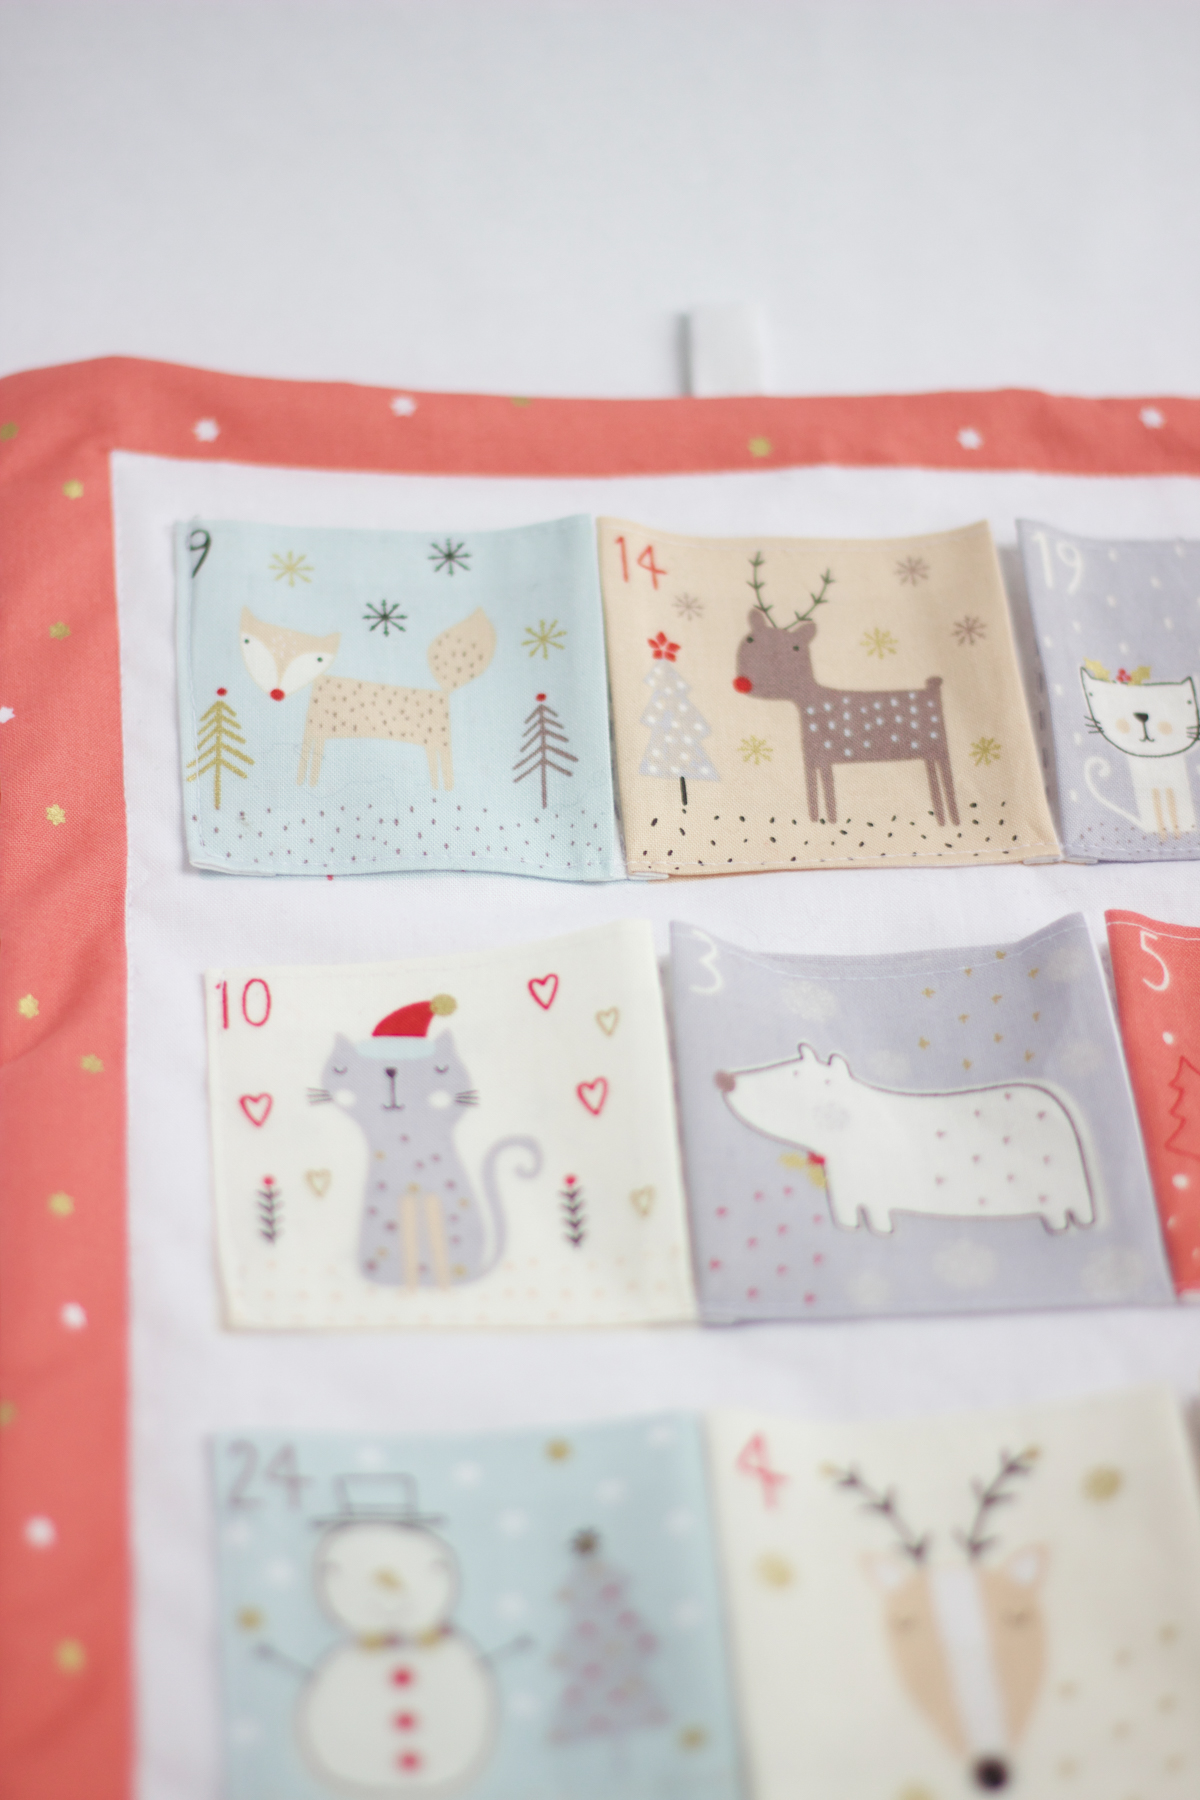
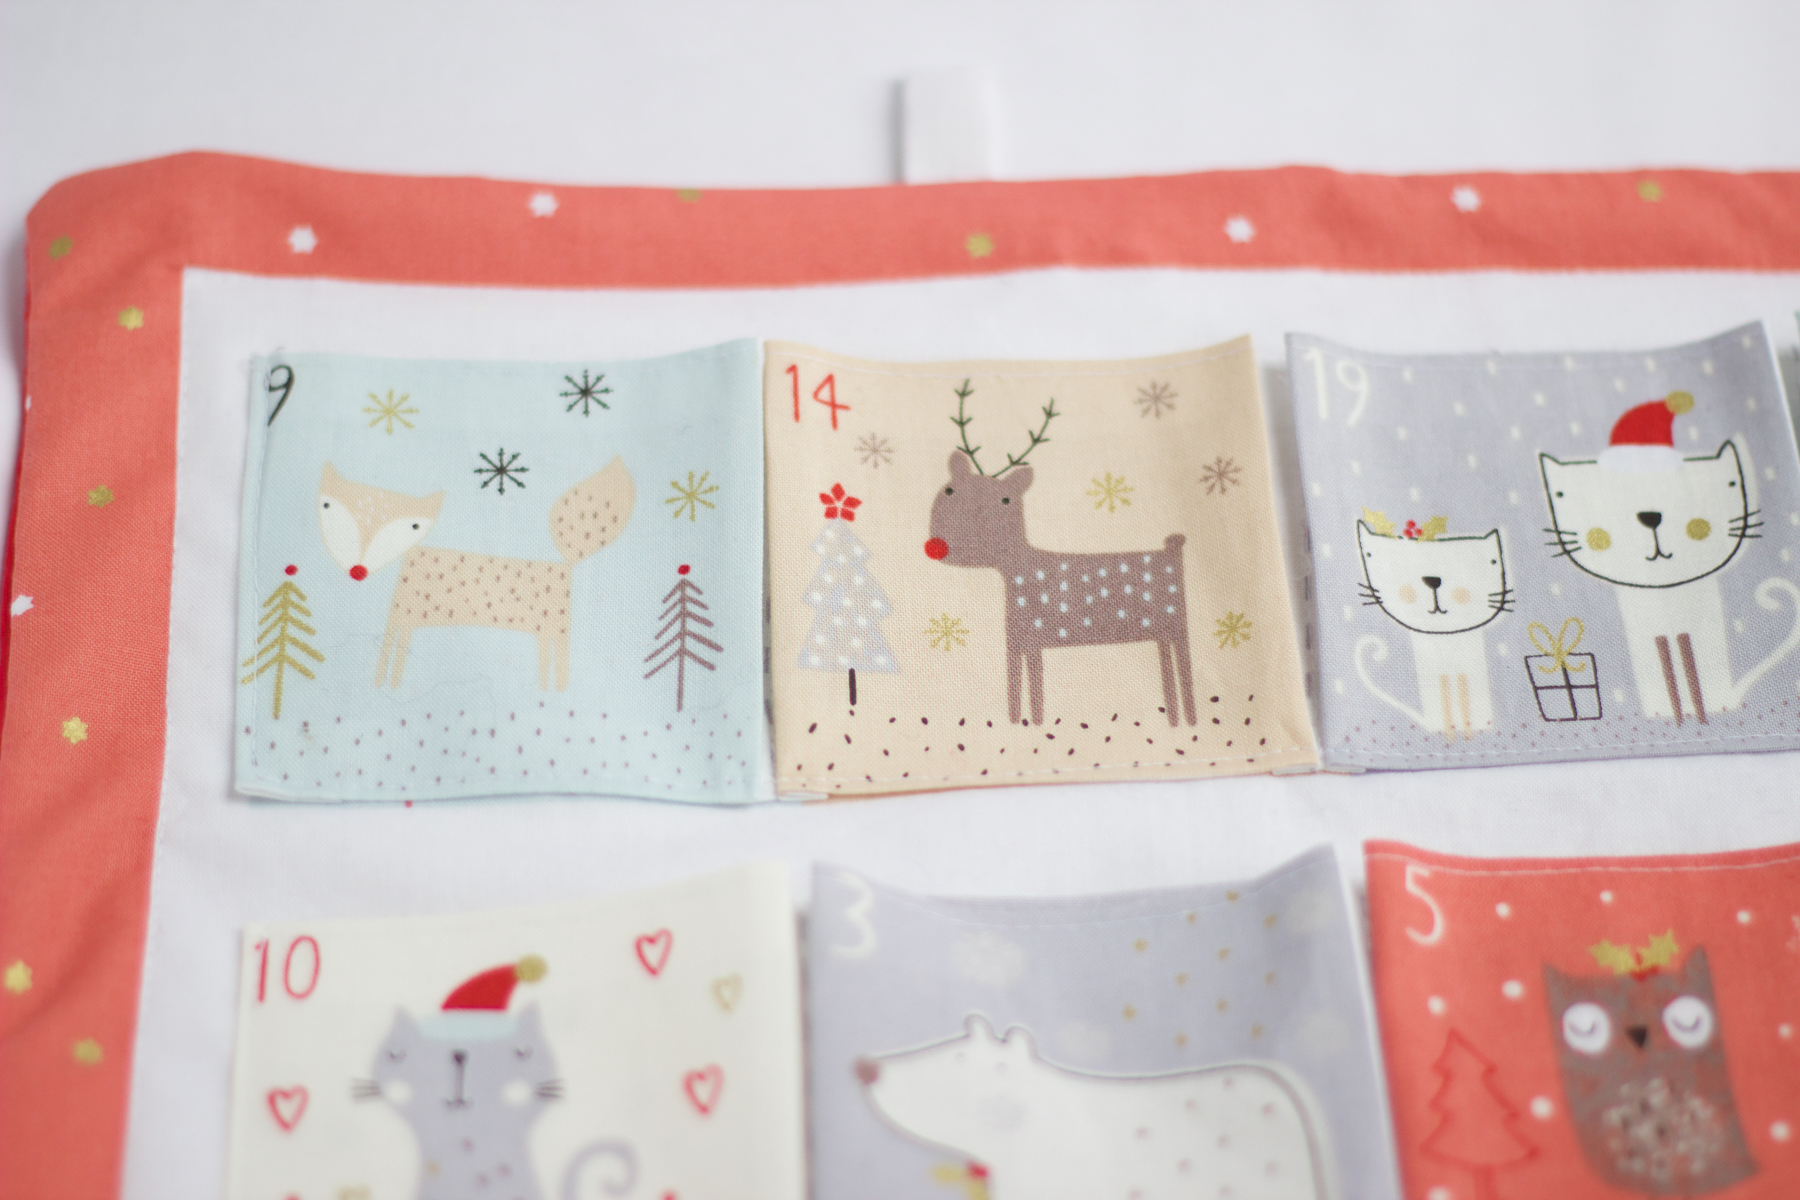
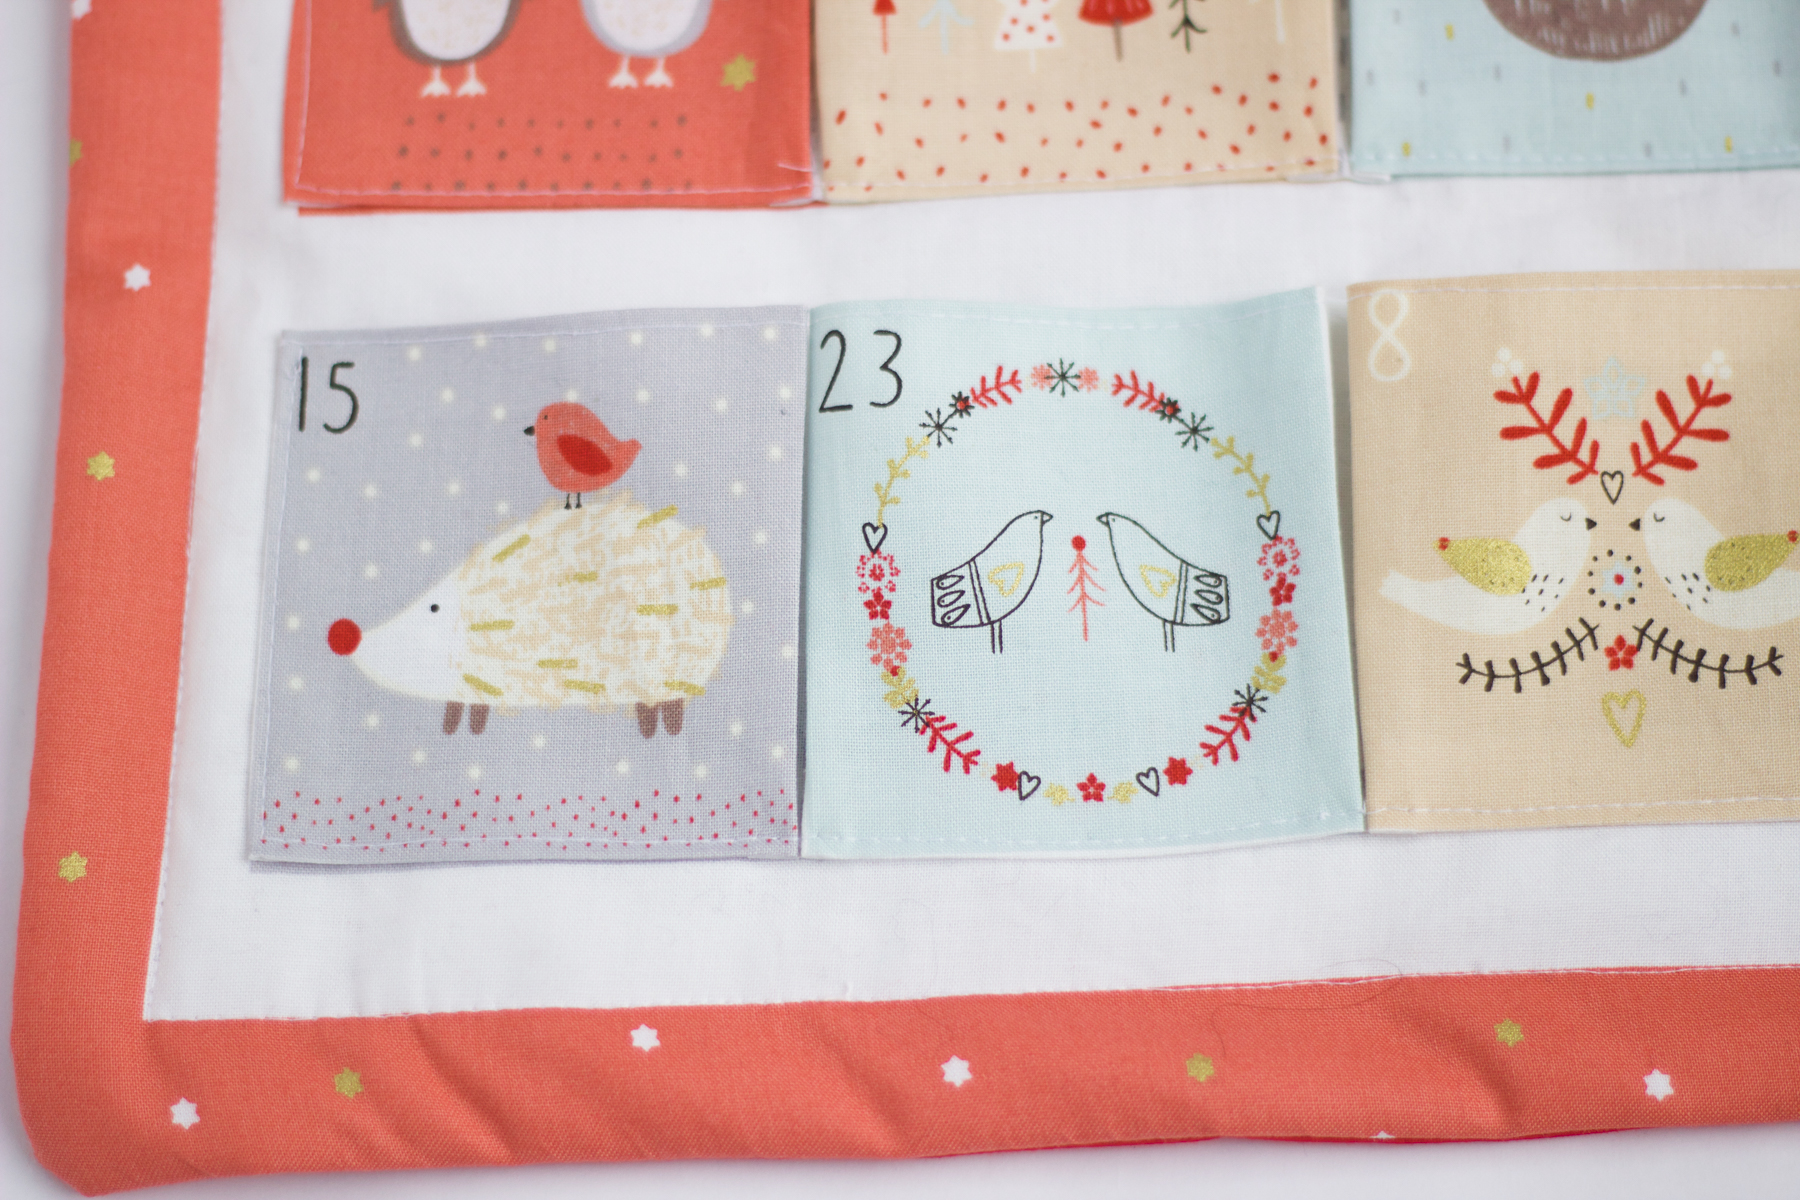
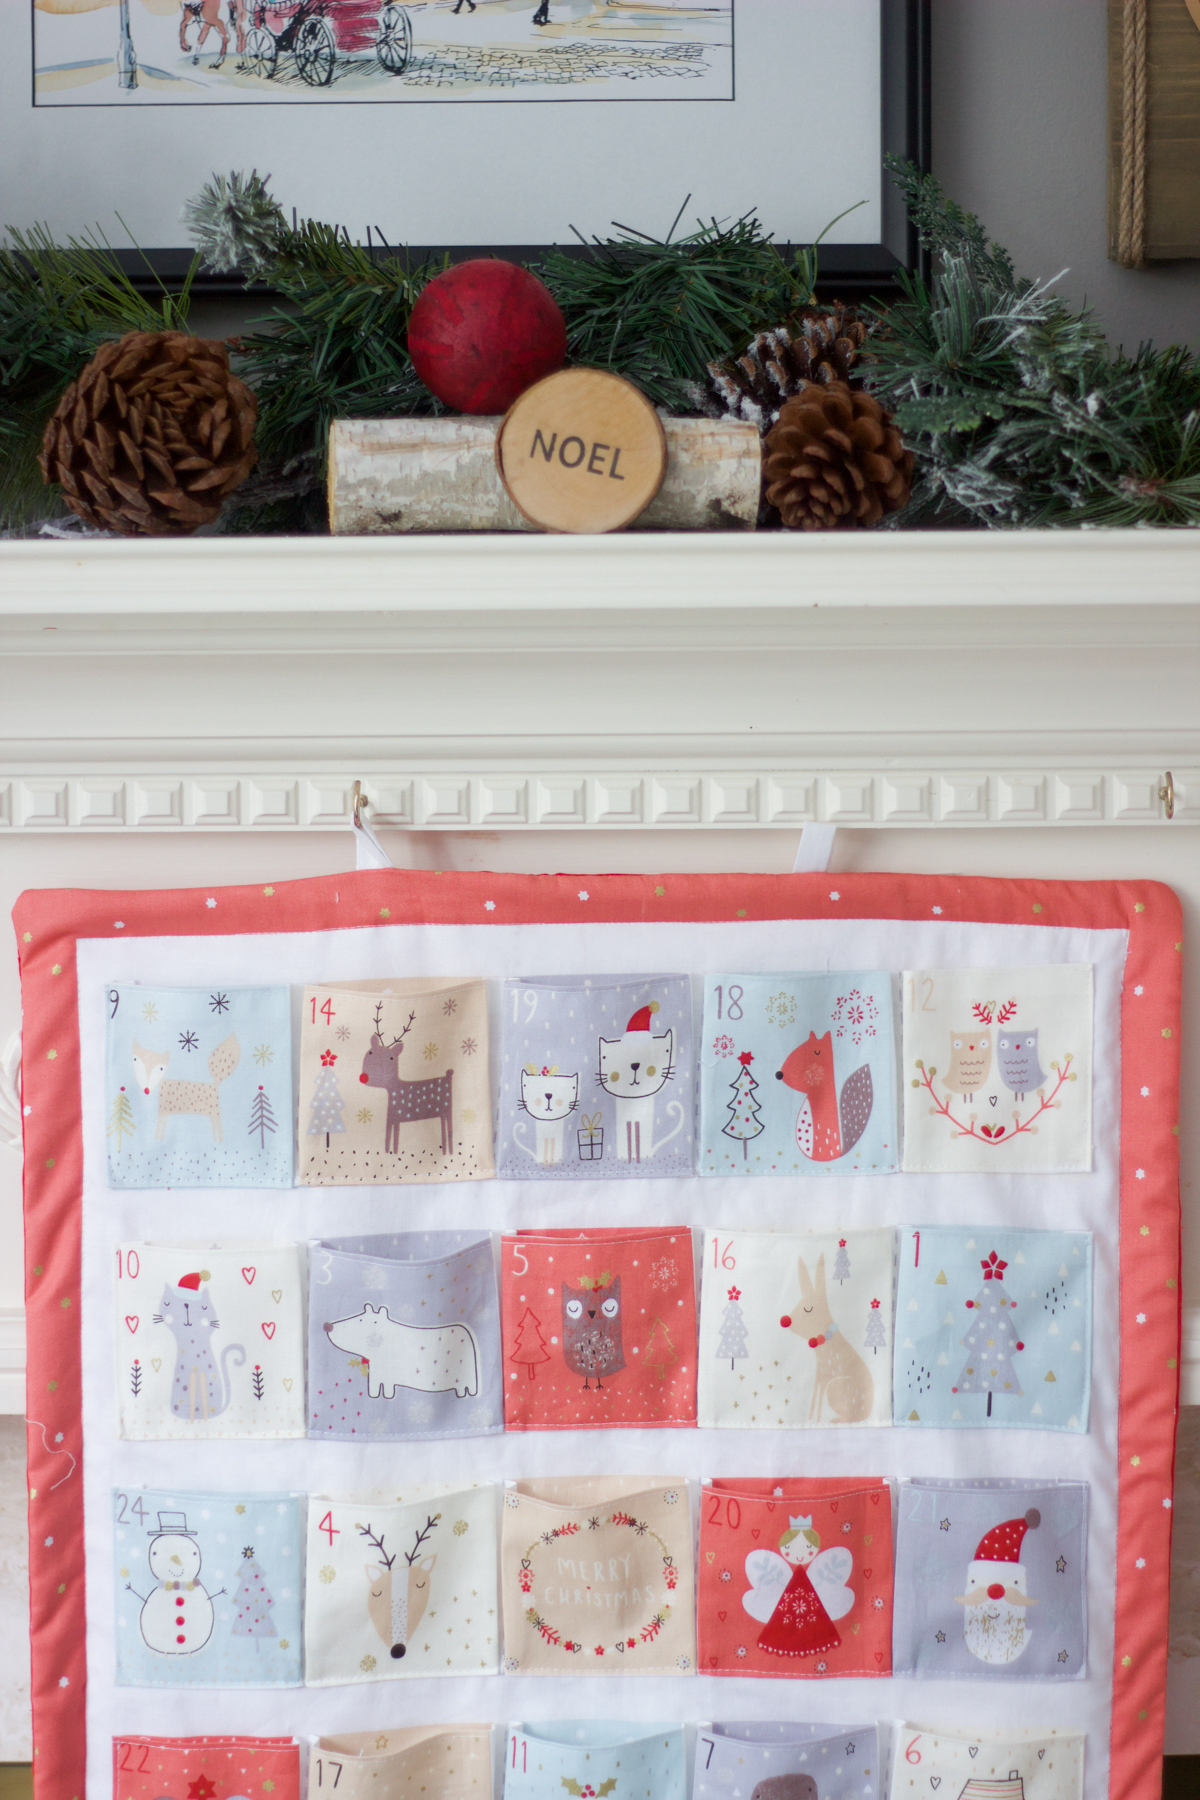 December really snuck up on me this year. It is one of my favourite months not only because of Christmas but because it is Theo’s birthday. I typically buy a chocolate advent calendar for Marcus (which I still did), but this year is just a tad more special. Theo is soaking up everything around him these days and I just know that Christmas will truly be magical for him. I found this beautiful advent calendar by Dashwood Studios at a Mad About Patchwork in Ottawa. The advent calendar has some of the cutest illustrations of animals on the pockets and the colour scheme is stunning. What I love most about this calendar is that you can put your own items into the pockets and they pop out which makes it easy to stuff some larger items in them.
The benefit of sewing your own advent calendar is that you can put anything you like inside. I am really excited to fill these pockets up with goodies until Christmas. Ah, the Christmas season is really hitting me. We will picking up our tree this weekend and decorating the house. I cannot wait to have some warm sparkling lights fill up our home.
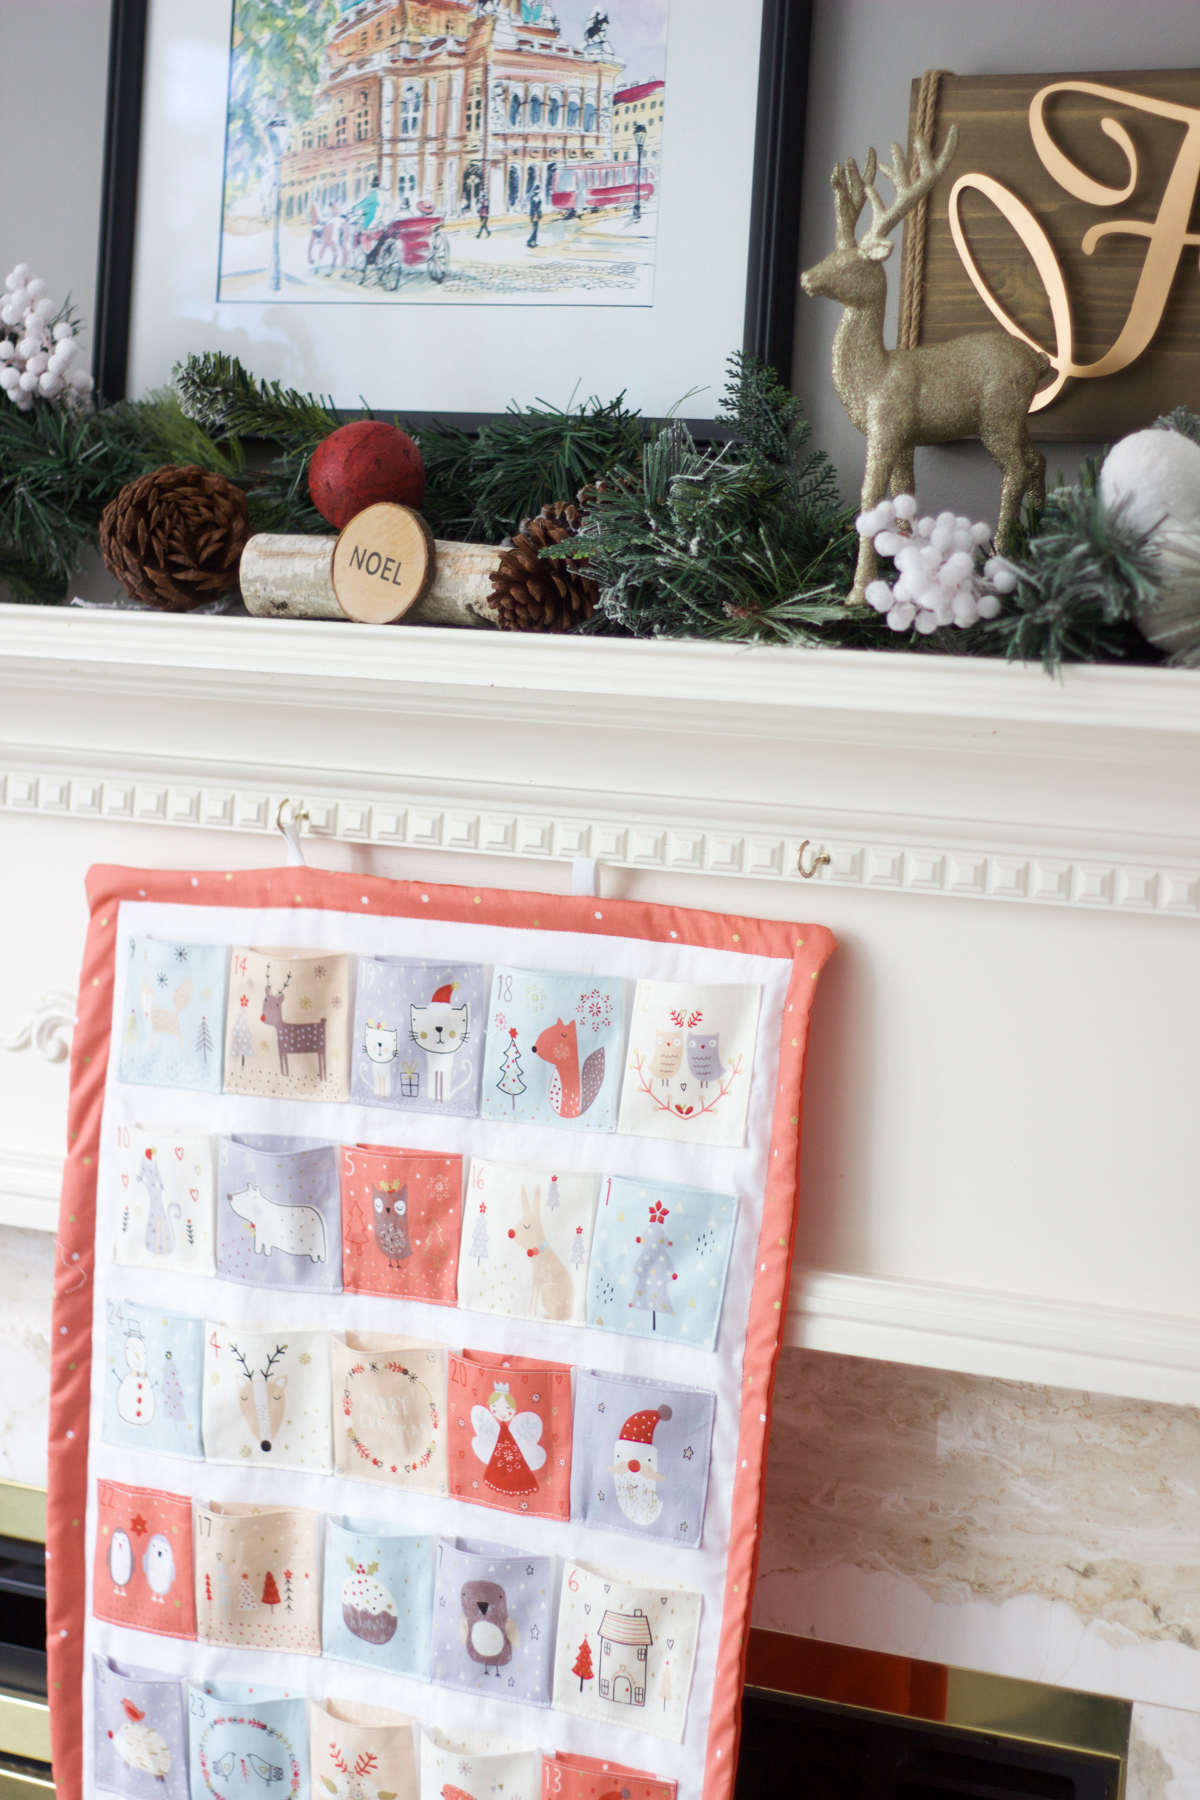

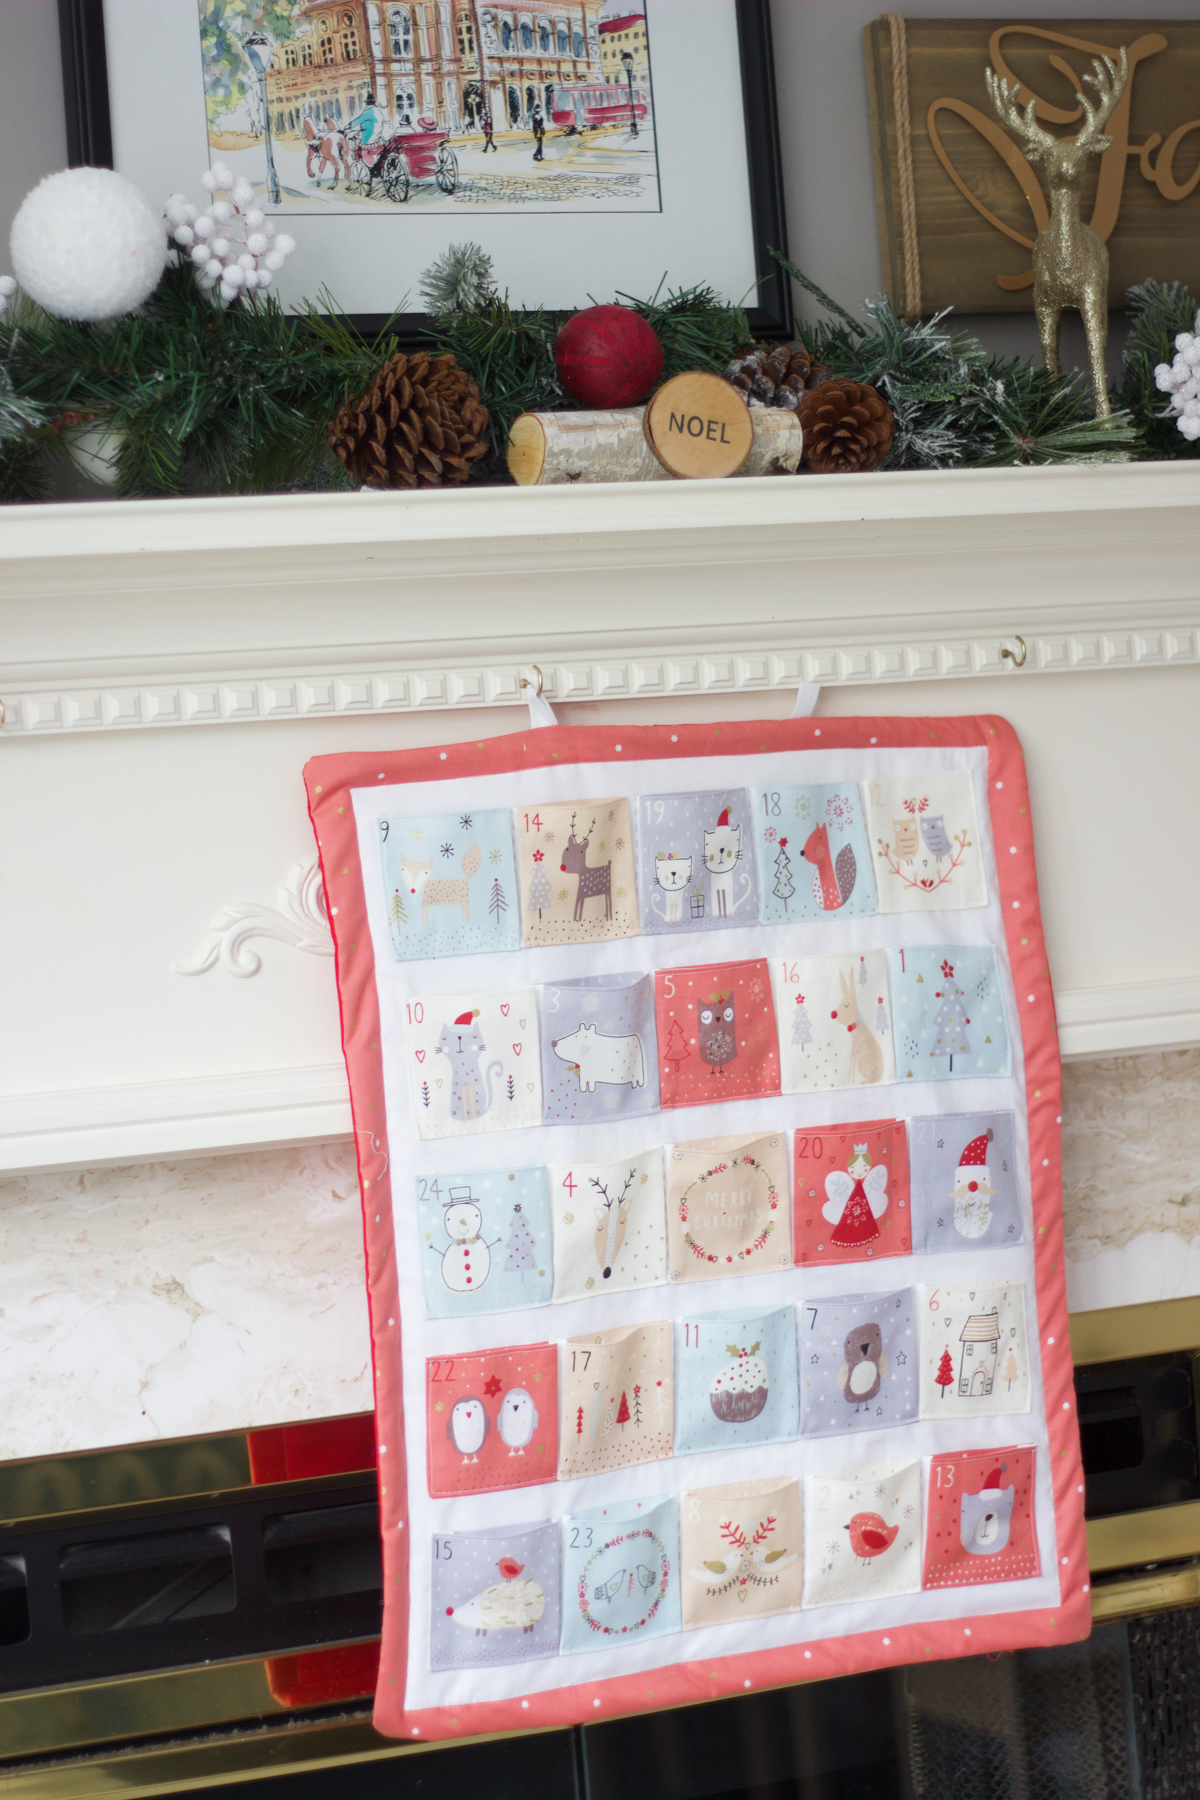
So, as you can tell this is a Sew-A-Long with step-by-step instructions on how to put it together. The panel comes with instructions but I find having some photos to guide you through will be super helpful.
What You Will Need:
- Dashwood Studios Advent Calendar
- Quilting batting or iron on interfacing
- 1/4 yard of cotton fabric for the back in a complementary colour
- Rotary cutter or scissors
- Iron
- Needle and Thread (I used white)
FRONT PANEL
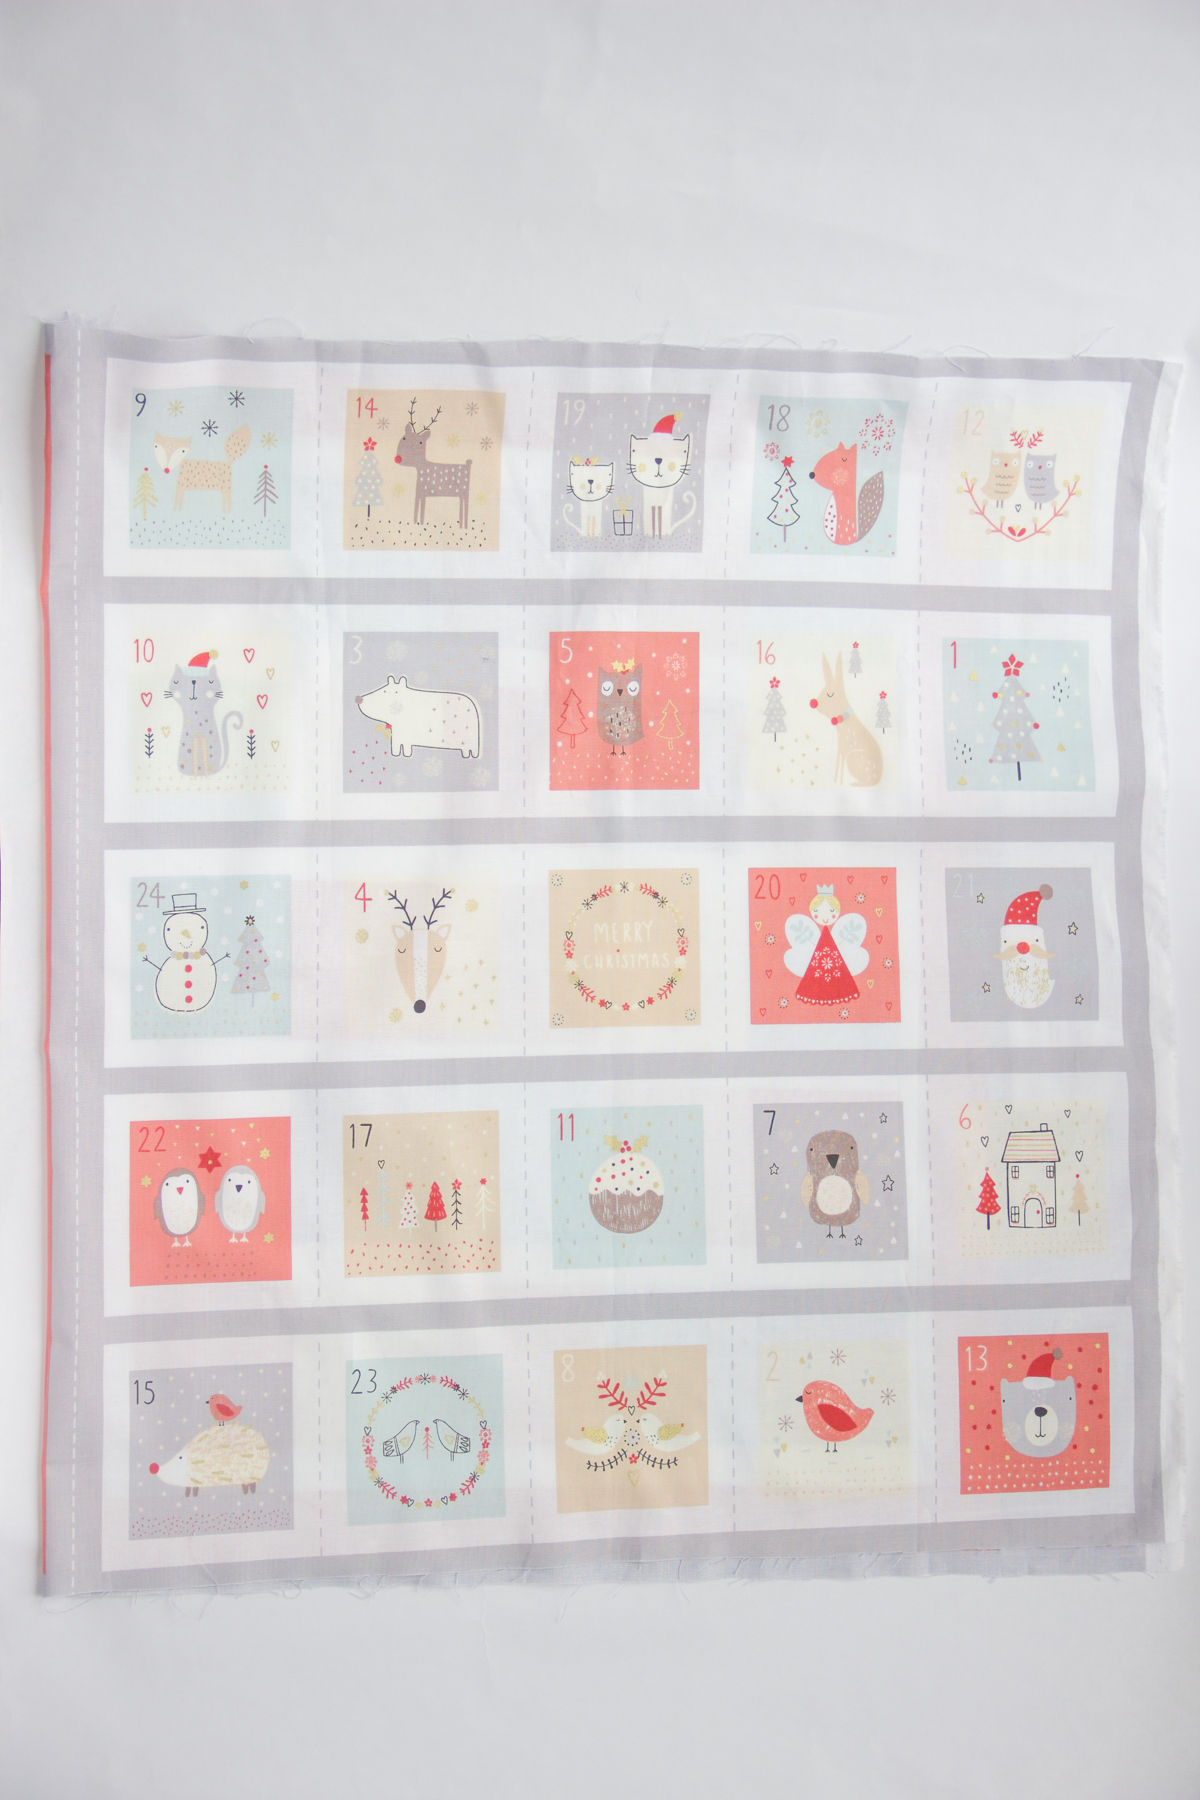 BACK PANEL
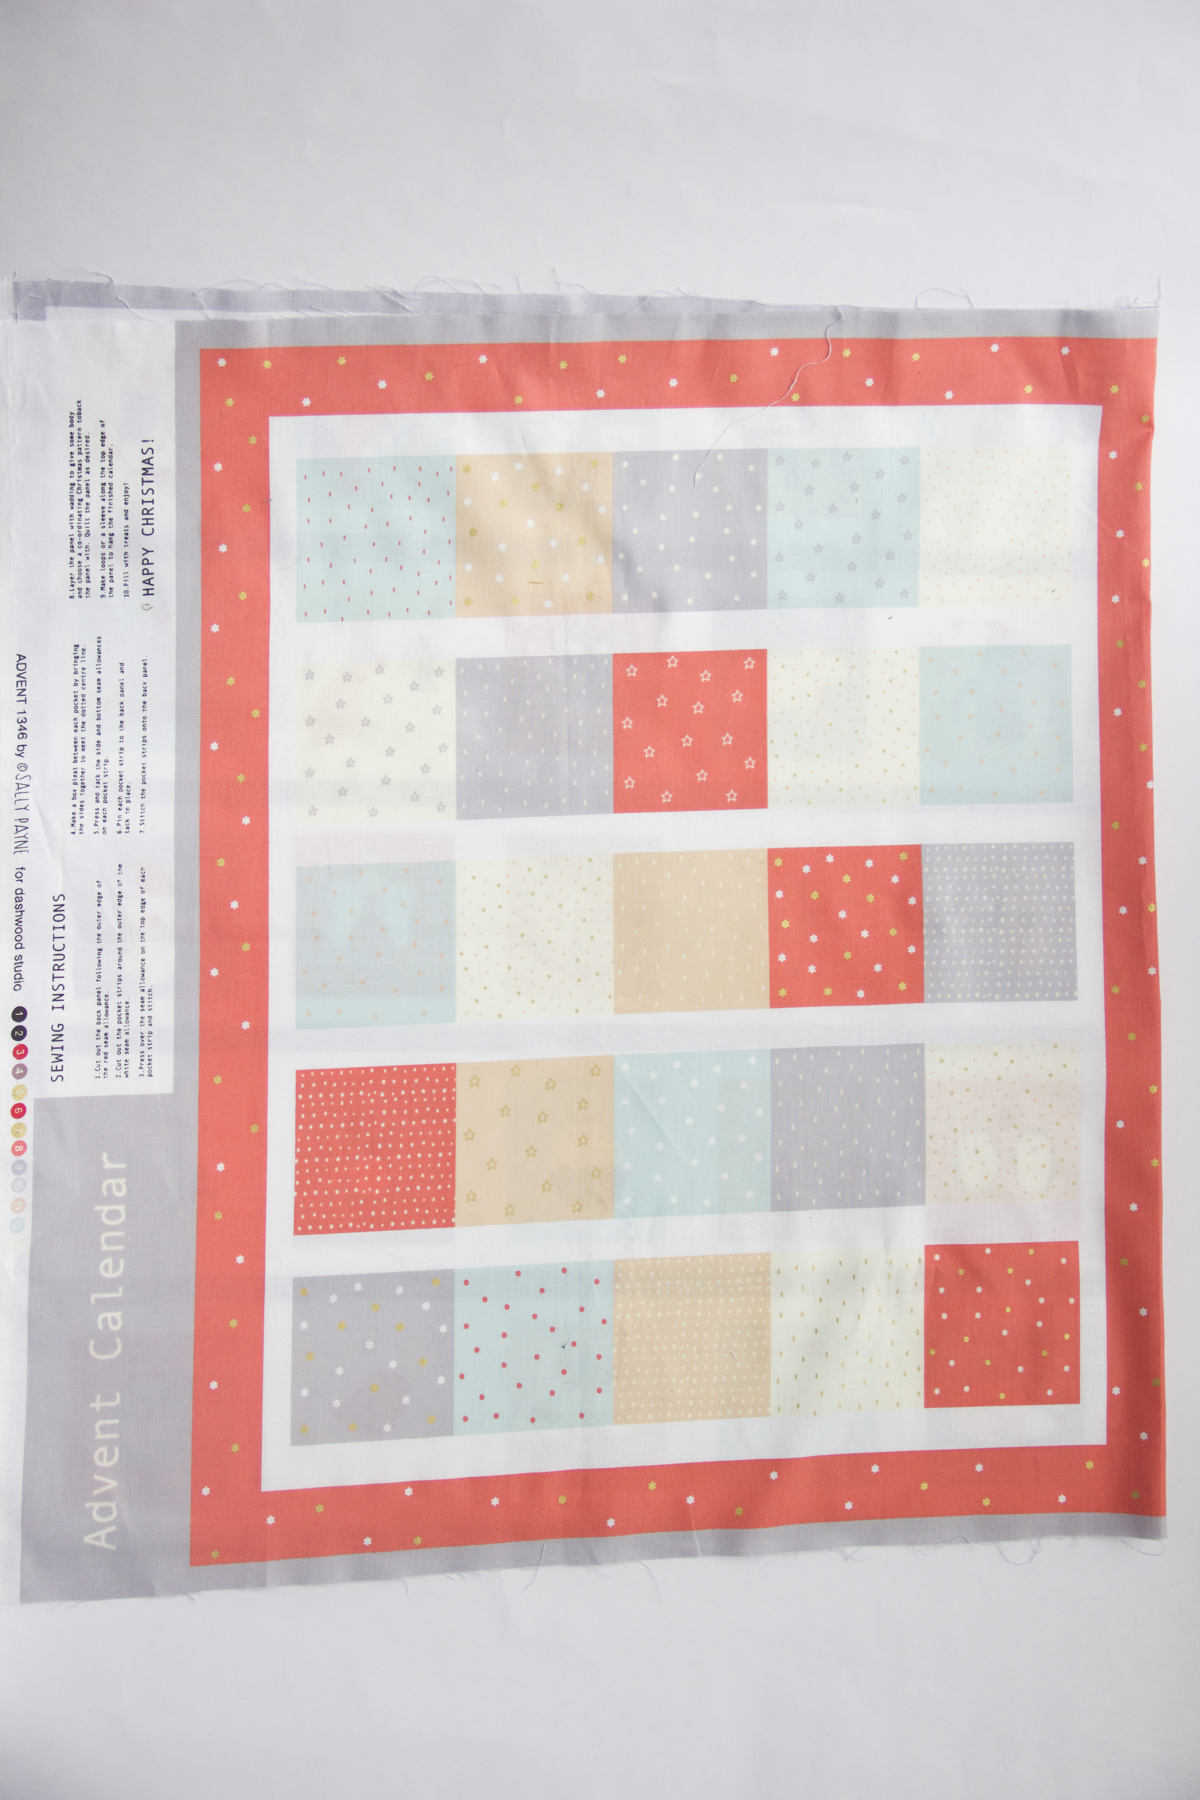
Step 1: There is a dotted line between the back panel and the pockets. Using your scissors, cut down the line and separate the back panel from the pockets. Then cut out the back panel (i.e. around the red edges). Cut your complementary cotton fabric and quilting batting so that it is the same dimensions as your back panel. Set these aside for later.
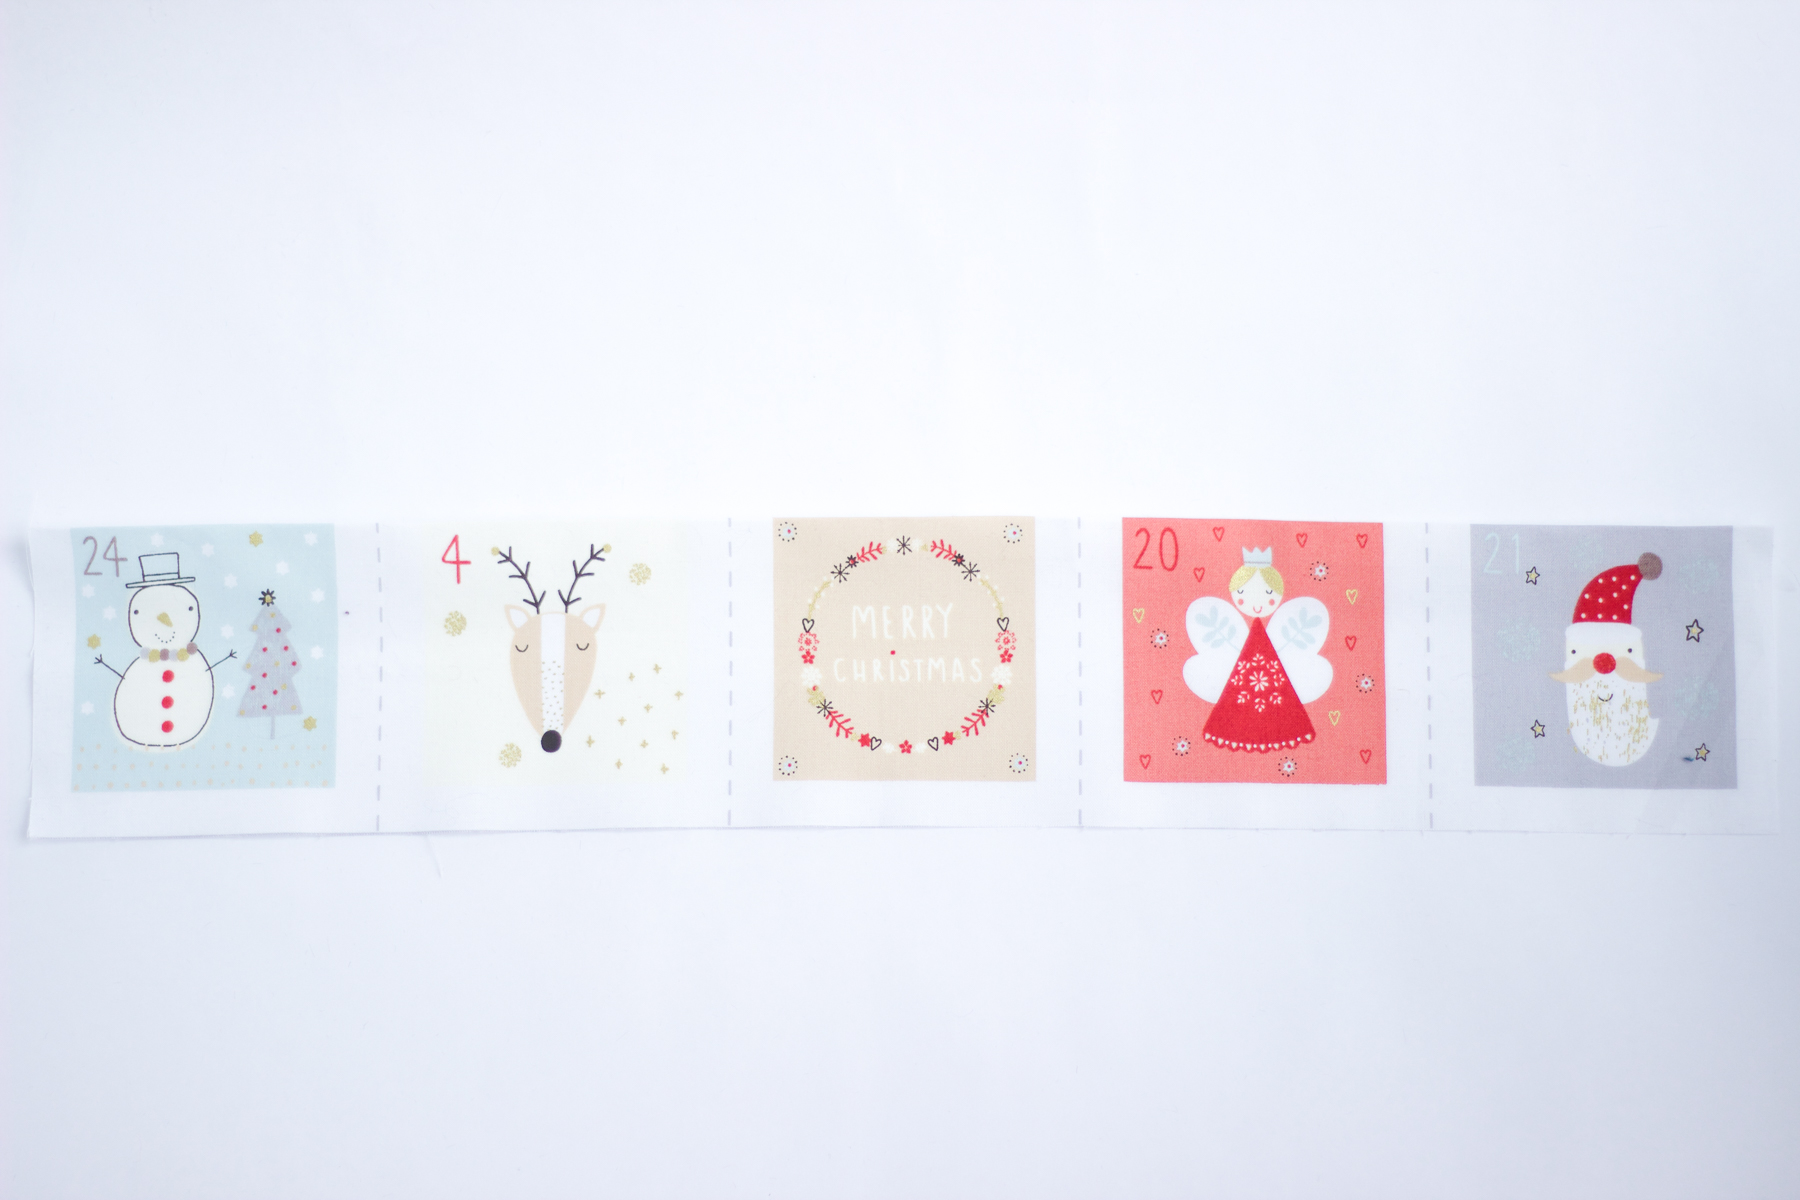
Step 2: There are five strips on the panel with pockets. Cut out each strip. DO NOT cut the squares out individually.
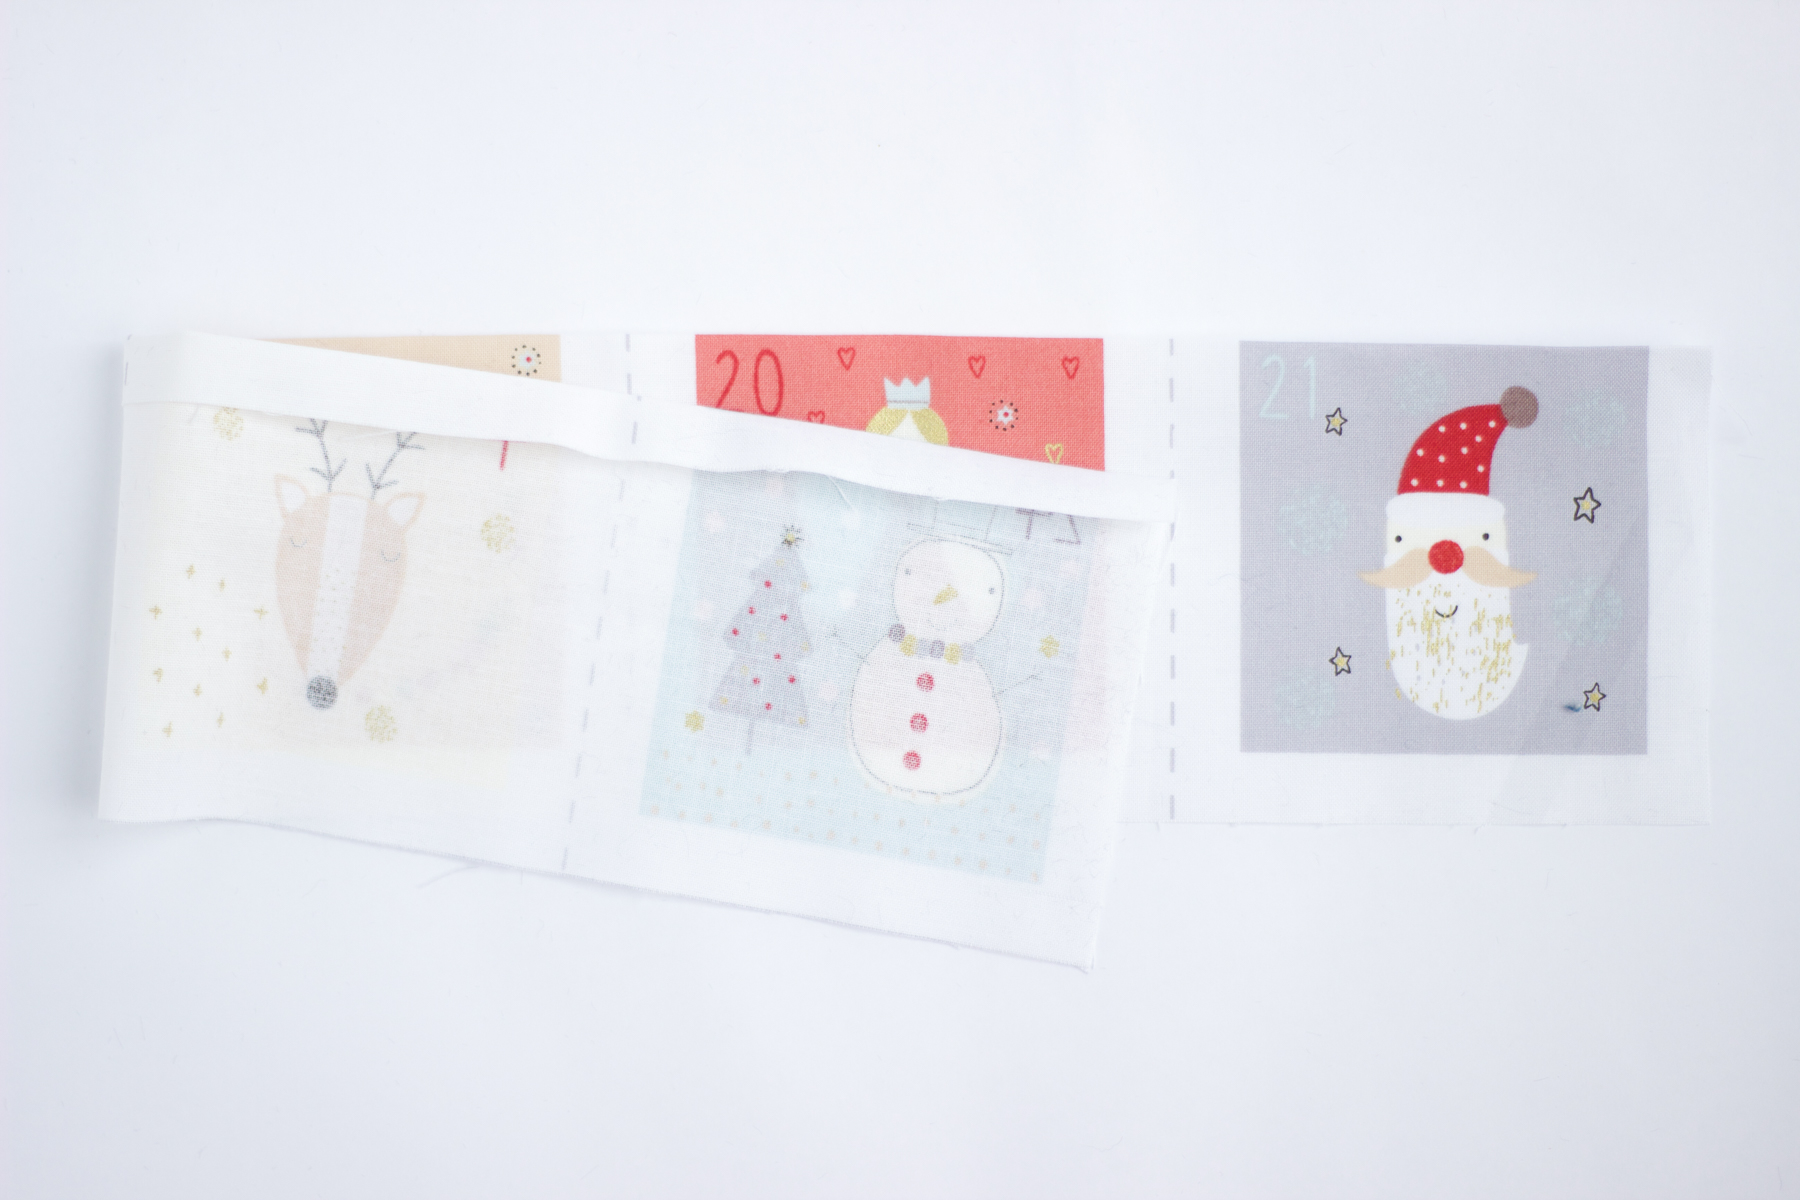
Step 3: Fold over the top of the seam allowance over and press. Then stitch across the top of each strip.
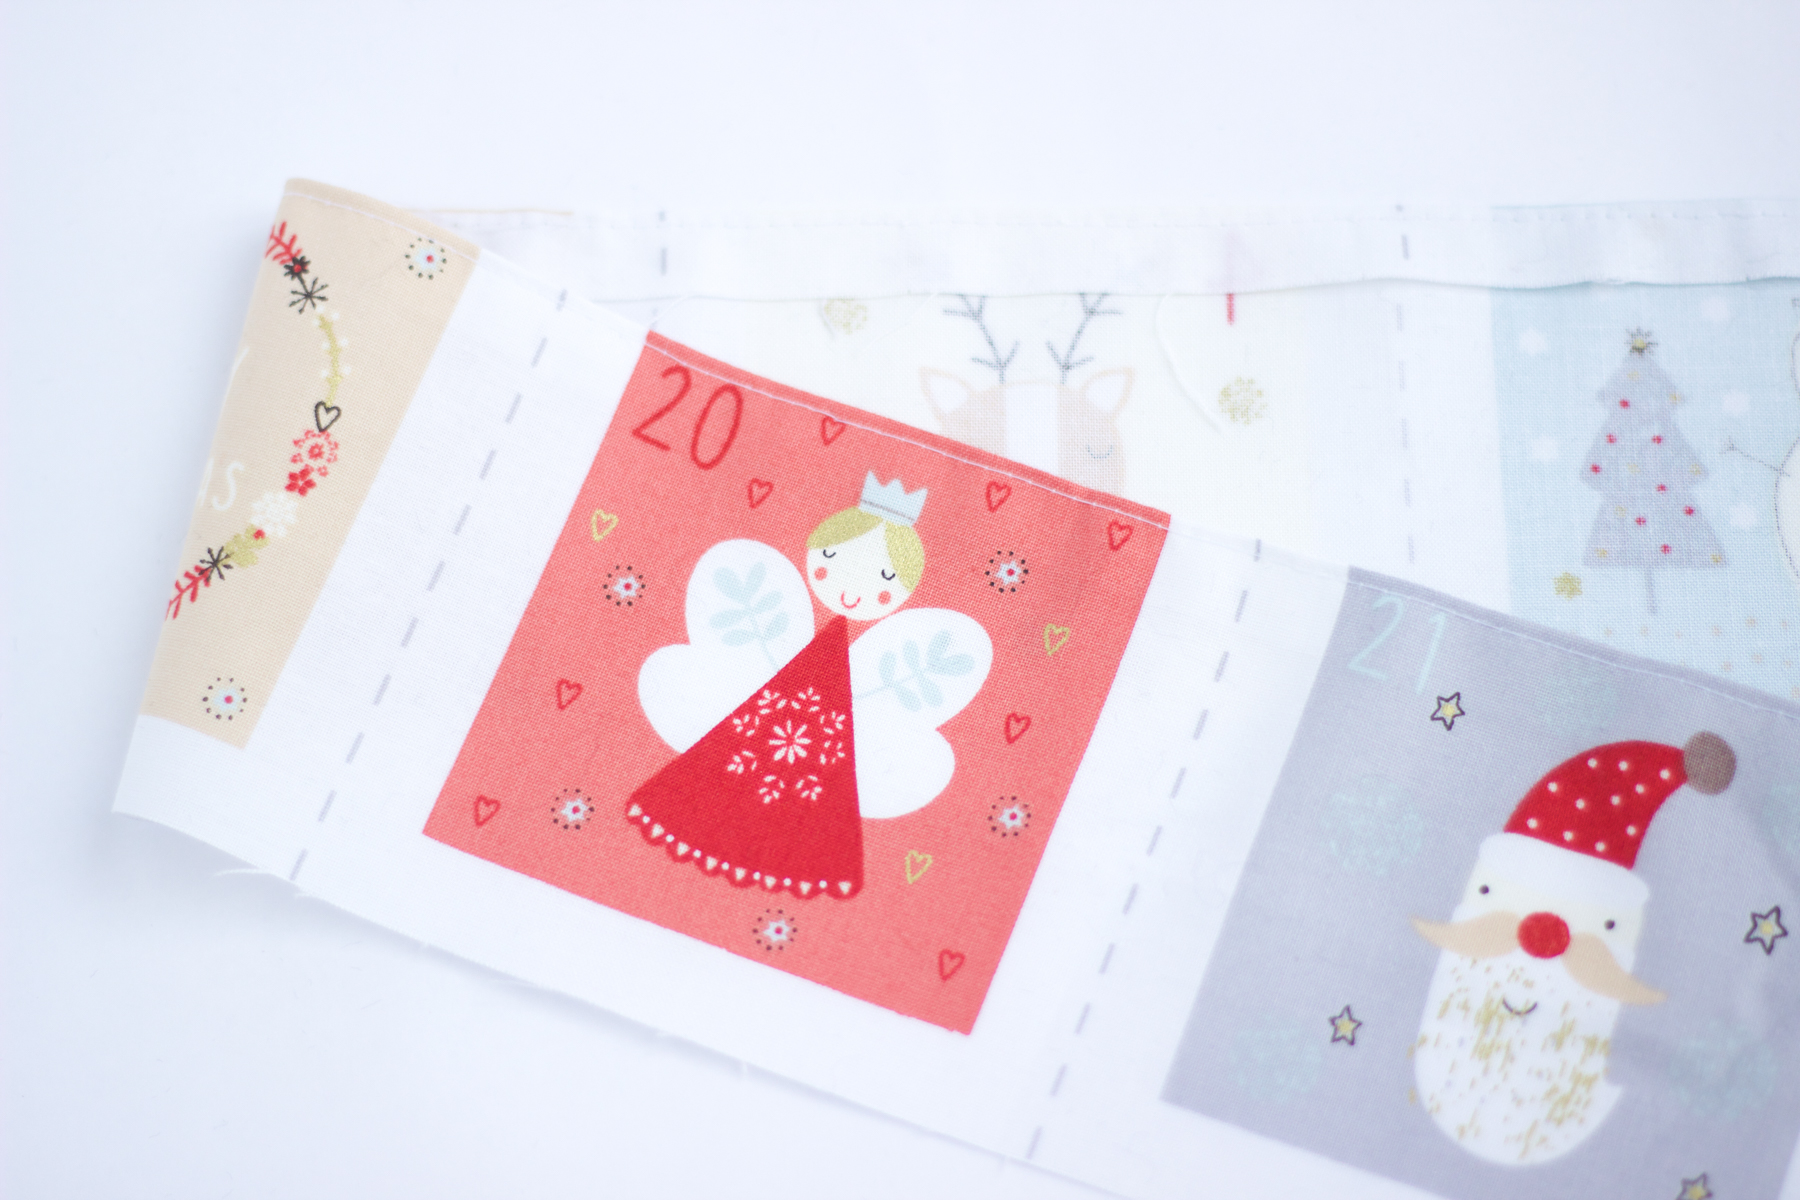
Step 4: Create box pleats between the pockets. There is a dotted line on the panel which guides you where to fold the fabric in order to create these pleats. Simply line up and fold the printed pockets to the dotted line and press using an iron. Then fold over the bottom seam allowance and press.
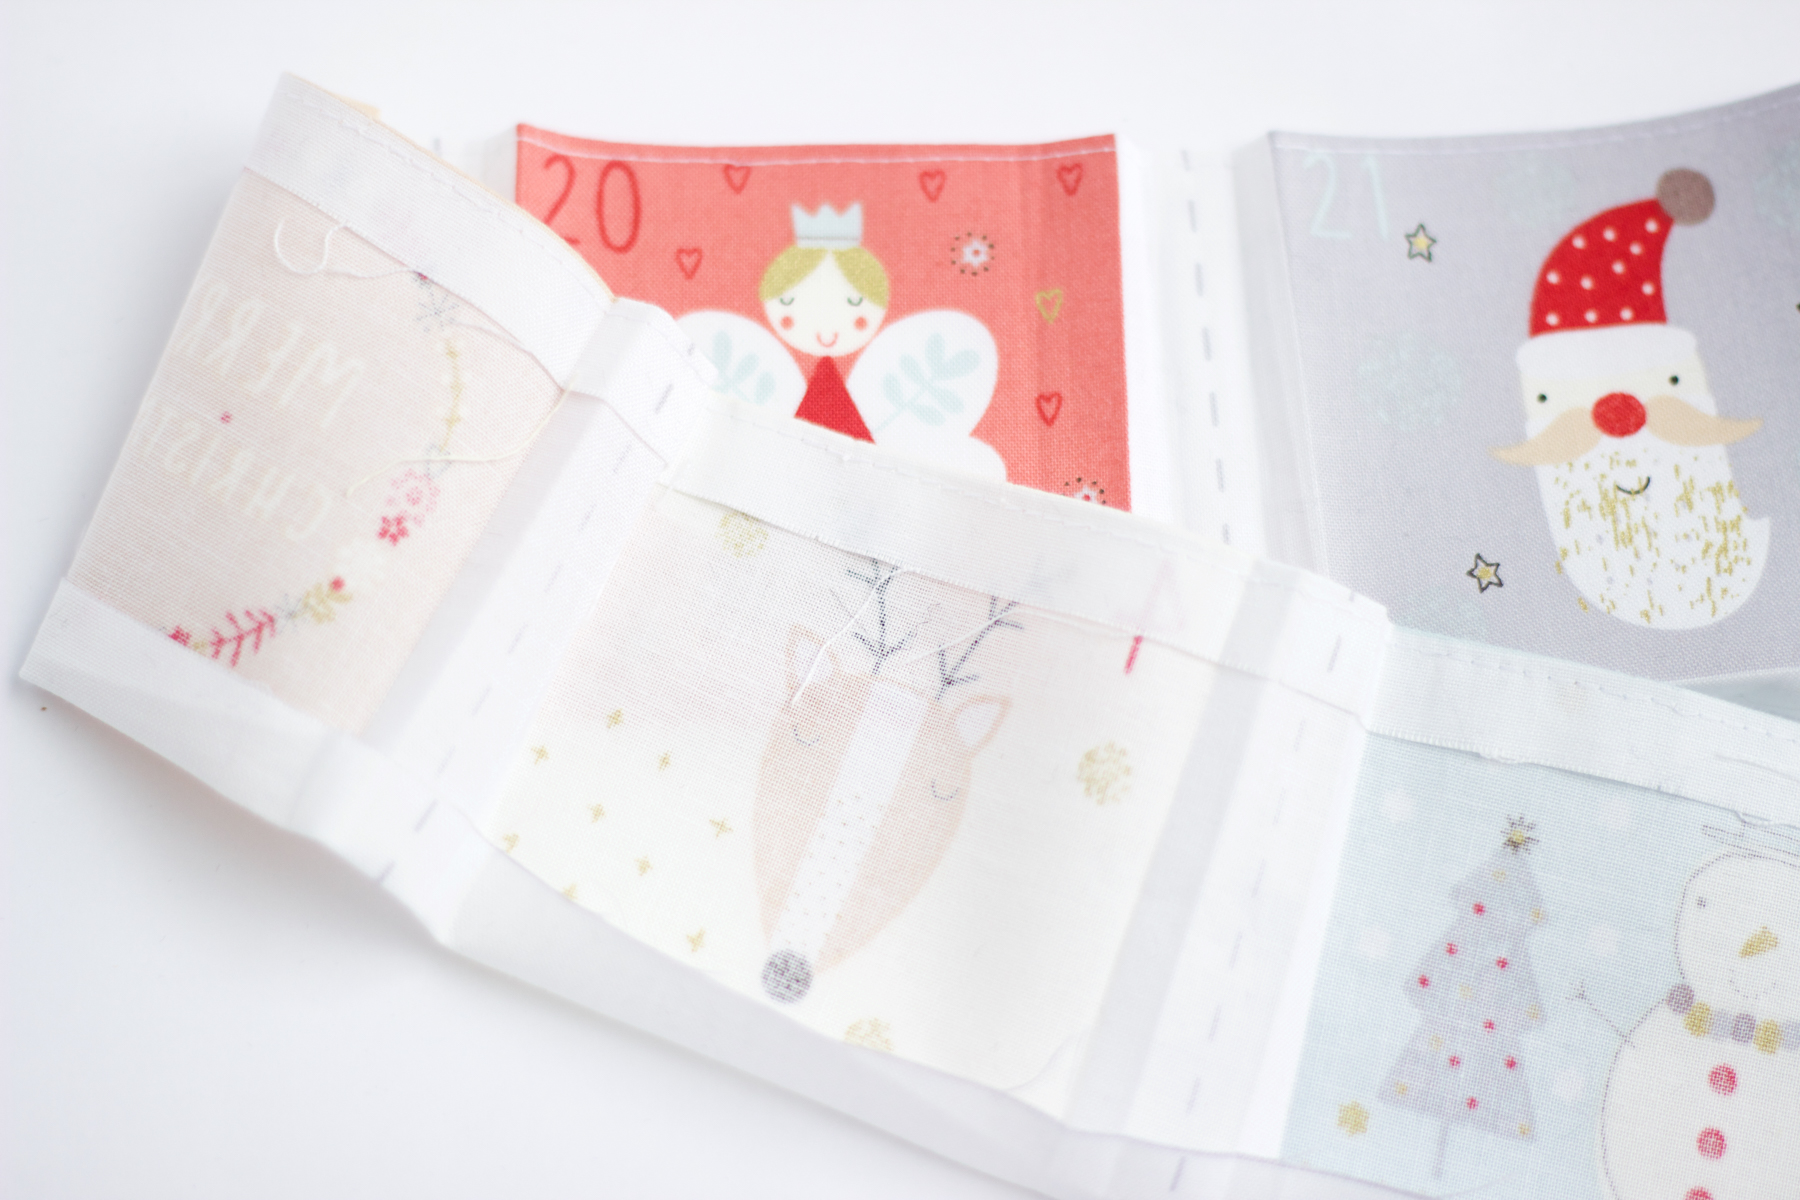
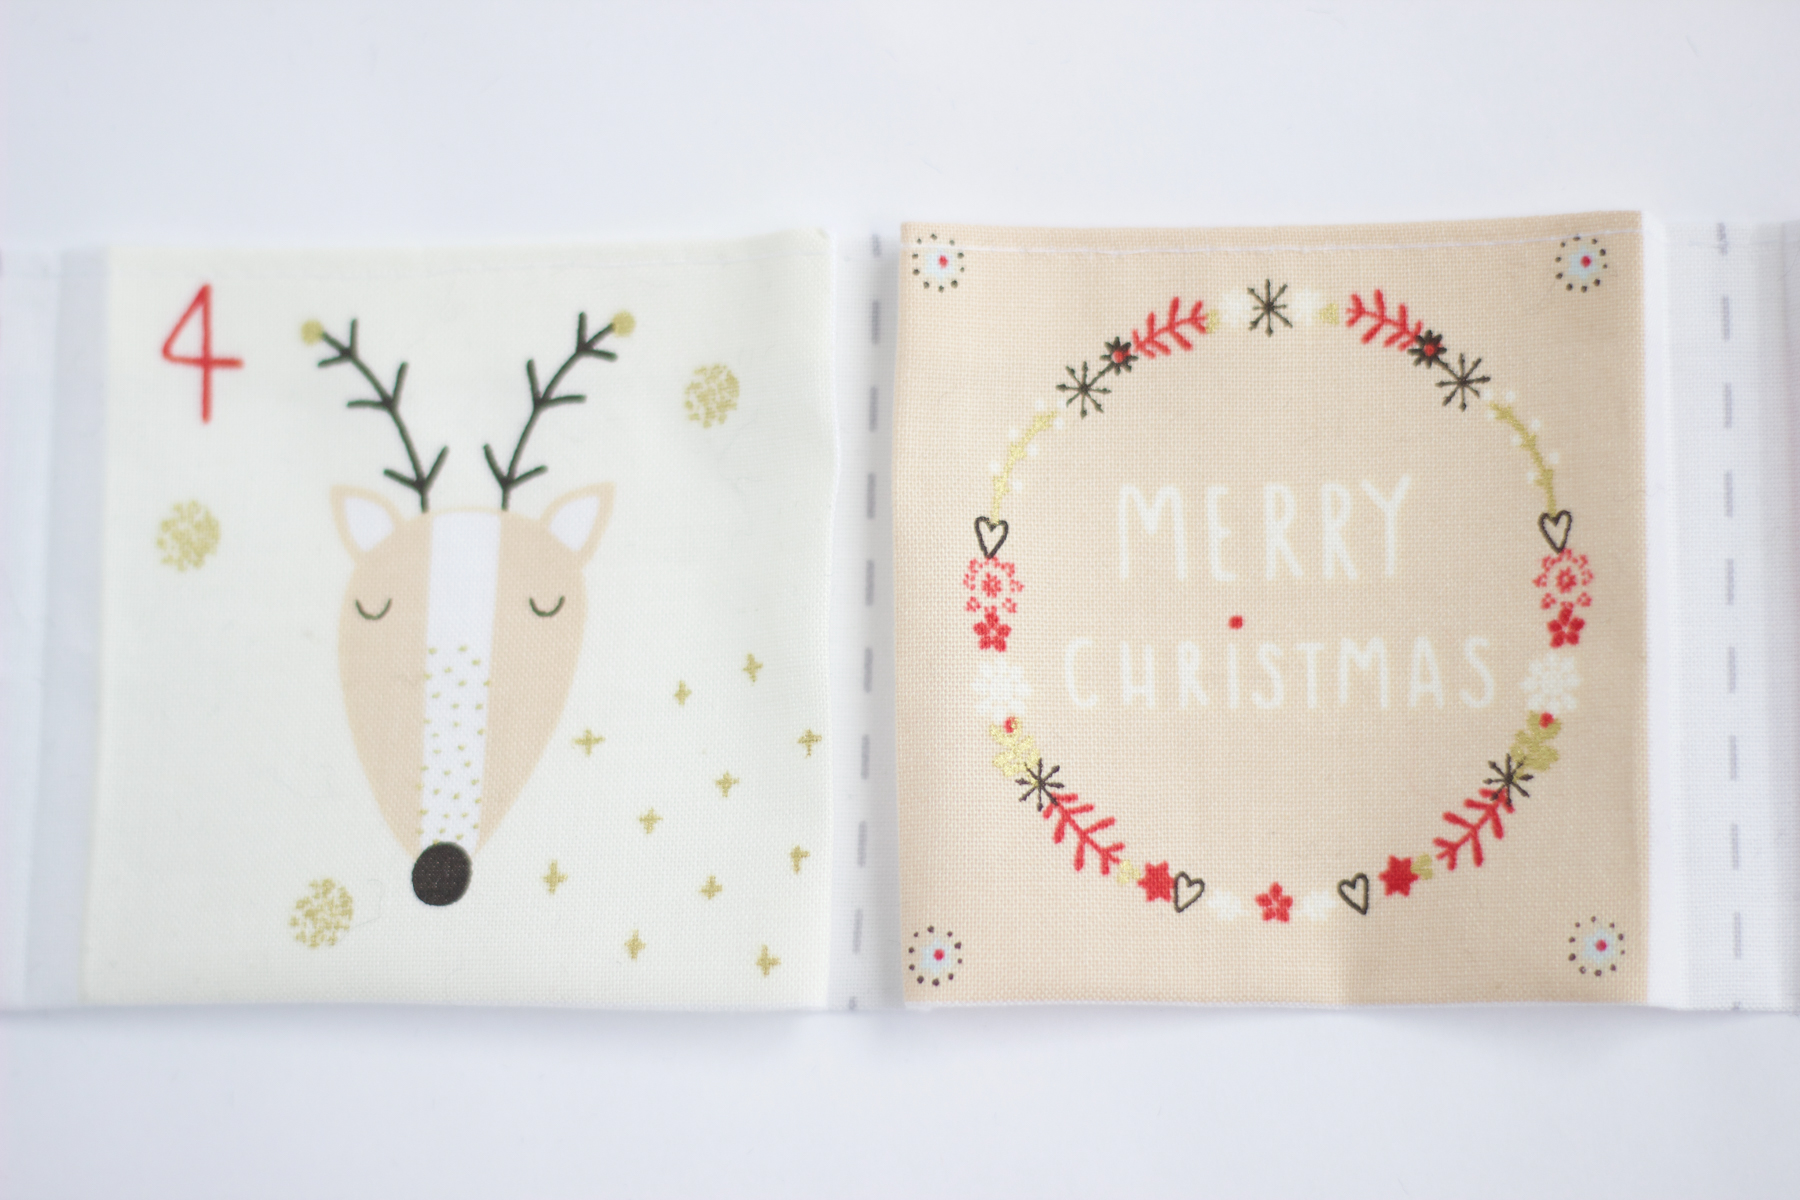
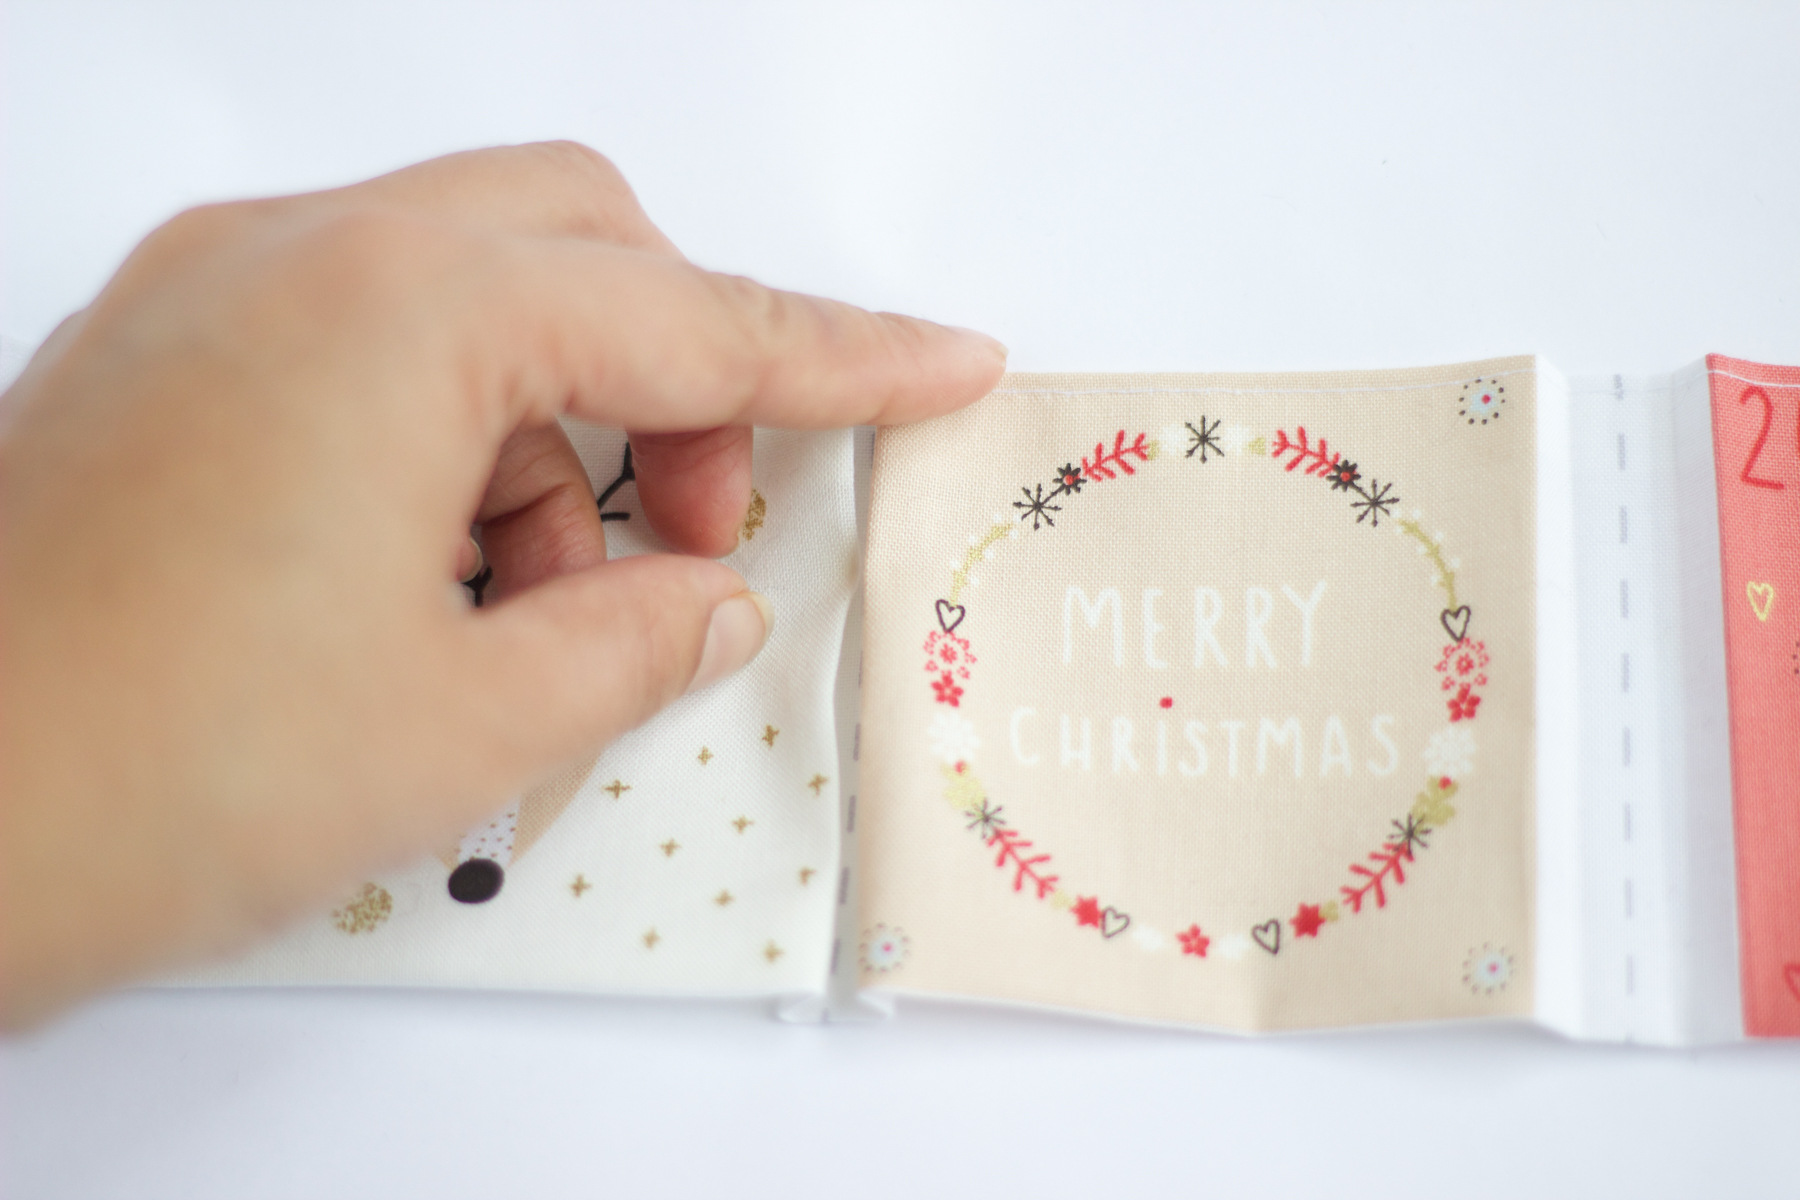
Step 6: Match the strip with the squares on the back panel of the advent calendar. Pin the strip in place around all the sides and pleats. 
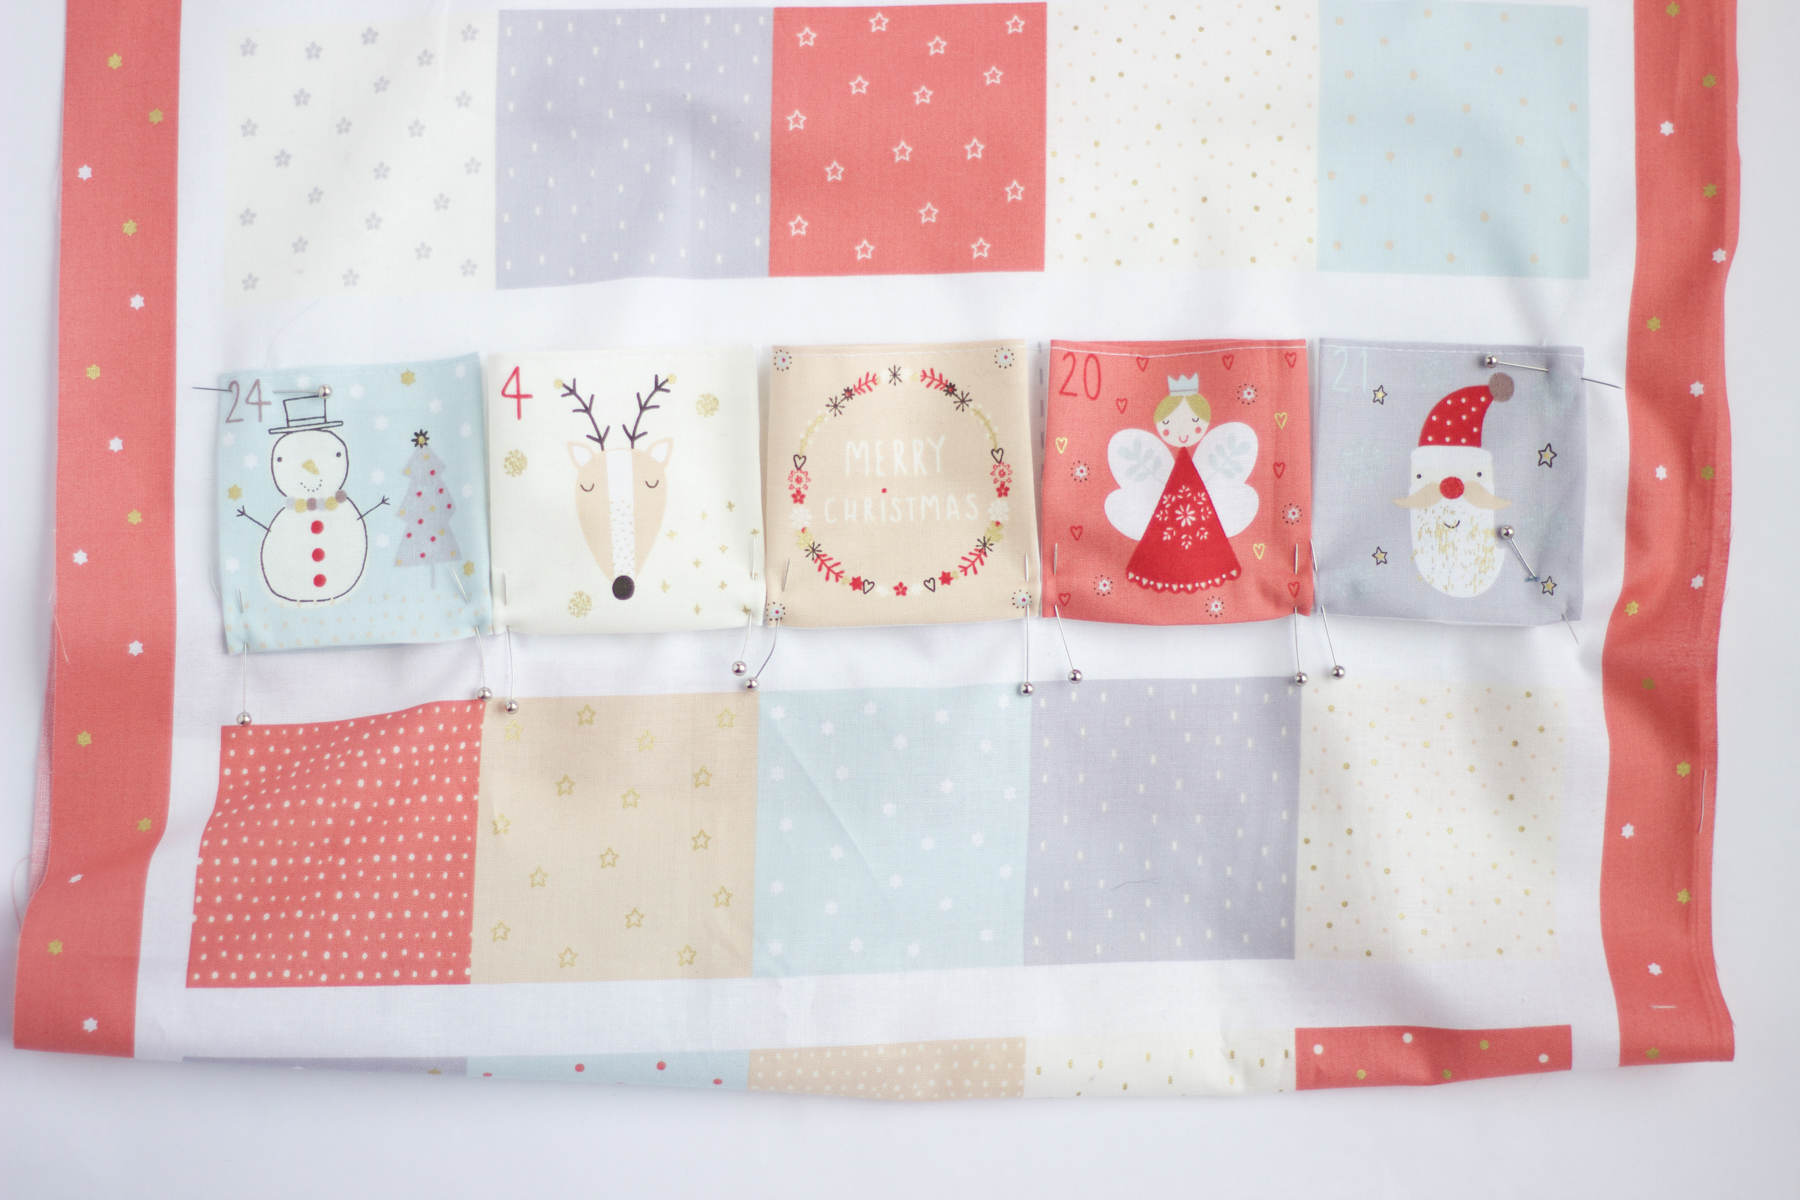
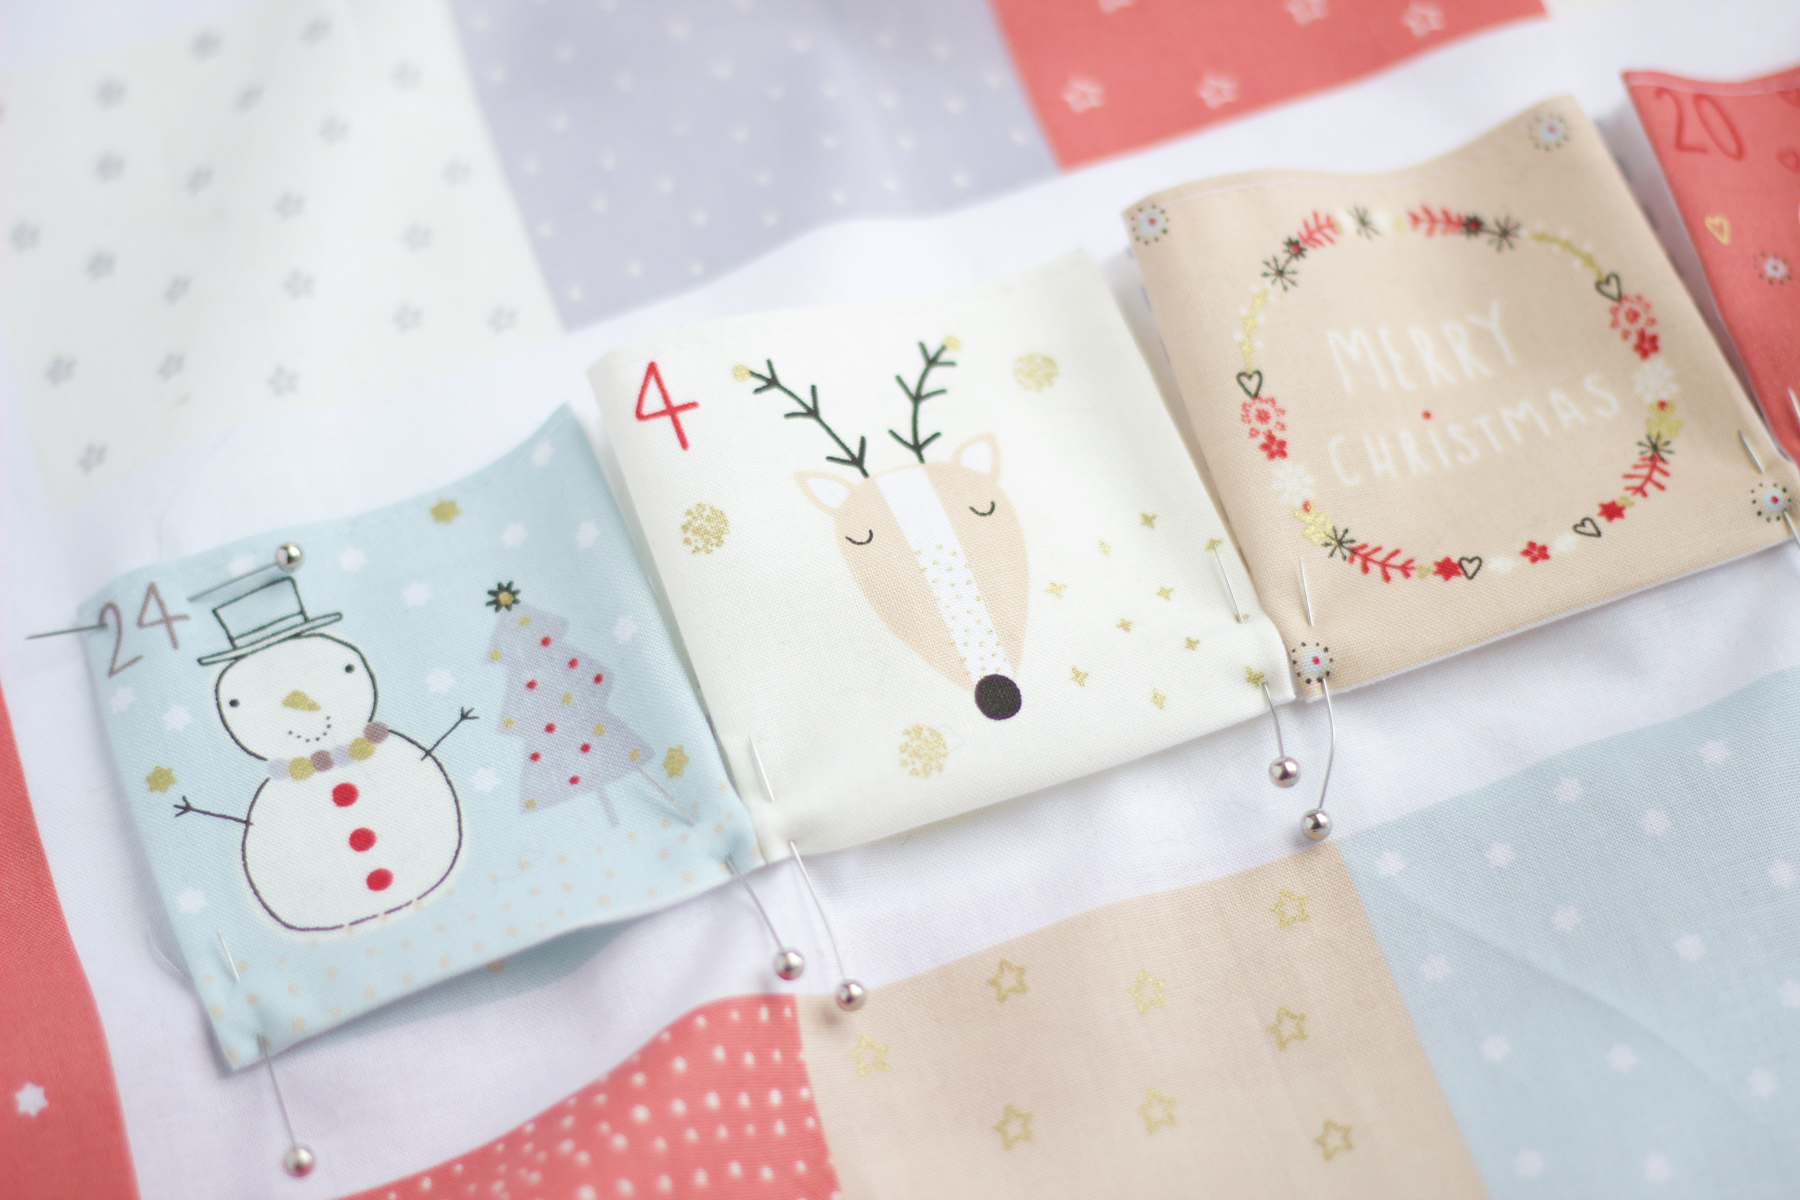
Step 7: Sew around the two sides and across the entire bottom of the strip.
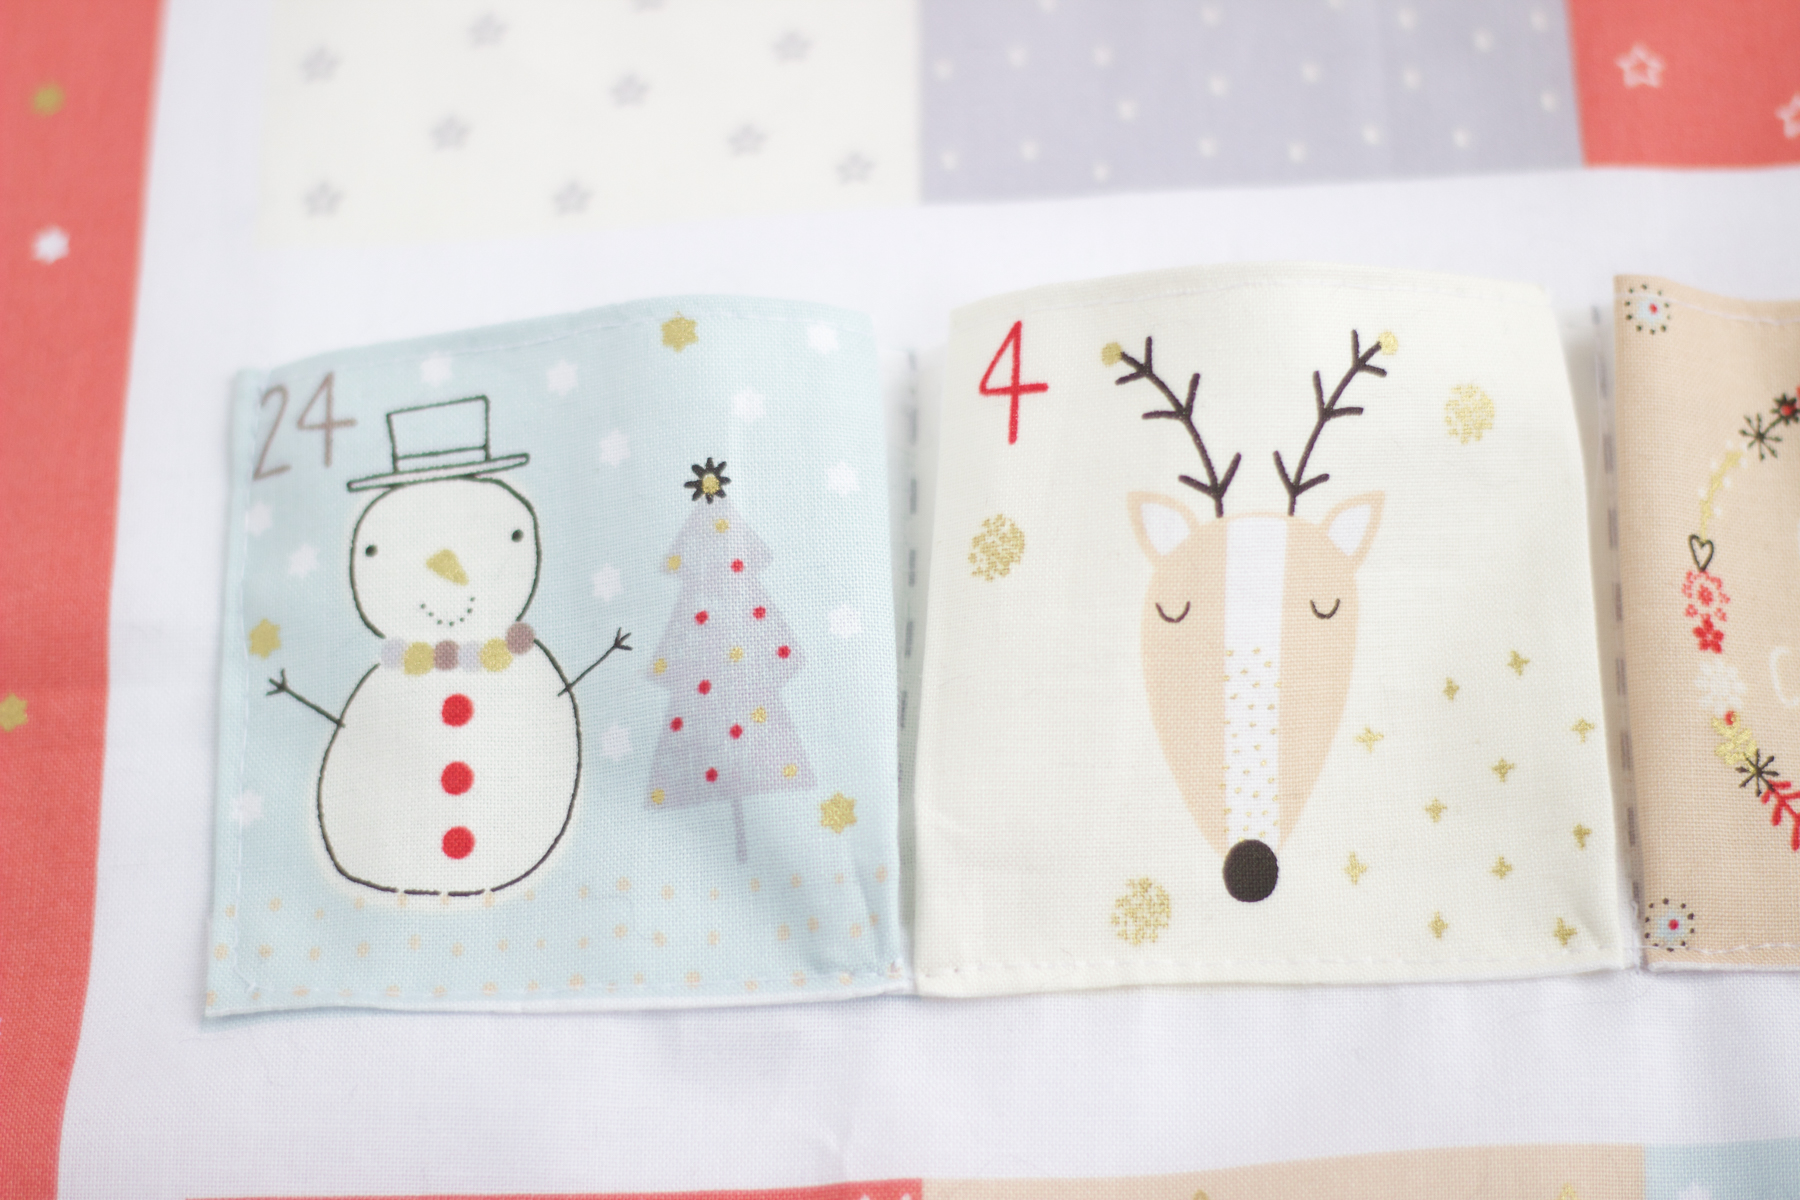

Step 8: Sew in-between each panel along the dotted line to create individual pockets.
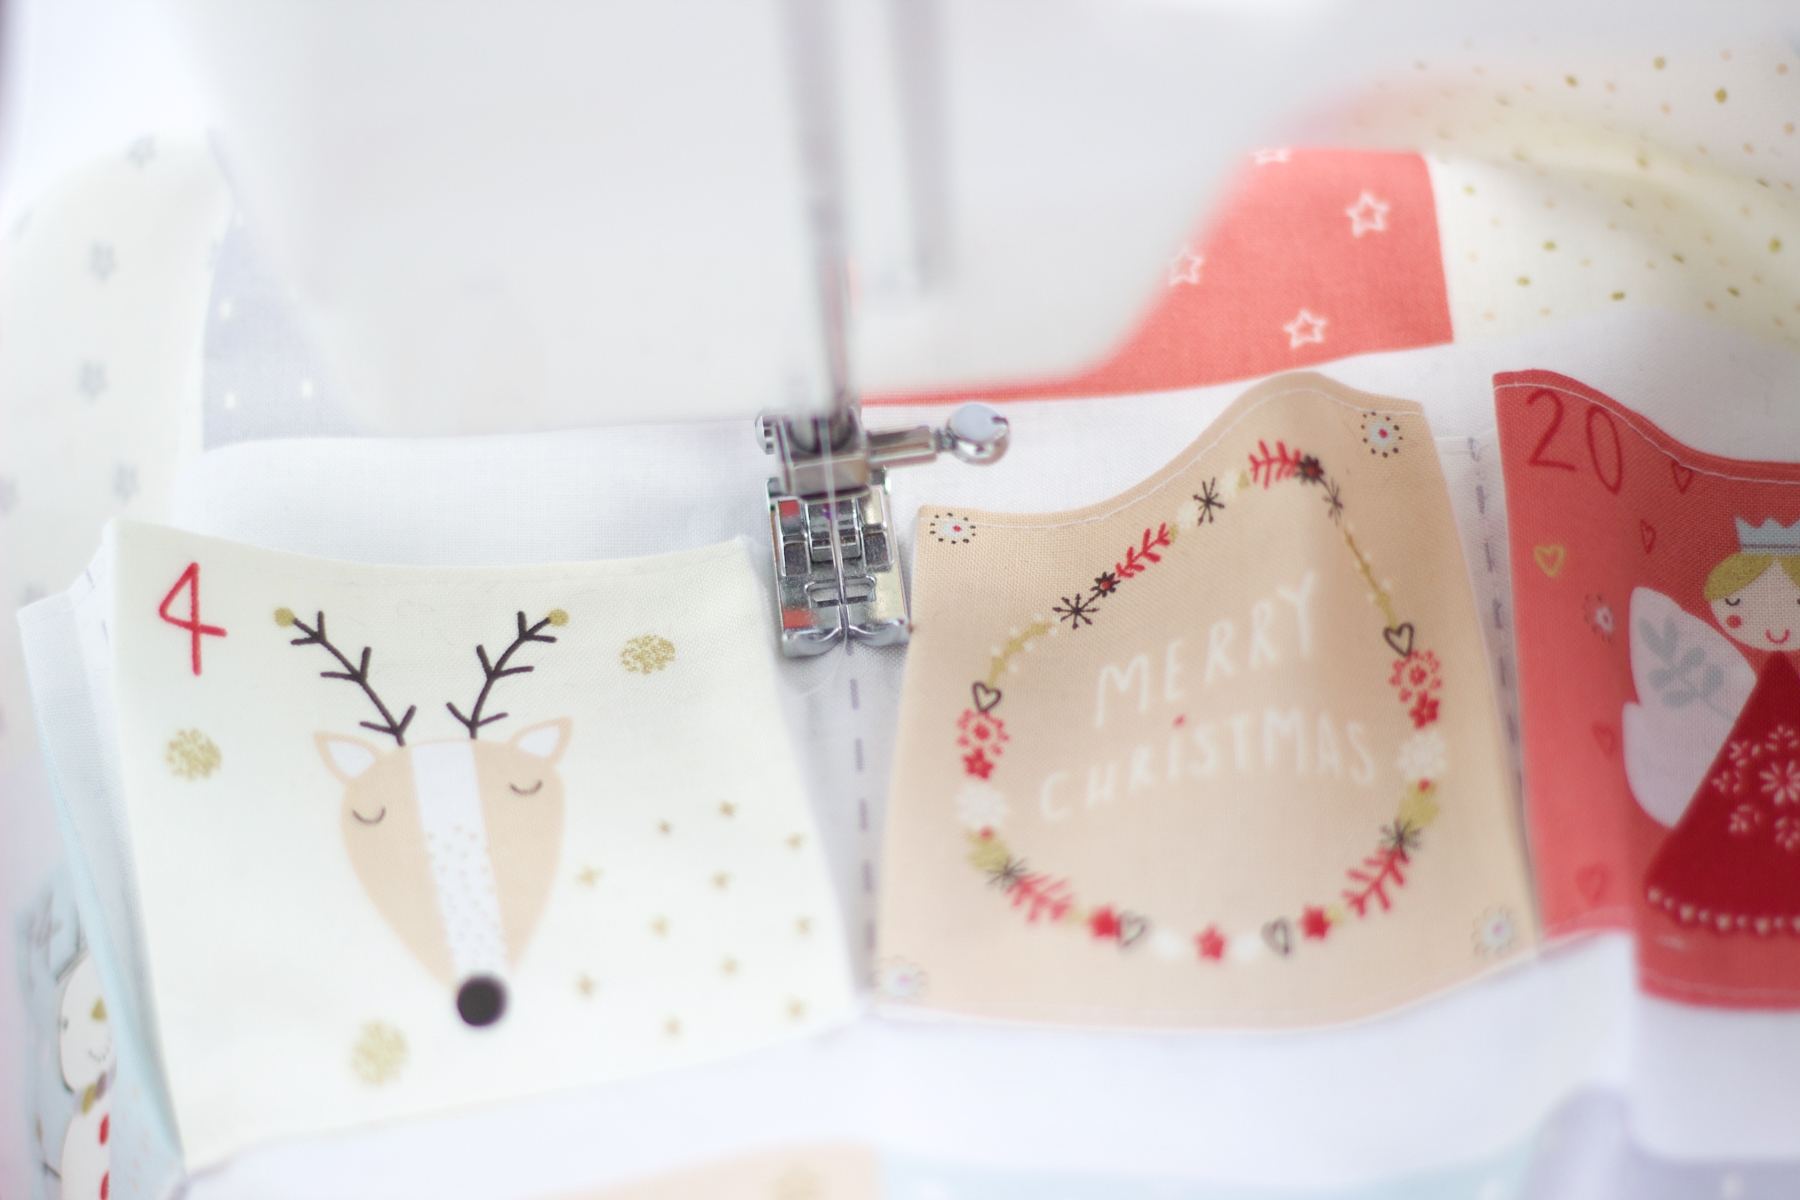
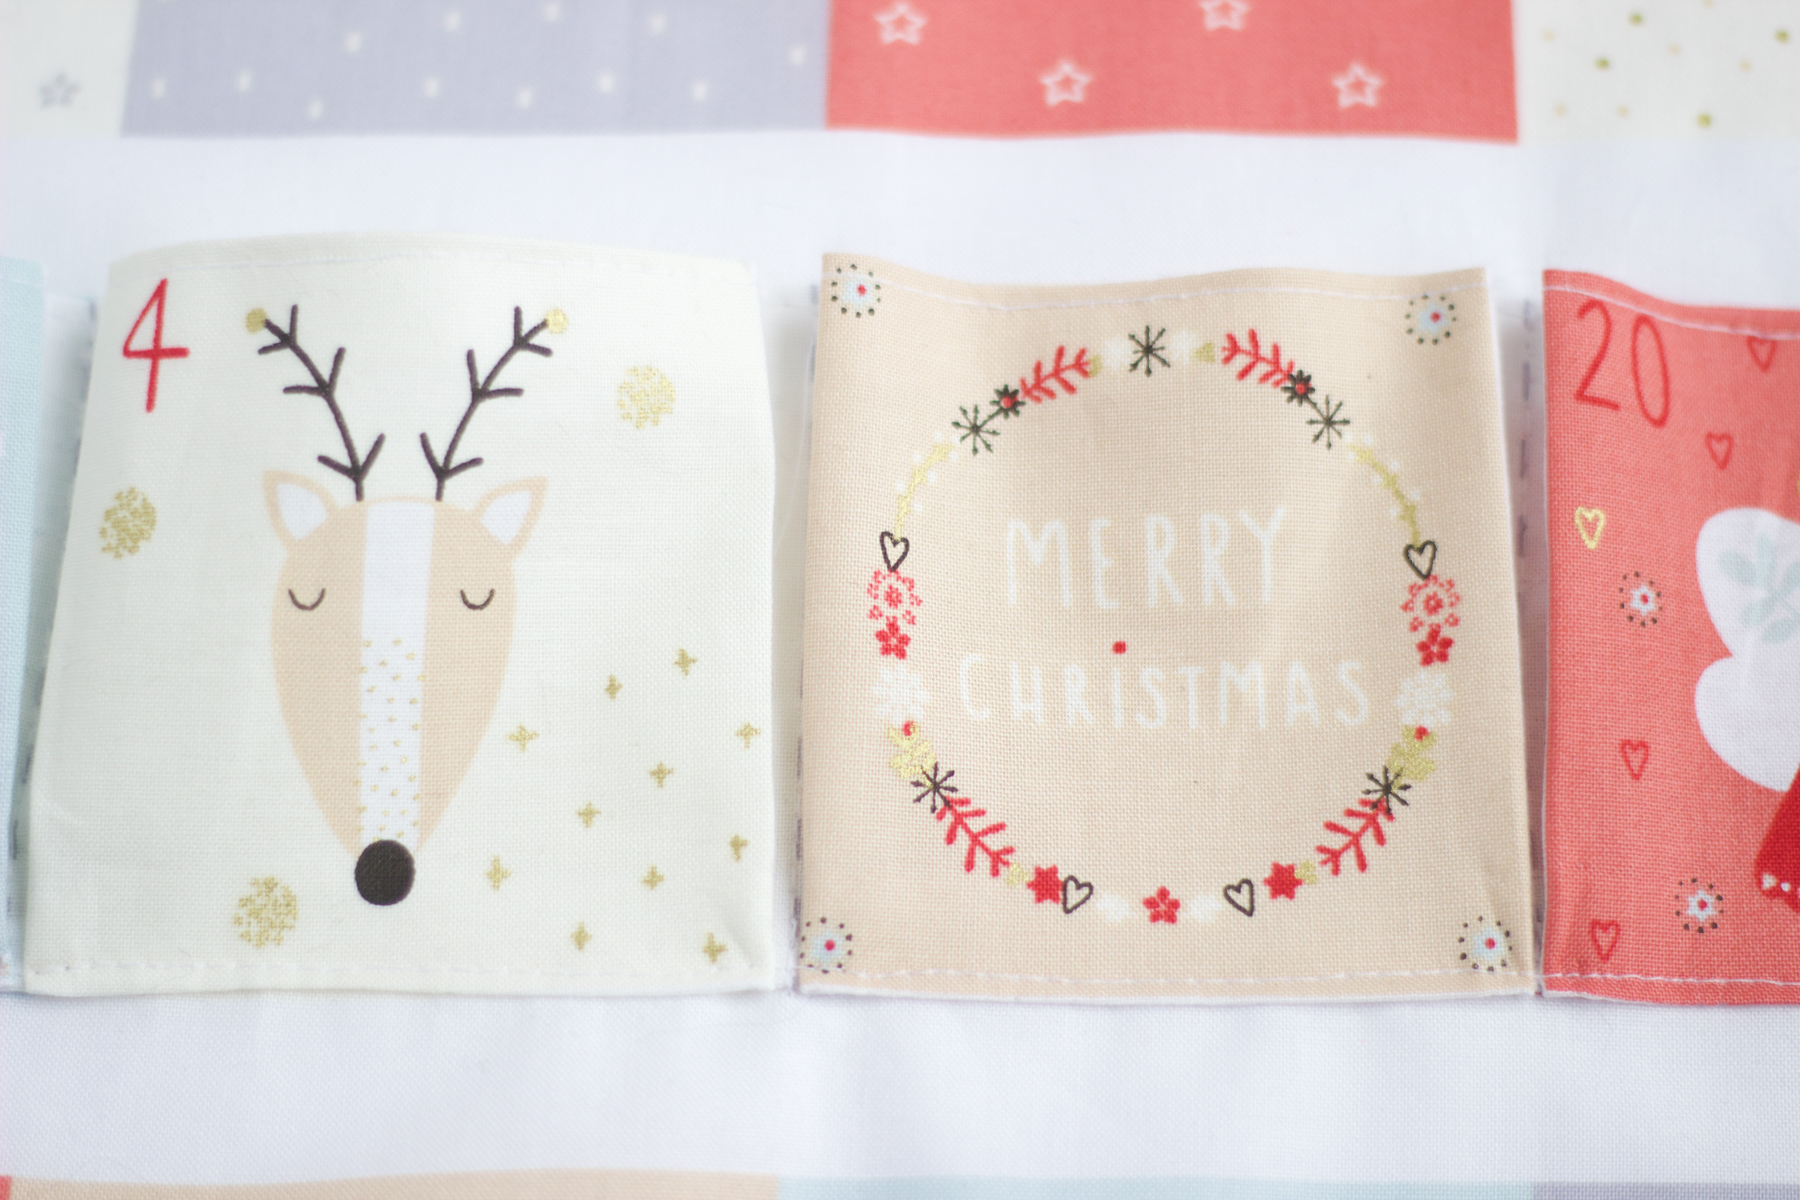
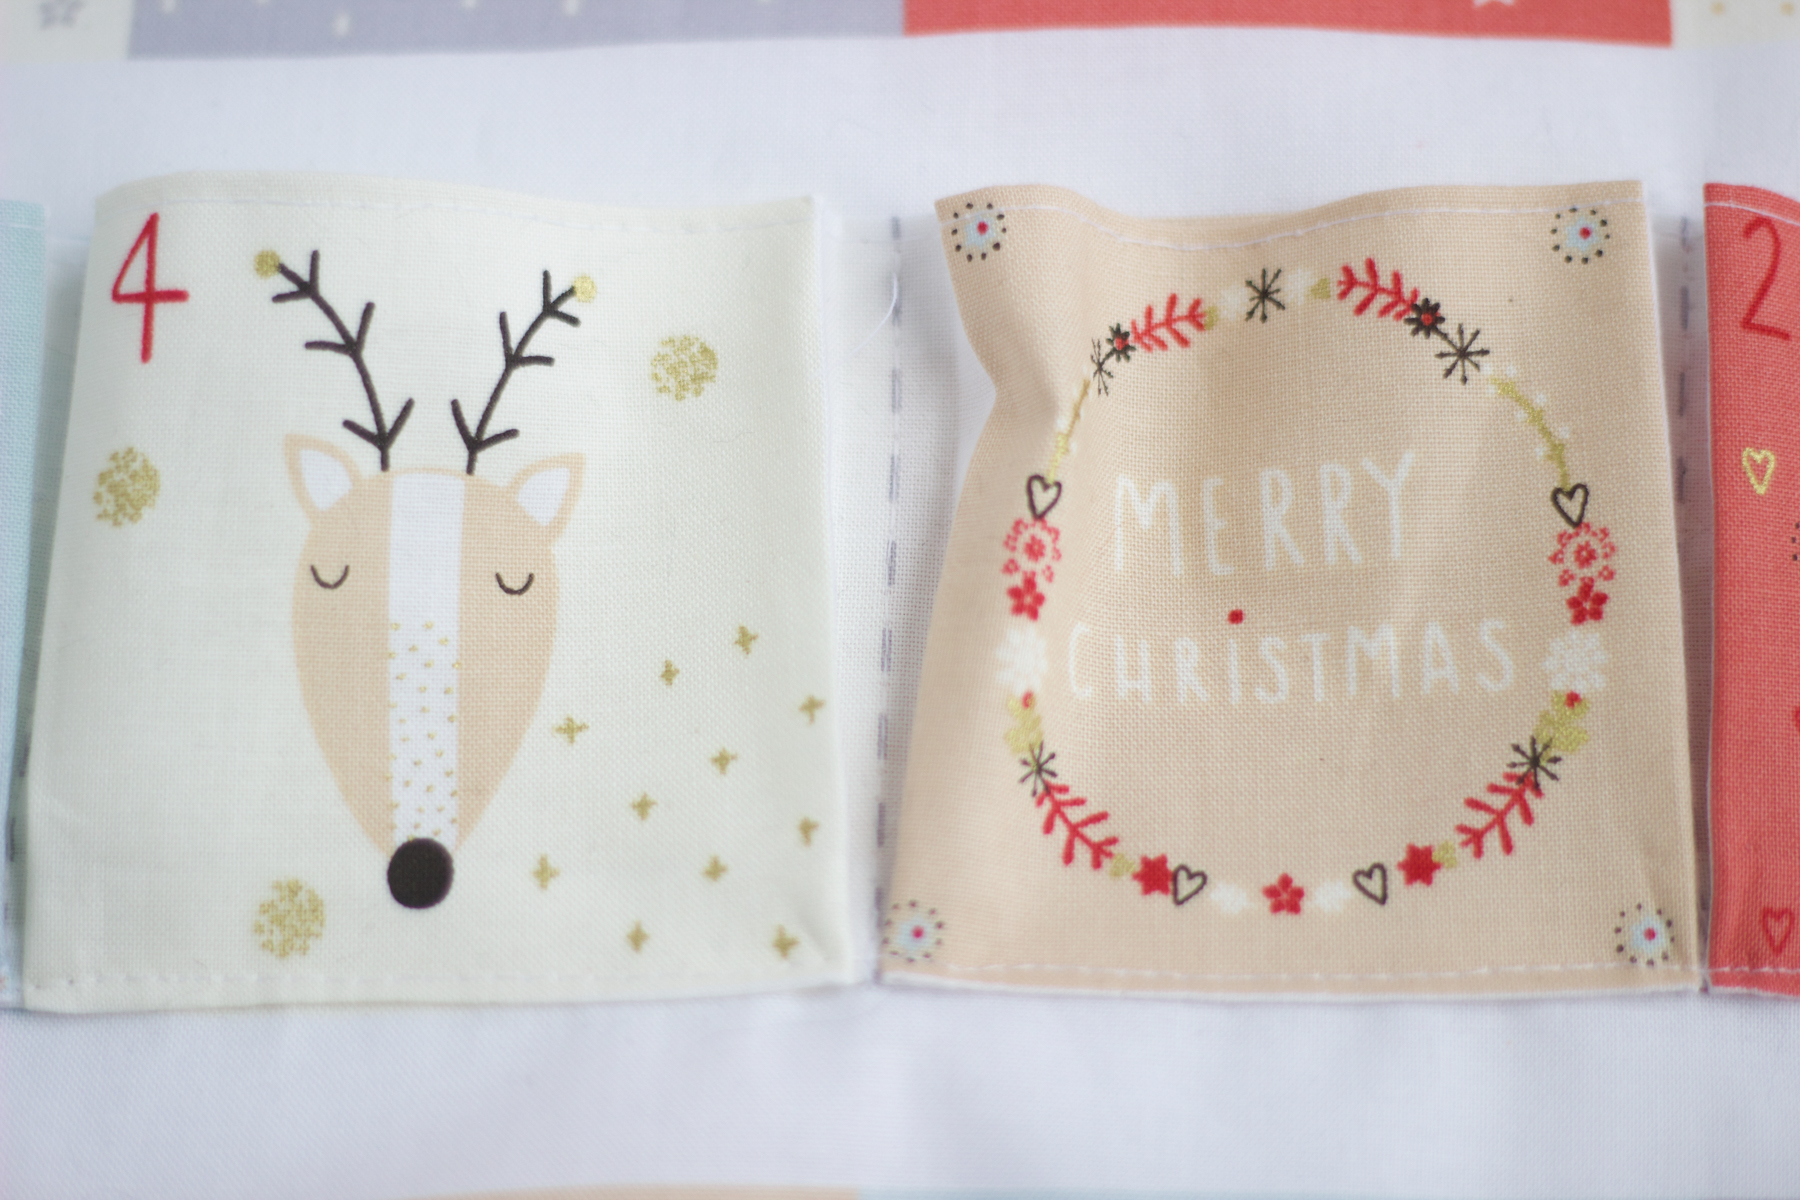
Repeat for the other strips.
Finishing off your advent calendar
In the next few steps, we will finish the advent calendar by adding the quilting batting and enclosing it.
Step 9: Create a sandwich: 1) place the quilting batting down first 2) On top place the advent calendar panel face up 3) place the cotton fabric face.
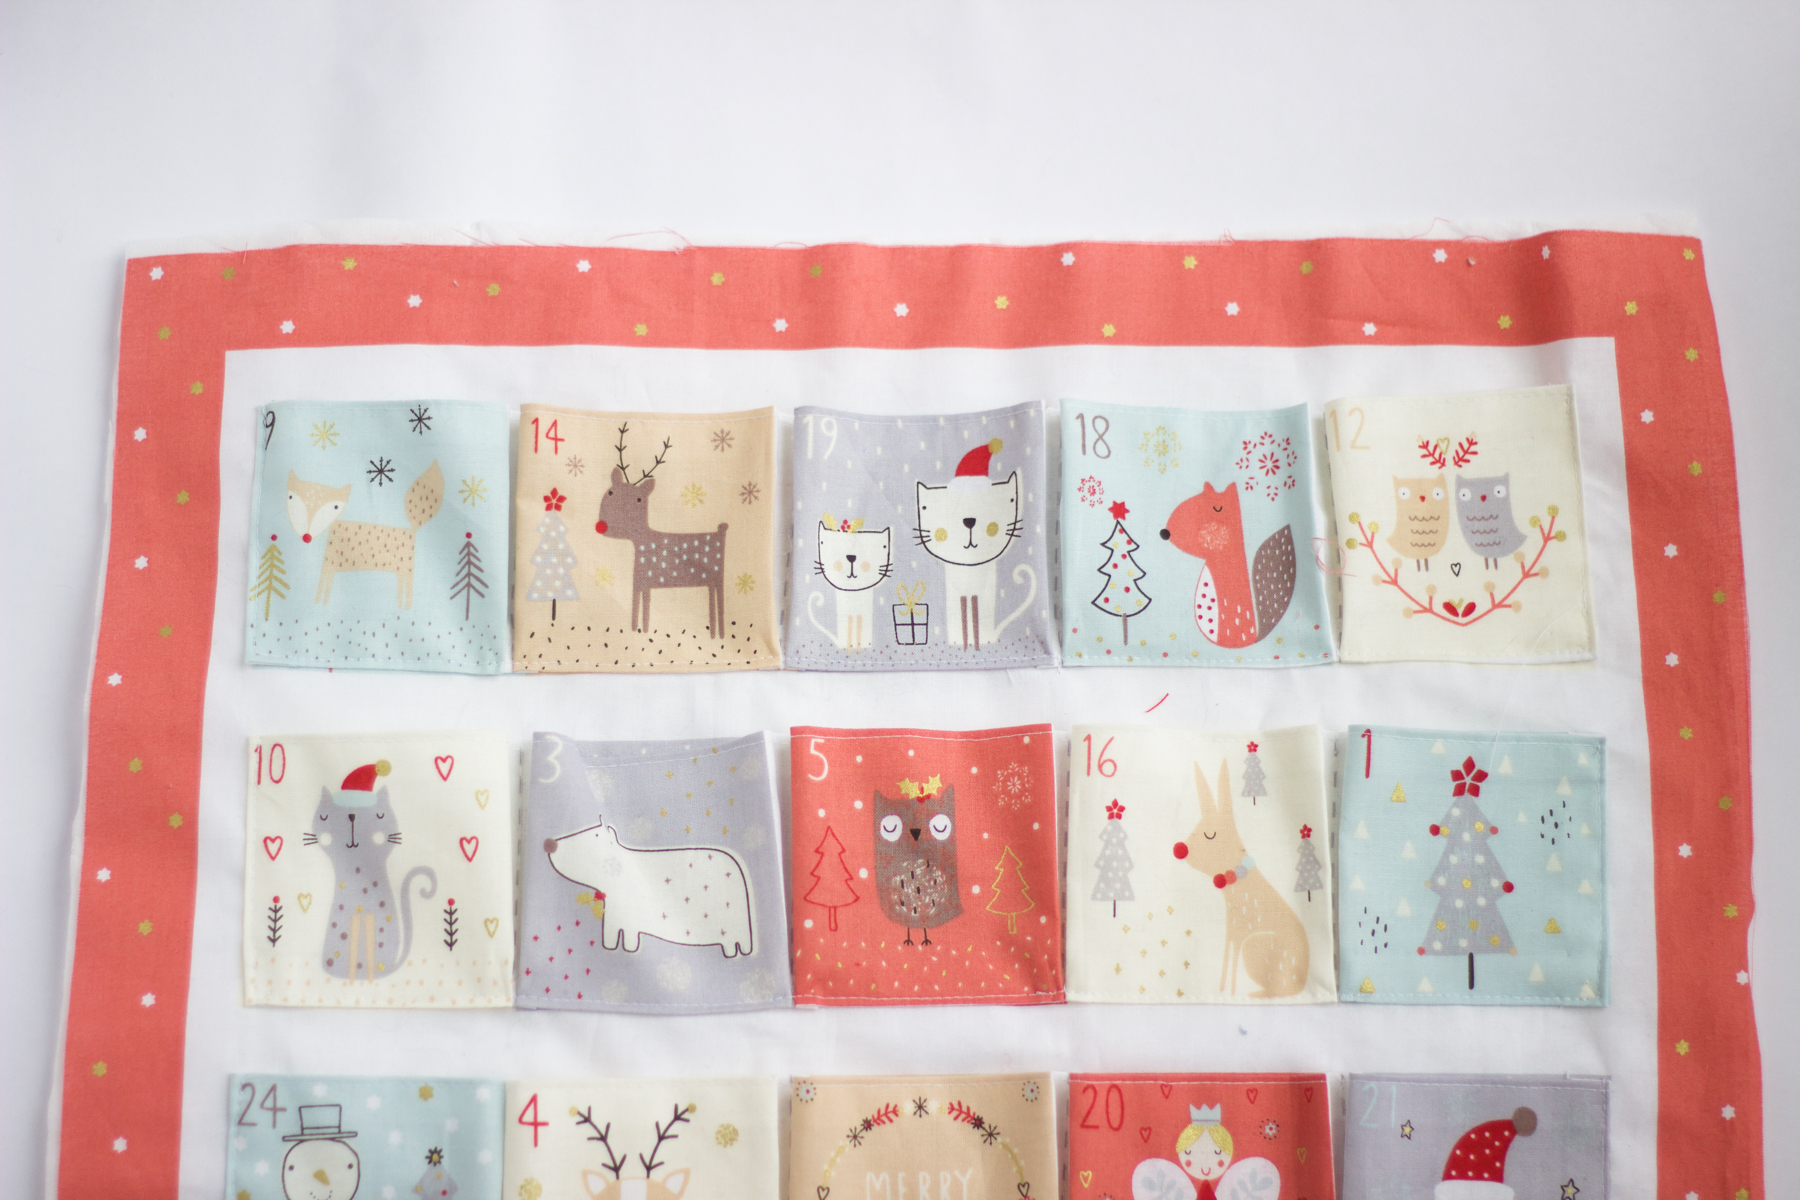
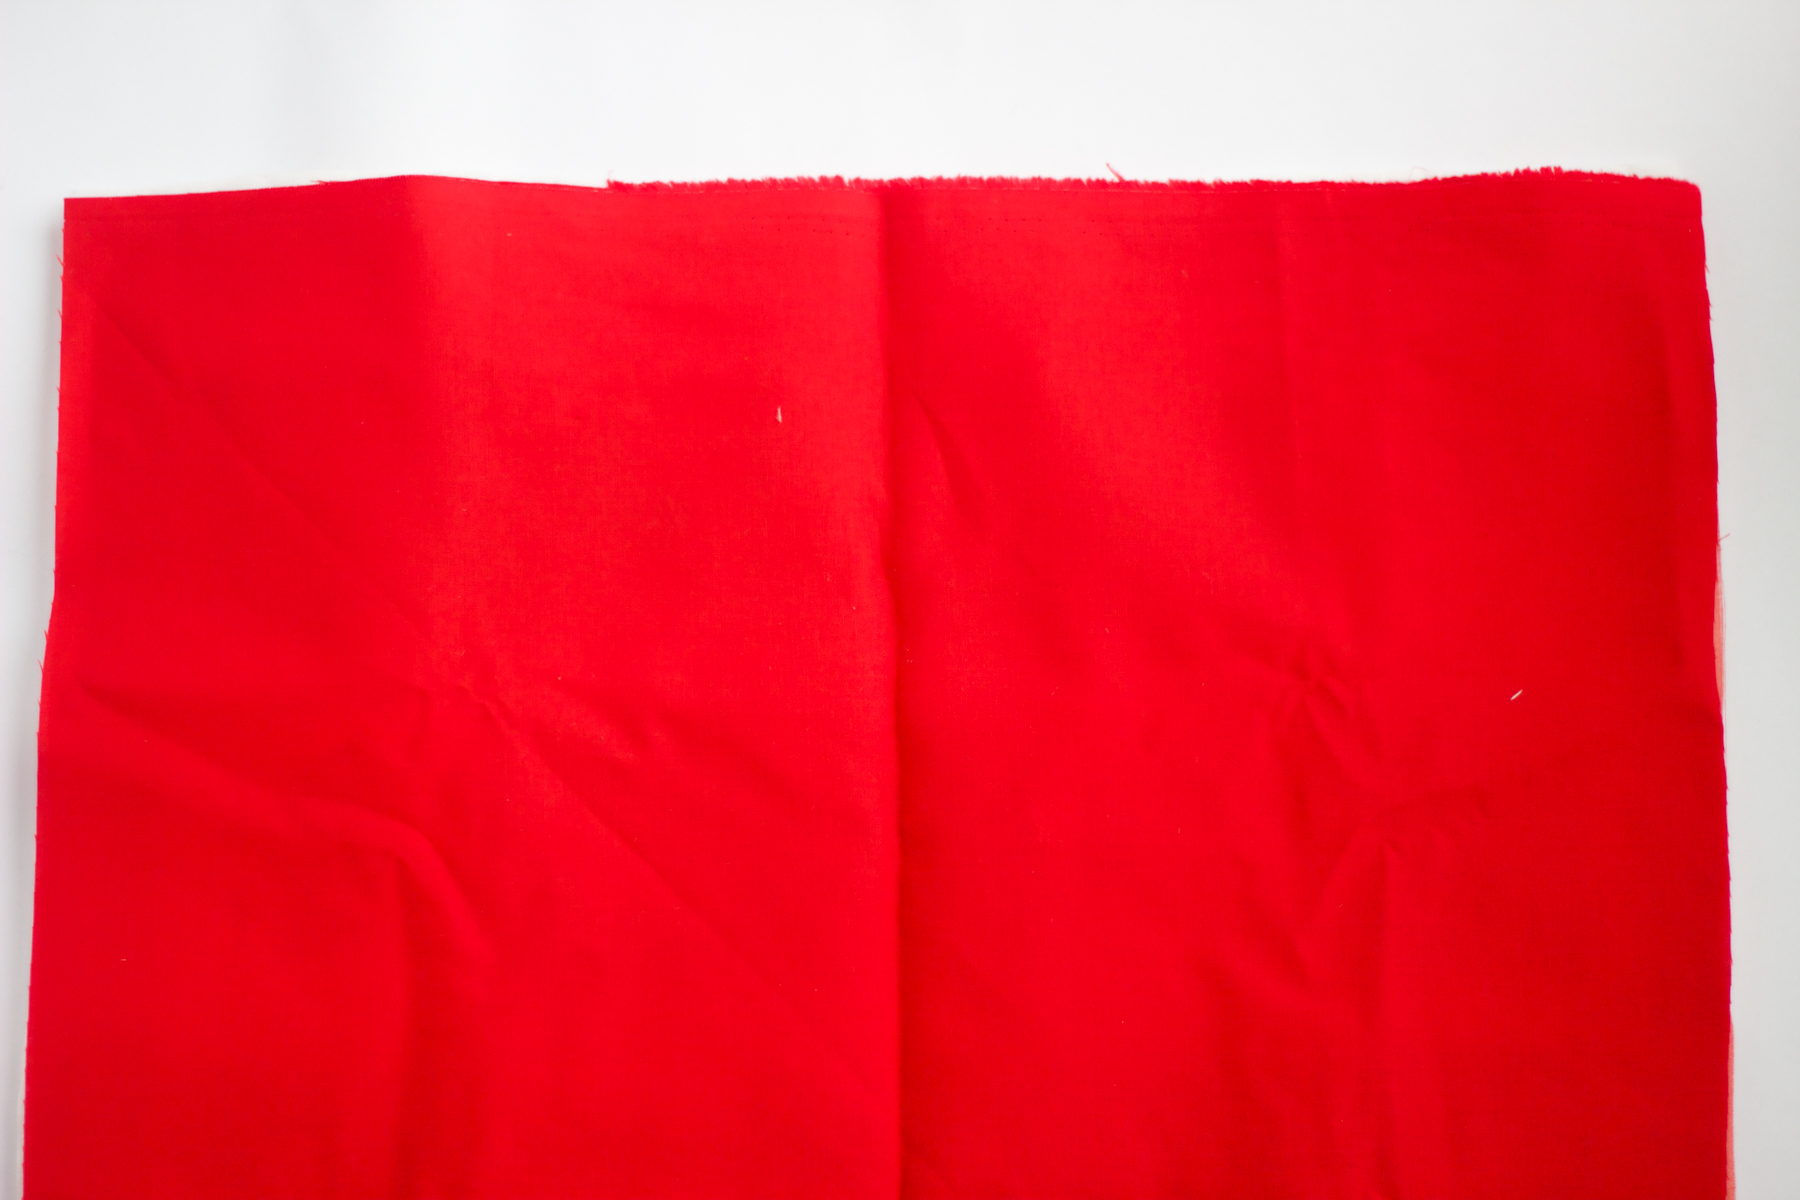
Step 10: Pin all the way around and sew along the edges using a 1/4″ seam. Make sure to leave an opening on the top to flip the inside fabric out.
Note: If you want to hang this advent calendar, create two strips of fabric and make a loop. Insert them into the top of advent calendar between the cotton fabric and front panel with the raw edges lined up with the raw edges of the panels. Sew them in place as you close the gap.
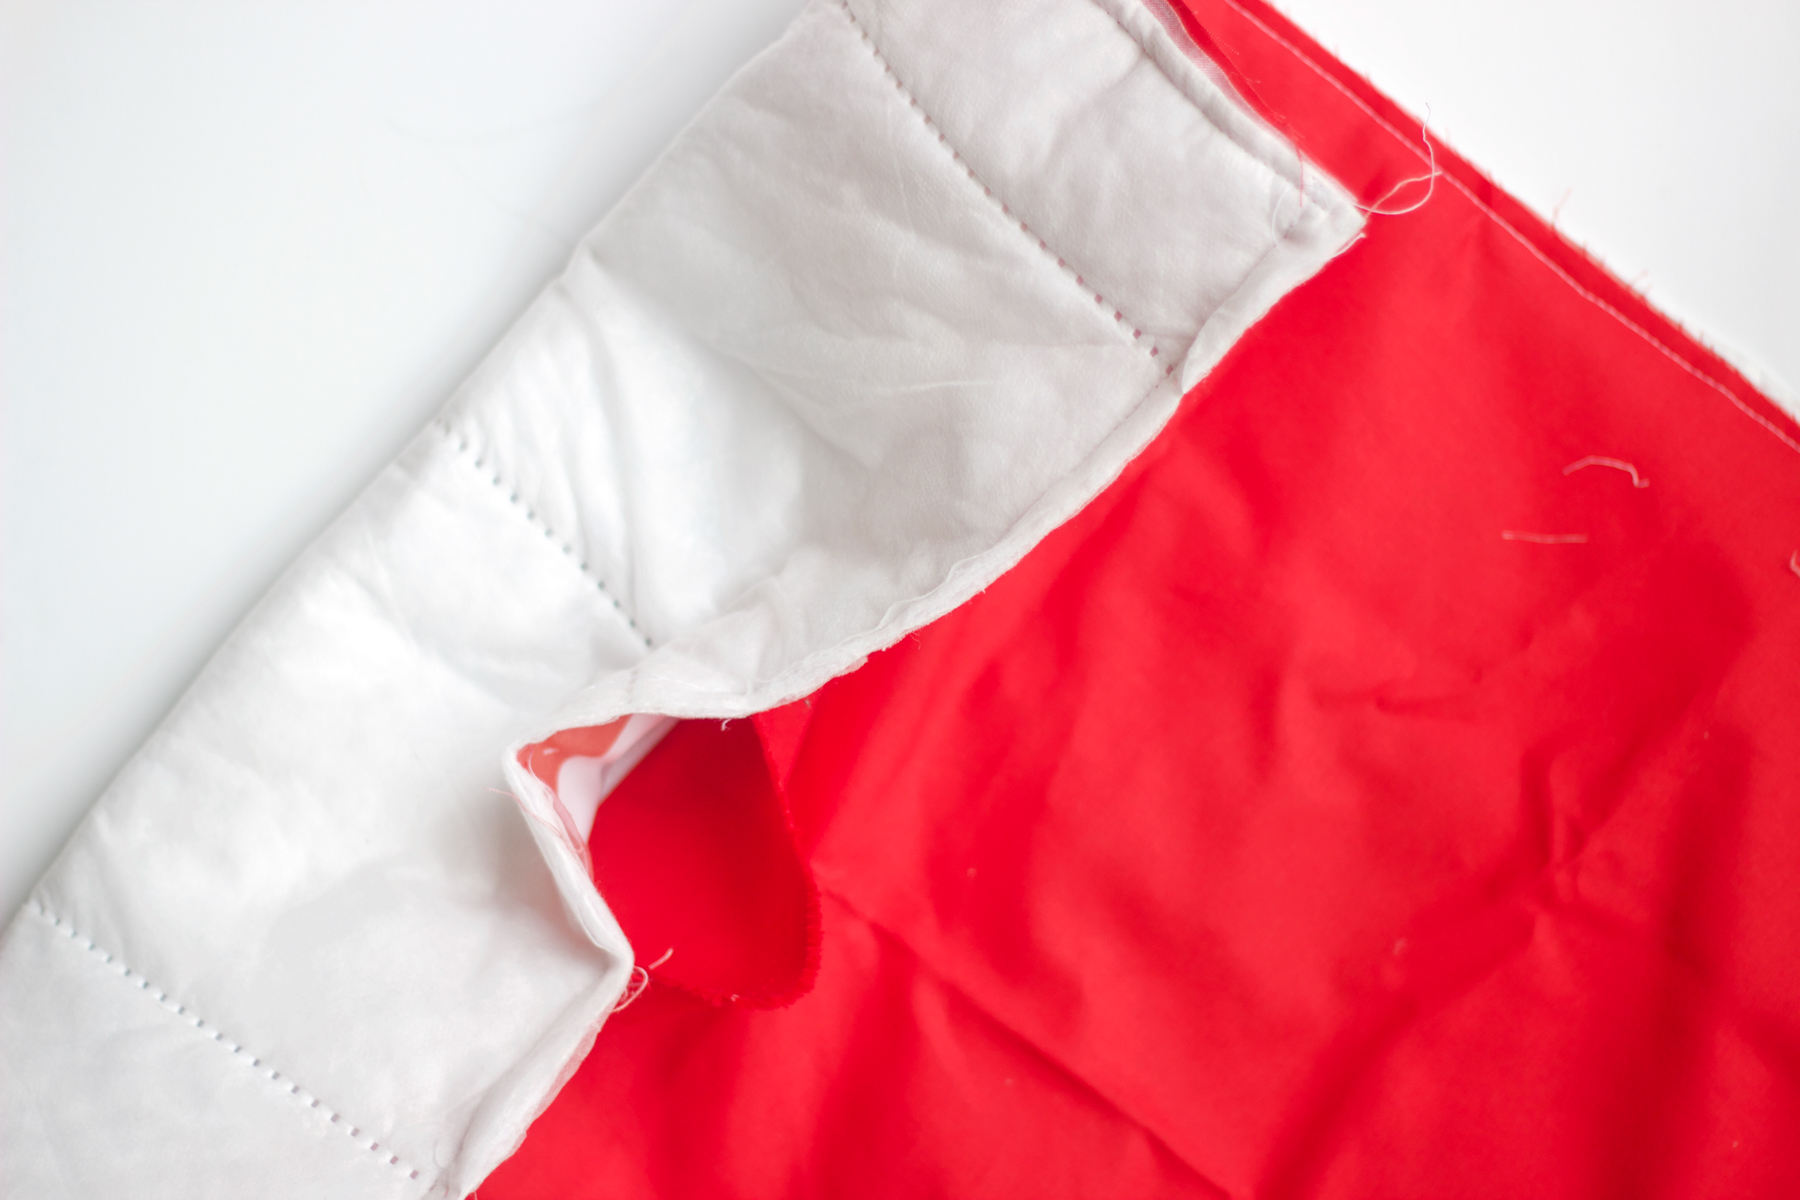 Step 11: Either top stitch to close the gap or use a needle and thread and hand sew the hole shut.
And you are done! This beautiful advent calendar is simply gorgeous. I actually ended up sewing along the inside edge of the red panel to get some extra quilting squishyness. I cannot wait to fill up with goodies until Christmas. 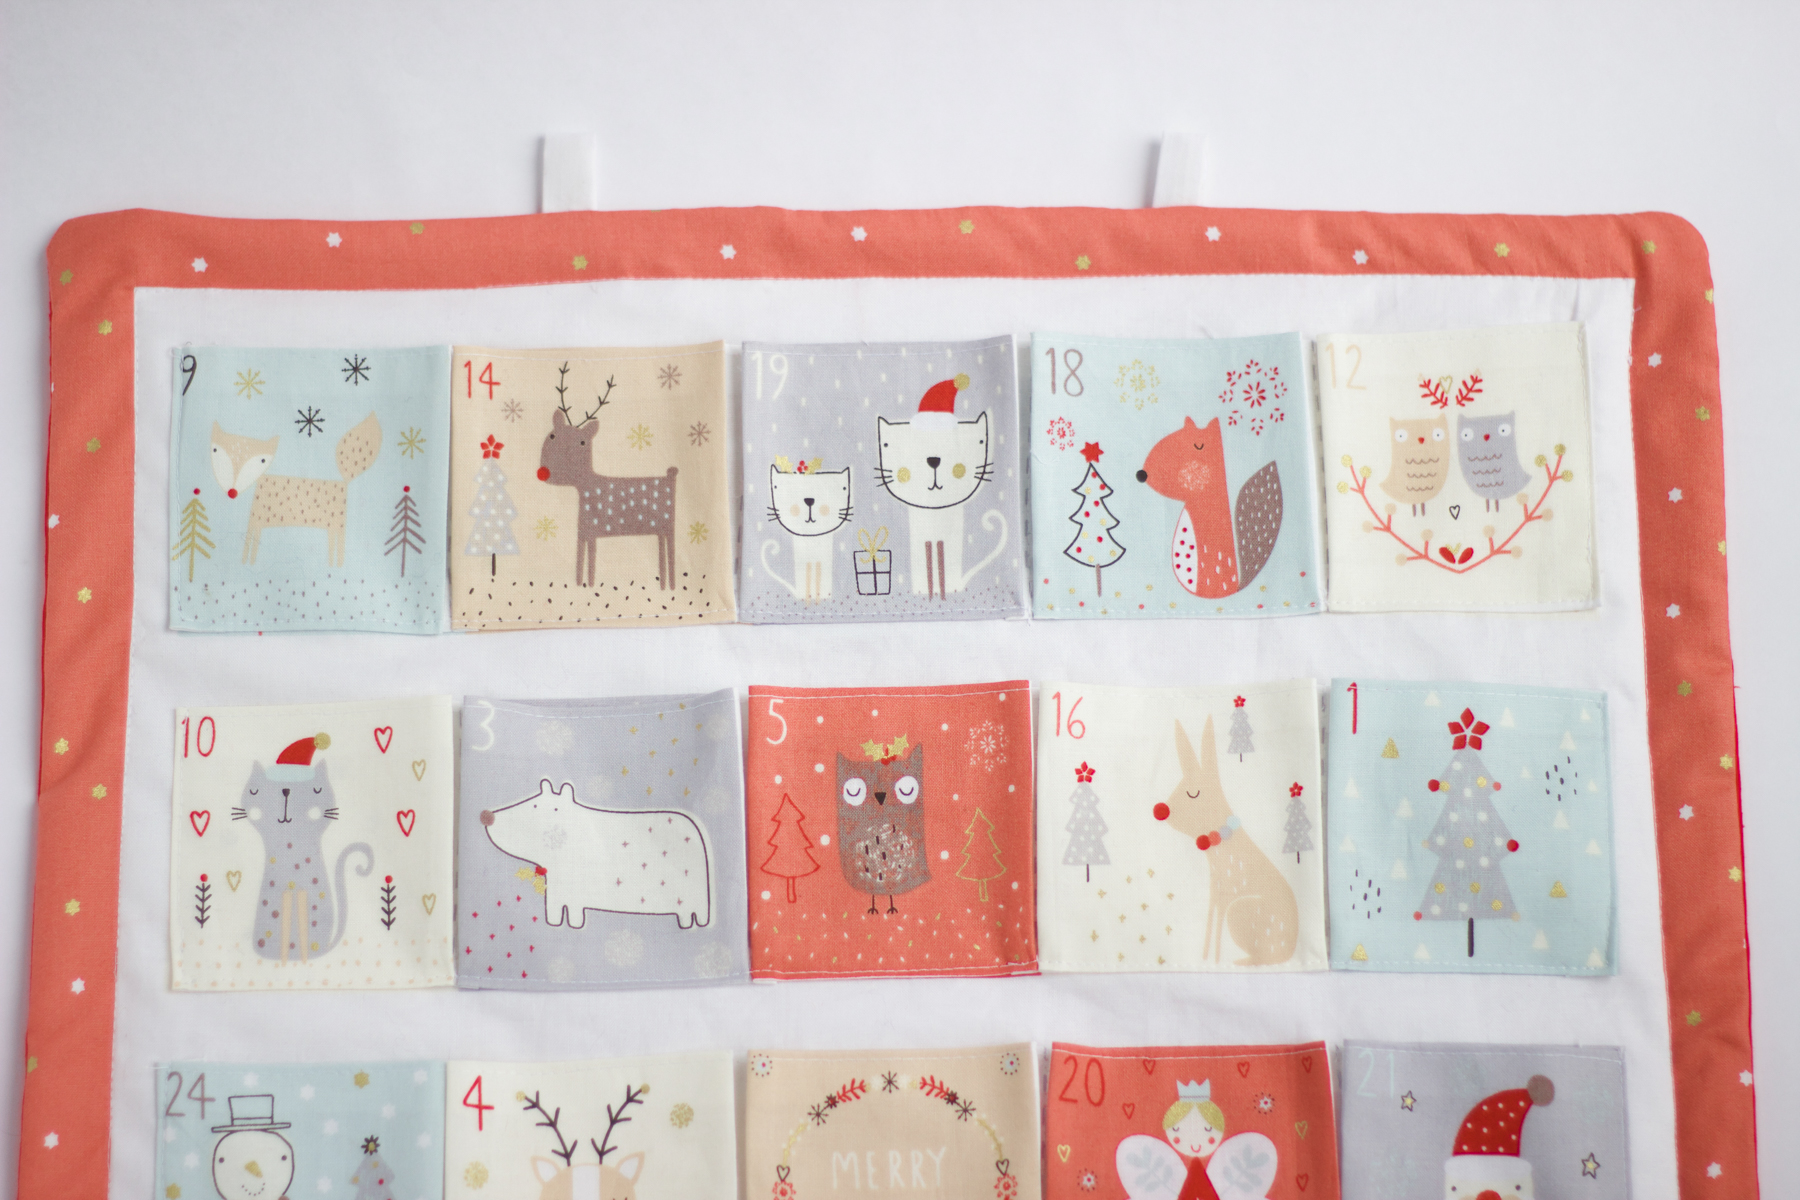
As always, if you enjoy these tutorials please subscribe to my newsletter for updates, special coupon codes for the shop and more. It allows me to keep making this content for you!
PLEASE PIN THE IMAGE BELOW ON YOUR PINTEREST BOARDS
