DIY Draw string Pouch for Reusable Straws
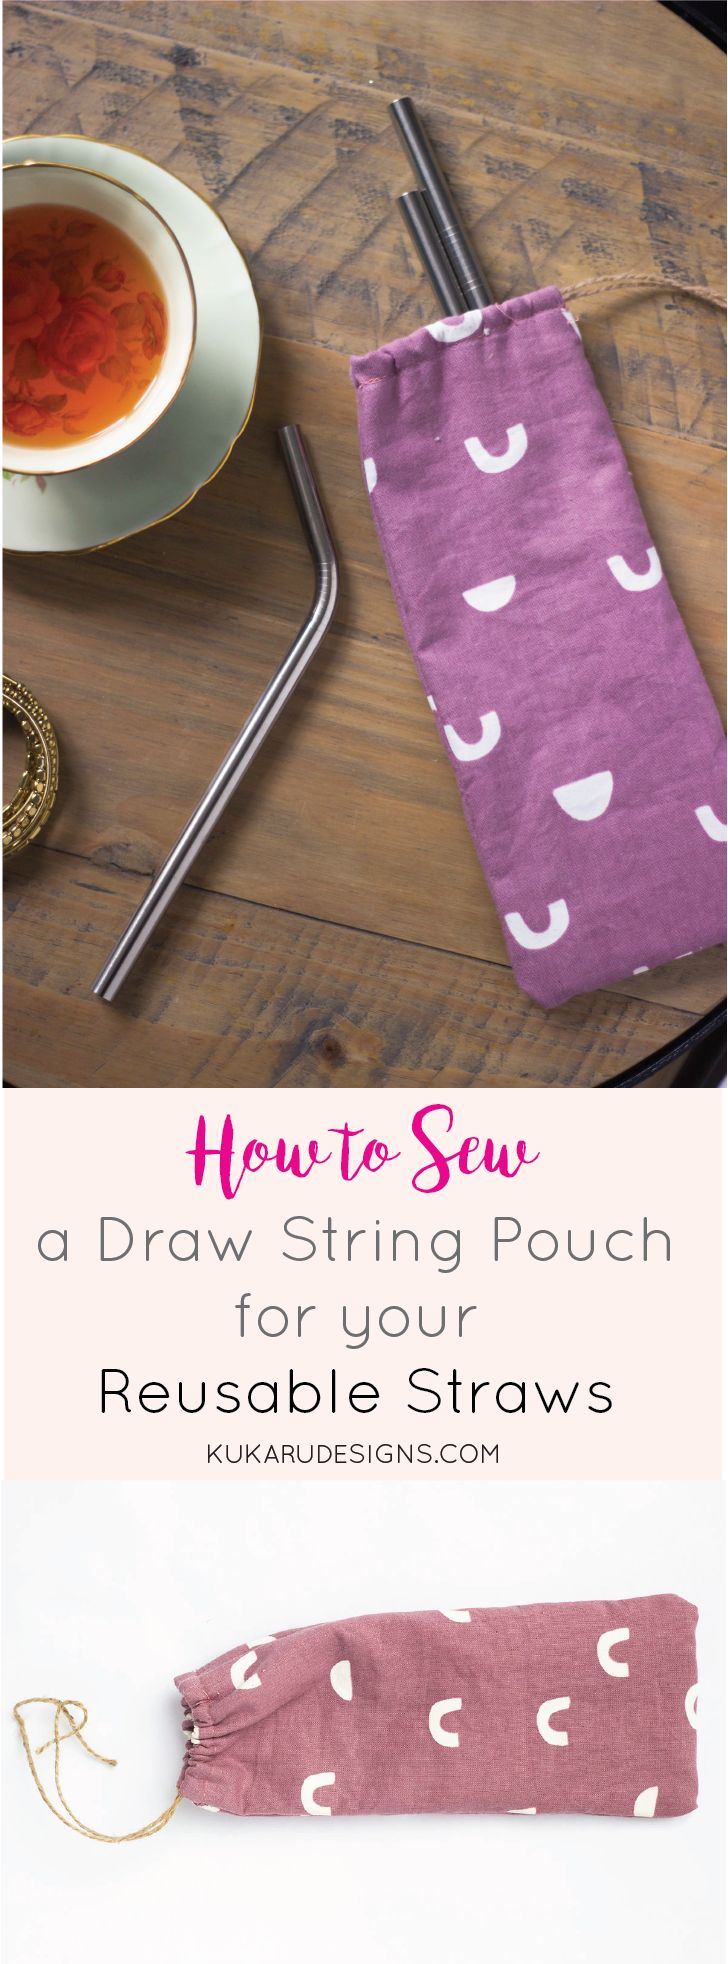
As some of you may know, I am trying to reduce our families personal waste by doing some simple eco-friendly swaps which we can reuse or recycle. Earlier this year, I made some beeswax wraps to replace plastic wrap. Almost immediately after I bought reusable straws on Amazon. Well, turns out they never got used because I kept forgetting to bring them with me when I left the house! Exactly, I am shaking my head as well. I mean I couldn’t just take them in a plastic zip lock bag beaus that would defeat the purpose. Well, I made some time this week to make a draw string pouch for these straws. These draw string bags can easily be stashed in your bag for easy access.


What you’ll need:
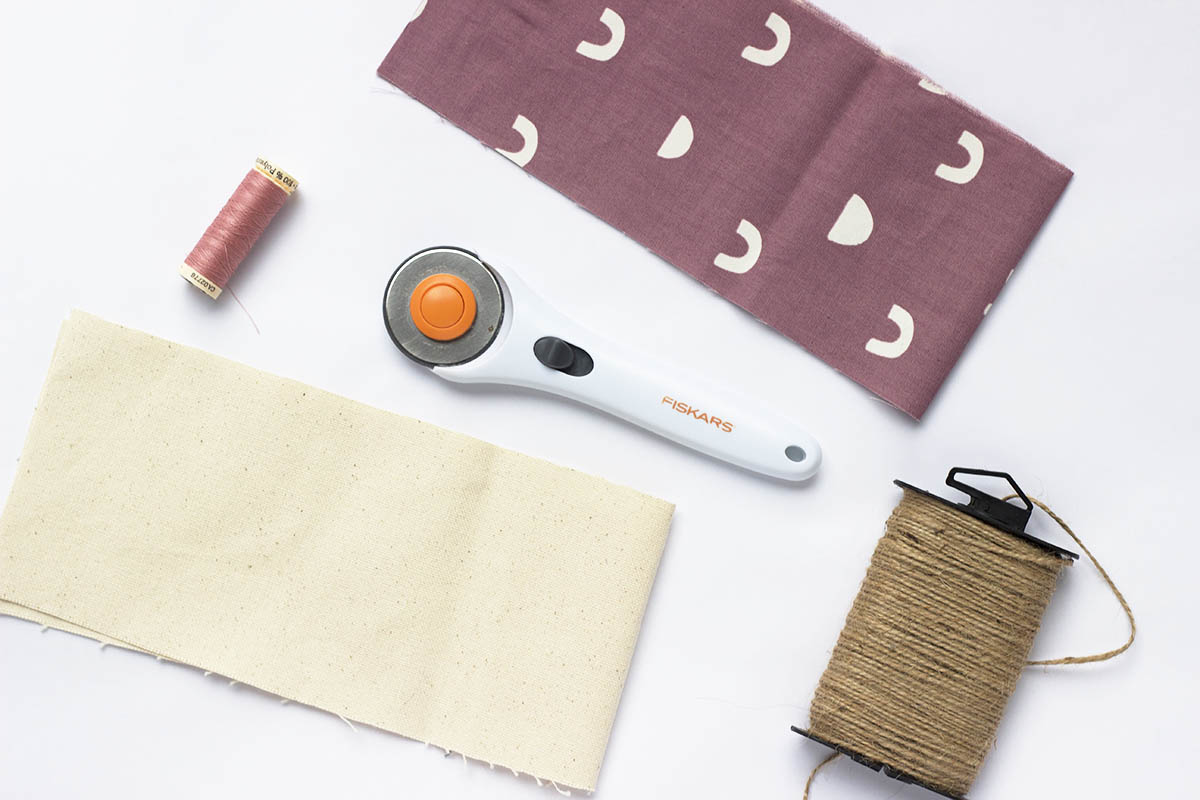
- Quilting cotton – cut into 20″ by 4.5″
- Canvas or another lining material (optional) – cut into 20″ by 4.5″
- Matching thread
- Twine – ( I bought mine from Michaels)
- Sewing machine
- Scissors/rotary cutter
- Safety pin (optional but recommended)
Note: You can essentially make these draw string pouches into any size you want. I opted for a wider pouch so I could store all the straws. If you want a smaller bag, you can even halve the width (i.e. 2.25″).

Step 2: Place the canvas on the bottom and lay the cotton fabric so the right side faces up (i.e. the print side).

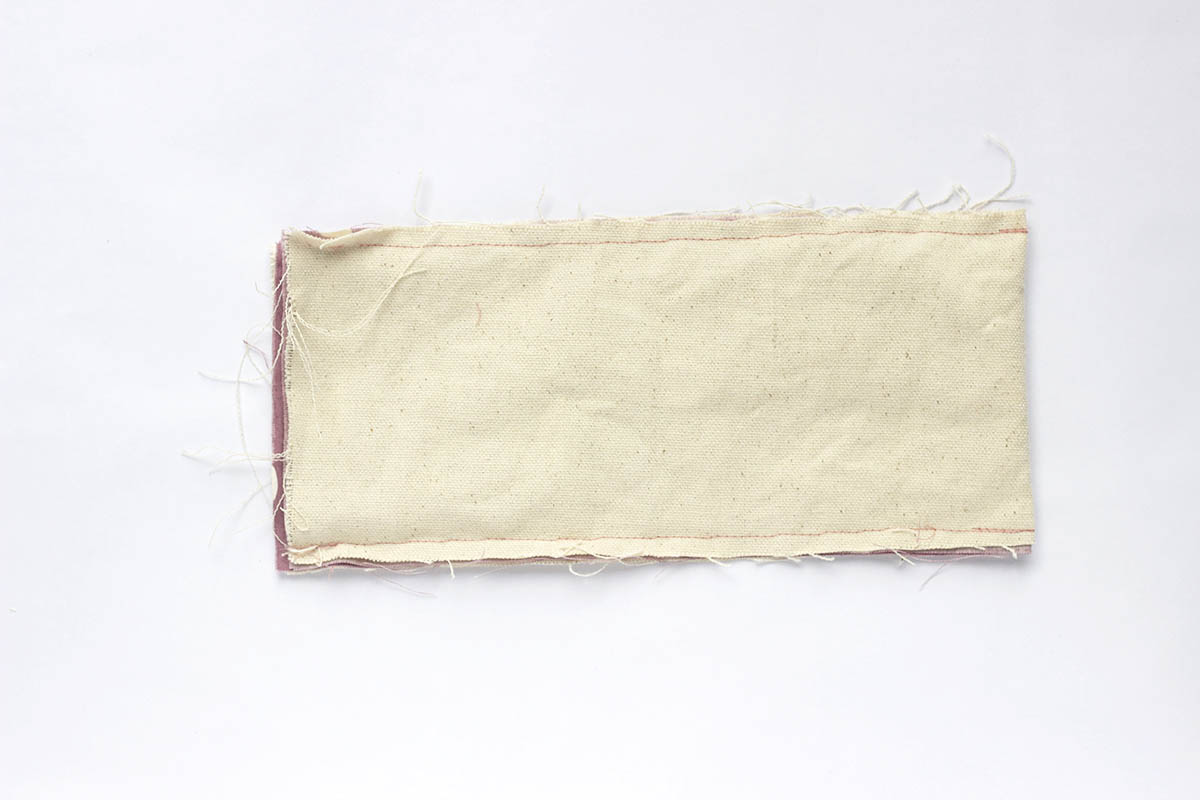
Step 3: Fold in half so that the right sides are facing each other. Sew a straight stitch using a 1/4″ seam allowance on either side of the long edges of the pouch. On either make sure to leave about an 1″ from top that is not sewn. This is so you add the draw string to the pouch later.


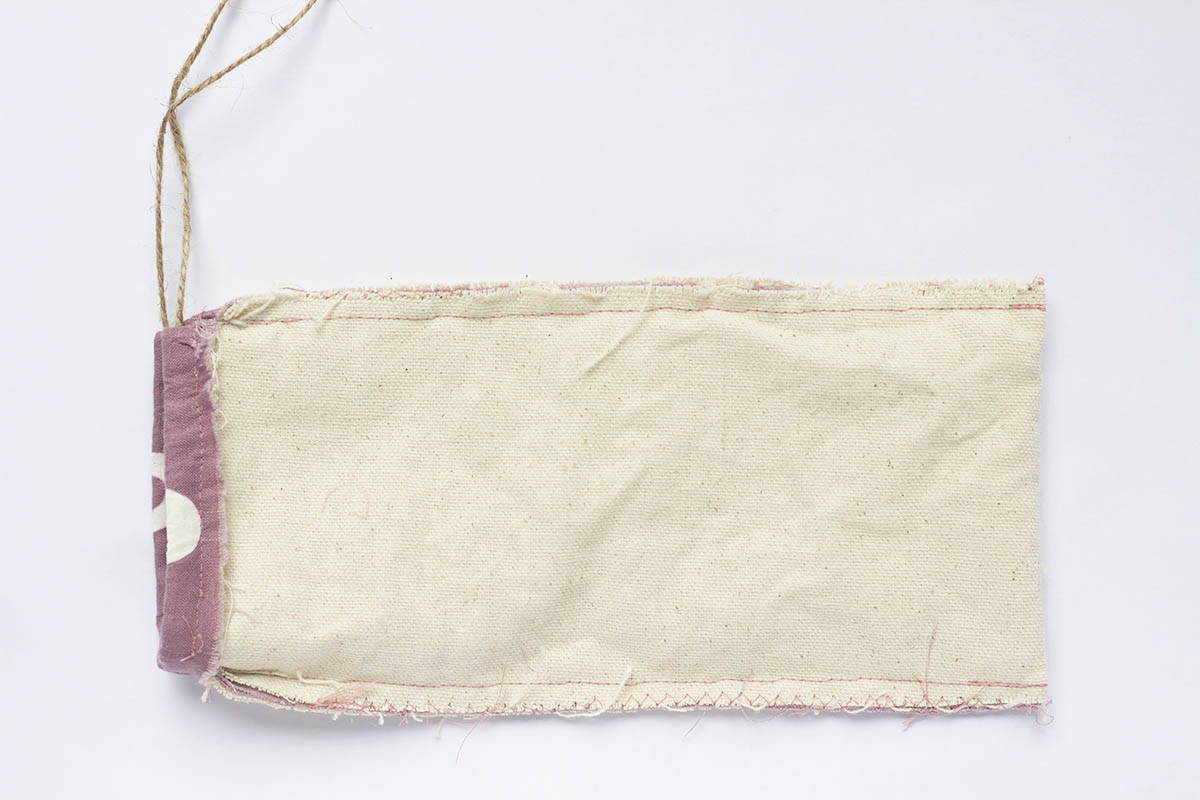
Step 4: Flip the draw string bag inside out. Fold over the unfinished top edge by 3/4″, pin and sew a straight stitch using ~1/2″ seam allowance. This will allow you to enough space to thread the twine all the way through the pouch.

Step 5: Pass the twine through the hole. I find it easier to thread the twine through by attaching the twine to a small safety pin and guiding it through. I also added a zig zag stitch along both edges to keep the fabric from fraying.


Step 6: Flip inside out and push all the edges out.

That’s it! Super simple and now you can take those reusable straws out on the town!.
PLEASE CLICK ON THE IMAGE BELOW FOR YOUR PINTEREST BOARDS


