Organize Your Fabric Stash and Sewing Accessories
 January seems to be the month where everyone is decluttering their home, particularly with the show “Tidying Up” hitting Netflix. I have been slowly decluttering my clothes and bits around the house. Looking at my fabric stash and the chaos and lack of organization kind of inspired me to Konmarie clean my stash. I was just picking up fabric shoving it into some boxes that I had and it wasn’t pretty. I just hated going through my fabric not knowing where things were. The whole process was pretty therapeutic and as you can tell having this off my to-do list just feels like a weight has been lifted.
Place All Your Fabric and Accessories Into a Pile
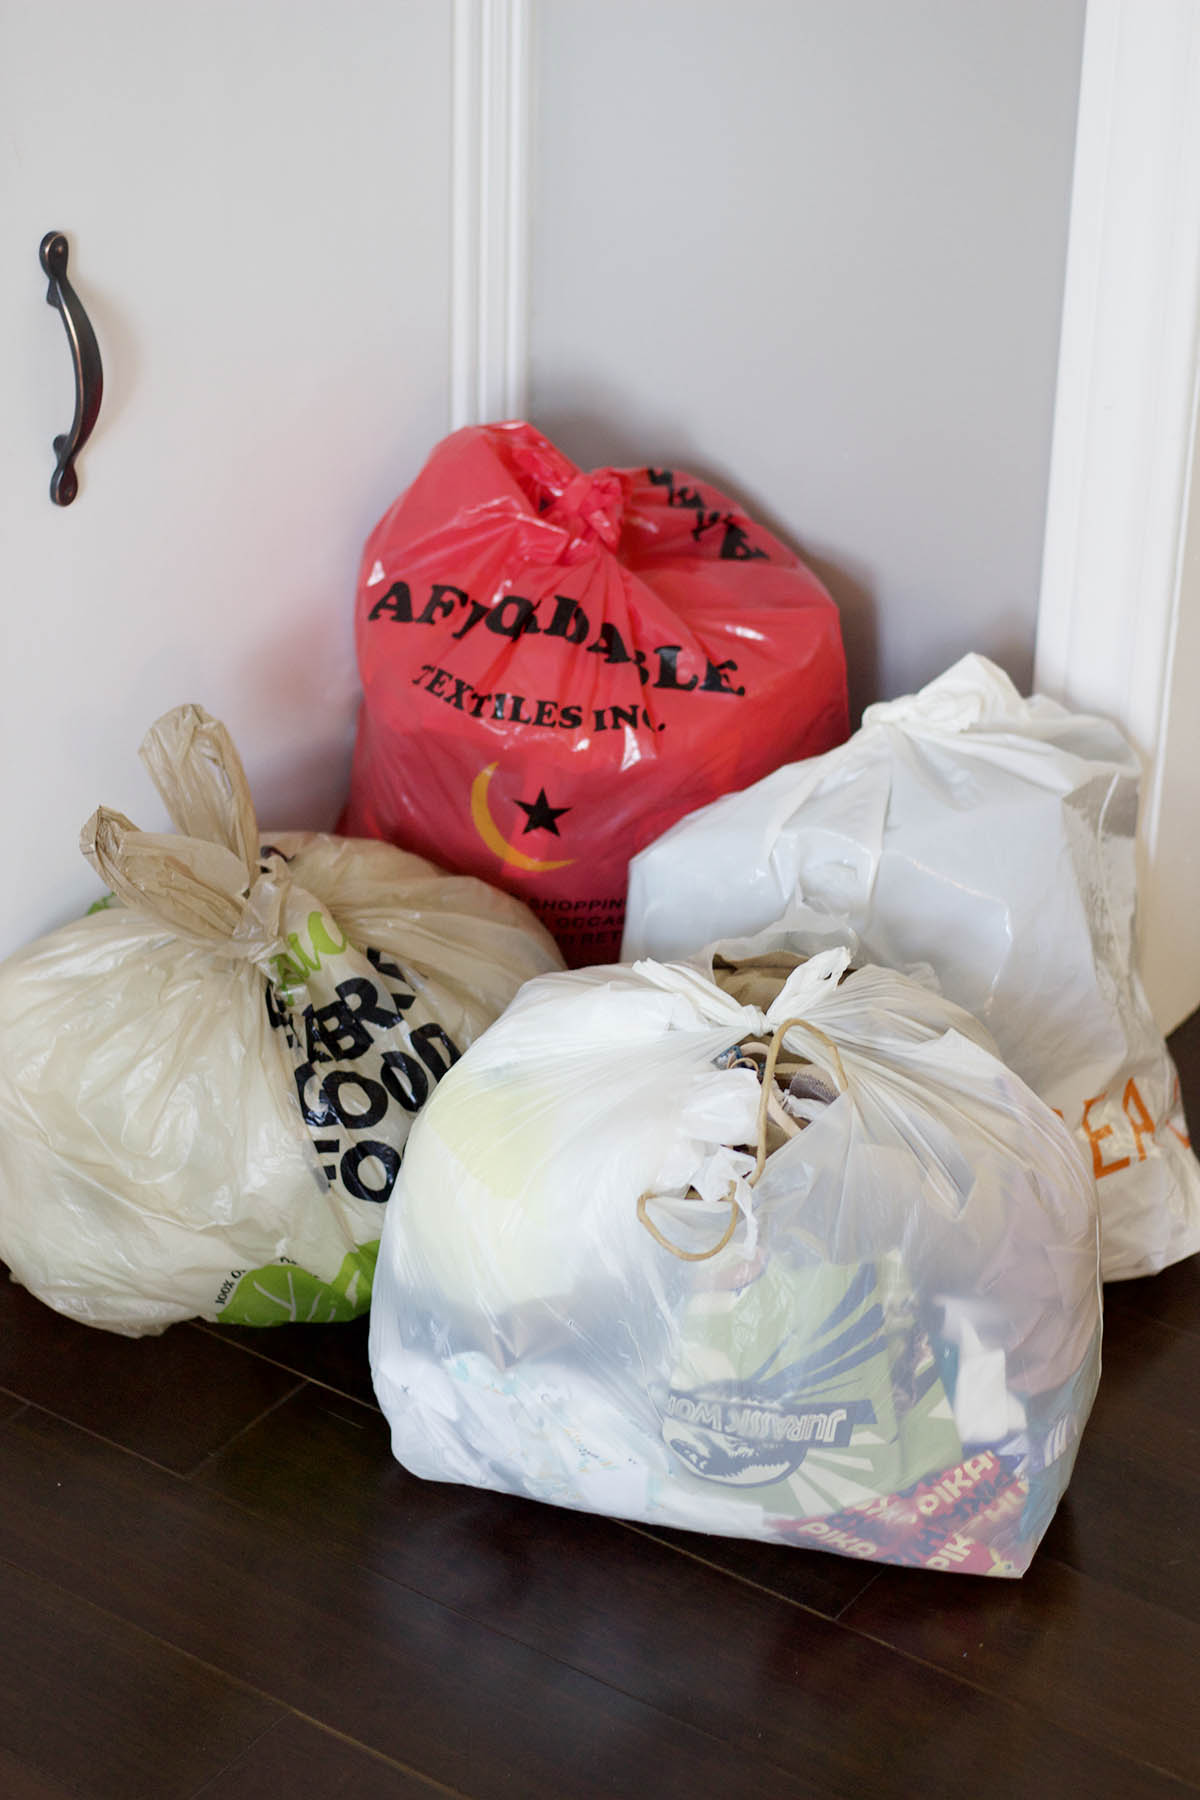
I have a habit of keeping bits of leftover fabric, thinking that I can find some purpose for it later – you know to minimize waste and all. This is part of the reason why the pile below is so large – and honestly, I do not think I have that much fabric compared to stashes I have seen online. First, I took all my fabric out that I had in bins and bags and put it all in one big pile on the floor. I did the same for all my sewing accessories. Knowing how much fabric I have helped me actually sort through what I wanted to keep, donate and get rid of. Sorting actually took me the most time, particularly when it came to scraps of fabric that I just did not want to chuck in the garbage. I still ended up with four bags of fabric to get rid of.

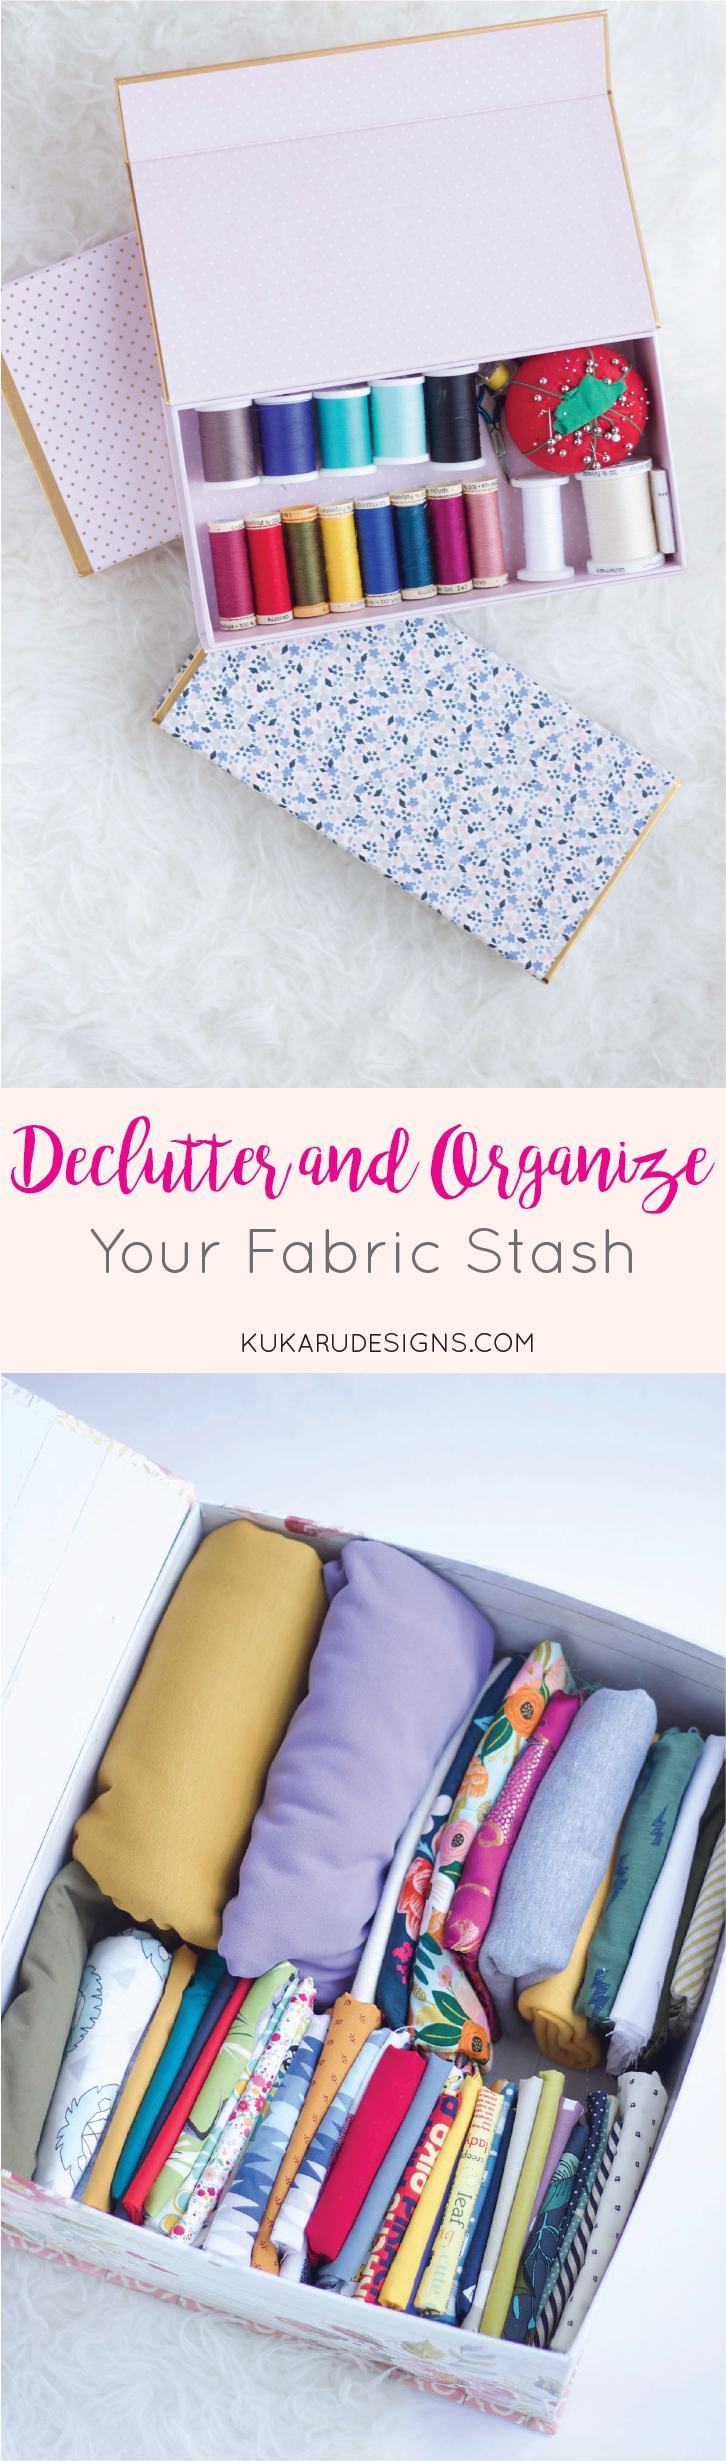
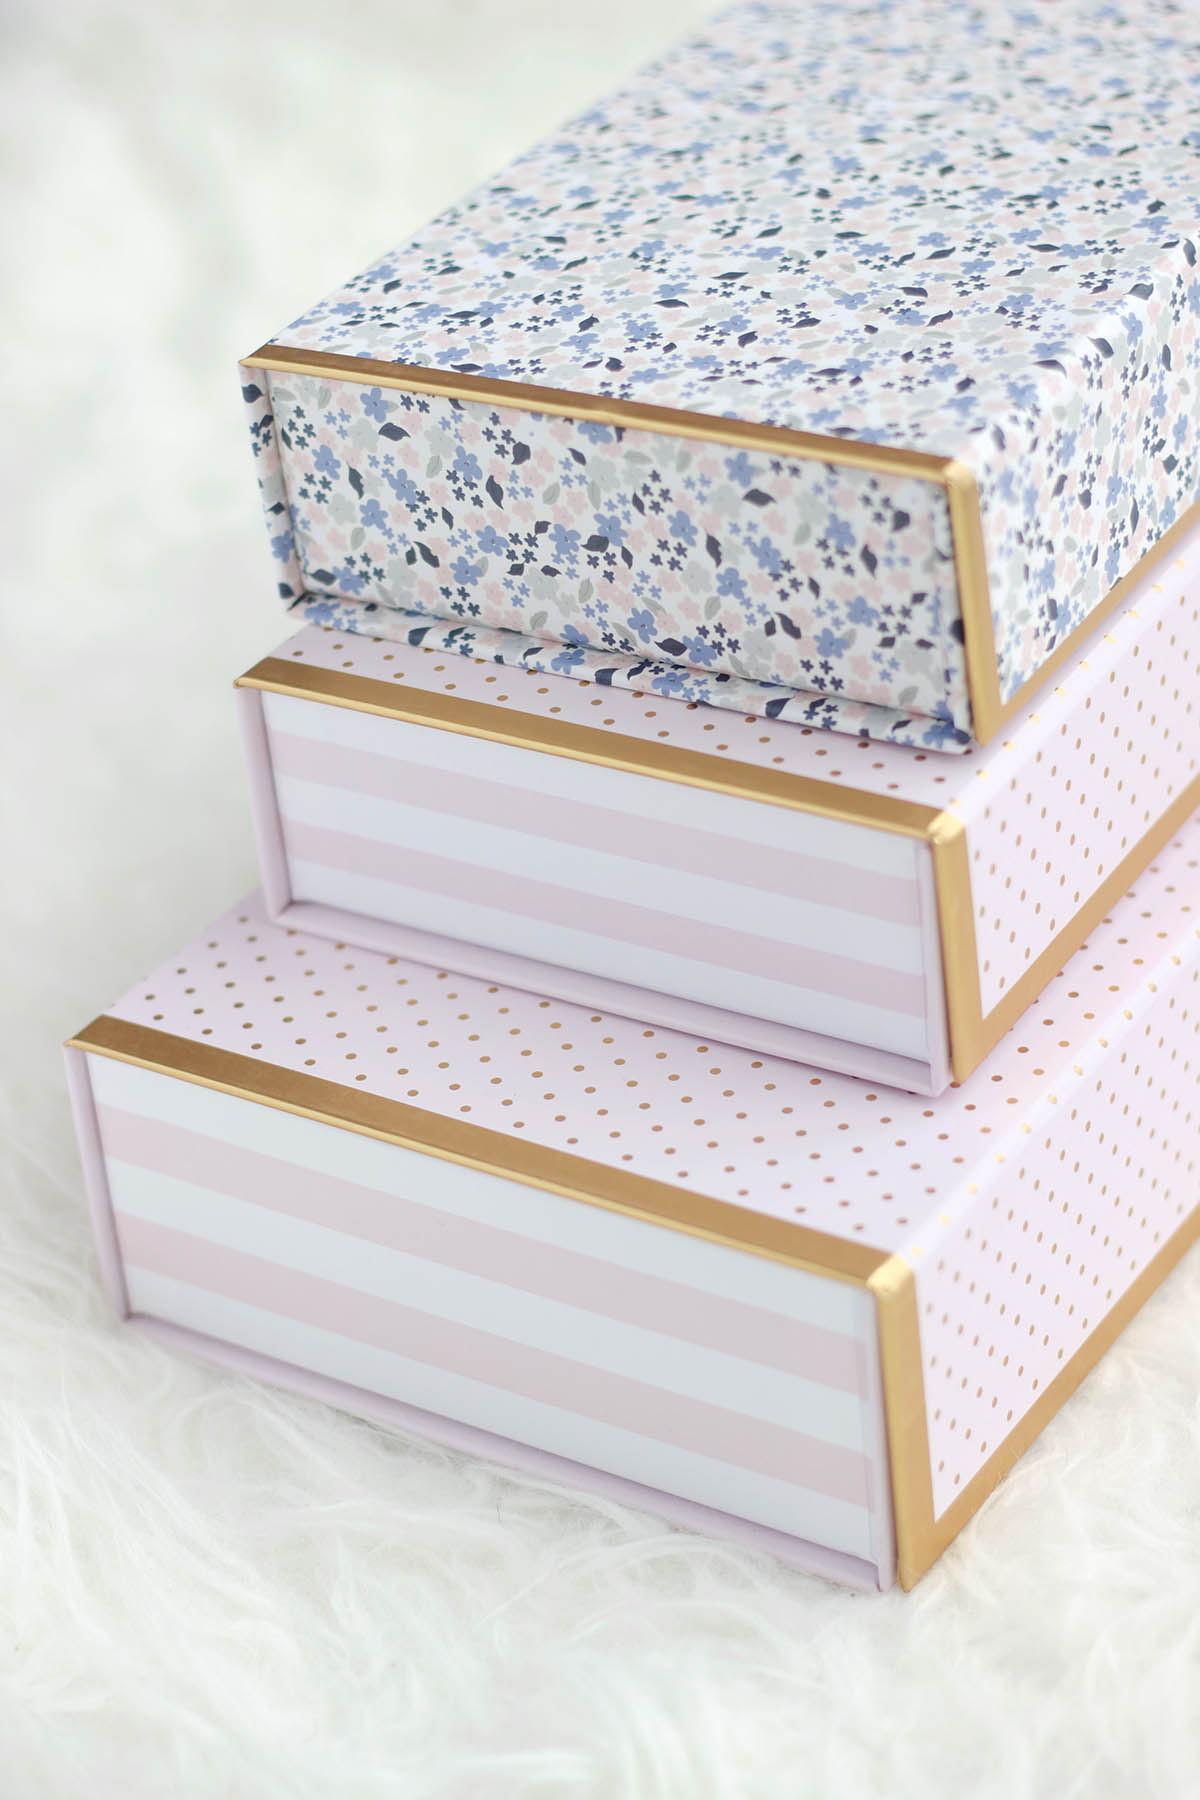
Storage Containers
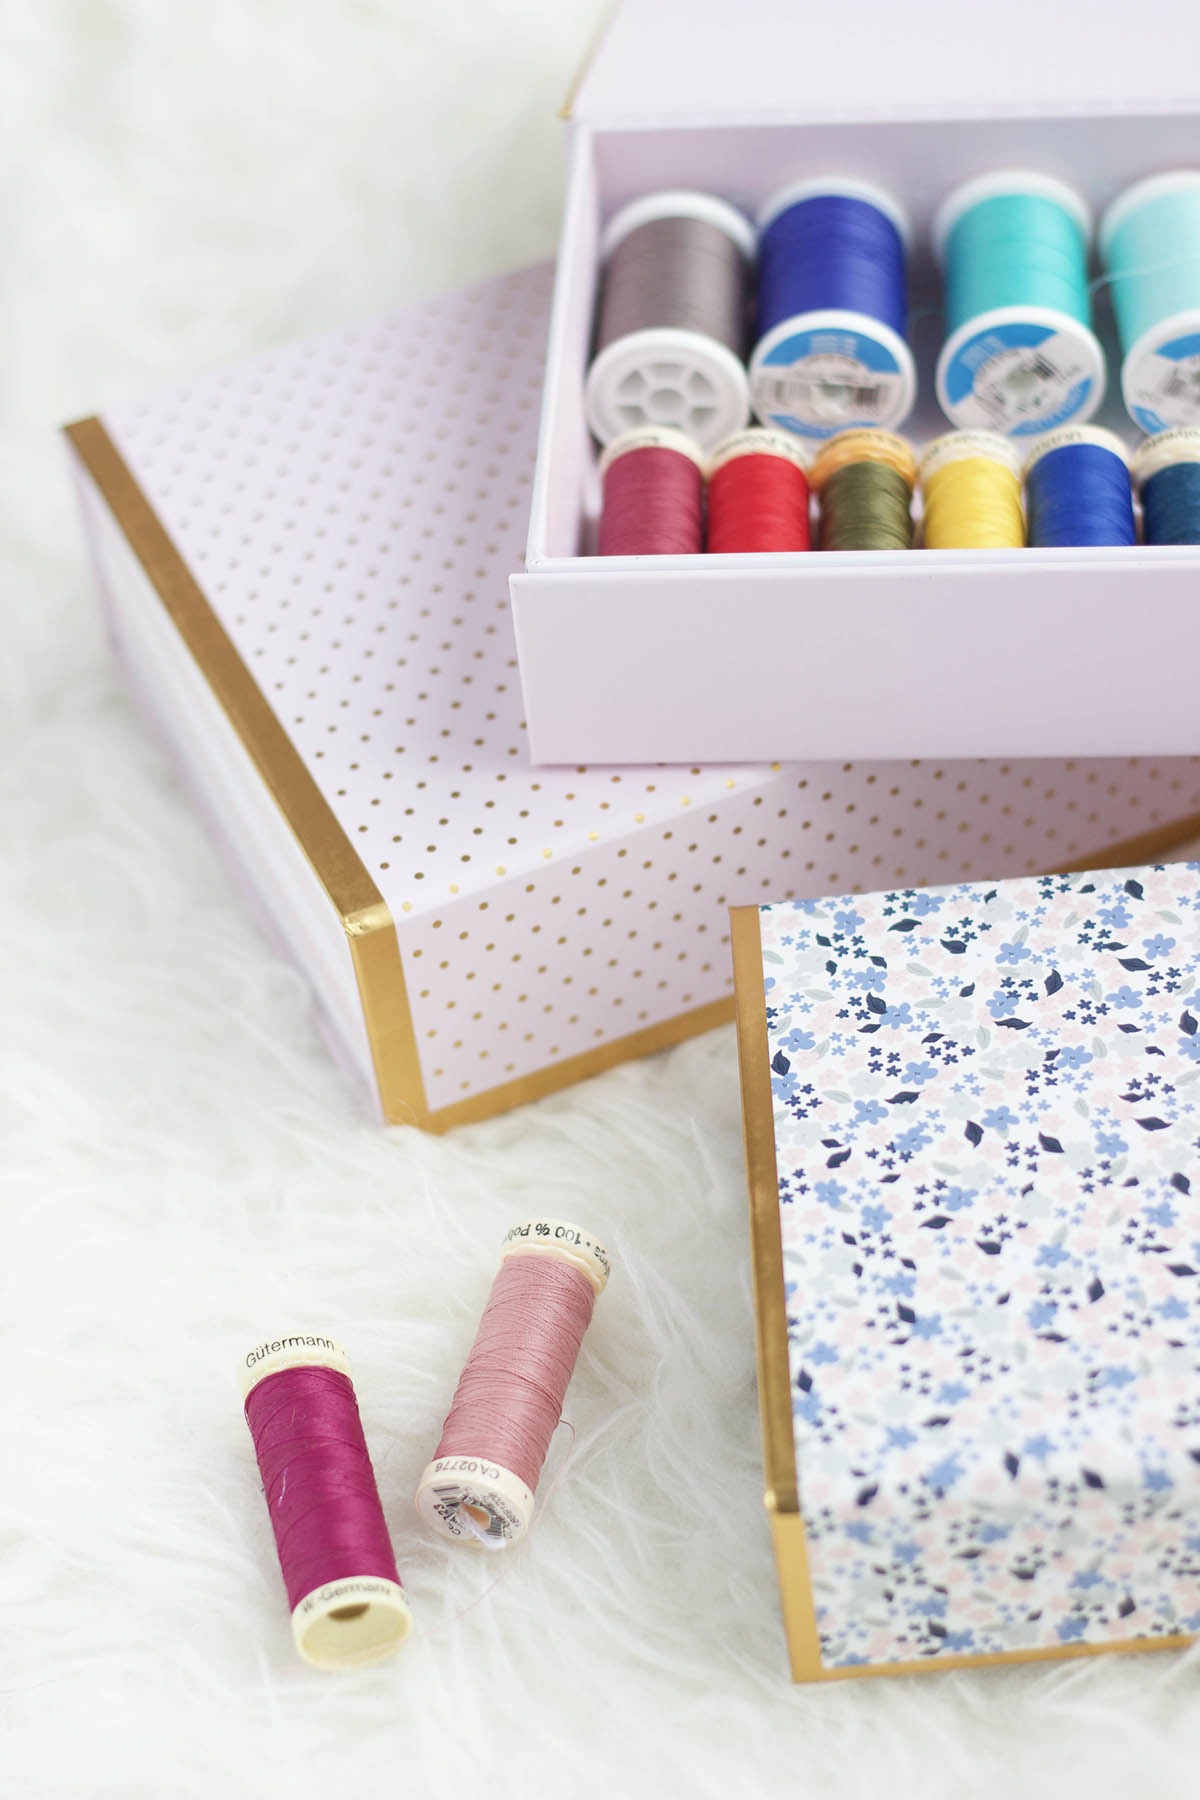
I had some decorative boxes from HomeSense that I was using but it was not enough to store everything. So, I purchased a few more small decorative boxes from Marshalls and Solutions in order to separate out my sewing accessories, patterns and business items such as packaging. These boxes make it easier to pull exactly what I need, when I sew. I do not have the luxury of having a sewing/craft room yet since our third bedroom is currently my home office/guest room. I sometimes wonder if I can make it a triple purpose room but then I would never leave that room which is not very healthy either. Typically, I sew on my dining room table. so my sewing essentials get tucked away in our living room cabinets for now. On a side note, I ABSOLUTELY LOVE the prints. Super fun – which is what sewing is all about. I stare at scientific papers all day so, something needs to be colourful in my life!

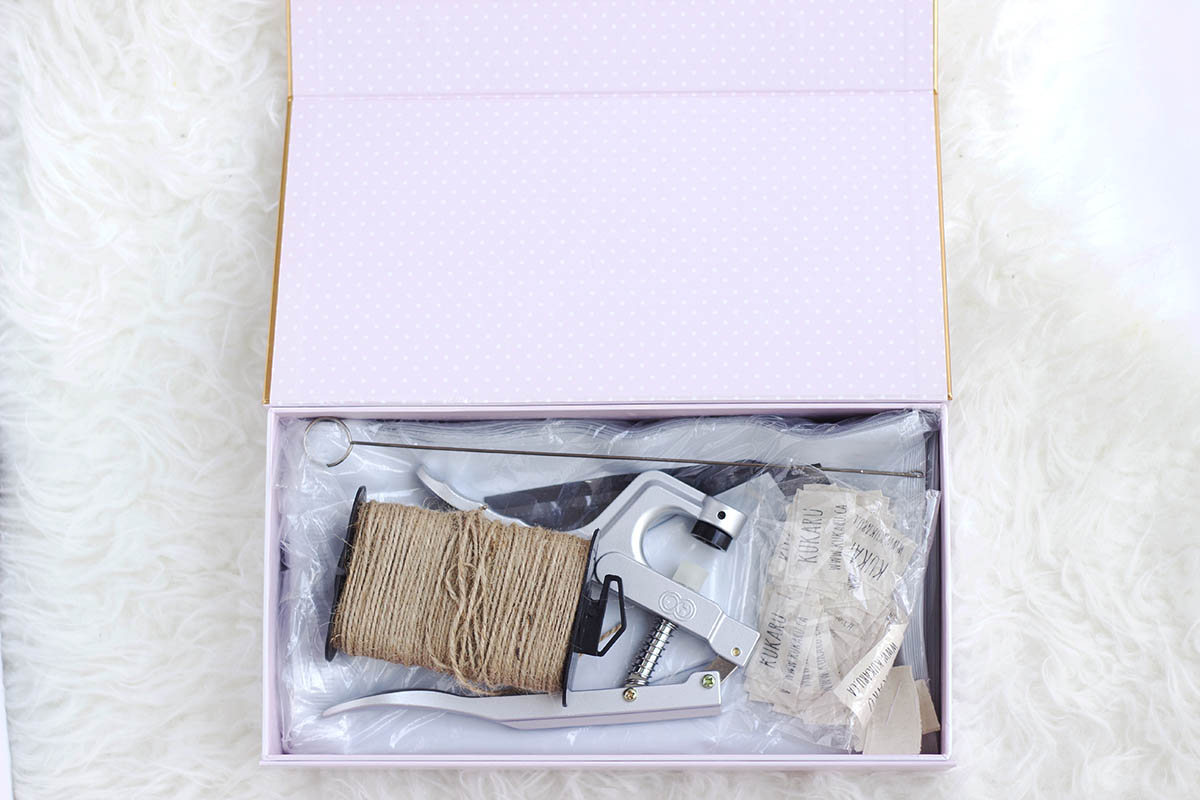
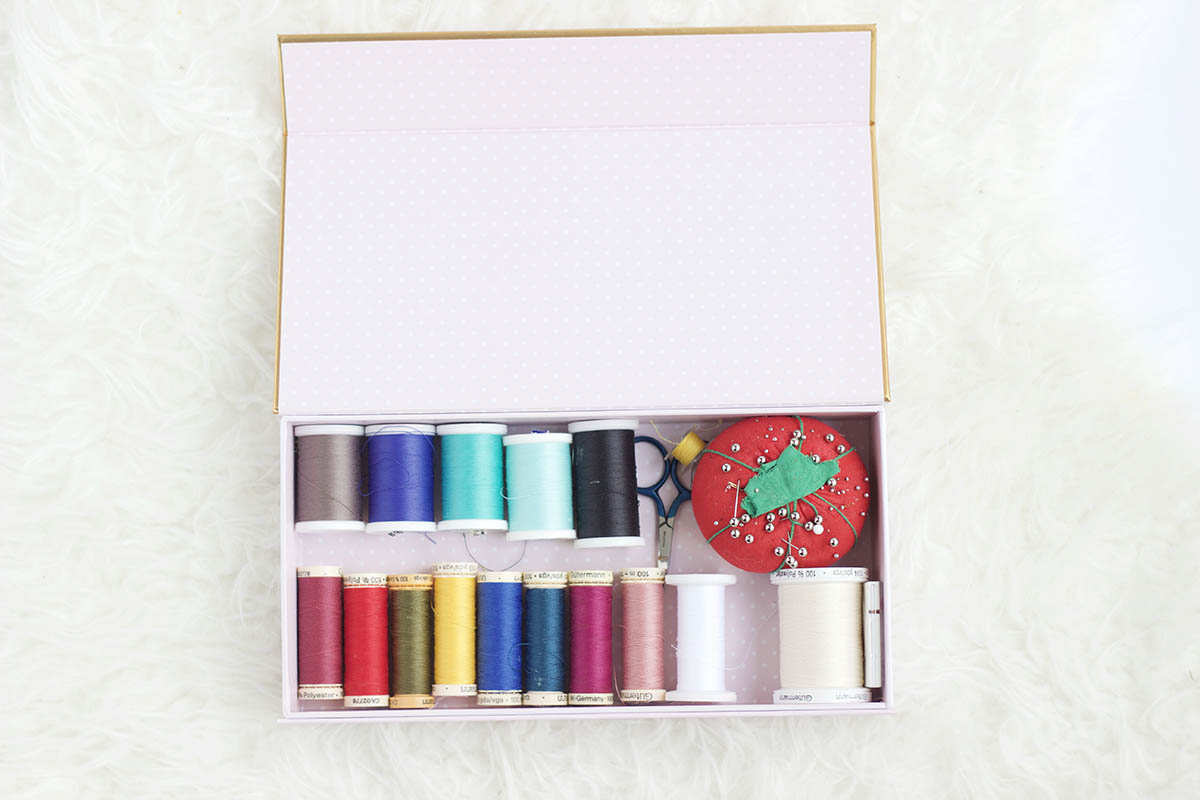
Separating Sewing Accessories
In the first box, I put my business supplies. It contains my mailers, labels, and twine. I still need to add my thank you gift tags – I have some Christmas and Handmade with Love editable printables.
The second box contains some sewing supplies including a measuring tape, pins, Kam Snaps, scissors and rotary cutter.

This box contains my spools of thread and my pin cushion. There is more space to place additional spools of thread on top as I collect them. It’s perfectly organized so that I can see the colours of thread that I have. Another option, is to use clear boxes and stand them up.
This box contains all my rope, string and elastics. I was still felt that box was a bit of a chaos. So, I waited for some toilet paper rolls to free. I wrapped the pom pom and elastics around each of toilet paper rolls and then taped it together (not shown). It fit pretty nicely in box after!

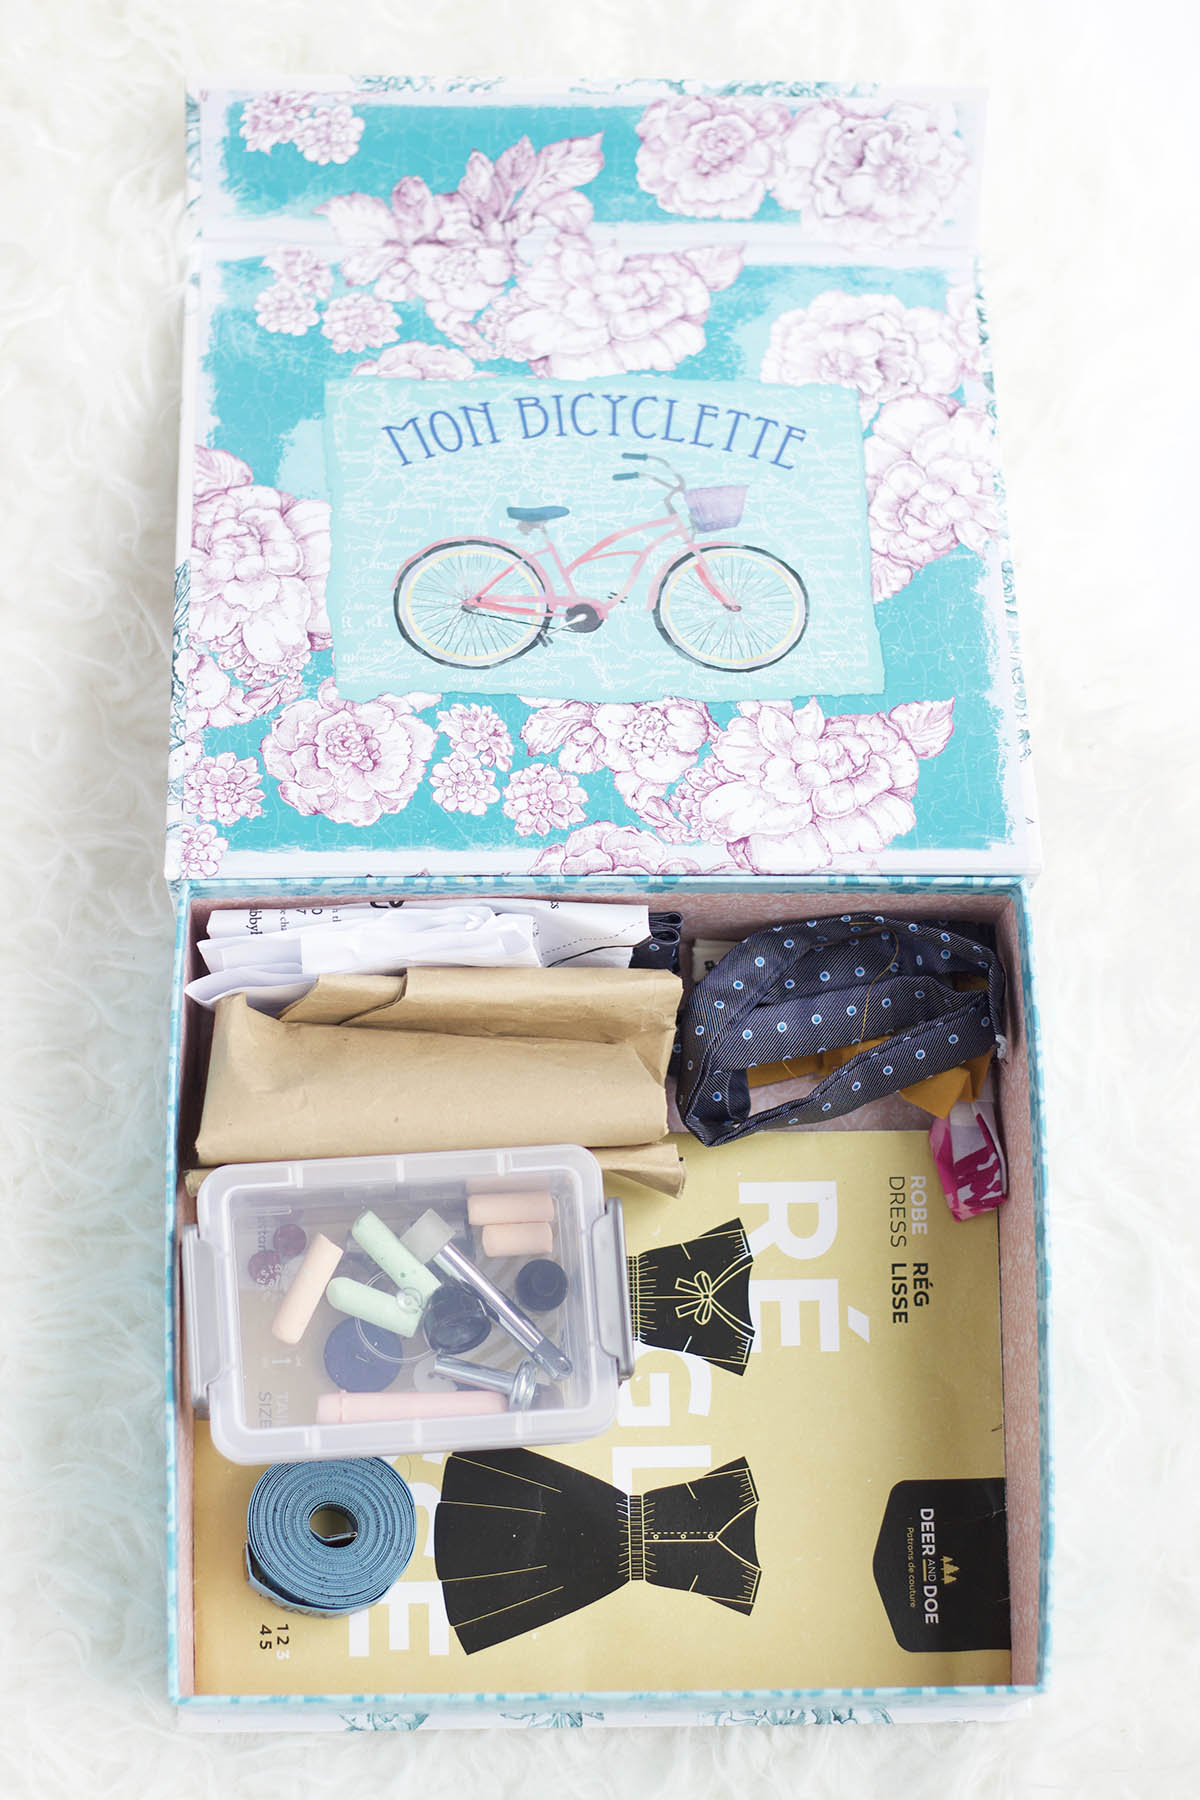
The next box contains all my paper patterns, buttons and other bits. I do not have that many patterns yet, so it will work now. But, my goals for 2019, the patterns will definitely grow and I’ll figure out another method of storing them. I either plan on using shoe boxes to store the paper patterns or placing them in a binder. The small plastic storage box, I bought from Solutions. It was perfect to hold all my buttons and other sewing accessories!
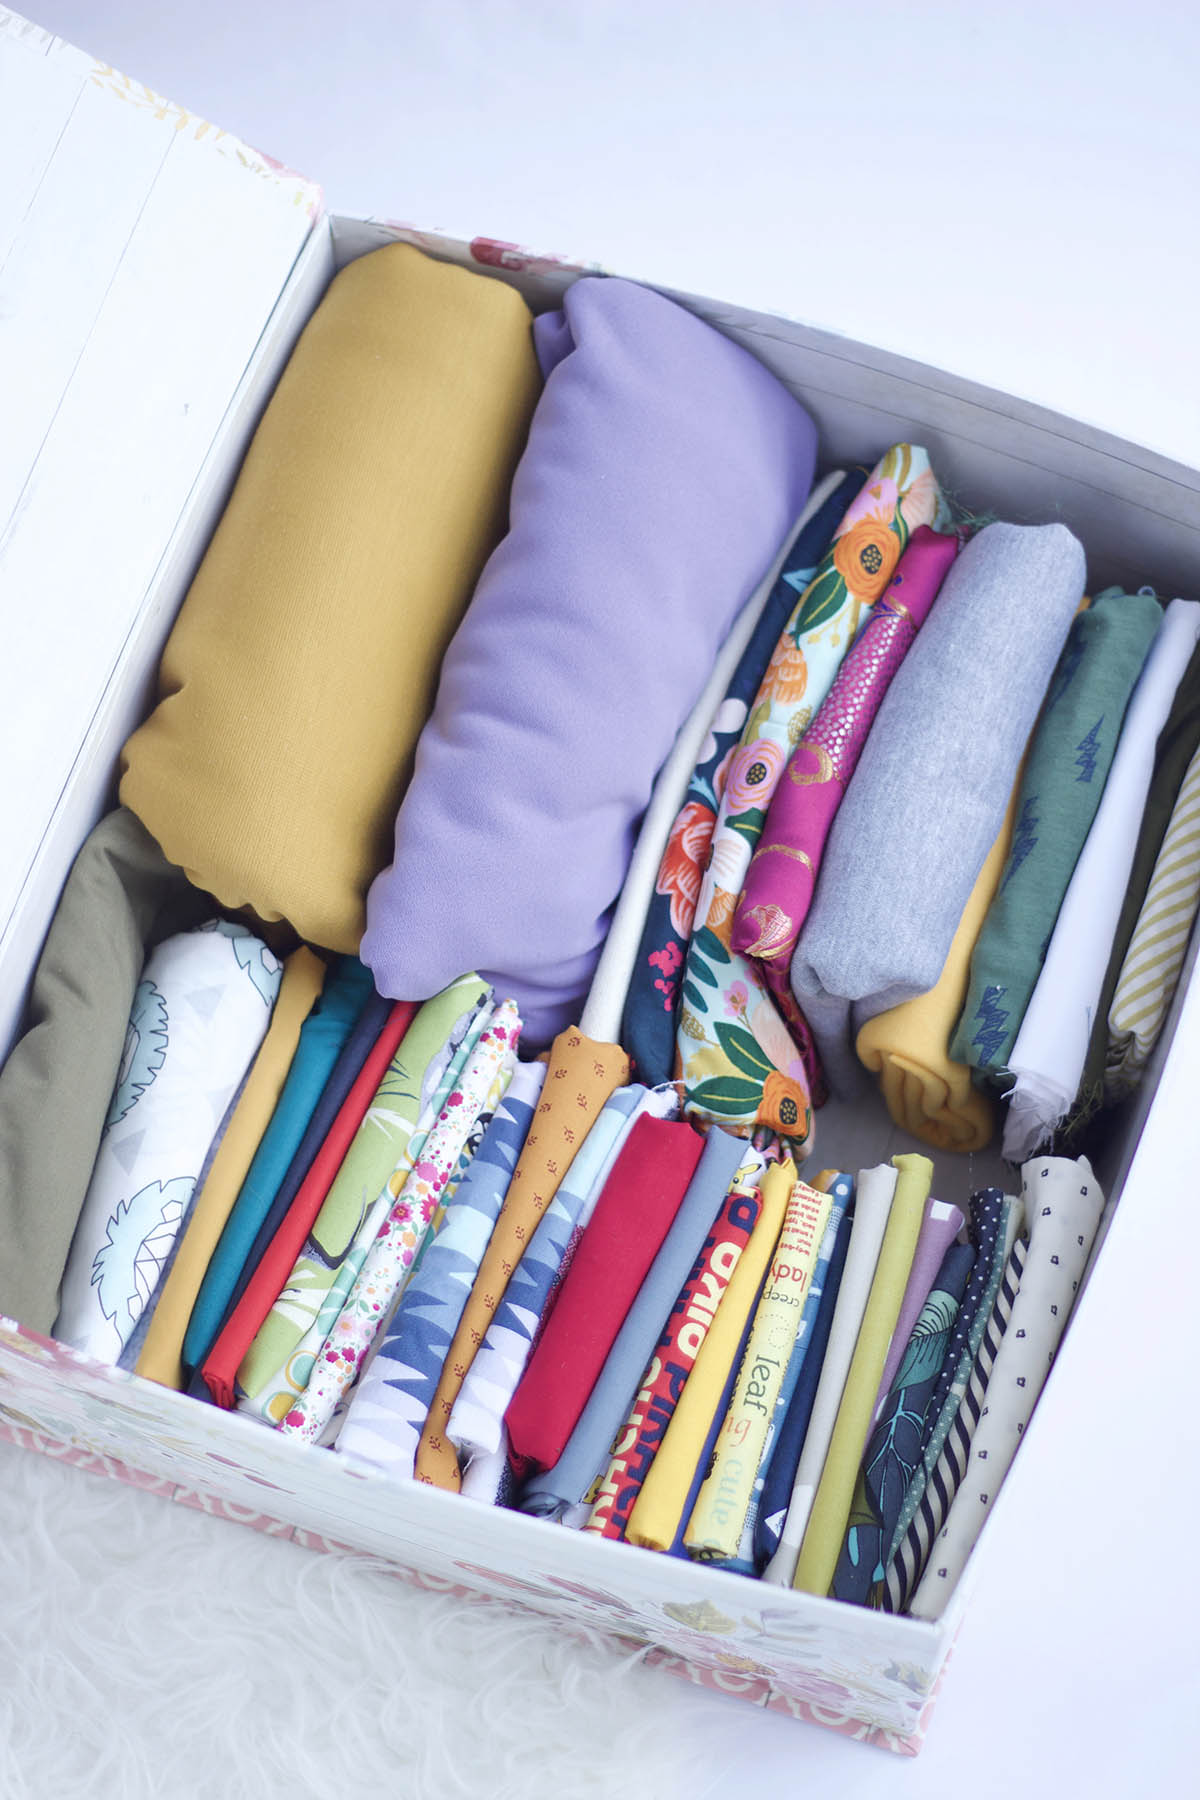
Folding and Storing Fabric
I already had a large decorative box to store my fabric. Once I had decided which fabric I wanted to keep, I folded each one and placed it vertically in the box. It’s the perfect way to see exactly what I have and it also makes it easy to pull them out when I need to use them! I’m so happy with how this turned out. There were still a few pieces of sweatshirt material that were not able to fit. I will be on the hunt for a narrow vertical box to place them into. For now though, they are sitting on a shelf in my living room cabinets.
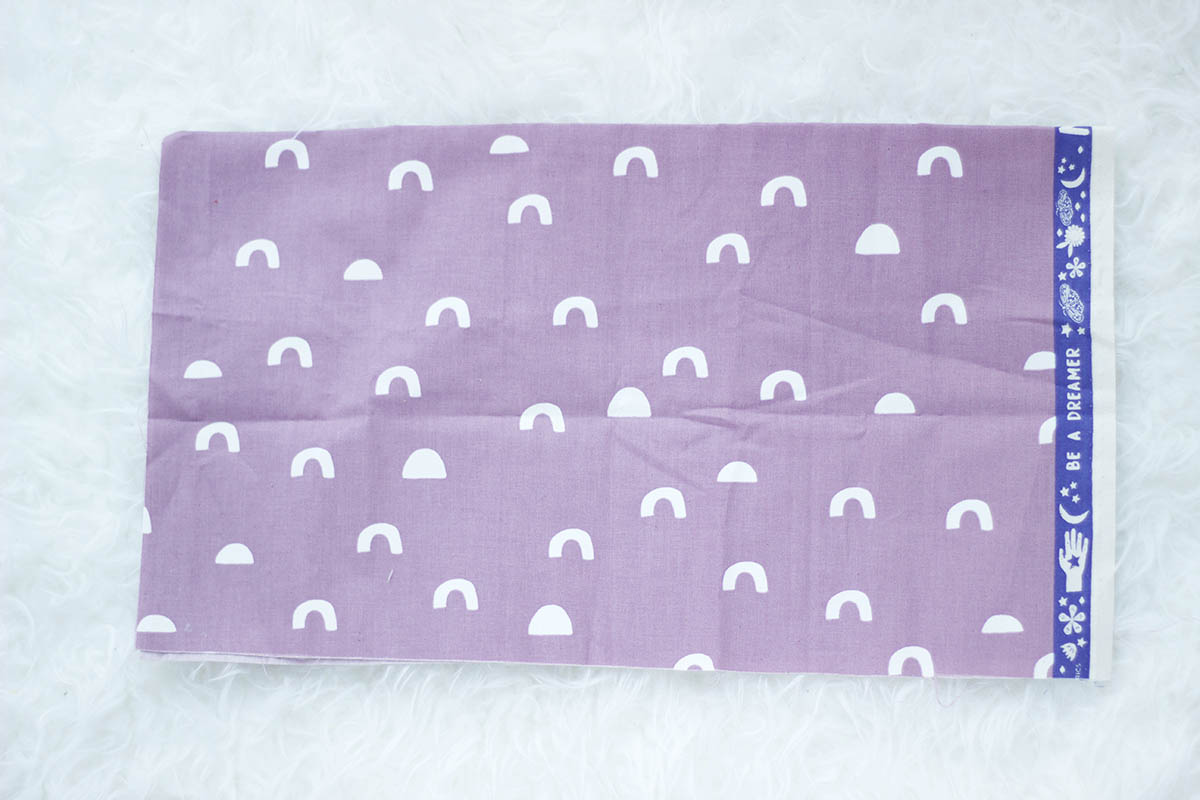
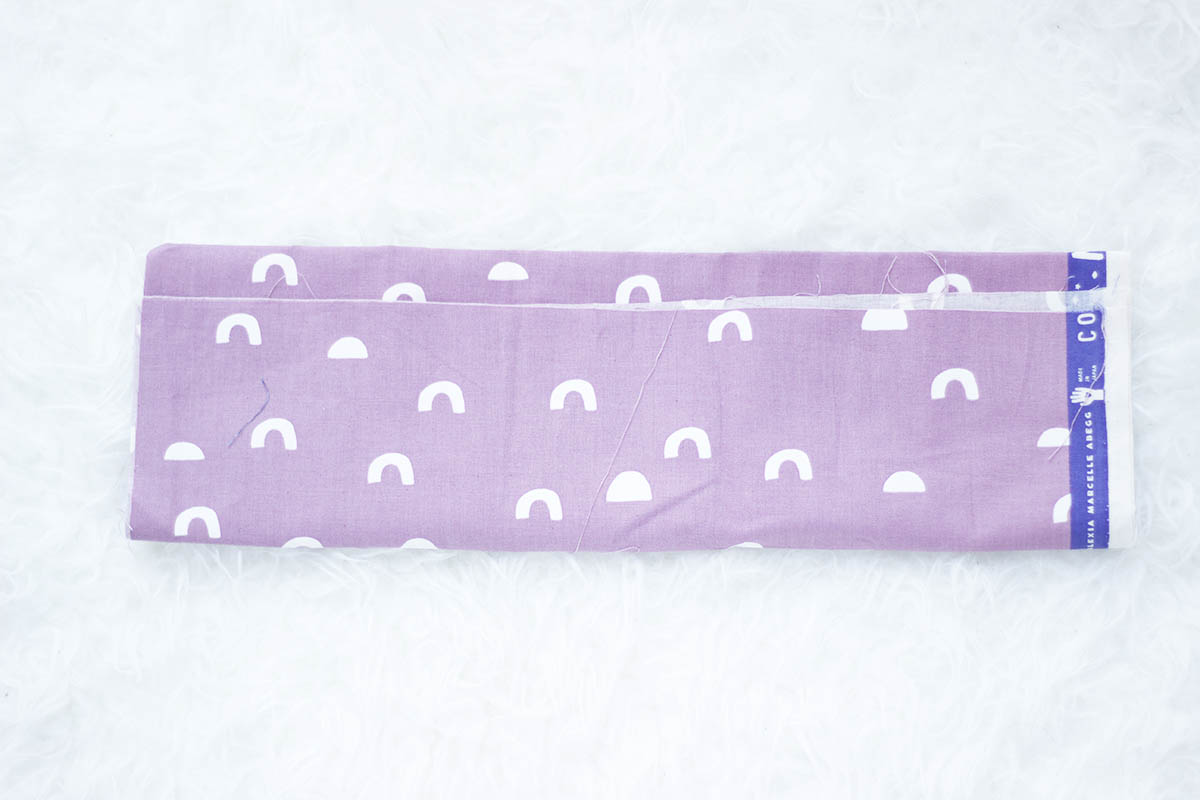
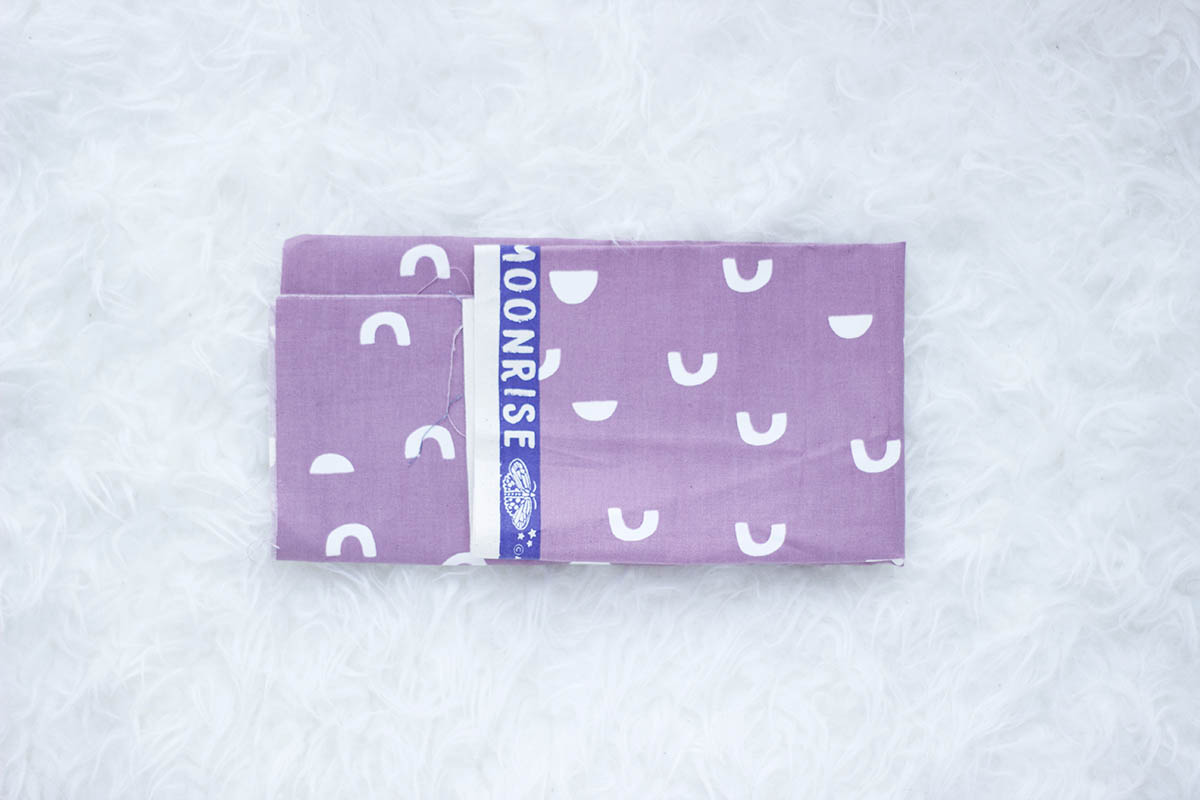
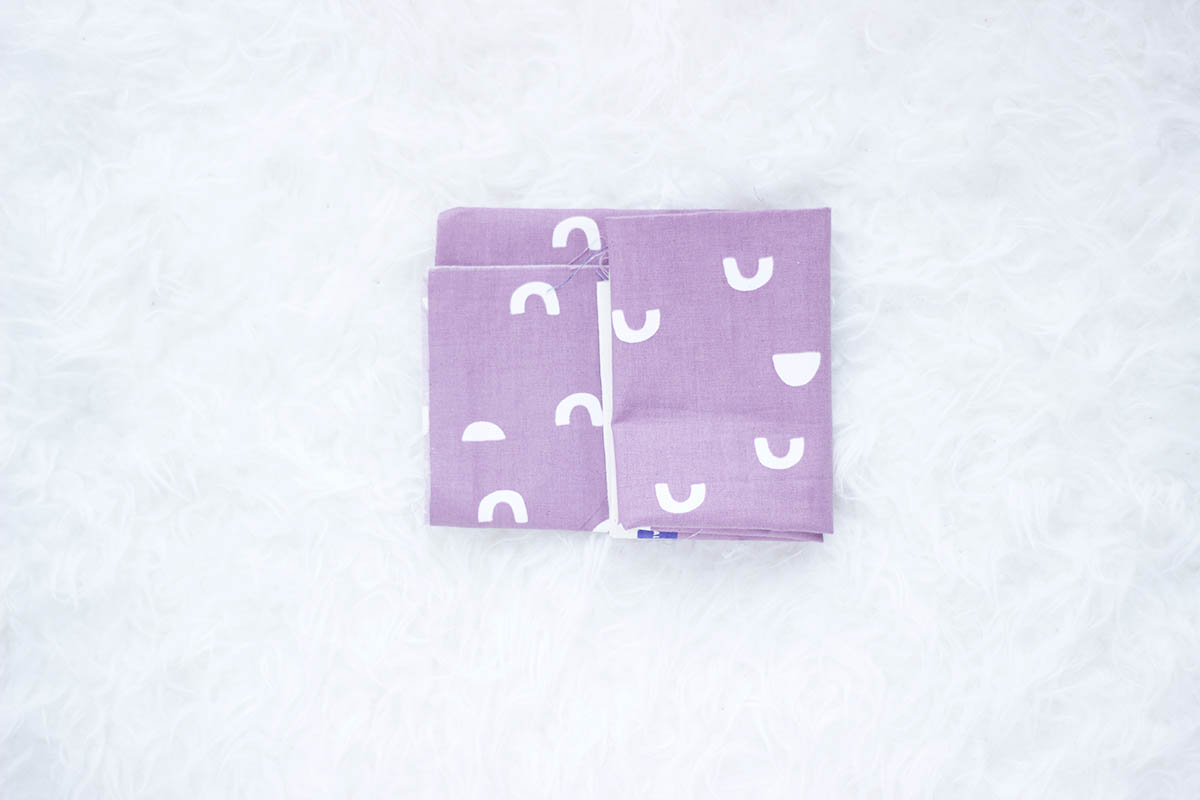
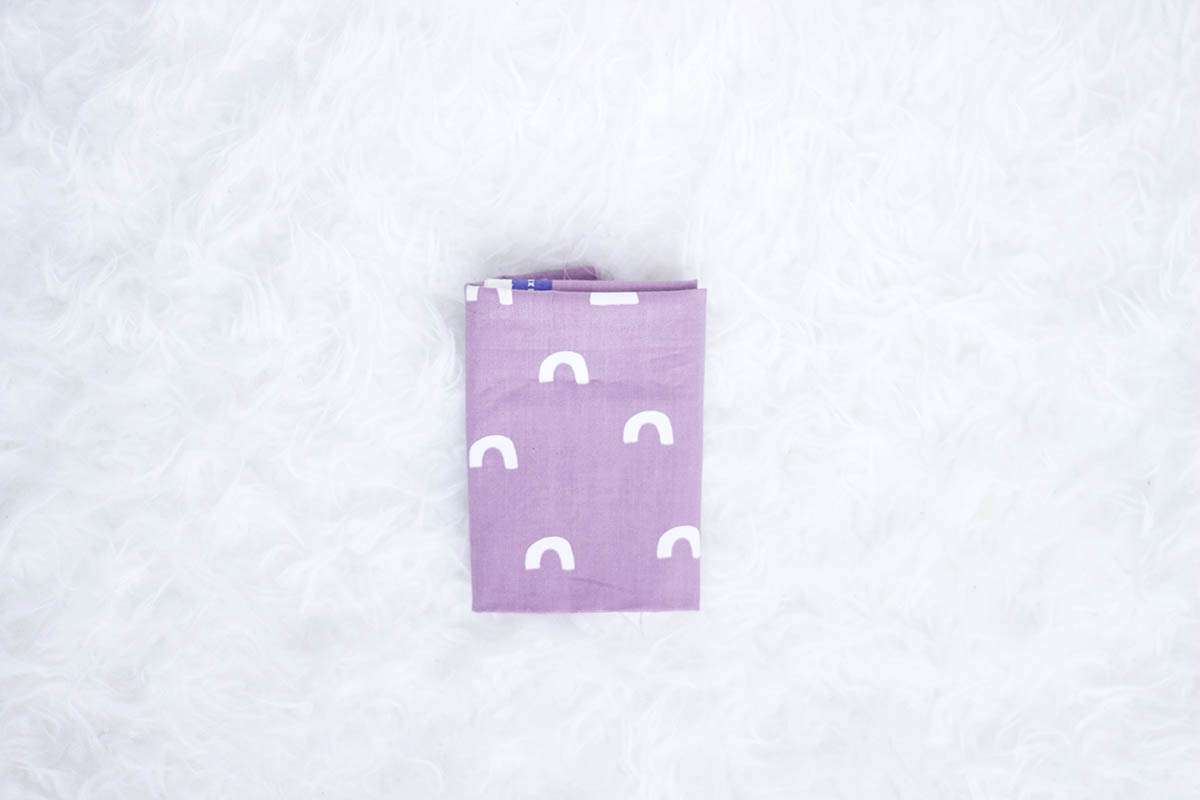
How to Fold Fabric
The steps below follows a similar method to Marie Kondo’s way of folding clothes. Folding the fabric into thirds make it easy to stack the fabric vertically.
Follow along on Instagram @kukarudesigns.com or facebook at kukarudesigns. Tag me in your fabric organization pictures because I would love to see and share them over on Instagram!
IF YOU LIKE THIS POST, SMASH THE SUBSCRIBE BUTTON TO MY EMAIL NEWSLETTER FOR UPDATES ON NEW MAKES AND PATTERNS. SUBSCRIBING HELPS TO SUPPORT THE BLOG SO WE CAN CREATE MORE TUTORIALS LIKE THIS FOR YOU!
PLEASE PIN THIS IMAGE FOR YOUR PINTEREST BOARDS