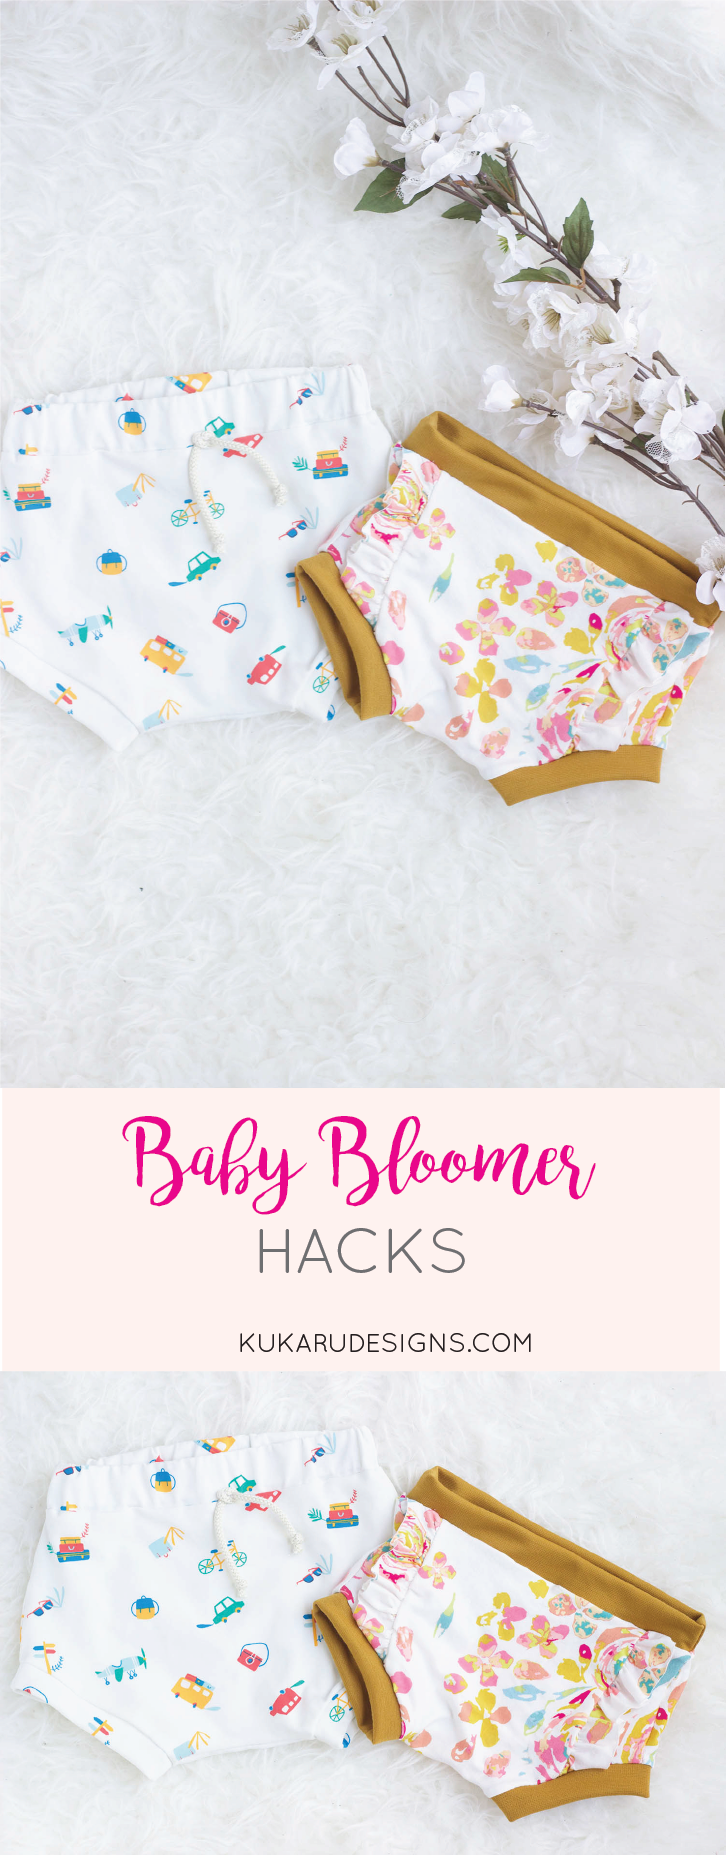
Two Hacks for Using the Baby Bloomer Pattern

You all have have been absolutely loving this baby bloomer pattern and I could not be more grateful! I get so much joy out of seeing your makes from my patterns. I love hacking patterns and as a thank you, I thought I would share two hacks for this popular baby bloomer pattern! You will need the baby bloomer pattern: BABY BLOOMER PATTERN
But first a life update….
I’m officially back on the blogging train. You guys, it has been so refreshing just taking a step back from the blog to focus on some other priorities going on in our lives right now. If you are following along on Instagram you know are currently building a new home – which you think wouldn’t be too time consuming but it is. Picking out all the different aspects to the house has been a new journey for us and we still are not done yet. Onto lights and paint! Then, on top of this I had a busy few months with work and my Masters course and well a few other things. I’m a huge fan of podcasts and they definitely encourage and motivate me to pursue my goals – be that “girl boss”. Sometimes though, girl you just cannot do it all without sacrificing other aspects of your life. One area was being present with my son and prioritizing my time just did not allow me to make quality content for you. Well coming from the other side of things now, I absolutely loved this break and have some fresh new ideas to share with you.
Hack #1: Add a Faux Draw String
Add a faux draw string. Take some draw string cording and create three knots, one in the centre and two on the edges. Then hand sew the drawstring from the centre knot to the baby bloomer patterns. I just love the drama that this draw string adds to the baby bummies!


Hack #1: Add Some Ruffle
I mean who doesn’t love a bit of ruffle flare! I added two ruffles to either side of the baby bloomers to just add that extra drama and fun.
Step 1: Create the ruffle: Cut out out two, 10″ x 1.5″ rectangles. Leave about 3” inch tail of thread and sew a 1/2”straight stitch using the longest stitch length on your machine ( I used a length of 4) from one end all the way to the other end(NOTE: DO NOT back stitch for this part). Leave about another 3” tail of thread at the other end and then cut the thread. To make the ruffles, simply pull on the top piece of thread. The fabric should begin to ruffle. Using your fingers, gently guide the ruffles through the entire piece while you keep pulling the top thread with the other hand.

Step 2: Cut out the front (pattern A) of your baby bloomer pattern and fold it in half. Note: I recommend adding a half inch to the width of the pattern to allow for the addition of the ruffle. Then cut a straight line between 2.5 – 3 inches away from the centre.

Step 3: Layer the ruffle. Place the middle section of the piece you just cut face up. Then place the ruffle face down and one edge piece face down. Pin everything together and sew a zig-zag stitch down the edge. Repeat for the other side.


It’ll look like this when your done!

Then continue following the steps outlined in the pattern to finish up the baby bloomers! Note: I would trim any excess ruffle when attaching the back piece of the pattern.


And there you have it! Two hacks to the popular baby bloomers pattern! I can’t wait to see your baby bloomer hacks of this pattern!

Follow along on Instagram @kukarudesigns.com or facebook at kukarudesigns. Tag me in your makes because I would love to see and share them over on Instagram.
IF YOU LIKE THIS POST, SMASH THE SUBSCRIBE BUTTON TO MY EMAIL NEWSLETTER FOR UPDATES ON NEW MAKES AND PATTERNS. SUBSCRIBING HELPS TO SUPPORT THE BLOG SO WE CAN CREATE MORE CONTENT LIKE THIS FOR YOU!
PLEASE PIN THE IMAGE BELOW FOR YOUR PINTEREST BOARDS


