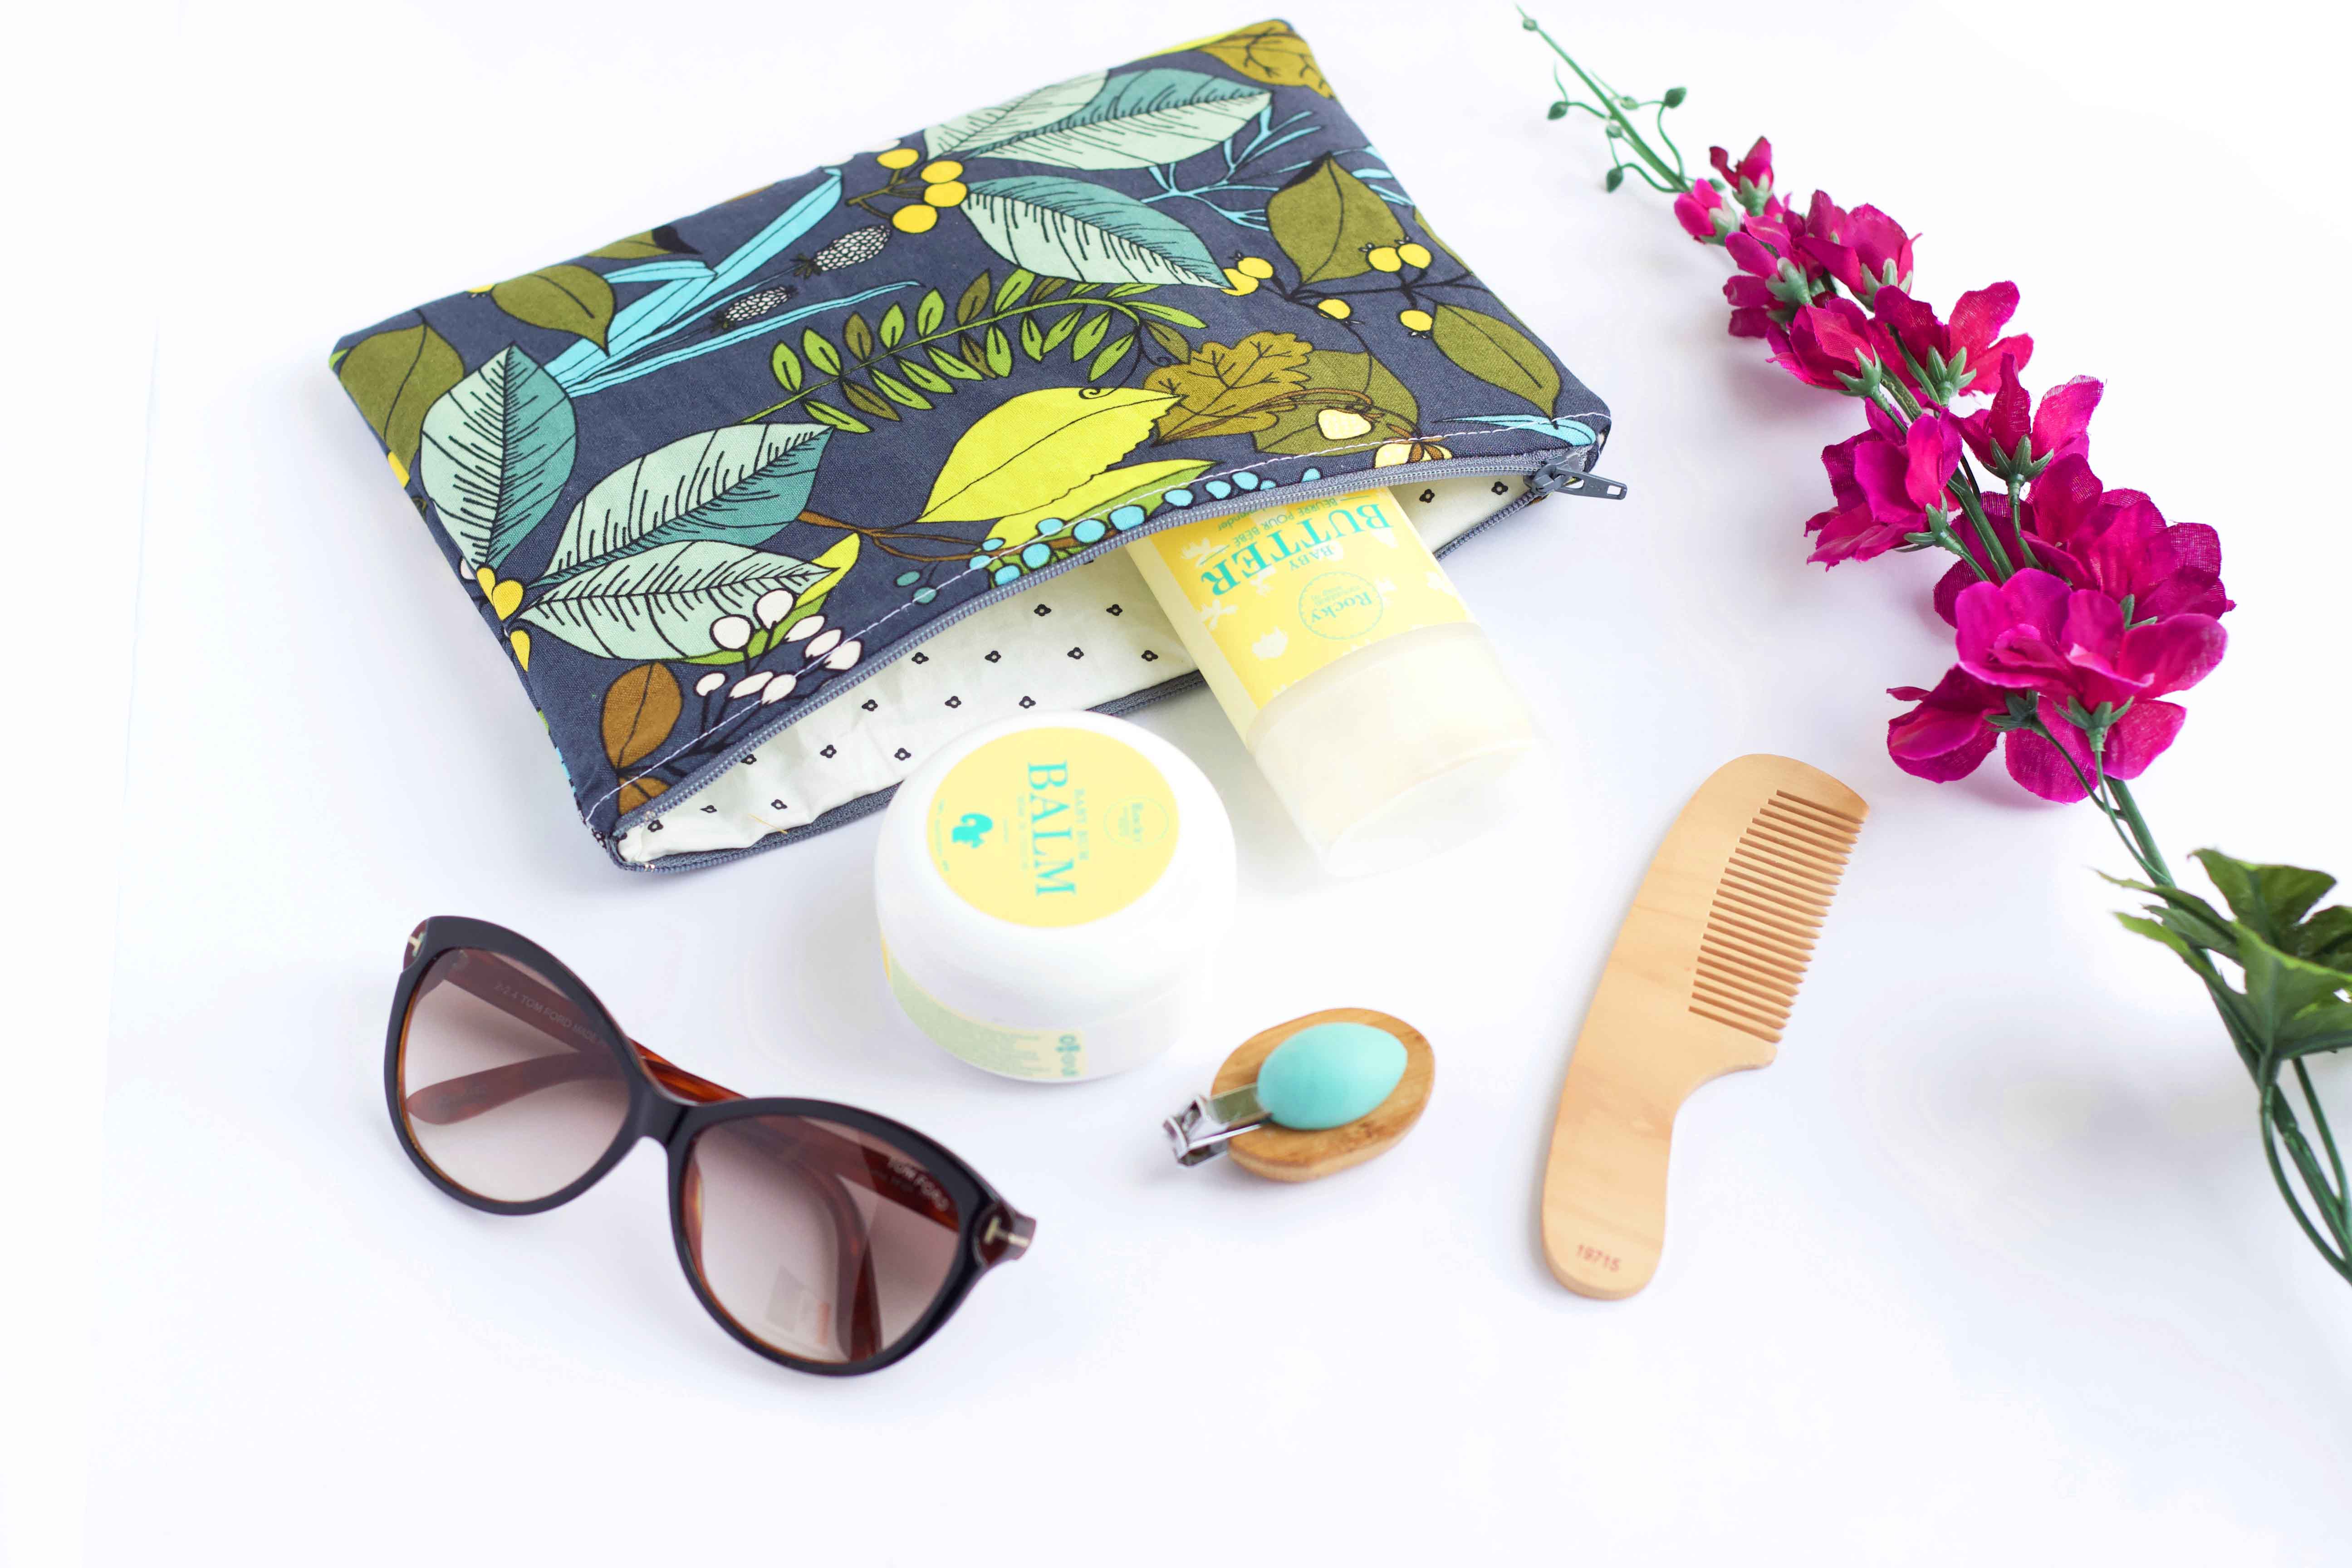
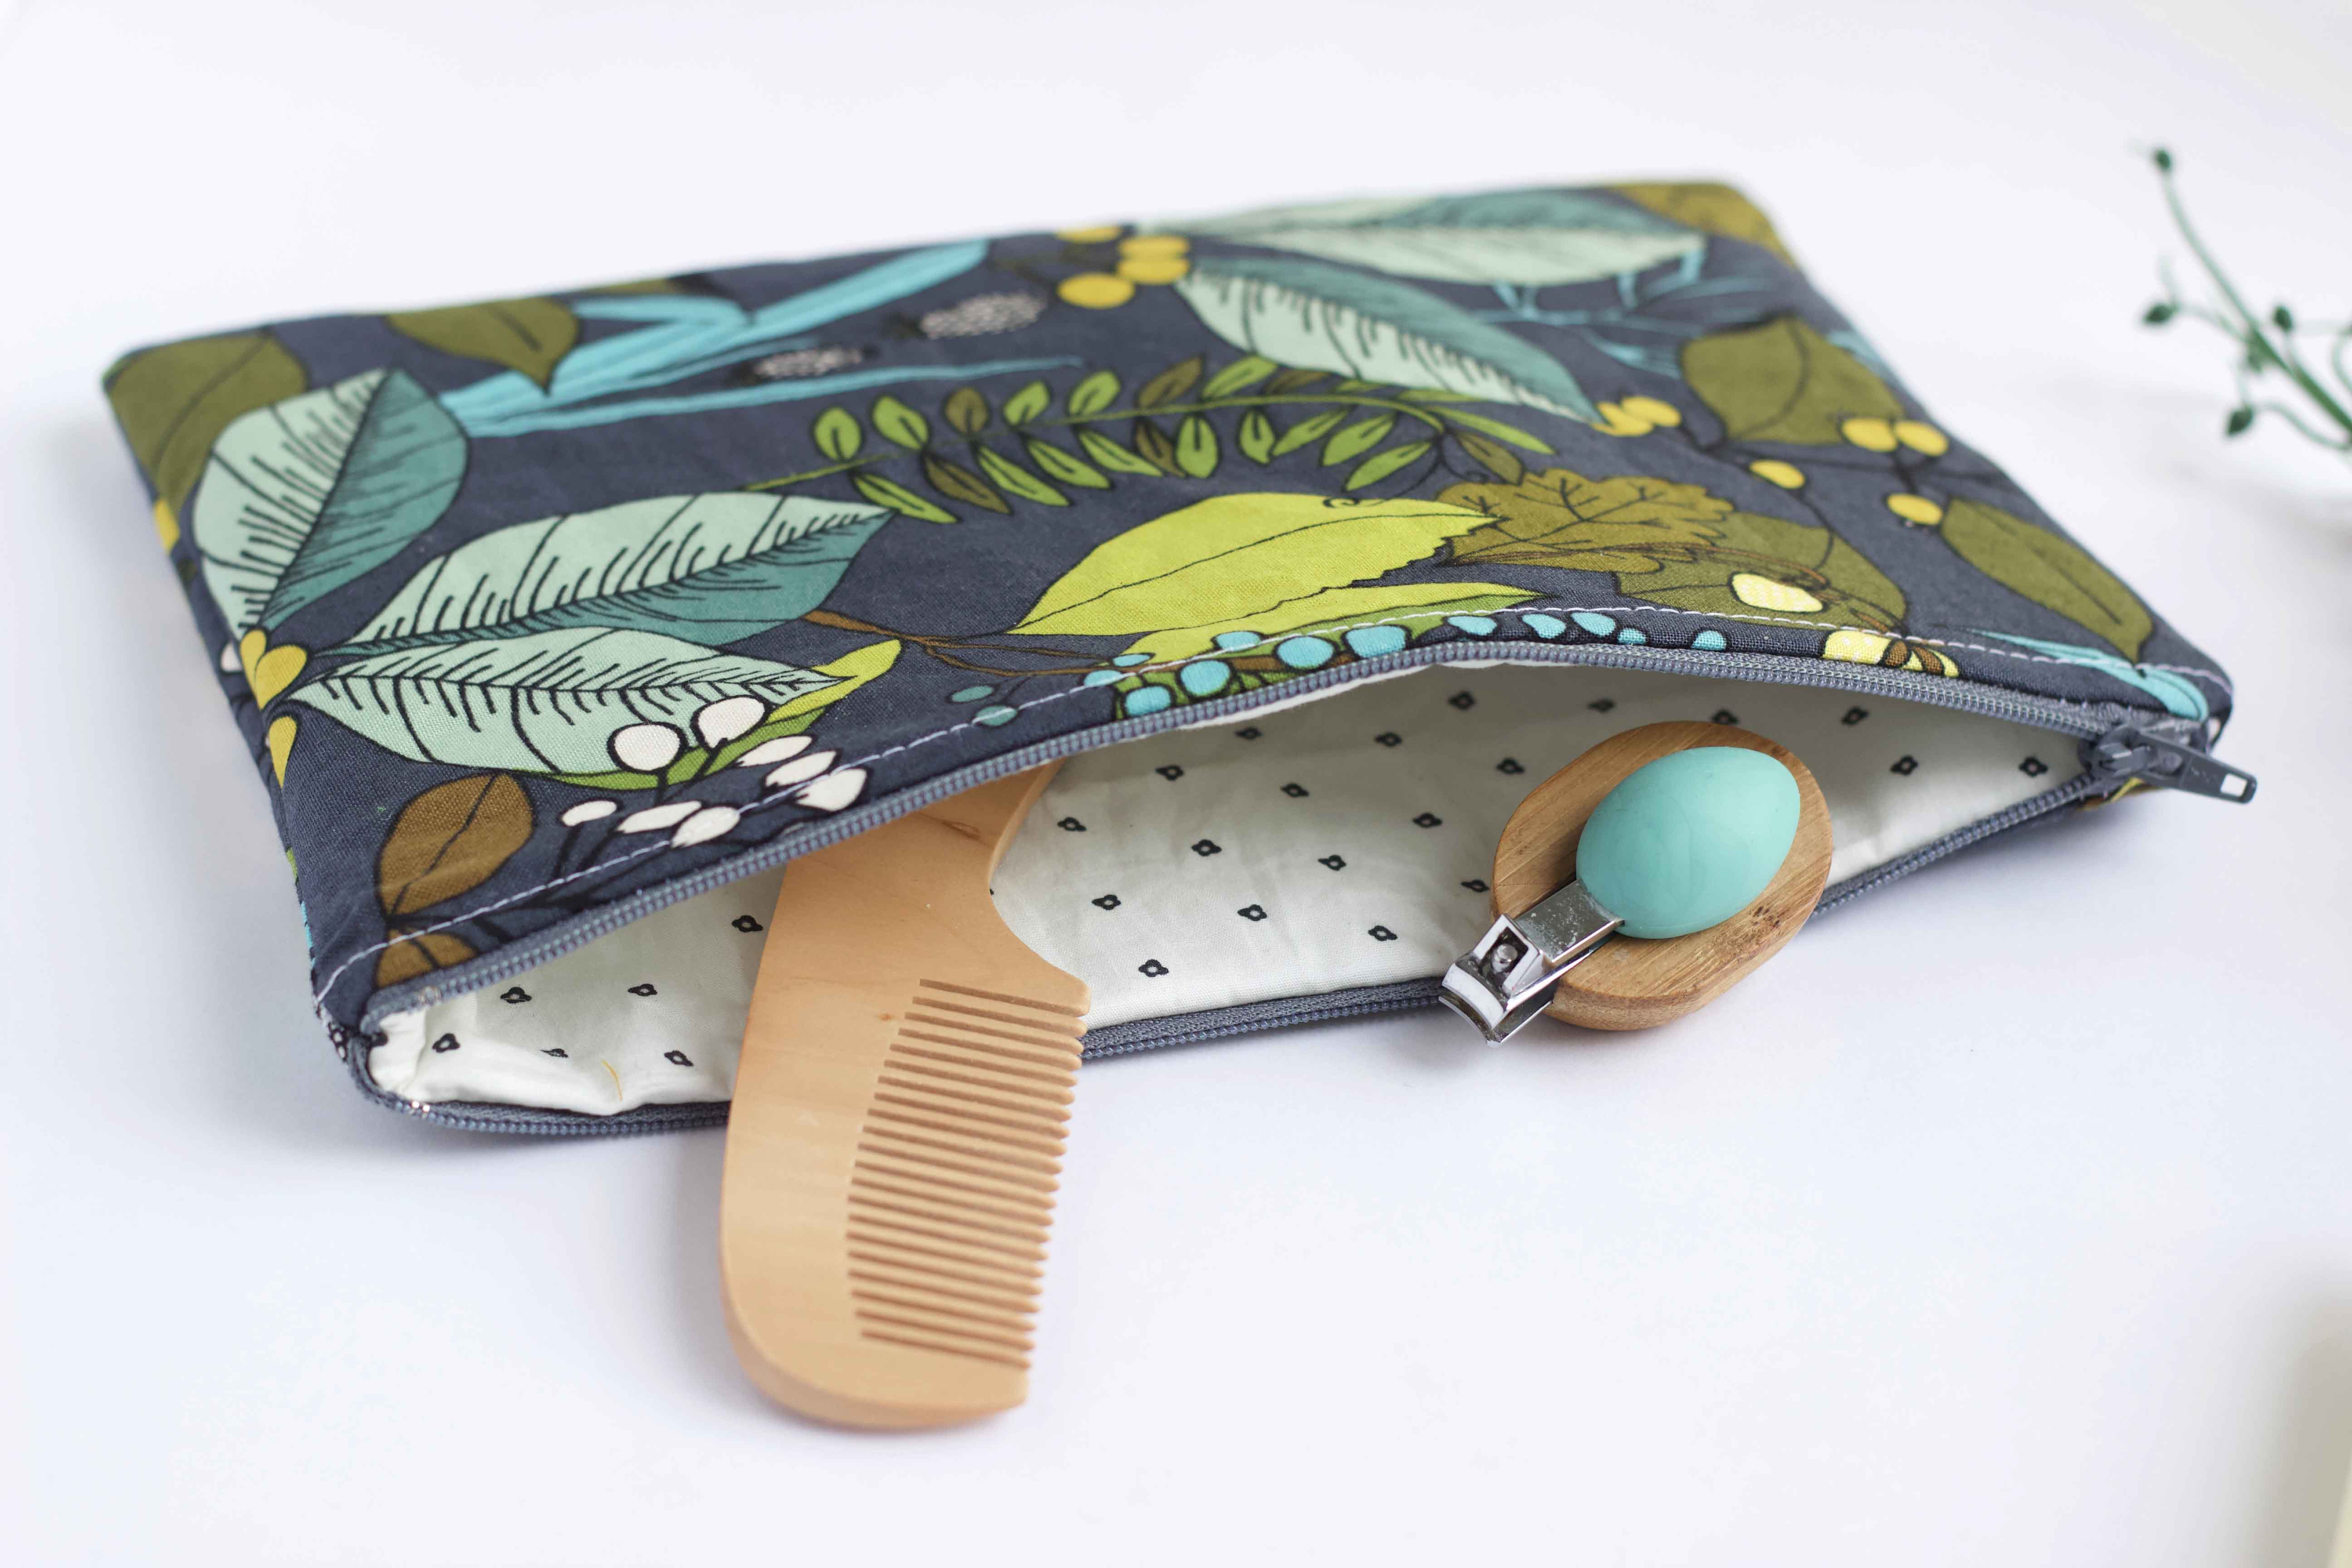
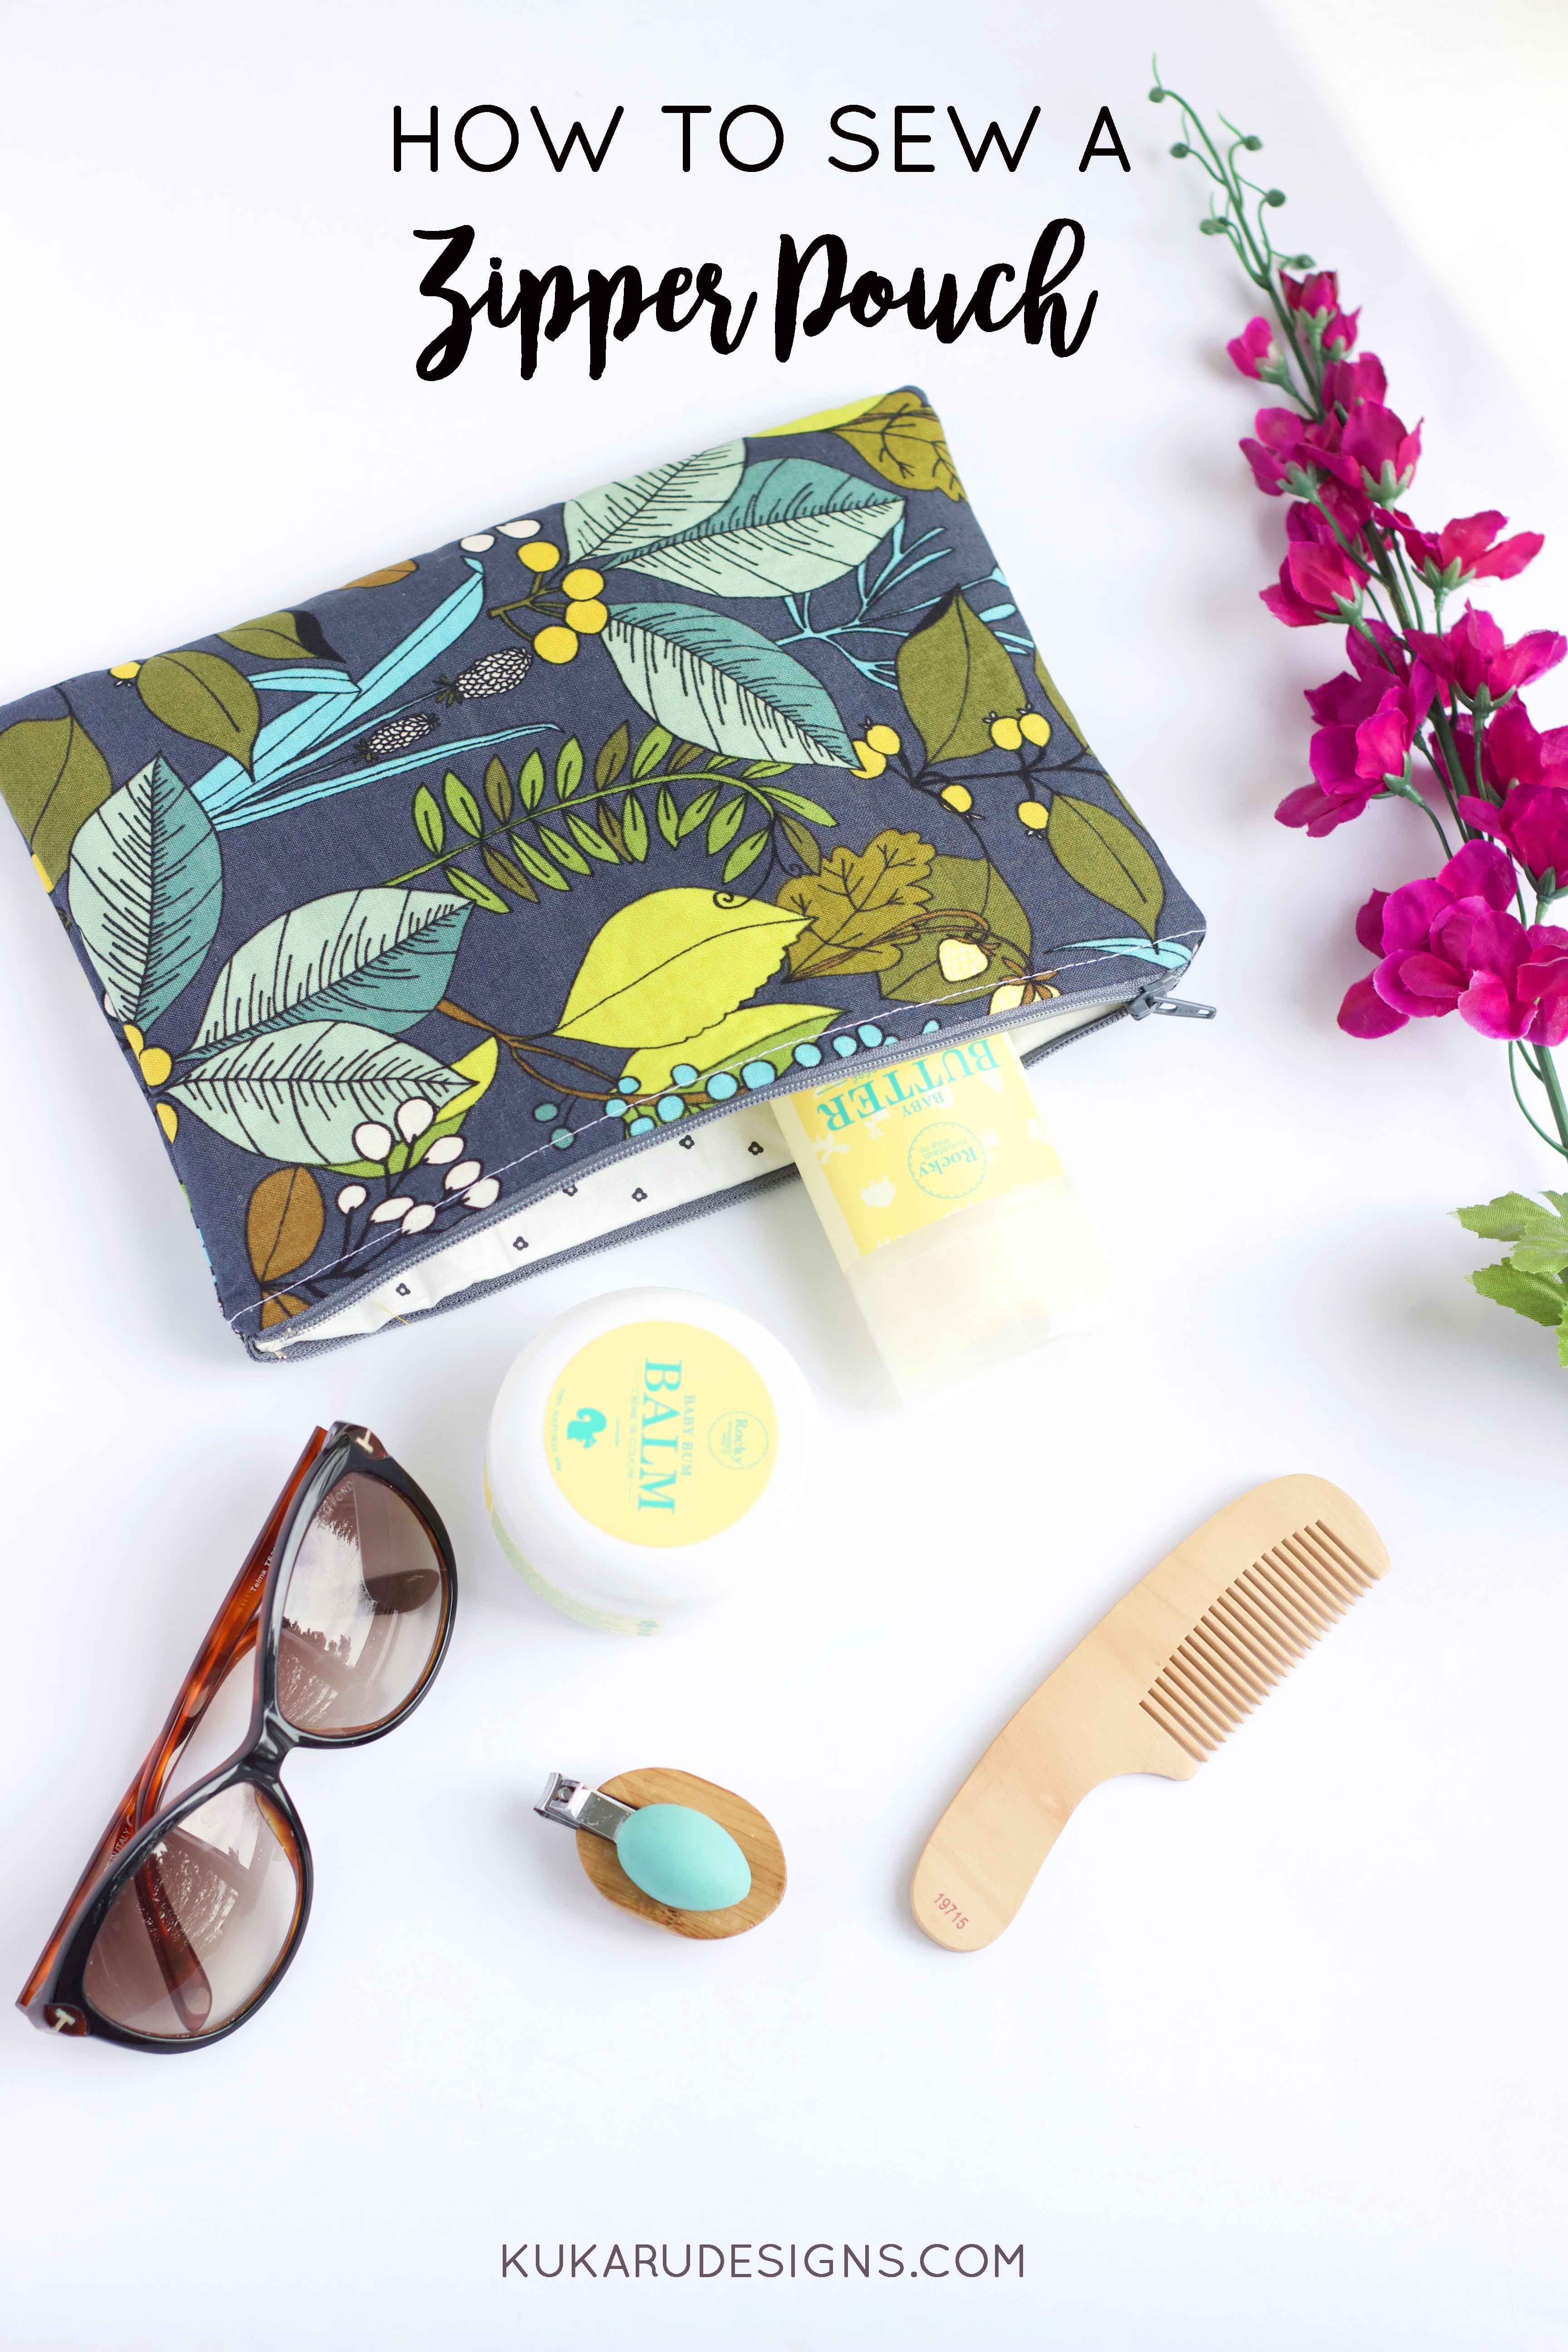
In a few weeks we will be travelling for a wedding and I thought of making a zipper pouch to carry some of my son’s essentials. We’ve travelled with him before but I always just end up shoving lotions and nail clippers wherever is easiest and then later digging around the bag trying to find it. Not very helpful!
Zipper pouches are very functional, quick and easy to make. There so many sizes and uses for these pouches. The possibilities are endless!
What’ you’ll need:
- Zipper. For this tutorial I used a zipper 9″ in length
- 2 outer fabric pieces 10.5″ in length x 7″ in height
- 2 inner fabric pieces 10.5″ in length x 7″ in height
- 4 pieces of interfacing 10.5″ in length x 7″ in height
Outer Fabric: A Ghastlie Botanical (Blue) by Alexander Henry
You can make this zipper pouch in any size you want by choosing a different length of zipper. For this pouch I used a 9″ zipper, which is 10.5″ in length when you include the length of the tails on either end. So the length of the fabric will be 10.5″.
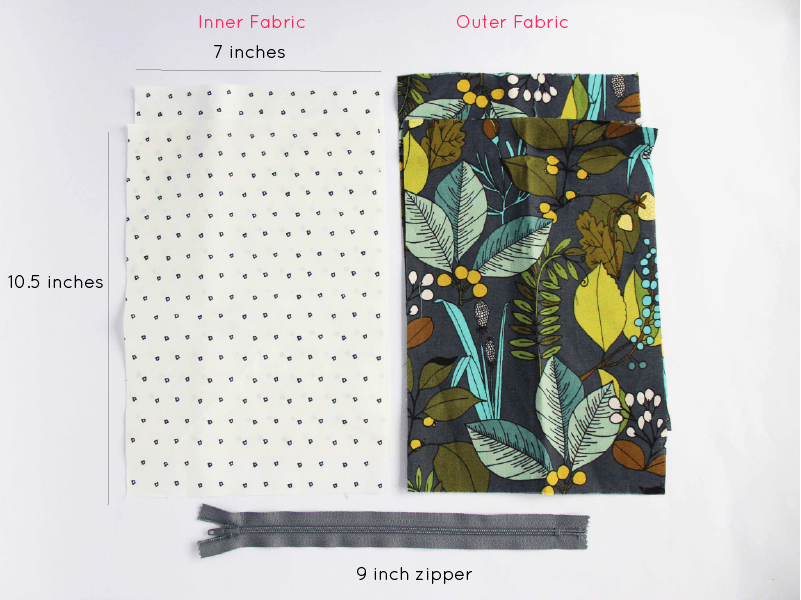
Step 1: Create a sandwich with the inner fabric, outer fabric and zipper. Place the one interfacing piece at the bottom and the inner fabric face up on top. Then line up the zipper with the top edge of the fabric. The zipper pull should be on the left side of the fabric.

Step 2: Continue the sandwich above by placing the outer fabric facing inward on top of the zipper and then the interfacing on top. Make sure the zipper is lined up at the top edge of the fabric and pin in place. It’s important to pin the fabric so that as you sew the fabric and zipper doesn’t move.
Then sew a straight stitch along the top edge of the zipper. It’s important to have a straight line when you along the zipper because it makes the pouch look polished. The problem is the zipper pull at the top of the zipper gets in the way. So what I typically like to do is start sewing just after the zipper pull. Once your finished sewing, pull the zipper pull down and finish up the unfinished end.
Remember to use the zipper foot which is standard with most sewing machines. The zipper foot let’s you sew closer to the edge of the zipper so that there isn’t a big big gap between the zipper and fabric.
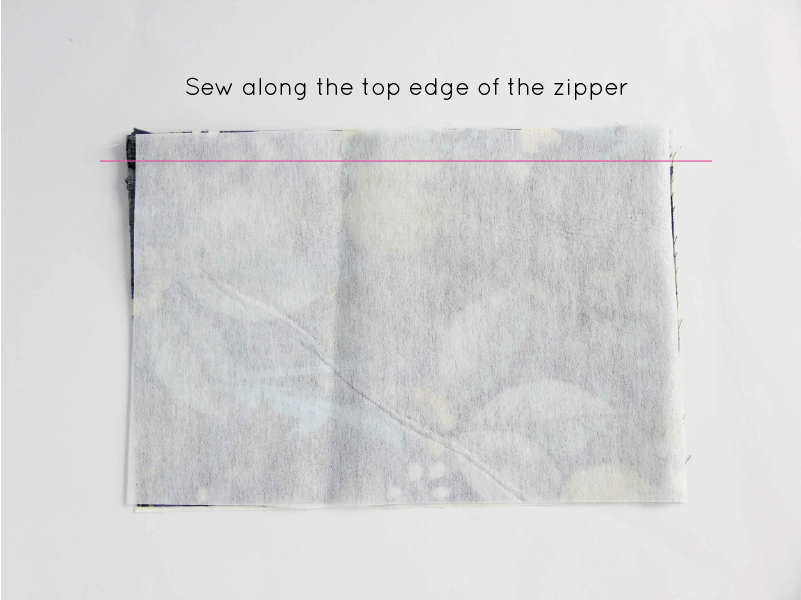
Once you’ve sewn along the edge fabric you’ll have something looks like this.

Step 3: Repeat for the other side. Layer the fabric: 1) interfacing 2) inner fabric facing up 3) zipper with the zipper pull on the right side 4) outer fabric facing down and 5) interfacing.
Pin and sew along the top edge of the zipper.


Step 4: Okay, so now I usually iron the fabric on either side of the zipper and away from the seam so that the fabric gets nice and flat. It’s soo important to press your seams and the bonus is that it looks more professional!
Now topstitch the fabric on either side of the zipper. This keeps the fabric from getting caught on the zipper gives a finished look to your pouch. It’s important to sew as straight as you can for this step. At the end, you will have something that looks like this.
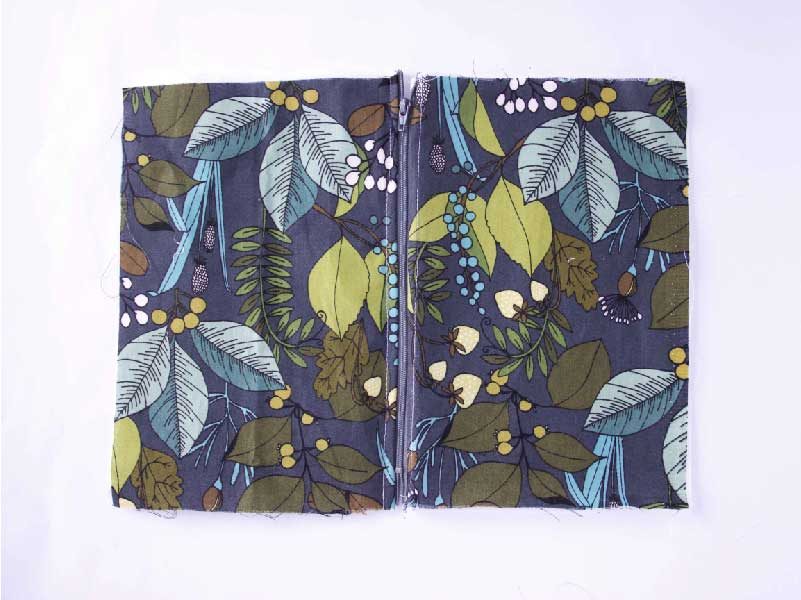
Keeping it real:
Unfortunately, at this point my sewing machine gave way and I had some technical difficulties. The needle kept catching and I couldn’t get through sewing this topstitch. Definitely a sewing machine fail! I tried all my typical checks, broke about 4 sewing needles and re-threaded my machine a zillion times (not really, but definitely felt like it). Ultimately, i used a different spool and it worked!
Step 5: There are several important steps here.
1) Unzip the zipper about half way. If you don’t you won’t be able to open your pouch. This is a key step so don’t forget!
2) Then fold the pouch so that the inner fabric and interfacing is on one side and the outer fabric and interfacing is on the other side. Make sure all the fabric is lined up and pin in place. Make sure that the zipper teeth are folded towards the inner fabric (i.e. the lining).
3) Stitch a 1/4″ seam along the edges as shown. I have a quick easy guide on how to sew a 1/4″ seam on my crib sheet tutorial. Leave an opening at the bottom to pull the fabric through. Also be careful when you are sewing over the zipper. I tend to go slow and use the hand crank to get over the zipper.
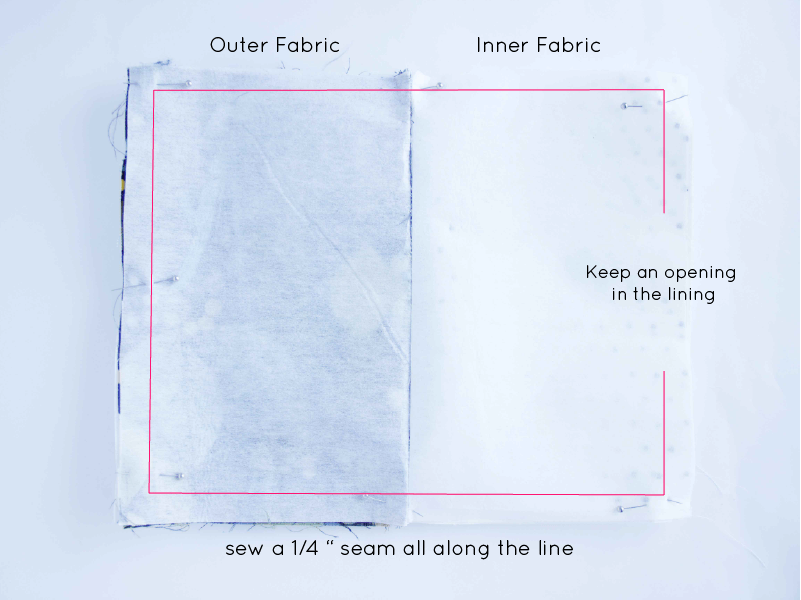
Once you’ve sewn along the edge, cut the corners (don’t cut through the stitching)!

Step 6: Pull the fabric through the opening you made. Finally it looks like a pouch! Fold the raw edges of the opening towards the inside. You can either top stitch along the edge or do a blind stitch using a needle and thread for an invisible seam. I opted for a top stitch since this pouch was for personal use.

And your done!
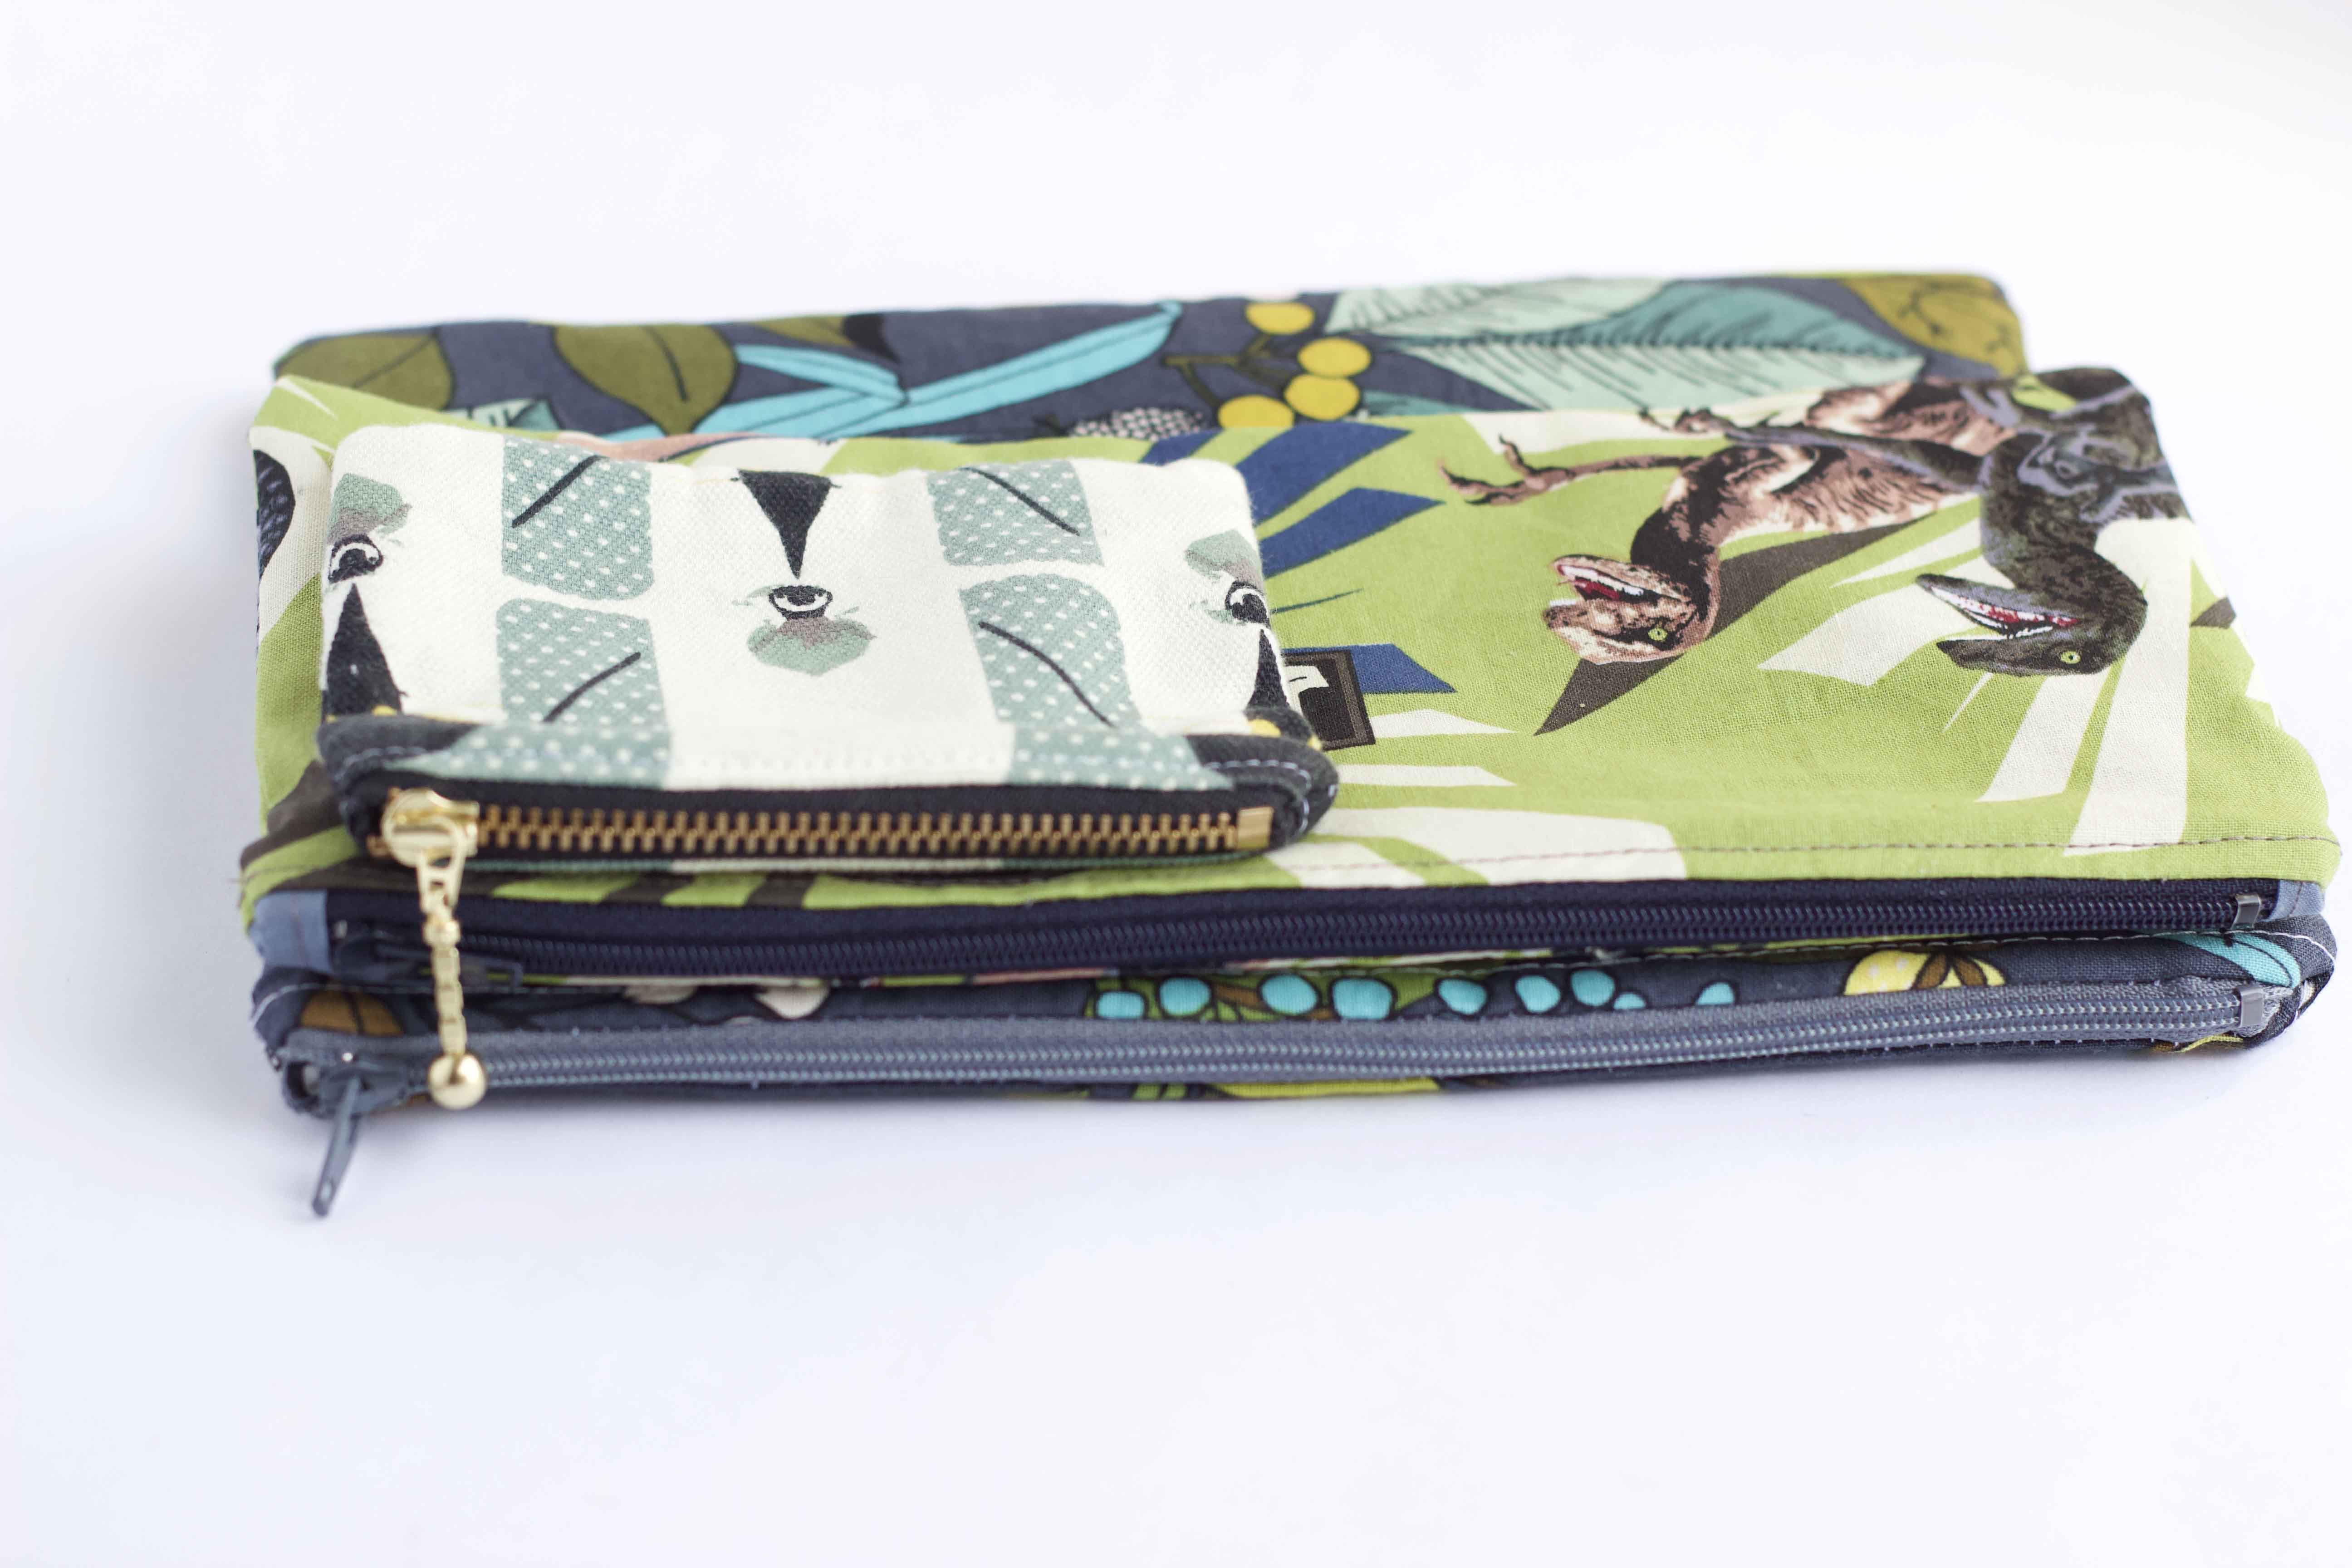
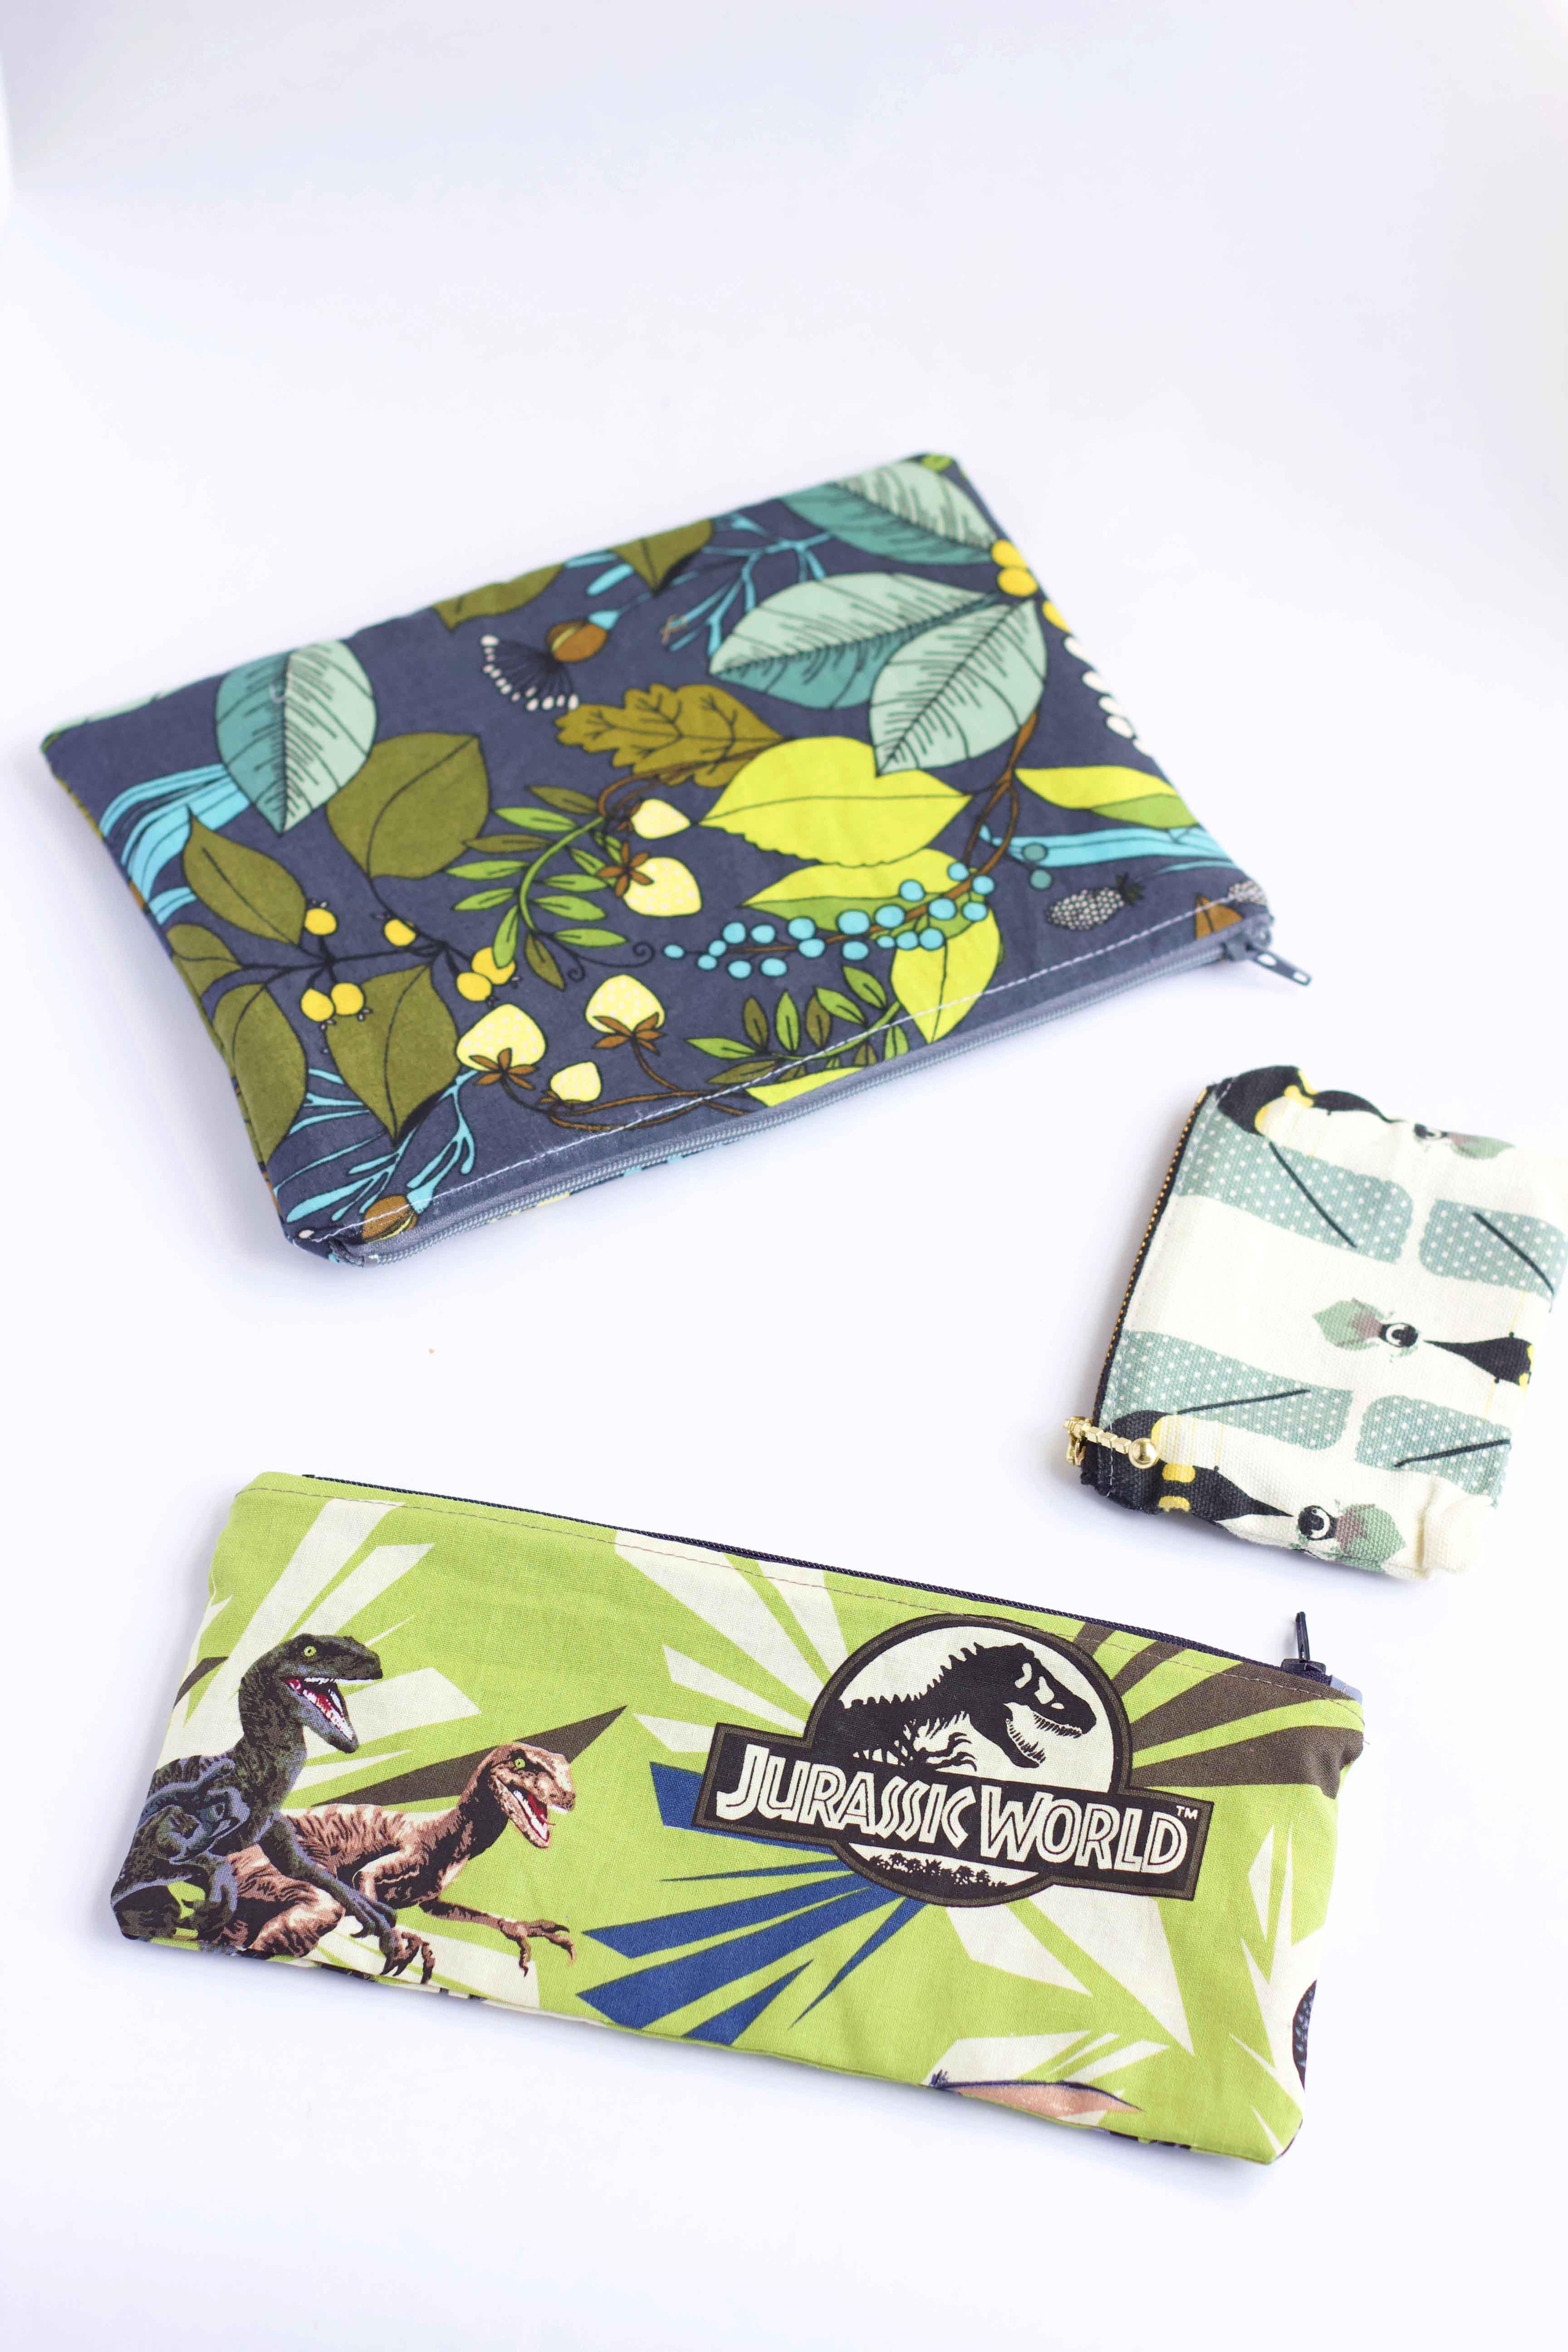
These are such fun, easy projects. I’ve made several different size zipper pouches for friends and family. They can be used as pencil cases, coin pouches and well in this case for travel essentials. You can completely customize this zipper pouch and the best part is being able to choose the fabric! I mean who doesn’t love shopping for fun prints!
