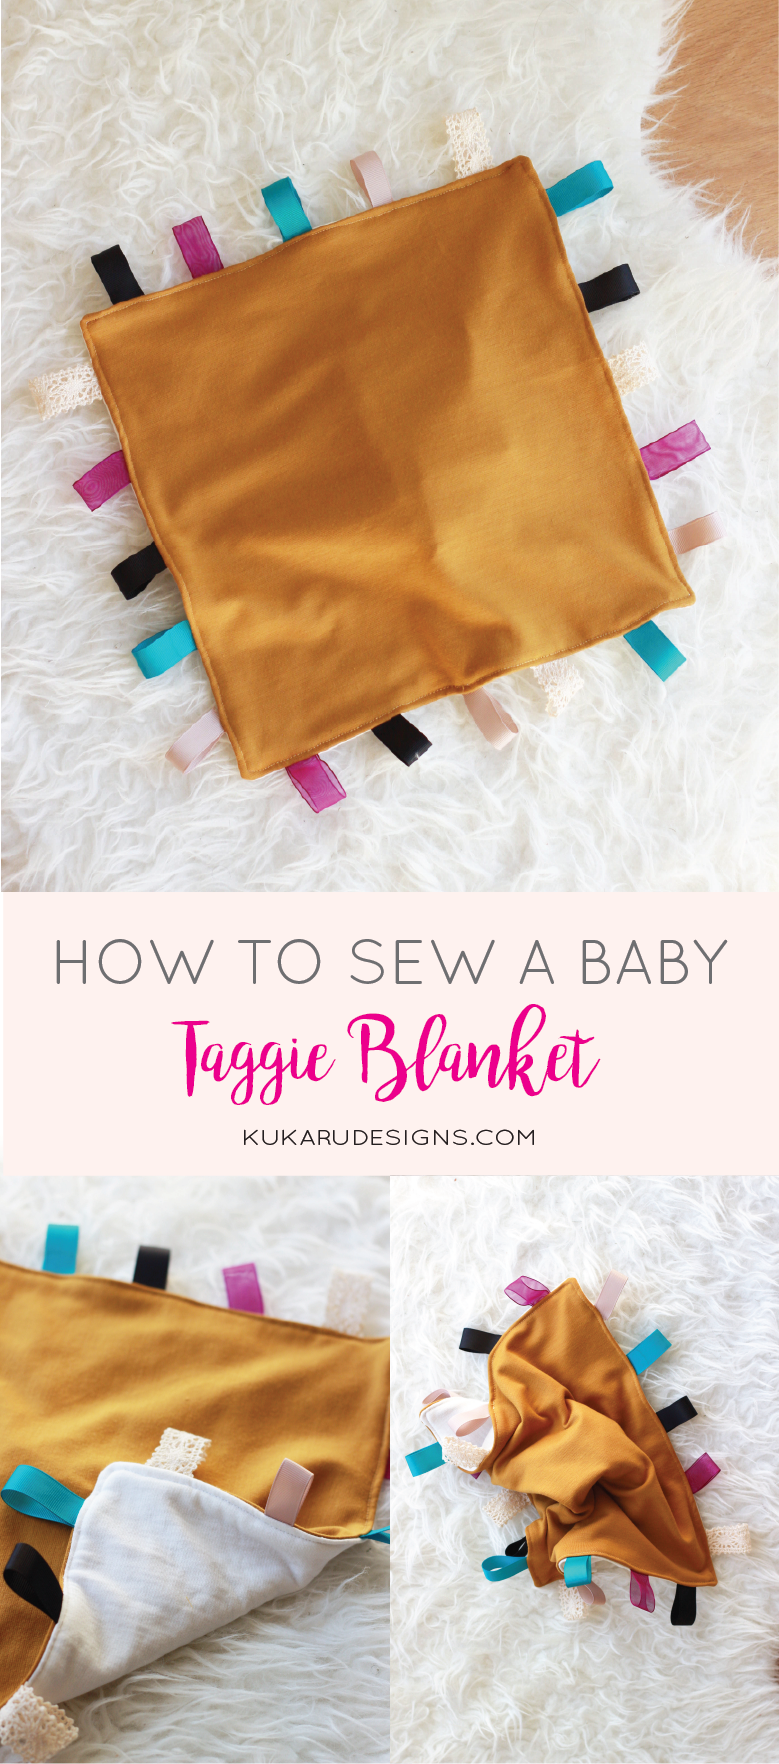
Taggie Blanket Sewing Tutorial
I forgot how quickly time passes with a young baby. It seems that he reaches a new exciting milestone every week. These last few months have been a blur and packed with excitement – both good and bad. It feels like the year just started and I was preparing for our son to arrive. Now here we are nearing December and everyone is preparing for the Christmas season. The early newborn days are gone and I now have a 7 months old.
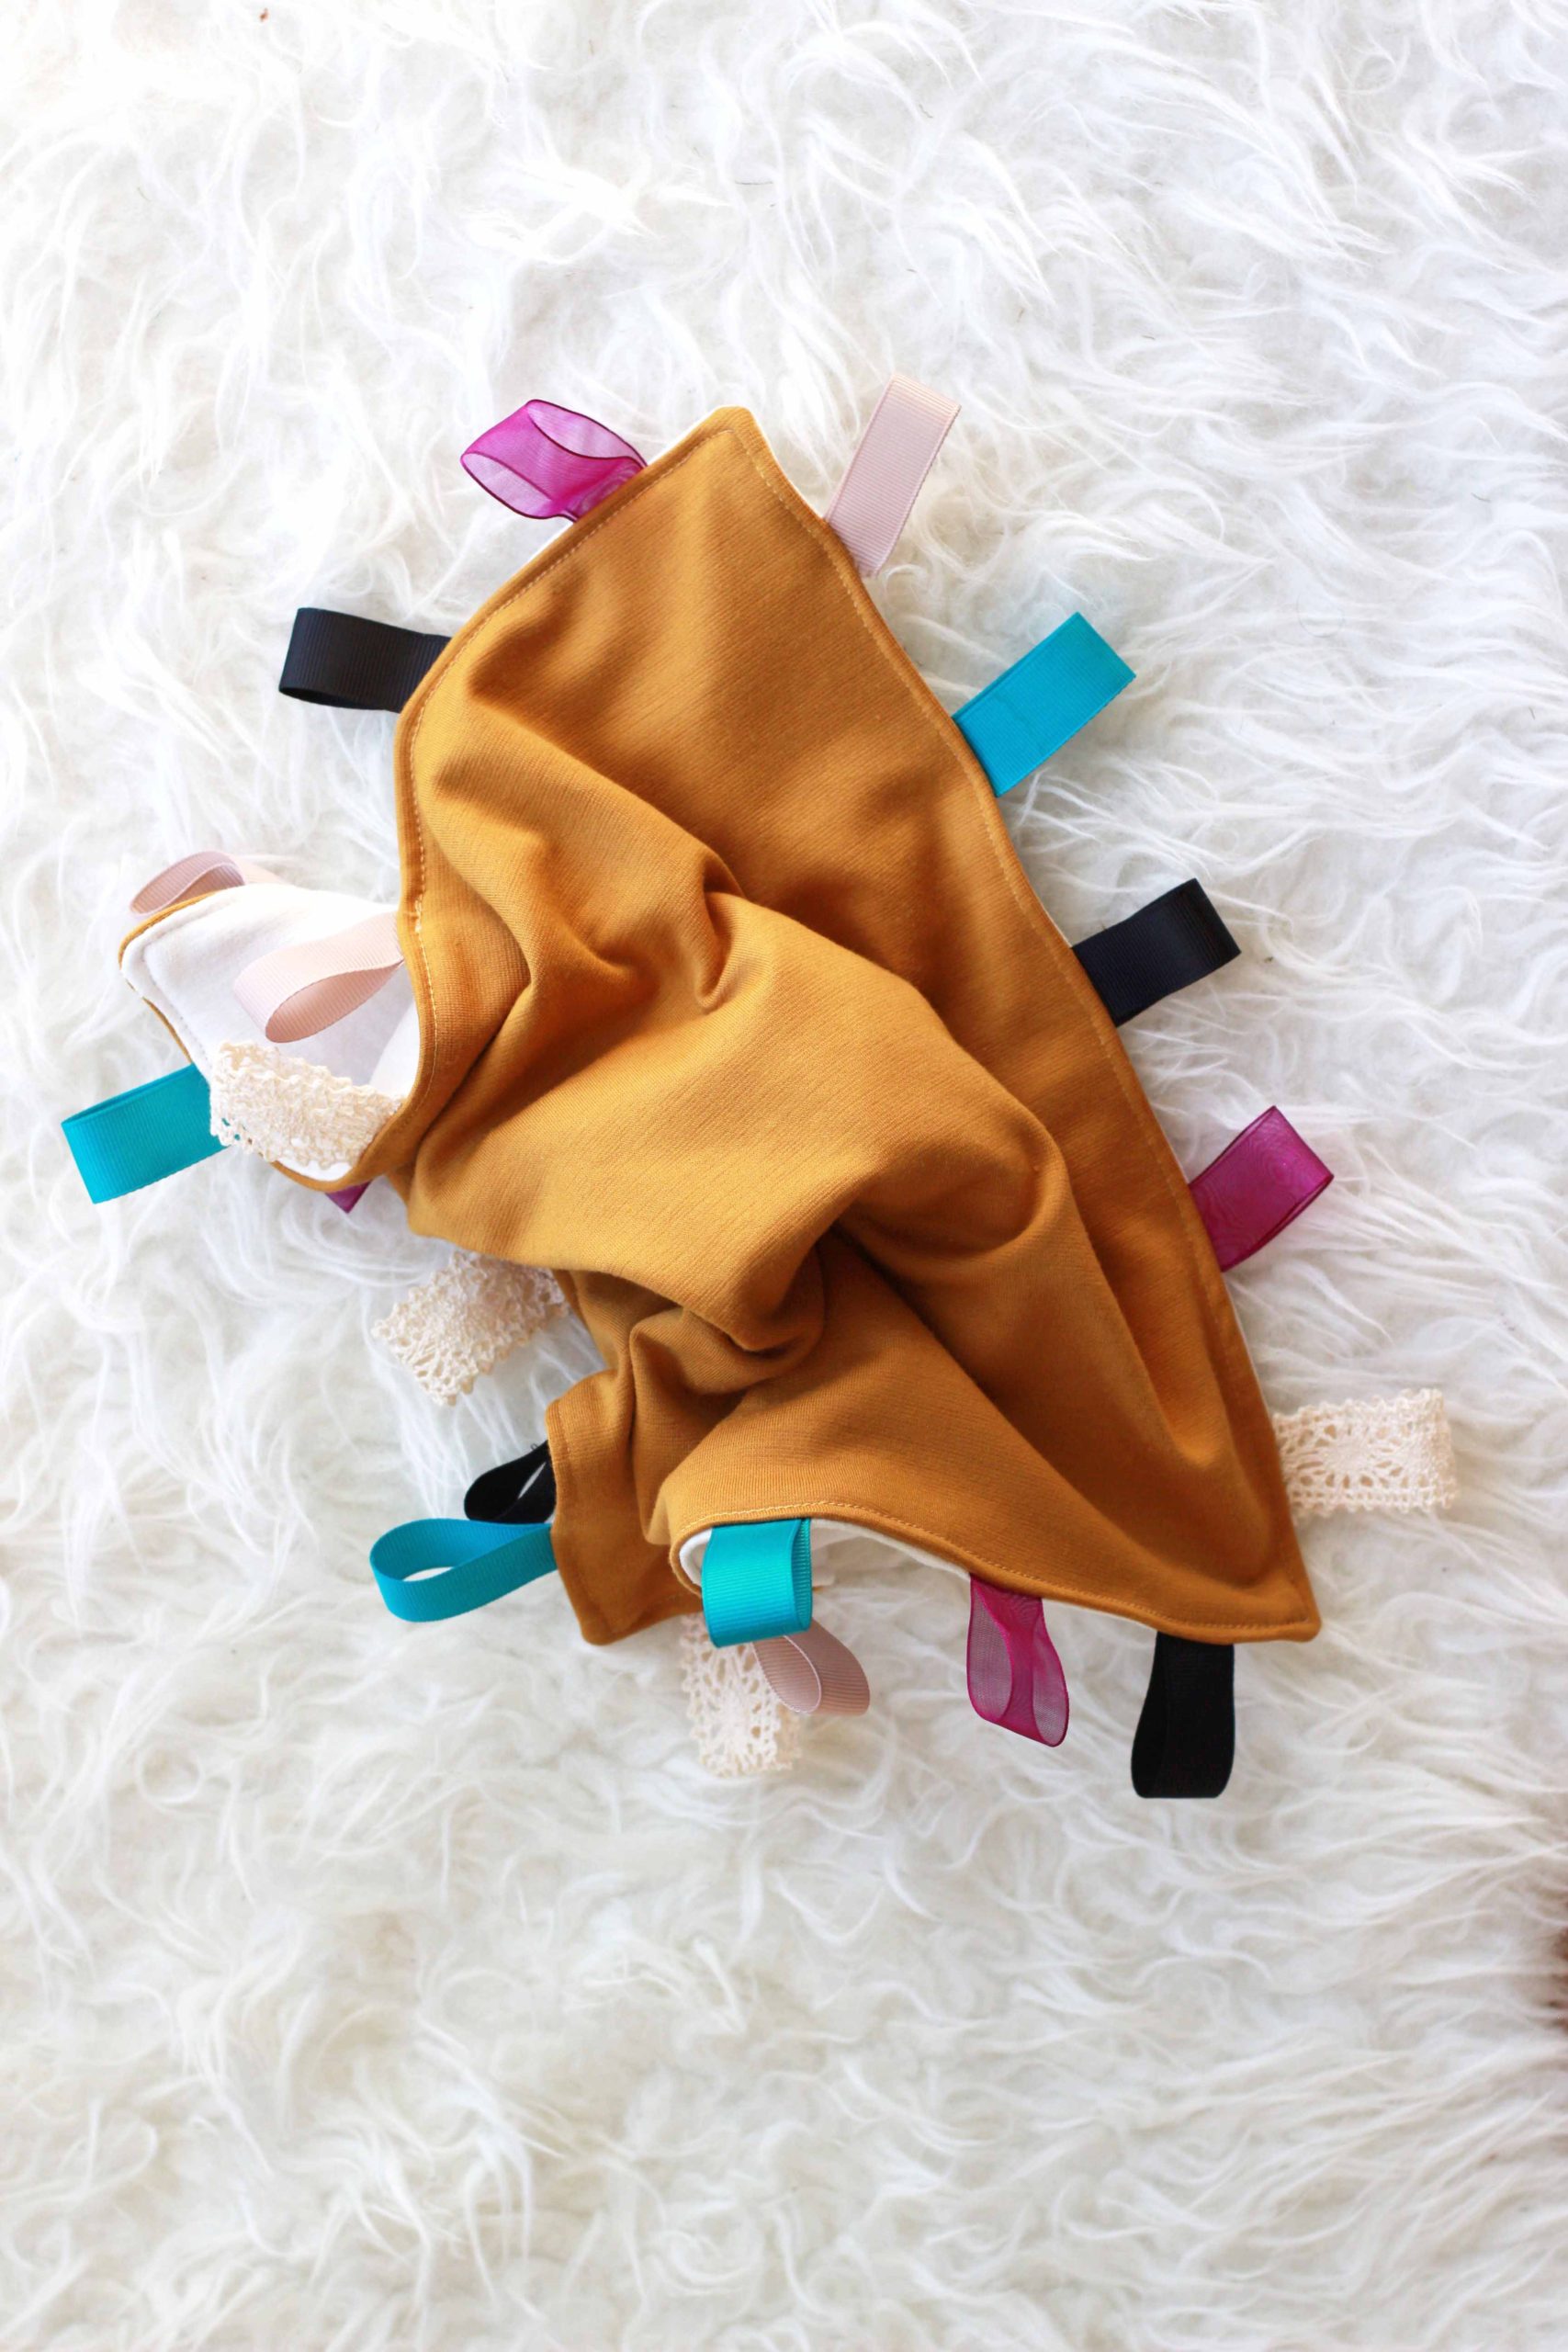
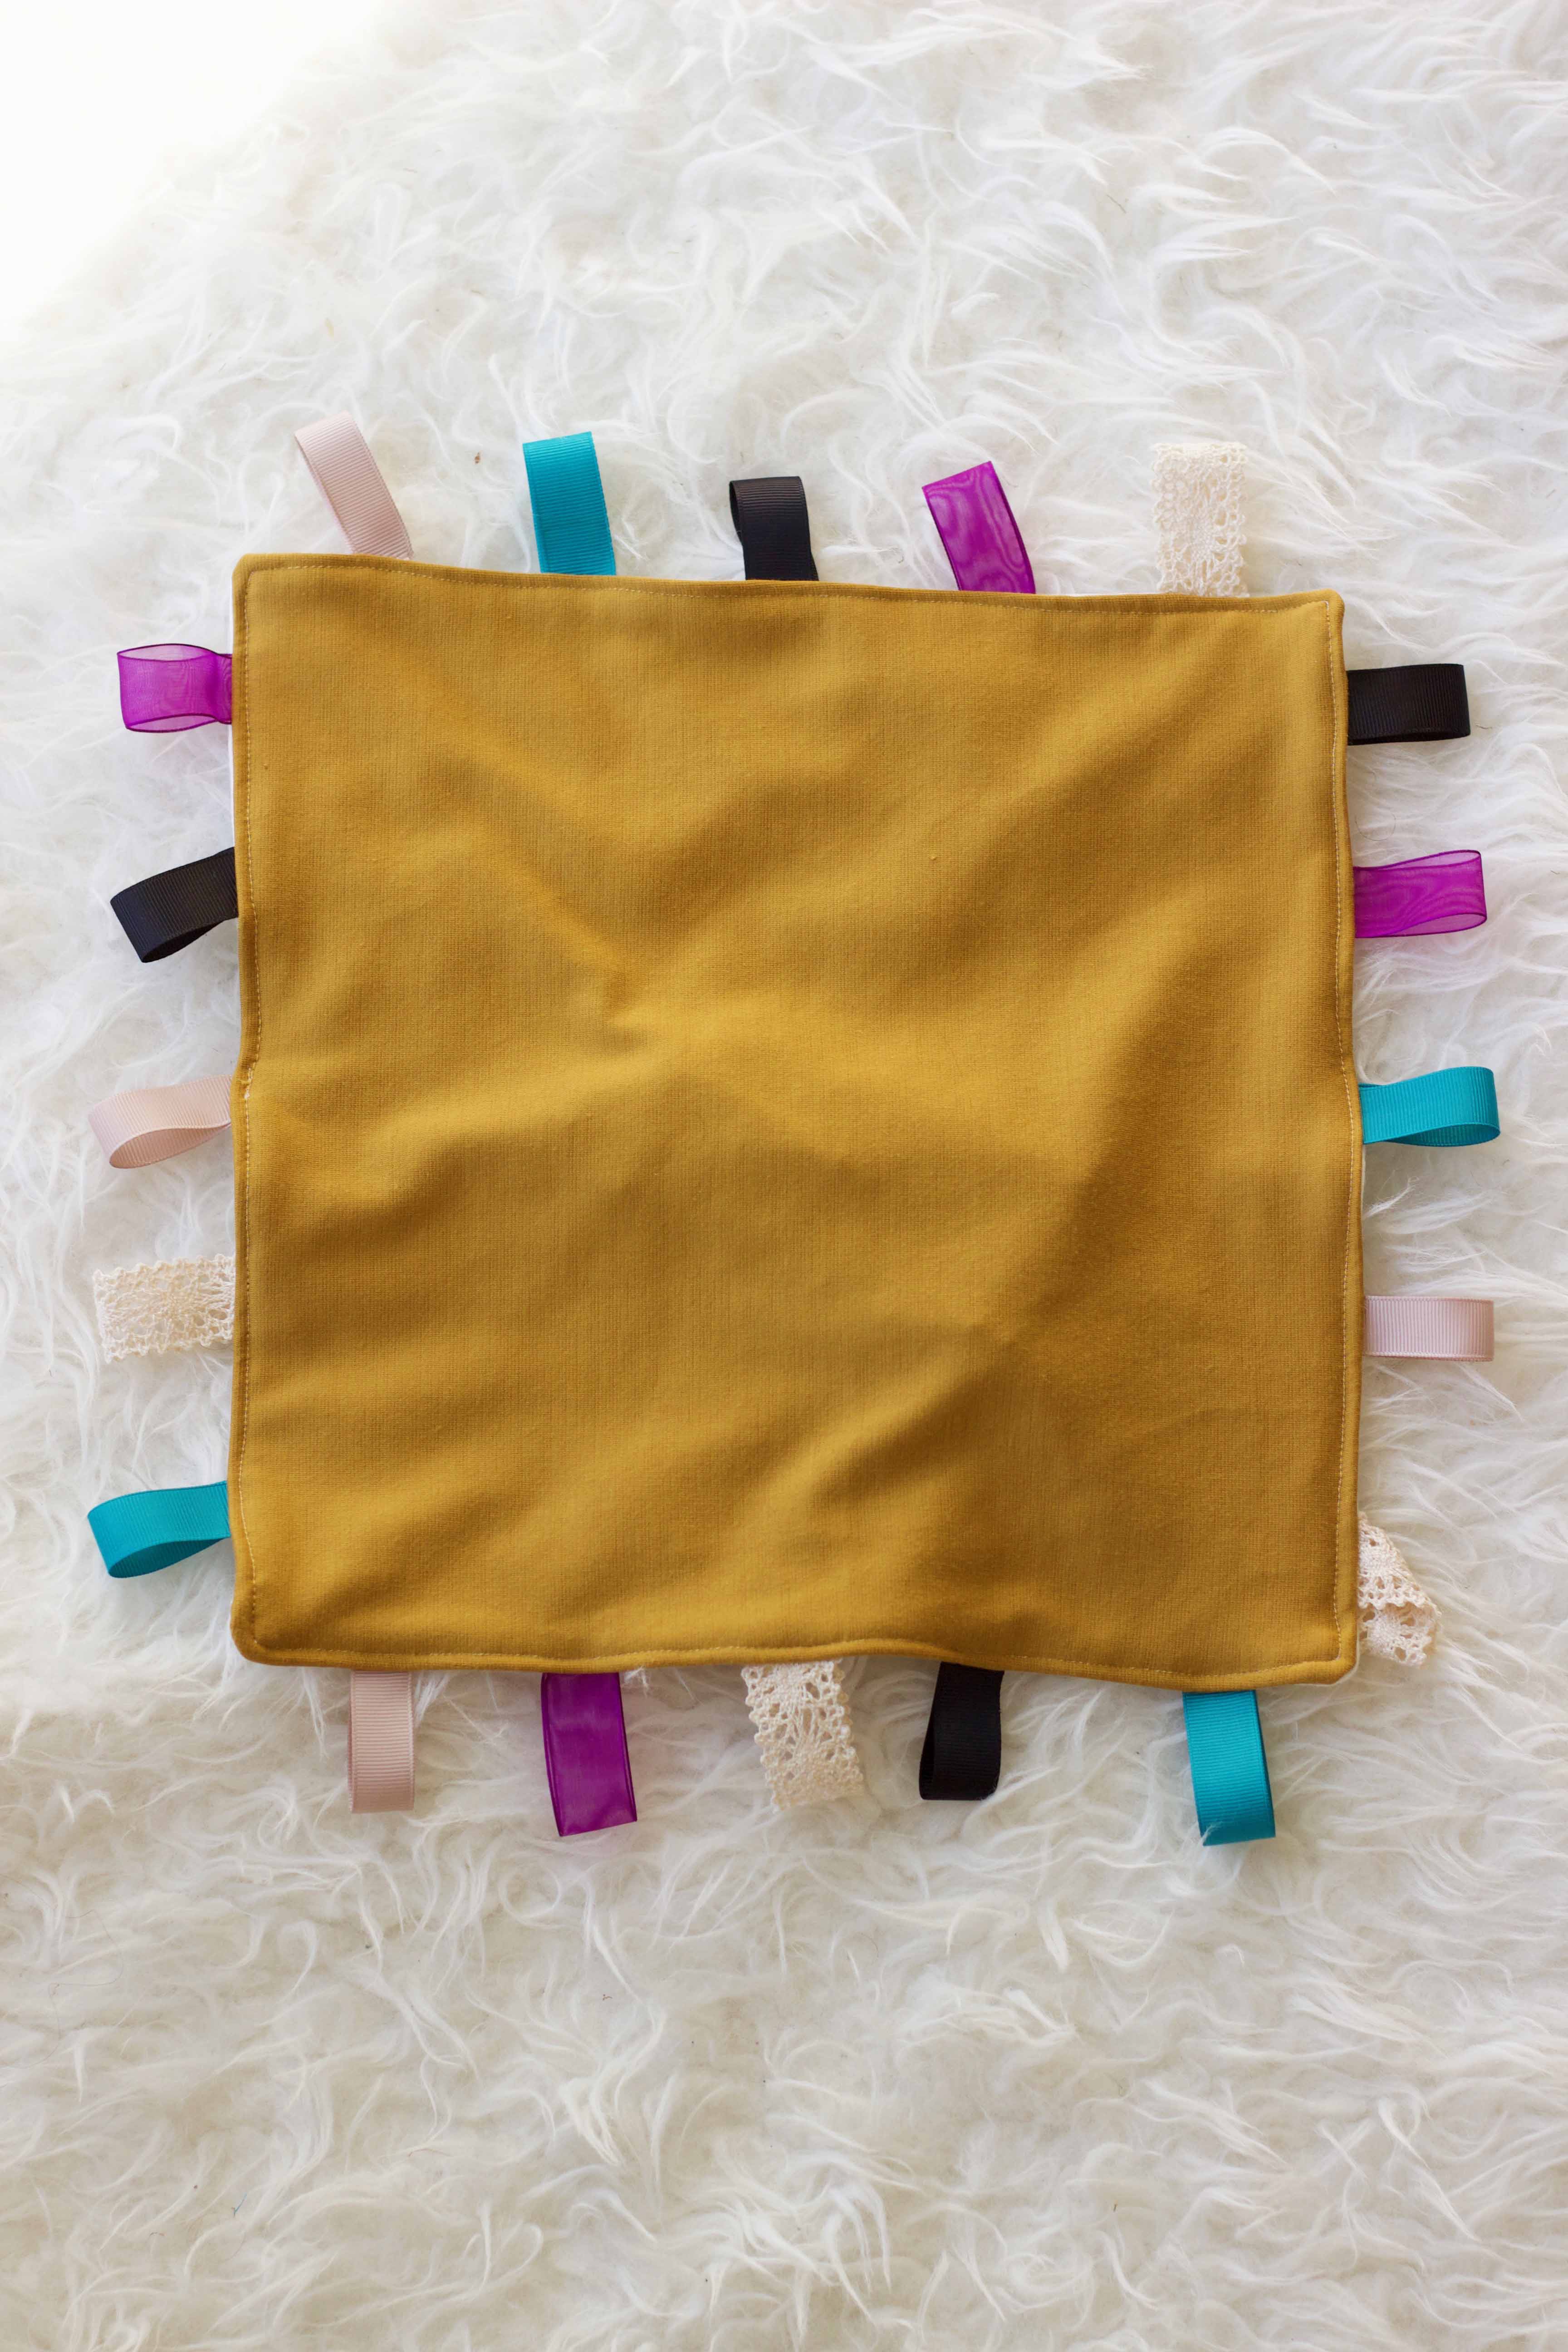
He is a keen, inquisitive little man who is grabbing everything and anything in sight. He particularly enjoys playing with the toys that make noise and grabbing the tags on his brothers stuffies. So, I thought I would combine the two and make a fun taggie blanket for him. These blankets can retail up to $28 for a large blanket. I looked through my fabric stash to see if I could make one for him instead. It just required a bit of scrap fabric and a trip to the dollar store for some ribbon. I also used two empty wipes packets as the “crinkle” material.
Creating sensory experiences for young kids using different textures, colours and ribbons can enhance young babies sensory stimulation, as well as help develop eye coordination and fine motor skills.
Let’s get started!
Follow along on Instagram @kukarudesigns.com. Tag me in your makes as I would love to see and share them over on Instagram!
WHAT YOU’ll NEED:
- Scrap Fabric fleece or minky fabric
- I used a bamboo fleece backing and a knit fabric for the front
- “Crinkle” material (E.g., cereal bag, diaper wipes bag)
- Thread
- Sewing machine
- Scissors
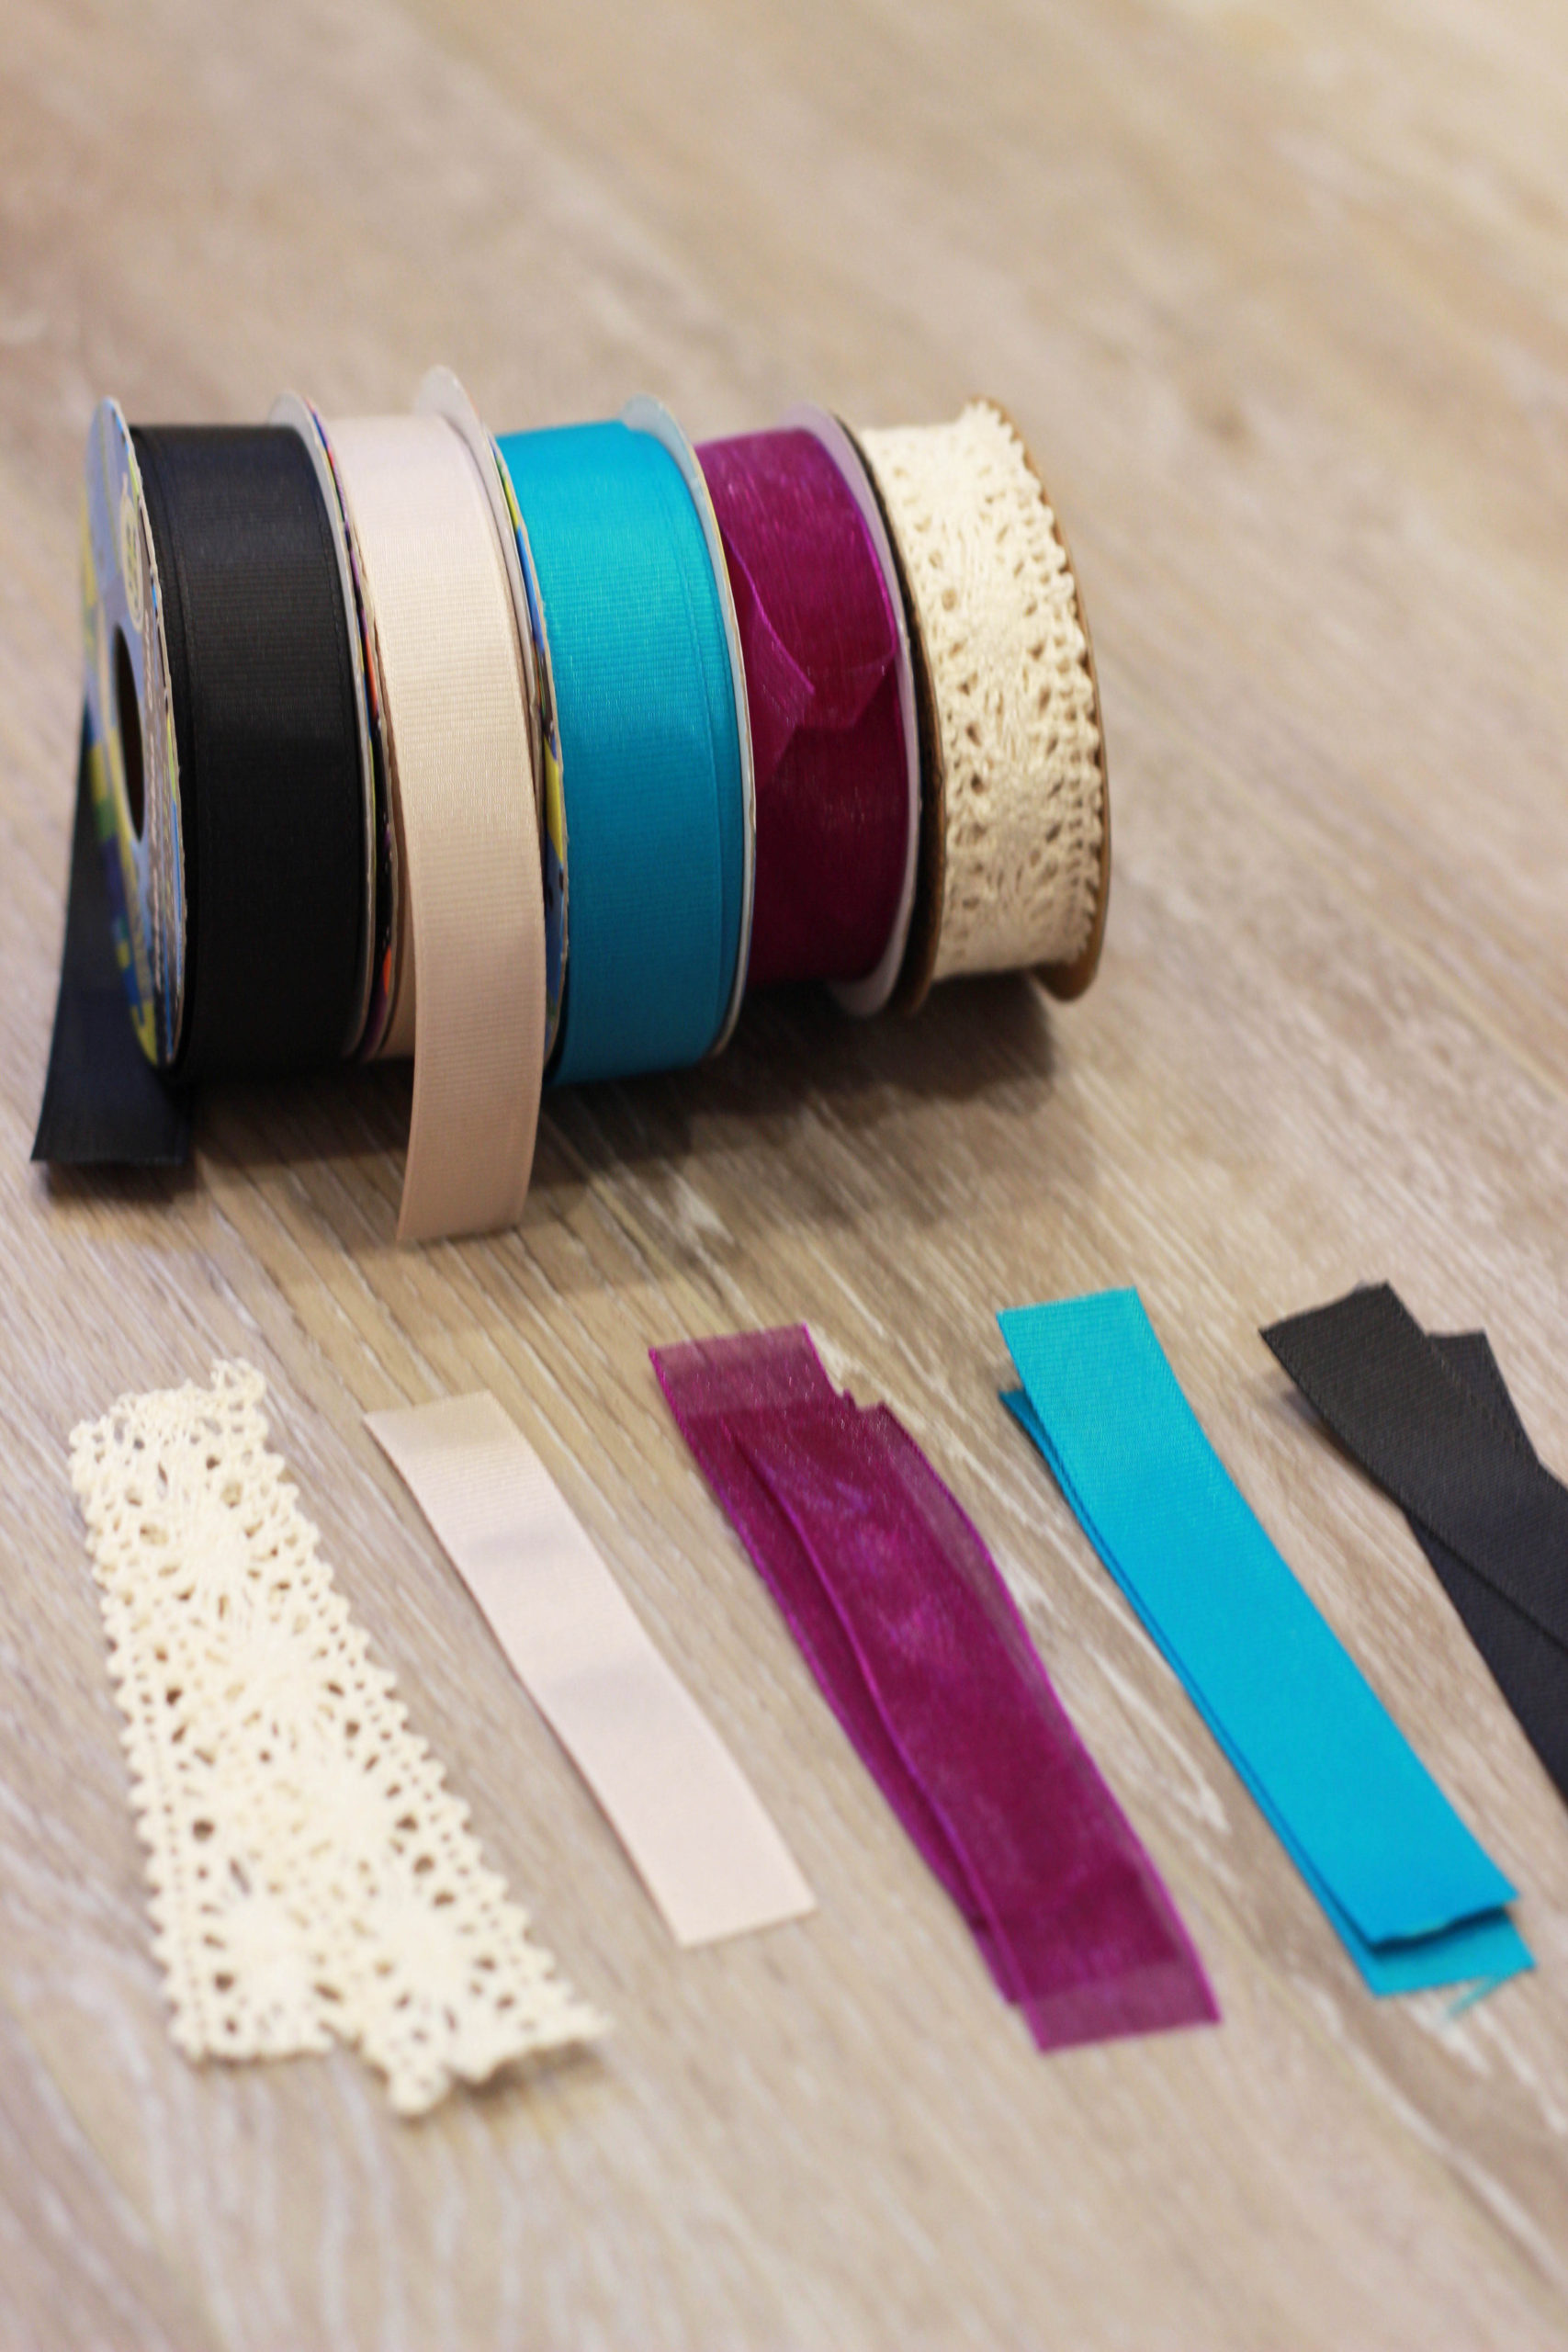
- Ribbon
- I used 5 different colours
- Pins
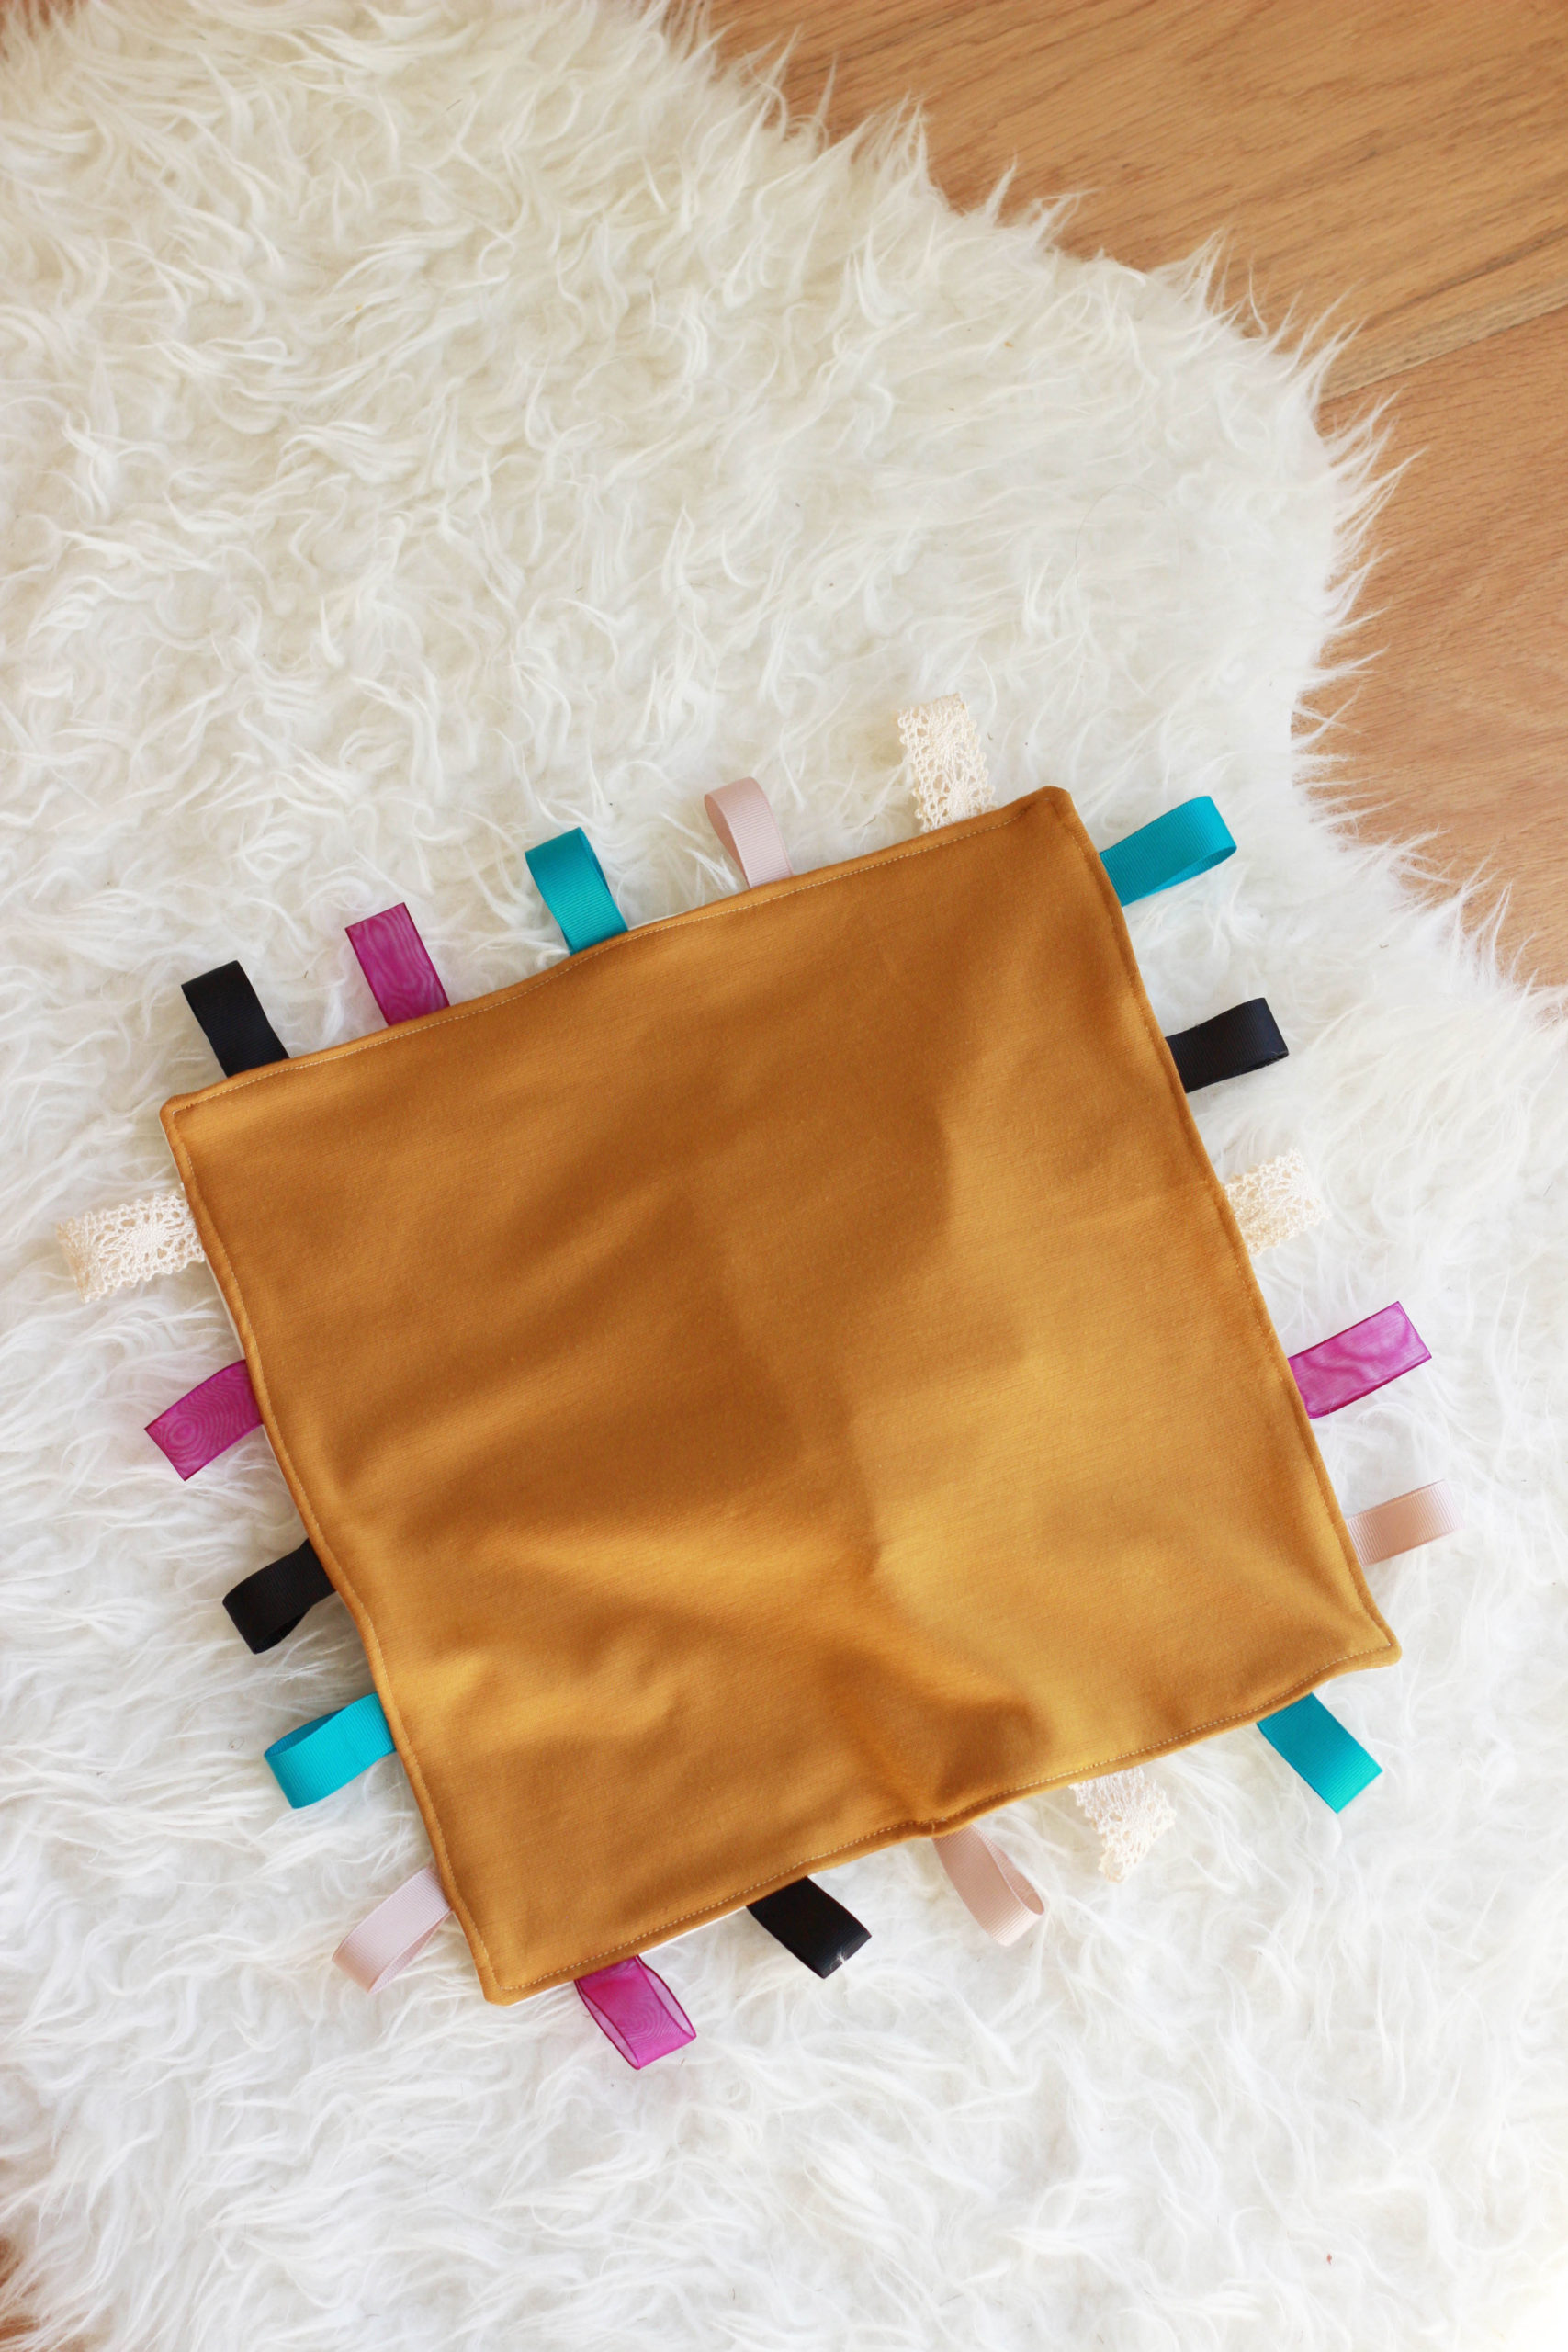
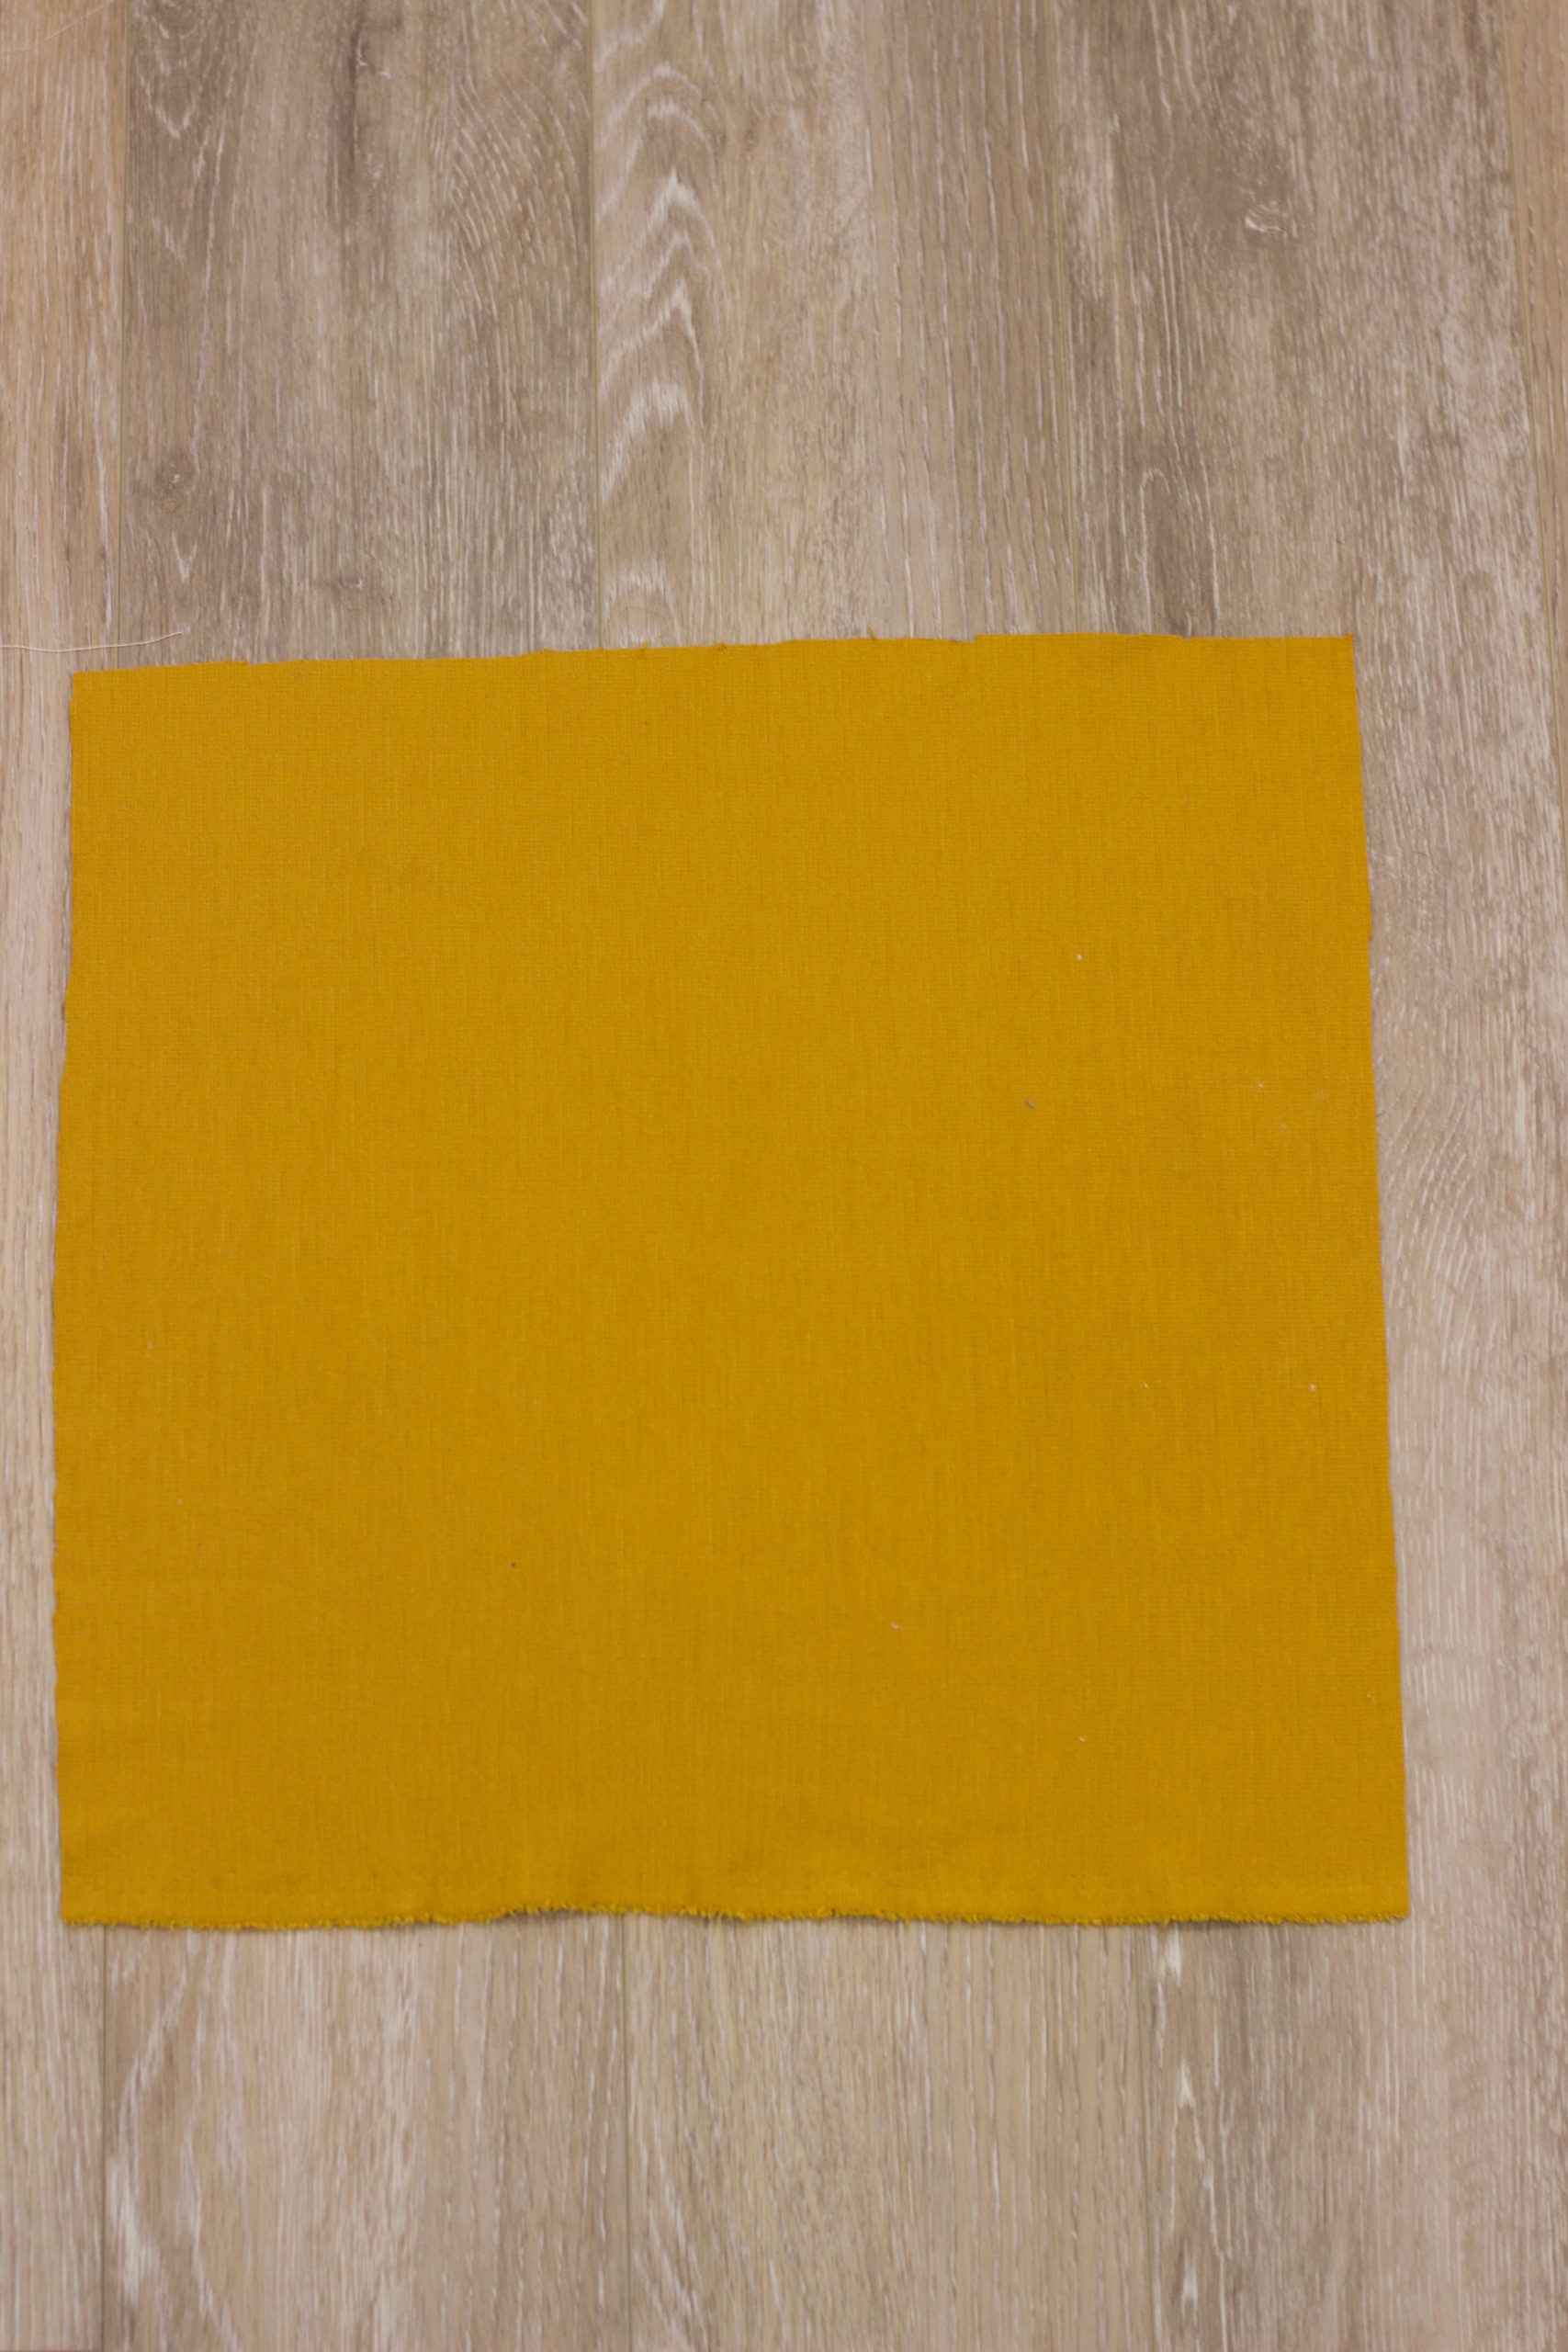
Step 1: Cut two 14″ x 14″ squares either in the same fabric or two different prints for the front and back of the blanket.
Step 2: Cut the ribbon into 5″ strips.
Step 3: Place the first square fabric face up. Then fold each ribbon in half and place them evenly spaced around the entire outer edge of the fabric using pins.
I used a random assortment of five ribbons along each side.
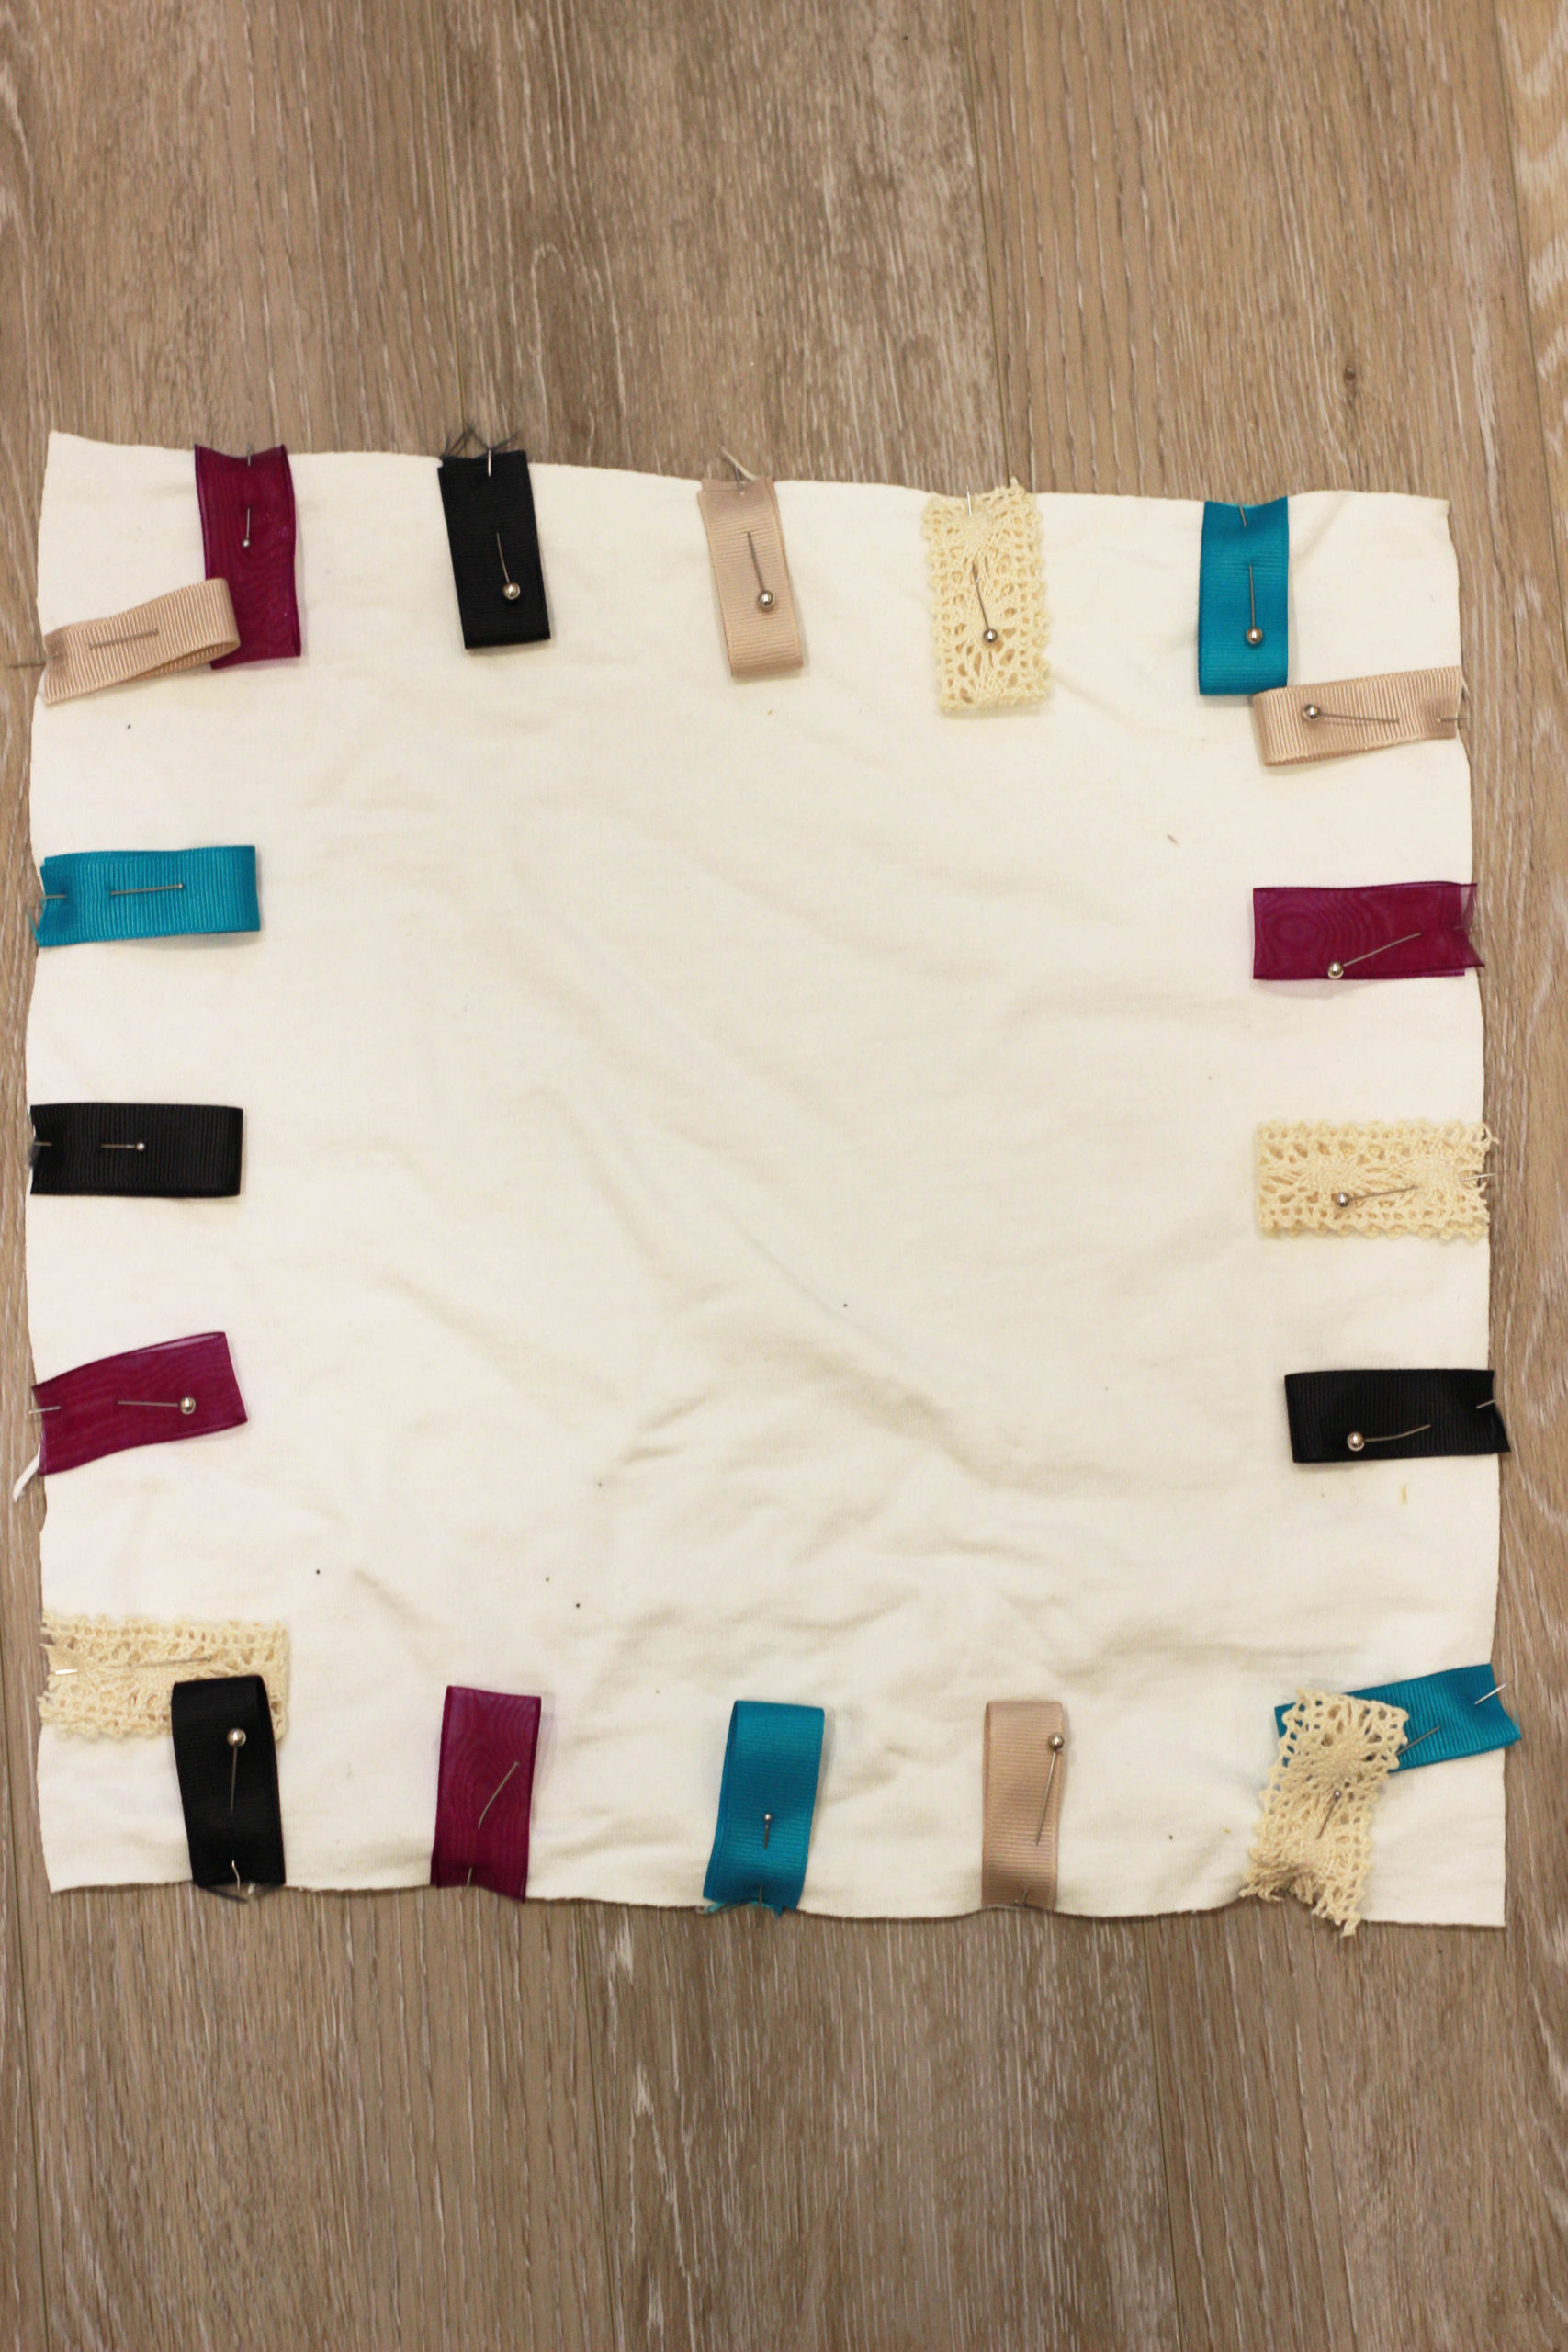
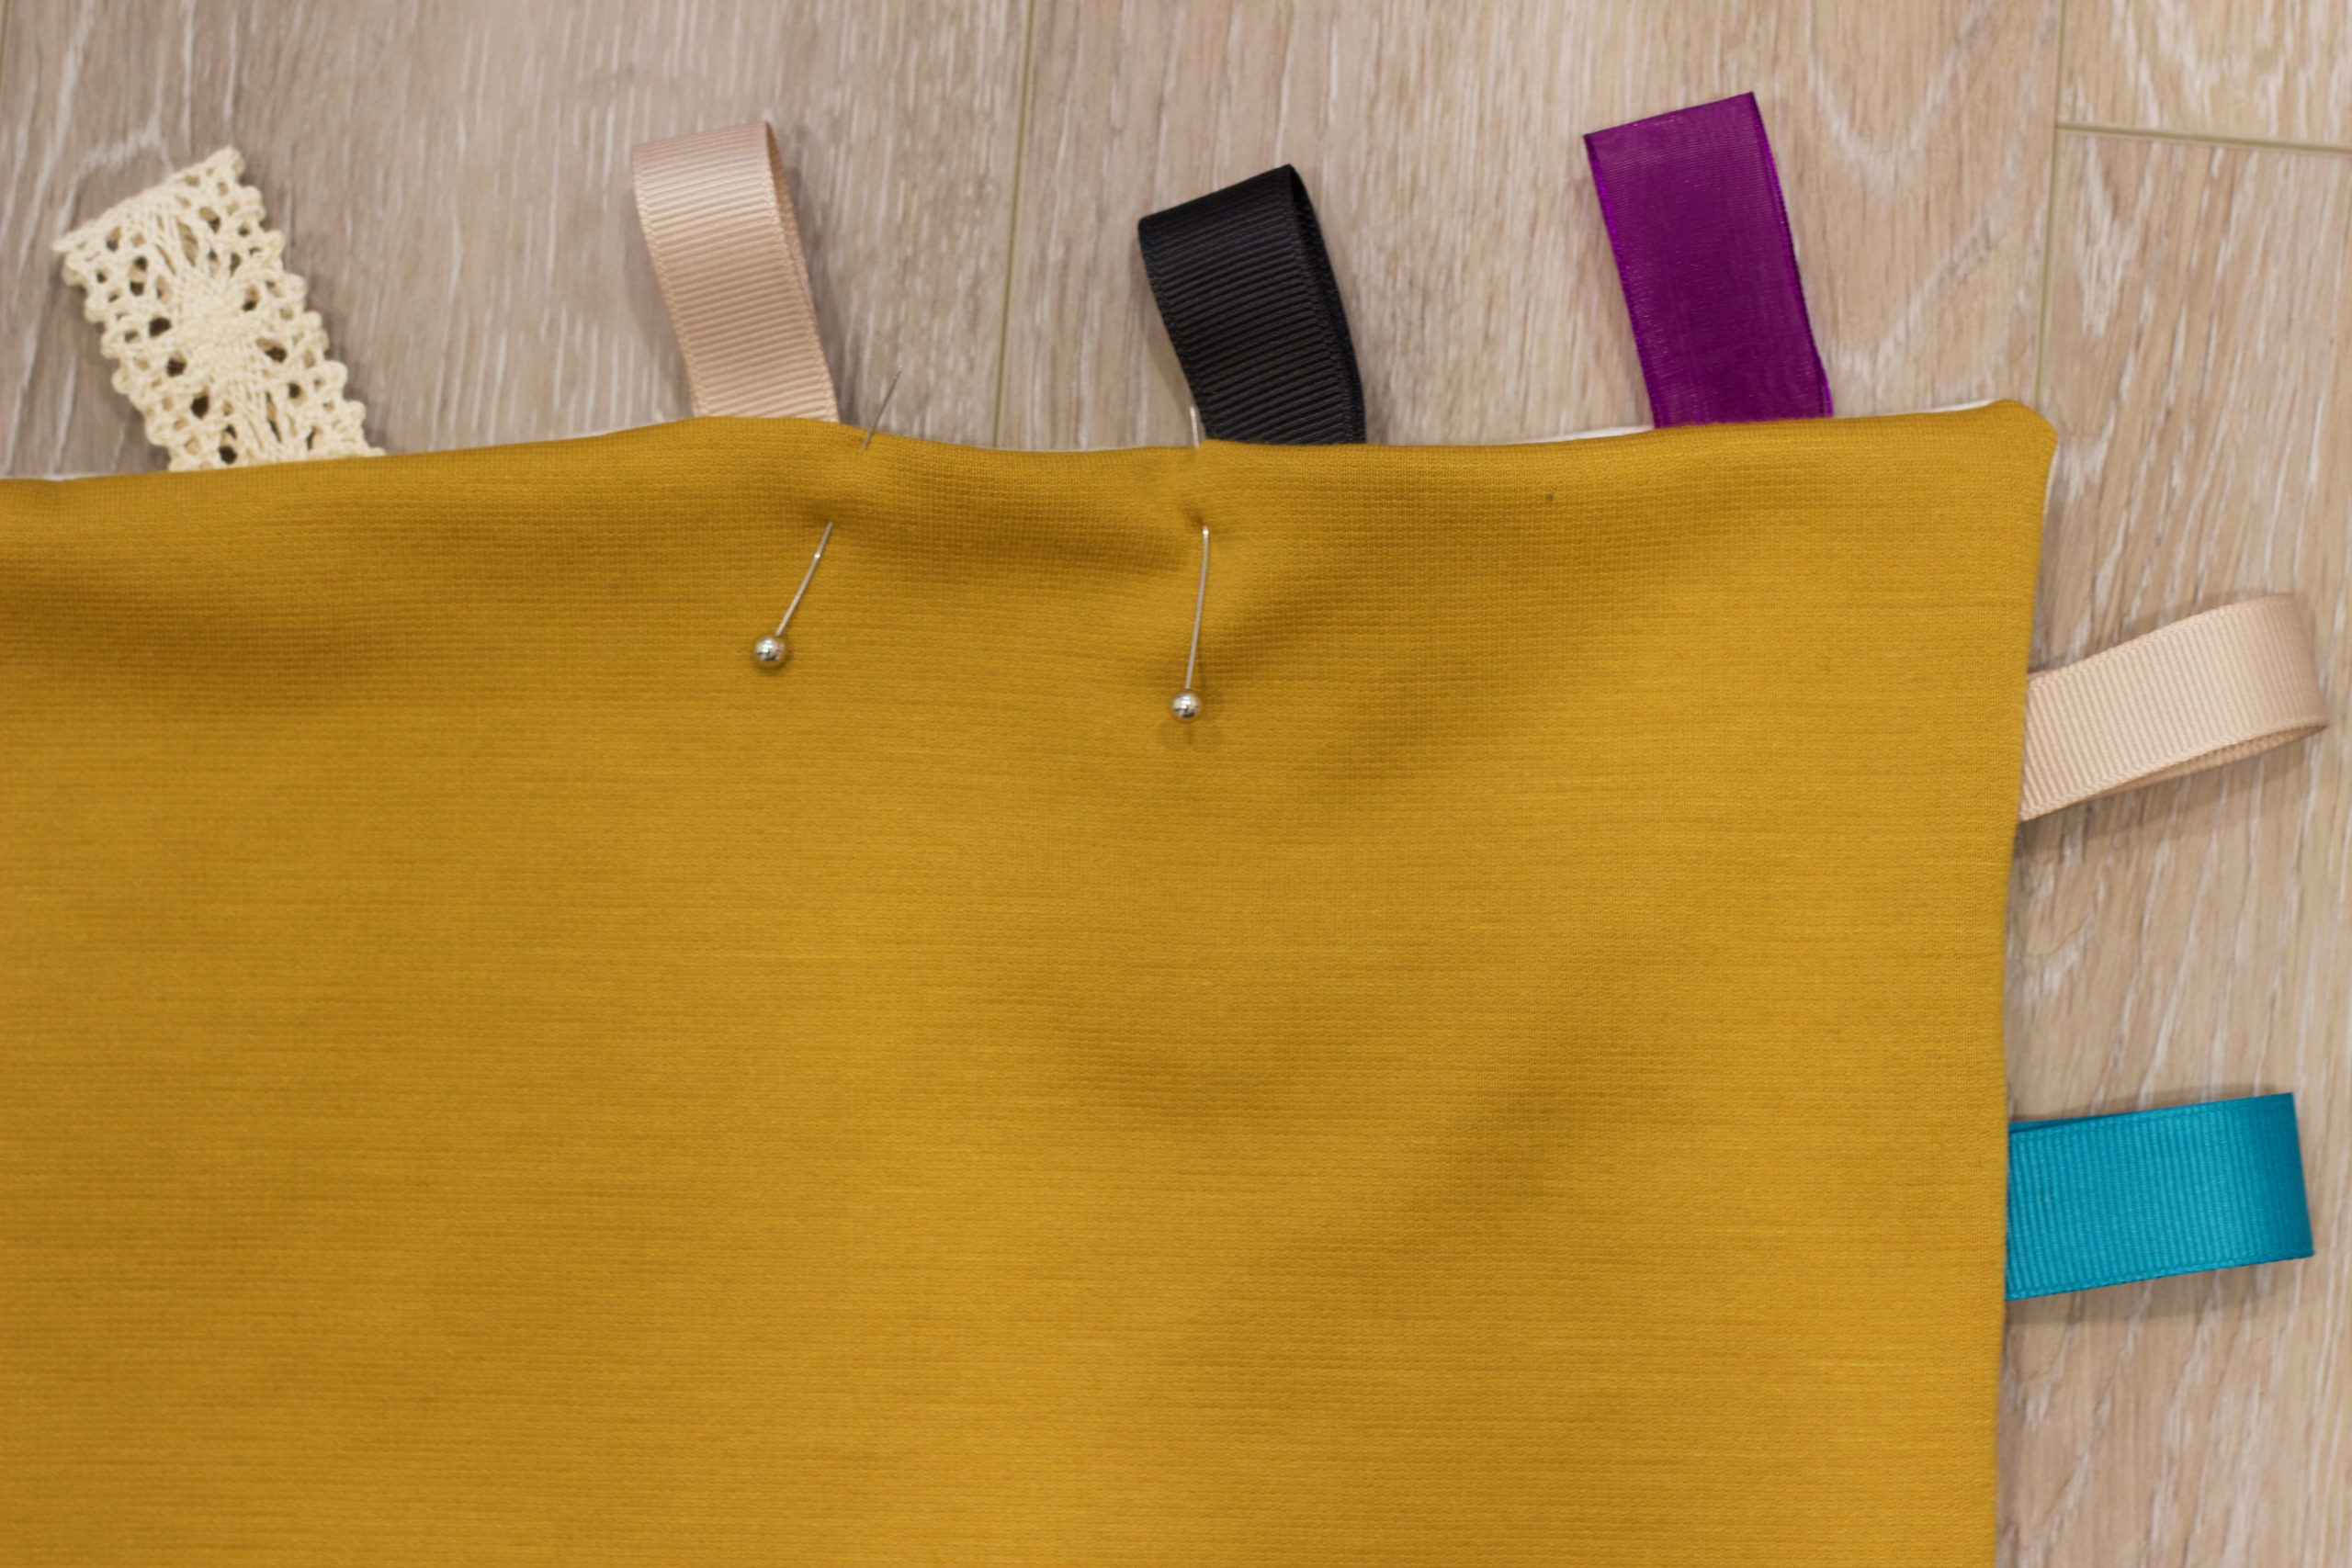
Step 4: Place the second piece of fabric face down on top of fabric with the ribbons. Pin and sew a straight stitch using a 1/4″ seam allowance along the outer unfinished edge of the fabric.
Note: Leave about 1 to 1.5″ open in the middle. You will need this opening to flip the fabric inside out.
Step 5: Flip the fabric inside out, making sure to push out the corners. Pin the fabric at either side of the opening to keep it in place. Then top stitch all the way around, ensuring that you sew the opening closed.
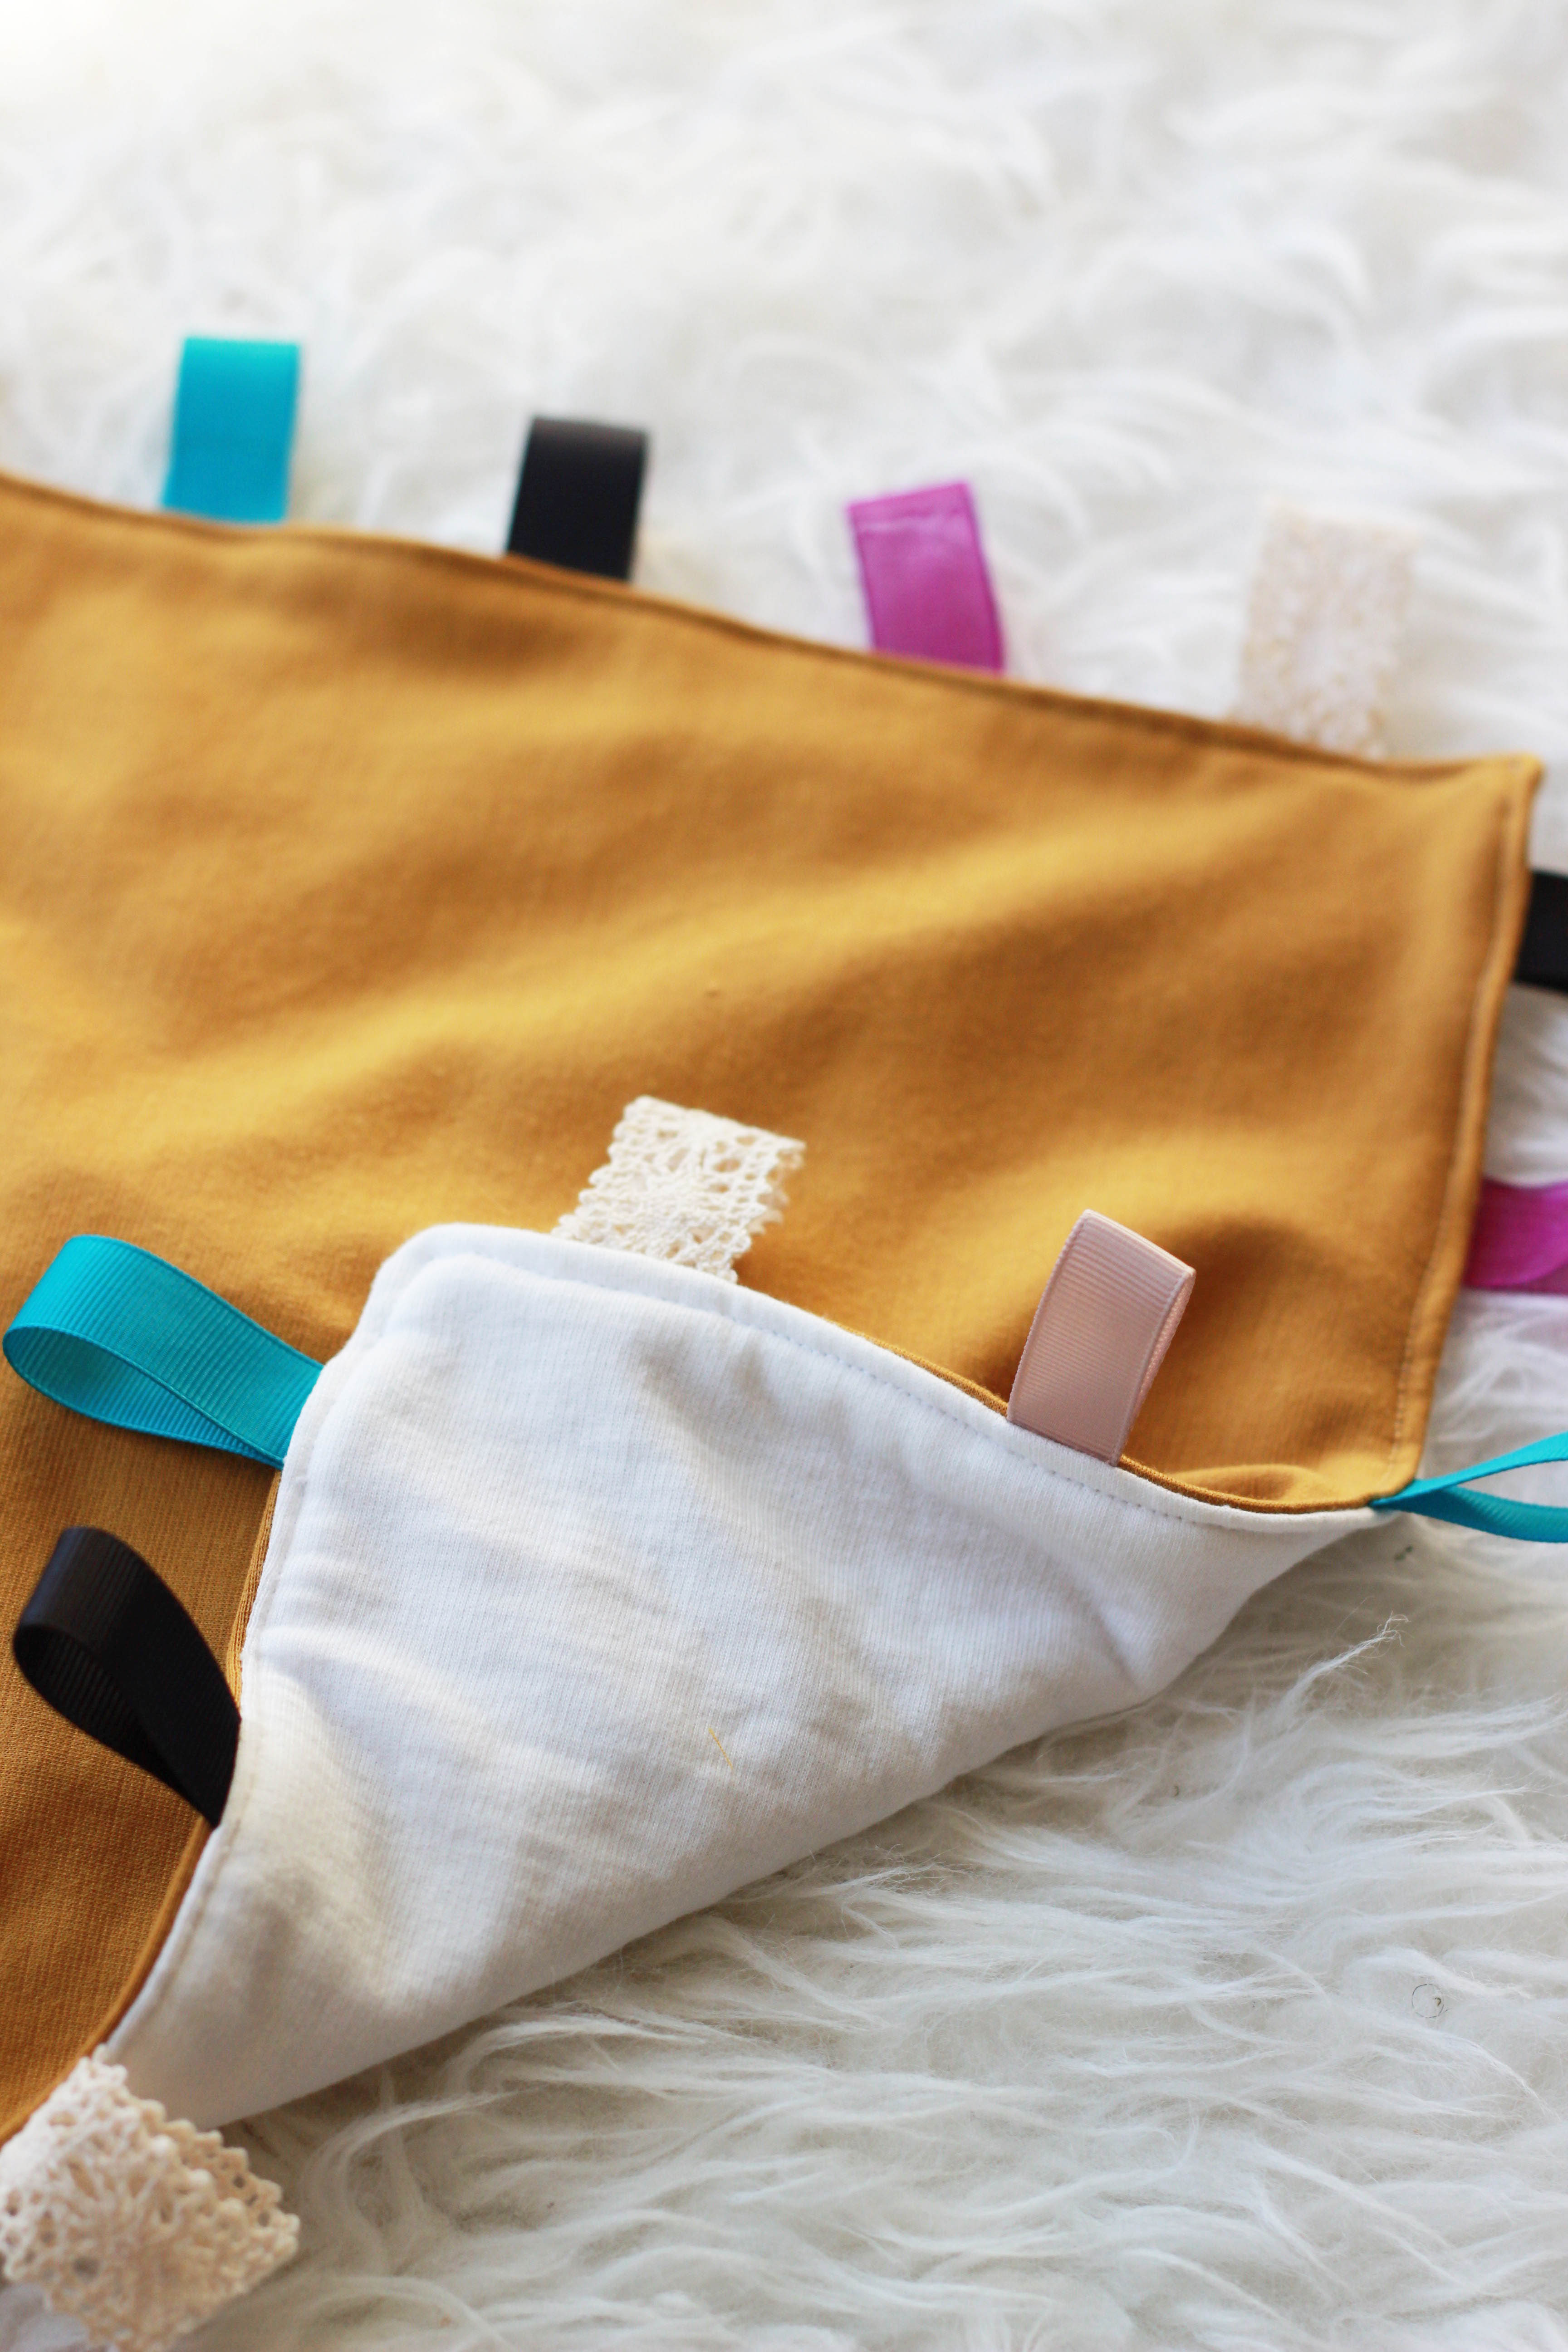
The taggie blanket is an easy and fun DIY sensory toy that babies will love! It also makes a wonderful baby shower gift.
Follow along on Instagram @kukarudesigns.com or facebook at kukarudesigns. Tag me in your makes because I would love to see and share them over on Instagram.
Other fun tutorials: