Have you ever heard of rope bowls? Well I didn’t know what they were until I saw some show up on my Instagram feed. I completely fell in love! Is that possible? Each one is so incredibly unique and can be made from different coloured thread and fabric. I went on a hunt to look for thread a couple weeks back and found some awesome turquoise-blue thread. Really all you need is rope and thread. It’s also a great project to work on your zig zag stitch.
Sewing this bowl felt more like doing pottery than sewing, with it’s structure and continuous circular movement. It didn’t require any fabric purchases or patterns to cut out which meant I had nothing really to think about. Honestly, I found it quite therapeutic as the constant repeated movement, ability to fix mistakes easily and to freely take on whatever shape it wanted-with minimal control. In fact, I ended up listening to an amazing book on Audible (not-sponsored) as I sewed this rope bowl over the weekend. If you’re looking for a motivational and empowering book to read, check out “Girl, wash your face” by Rachel Hollis.
This was my first rope bowl but I will definitely be making more. That constant repeated motion is great when you just want to get out of your head.


What you’ll need:
- Cotton Clothesline Rope – I bought mine at Canadian Tire (I’m a Canadian girl over here!)
- Thread (I choose white, and two different coloured shades of turquoise-blue).
- Scissors

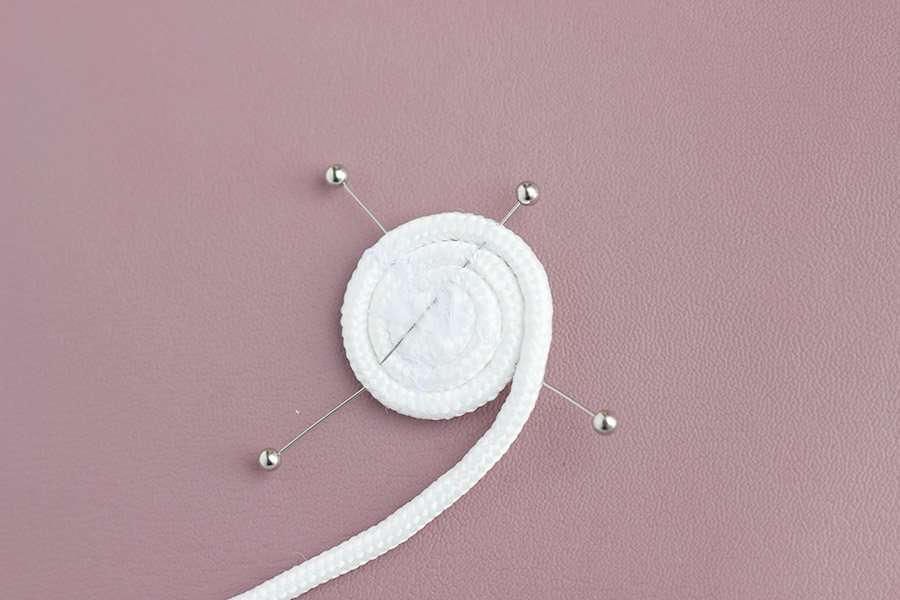
Step 1: Create the base. Make a tight a coil with one end of the rope and pin it in place. I was able to run my sewing machine over the pins without breaking any needles, but be careful! Use a zig-zag stitch and sew back and forth several times so that the thread catches enough rope to keep the coil in place. I used a stitch width of 3.5.
Step 2: Once your coil is sewn together, remove the pins. For the rest of the bowl, all you have to do is a zig-zag stitch as you guide the free end of the rope with your hand against the other. Make sure the rope is pushed tightly again the coil as you sew and that the thread catches the rope on either side.
DO NOT GRIP THE ROPE! The rope should be loose, otherwise the base of your rope bowl may not have a flat circular shape.
The first few rounds are hard because the coil is small which makes sewing the rope together is challenging. Don’t give up! It does get easier as the base gets larger. Remember to also change the colour of your thread at whatever point you like.

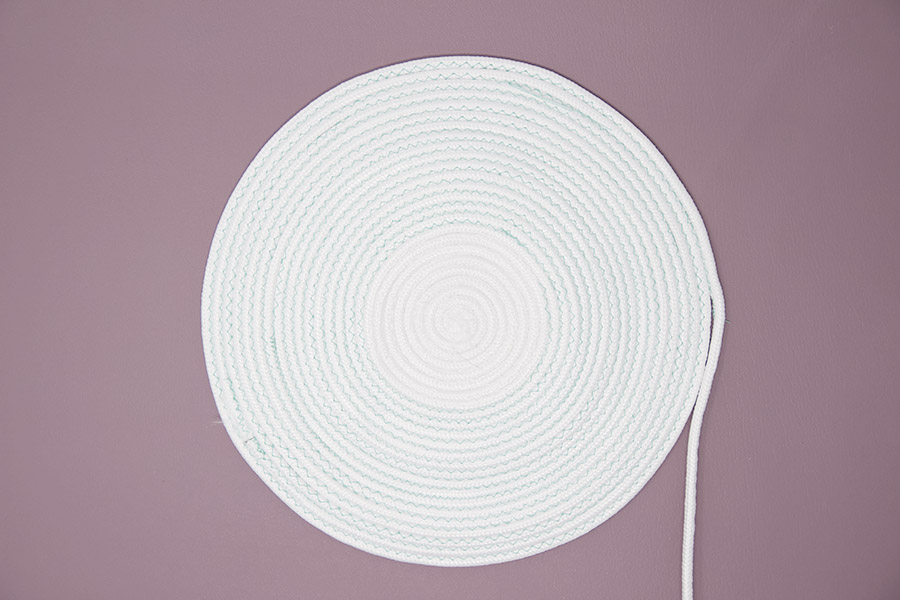
When you think the base of your bowl is the size you want, it will look something like this! This is a good time to also fix areas that may have holes. Simply, go back to the section with a hole and sew the two pieces together. It doesn’t have to be perfect. In fact, those extra stitches add more colour and character!
Step 3: To make the sides, all you have to do is continue sewing using the zig-zag stitch while supporting the bowl against the head of your sewing machine with your hand. Again, make sure to keep the the rope tightly against the coil and that the thread catches either side of the rope.
This was definitely my favourite part. The bowl finally begins to take shape and you can transition your colours!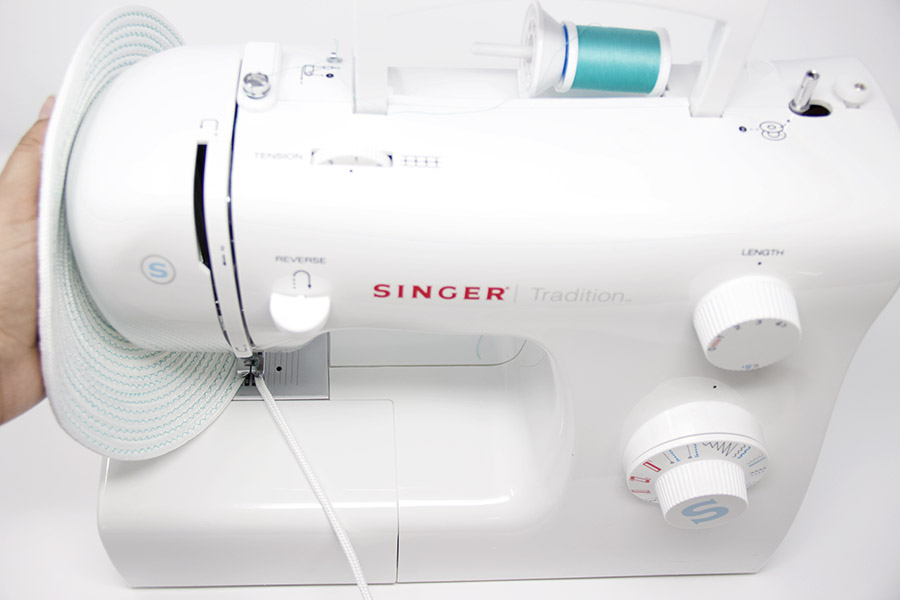
Step 4: When you feel that your bowl is complete, cut the rope. Then sew the end in place and secure using a back stitch. To finish, I decided to use a piece of vinyl from scraps from earlier projects like my glasses pouch tutorial and my faux leather tassel tutorial to wrap over the end. I used a straight stitch at the bottom to secure in place. It gives the rope bowl basket a wonderful finished look!


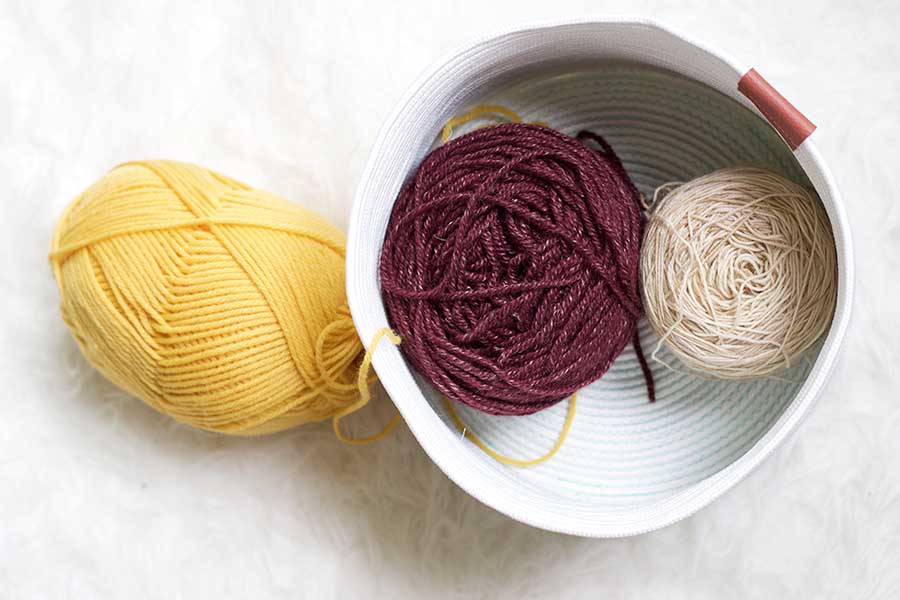
I’ll be definitely be making more rope bowls with different coloured thread and sizes! They also come in super handy to store the yarn and knitting projects!